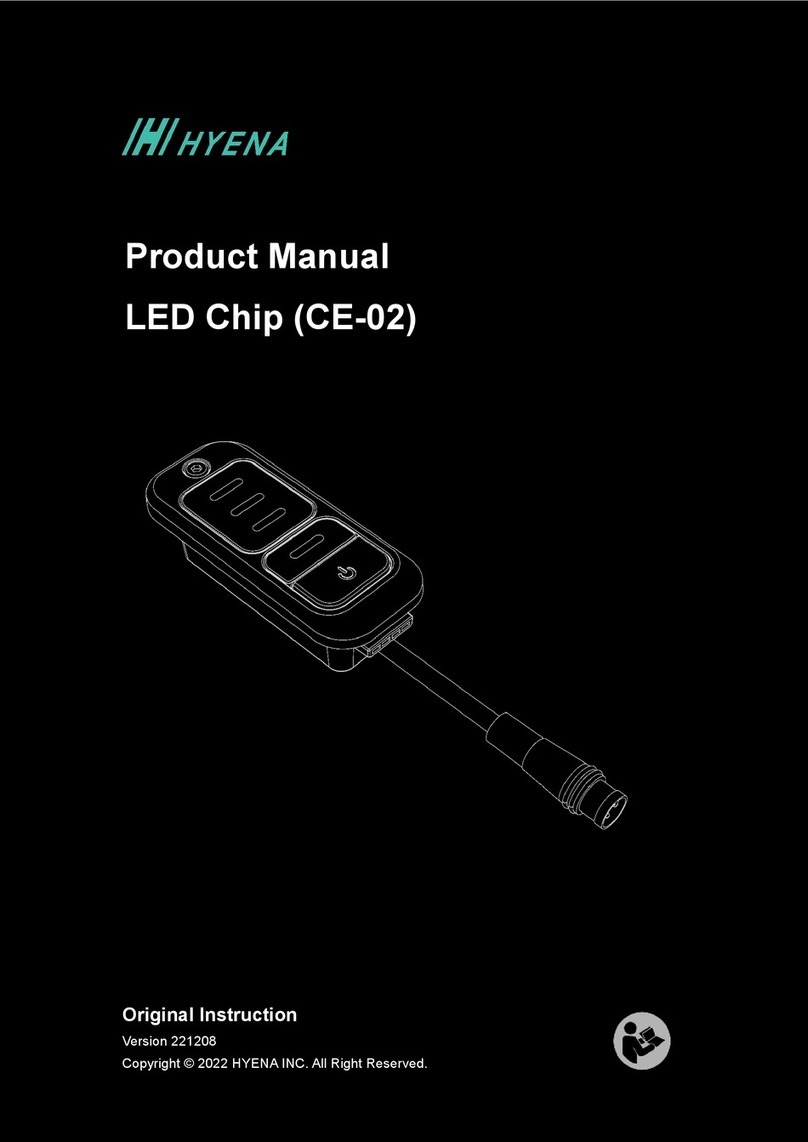
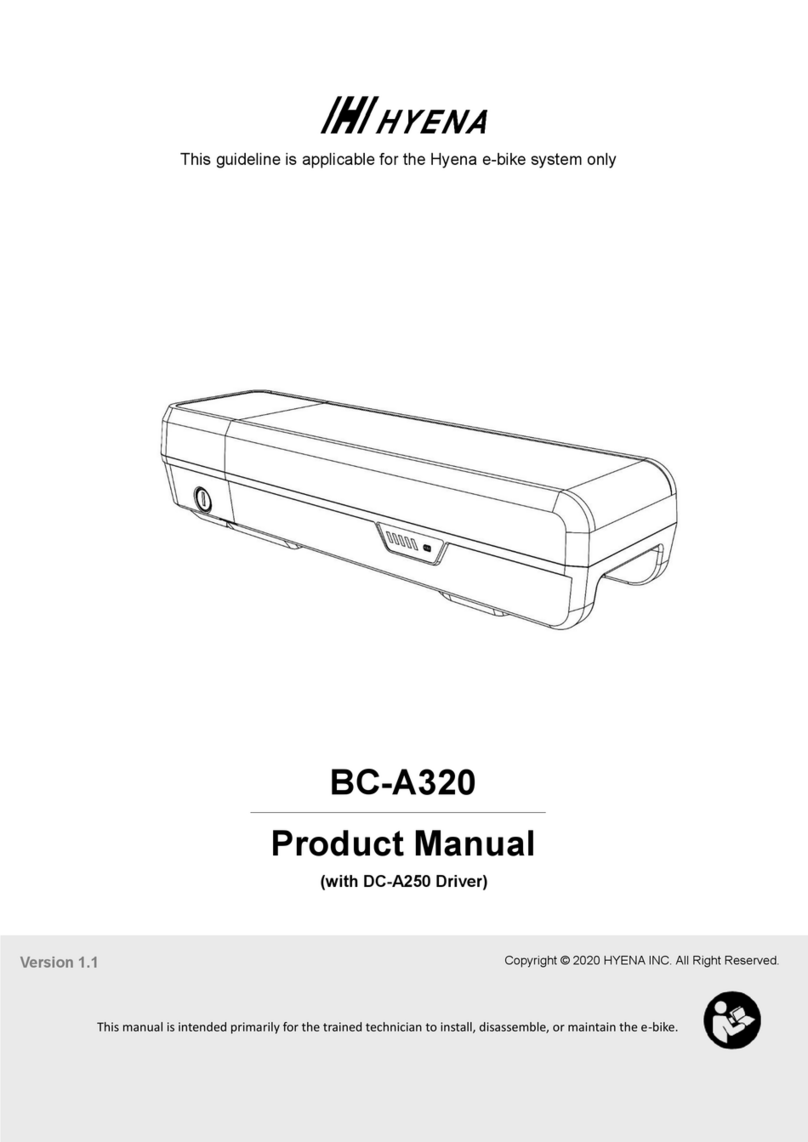
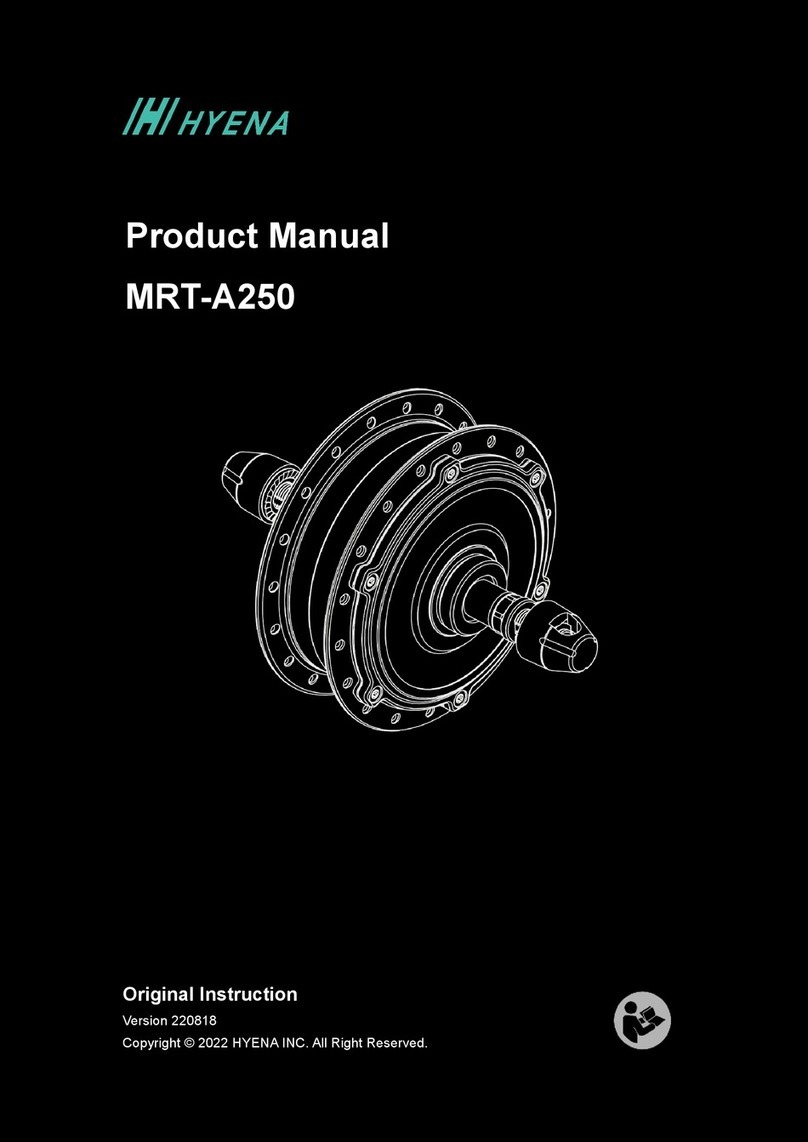
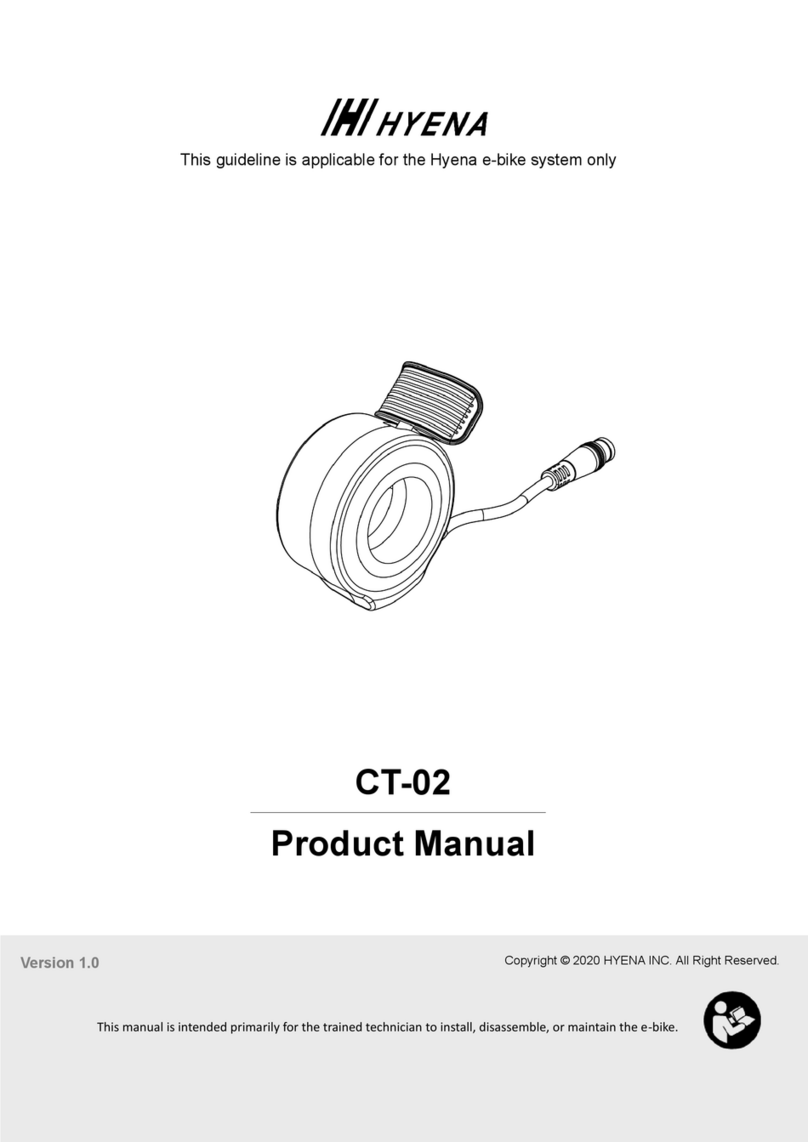
Hyena E-Urban Series User manual

Original Instruction
Version 230303
Copyright © 2023 HYENA INC. All Right Reserved.
User’s Manual
E-Urban Series


1. Introduction ............................................................ 1
1.1. Important notices ........................................................... 1
1.2. Safety instructions ......................................................... 1
1.3. Riding safety.................................................................. 2
2. E-bike overview ..................................................... 3
3. Drive unit instructions ............................................ 4
3.1. Motor safety instructions................................................ 4
3.2. Technical data of the hub motor .................................... 4
4. Battery handling instructions.................................. 5
4.1. Battery safety instructions ............................................. 5
4.2. Technical data of the battery.......................................... 5
5. E-bike operation - LED Multi.................................. 6
5.1. HMI overview................................................................. 6
5.2. Technical data of the HMI.............................................. 6
5.3. Turningthee-bikeon/o................................................ 7
5.4. Select an assist level ..................................................... 7
5.5. Charge level indicator.................................................... 8
5.6. Walk assistance............................................................. 9
5.7. Turningthelightson/o ............................................... 10
5.8. Bluetooth connection .................................................. 10
5.9. Error alert signal ......................................................... 10
6. E-bike operation - LCD Compact EX ....................11
6.1. HMI overview and display element...............................11
6.2. Technical data of the HMI.............................................11
6.3. Turningthee-bikeon/o.............................................. 12
6.4. Switch to speed display/range display......................... 12
6.5. Select an assist level ................................................... 13
6.6. Charge level indicator.................................................. 14
6.7. Walk assistance........................................................... 14
6.8. Turningthelightson/o ............................................... 15
6.9. Bluetooth connection ................................................... 15
6.10. Error alert signal ......................................................... 16
7. E-bike operation - LED Chip .................................17
7.1. HMI overview............................................................... 17
7.2. Technical data of the HMI............................................ 17
7.3. Turningthee-bikeon/o.............................................. 18
7.4. Select an assist level .................................................. 19
7.5. Charge level indicator.................................................. 20
7.6. Bluetooth connection ................................................... 21
TABLE OF CONTENTS

7.7. Error alert signal .................................................... 21
8. Charging instructions ........................................22
8.1. Charging safety instructions ................................... 22
8.2. Technical data of the charger ................................. 24
8.3. Charging the battery ............................................... 24
9. Storage and transportation instructions ............26
9.1. Storage ................................................................... 26
9.2. Charging the battery before and during storage..... 26
9.3. E-bike transportation .............................................. 27
10. Troubleshooting ................................................28
10.1. System issues ........................................................ 28
10.2. Battery & charging issues....................................... 28
10.3. Error code table .................................................... 29
10.4. Other issues ........................................................... 30
11. Cleaning............................................................30
12. Disposal ............................................................31
TABLE OF CONTENTS

EN-1HYENA E-BIKE SYSTEMS
1. INTRODUCTION
Thank you for choosing your new e-bike with the Hyena riding assist system. We
sincerely hope that you will enjoy your ride. Please read all the safety warnings and
instructions carefully. Failure to follow the warnings and instructions may result in death or
severe injuries.
• This user’s manual is primarily intended for the owner to operate the product.
• Save this manual for future reference.
1.1. Important notices
• Read and observe the safety warnings and directions in all the e-bike operating
instructions.
• Users who are not professionally trained in bicycle assembly should not attempt to
install, disassemble, or modify components themselves.
• If you have any concerns about the operation of the e-bike system or its components,
or if you suspect damage to the battery, visit your nearest authorized bicycle brand
dealer.
• The term “battery” is used in these instructions to mean all original batteries.
• Do NOT throw away this user’s manual or remove any safety warning labels or instructions
from any e-bike system components.
► About Safety Symbols
• This manual includes many “WARNING”, “CAUTION”, and “NOTE” labels; these labels
refer to the safe methods to use, maintain, store, and check your e-bike.
• When a safety warning symbol is marked with “WARNING” text, failure to comply with
the instructions may result in dangerous situations of death or severe injuries.
• When a safety warning symbol is marked with “CAUTION” text, it means failure to
comply with the instructions may result in minor or moderate injury, damage to the
bicycle, or the voiding of your warranty.
► About Images
• Thee-bikeimagesinthismanualmaydiervisuallyfromyourHyenasystem-equipped
e-bike. All information provided in this manual is still applicable to your e-bike.
1.2. Safety instructions
Instructions Pertaining To A Risk Of Fire, Electric Shock, Or Personal Injury
⚠ WARNING
When using e-bikes, basic precautions should always be followed, including the
following:
• Read all the instructions before operating the e-bike system.
• Close supervision is necessary to reduce the risk of injury when the e-bike is used
near children.
• Do NOT put ngers or hands into any e-bike component or touch the cable terminal
with bare hands.

EN-2HYENA E-BIKE SYSTEMS
⚠ WARNING, CONTINUED.
• Do NOT use the e-bike if any exible power cord or output cable is frayed, has worn
insulation, or shows any other damage.
• Always check the charger, cables, and power cord for any damage before charging
the battery.
• Only charge the battery using an original Hyena charger.
• Do NOT immerse the e-bike or any e-bike component in water.
• Do NOT place the e-bike or any e-bike system component (like the charger) near
hot, ammable objects or materials.
• The e-bike system parts are not intended to be used at ambient temperatures below
-10°C (14°F) or above temperatures of 45°C (113°F).
• Defective e-bike system parts may only be replaced with identical, original genuine
parts supplied by Hyena.
• Do NOT modify your e-bike system or t any other equipment to increase the power
or maximum speed of your e-bike system.
1.3. Riding safety
• The e-bike system provides electrical riding support. It will help you to cycle easily.
Based on your riding speed and the amount of pedaling force, the e-bike system will
supportyoureortsthroughoutyourjourney.
• When riding an e-bike, make sure that you are thoroughly familiar with the starting-
ocharacteristicsofthee-bikebeforeridingitonroadswithseveralvehiclelanesand
pedestrian footpaths.
• When you start riding, be aware of the support the assist system will instantly provide.
Weadviseyoutodriveoinastraightline,usingthelowestassistlevel.
• Do NOT distract by the HMI or smartphone while riding. Doing this may increase the
risk of being involved in an accident.
• When you switch off the riding support, select level 0 (with the system switched on),
or when the battery is empty, the e-bike will ride like a regular, non-electric powered
bicycle.
• The e-bike system is designed to provide riding support up to the speed limits in
compliance with local regulations (e.g., 25 km/h in the EU region and 20 mph in the
USA/Canada region). Do NOTmodifyyoure-bikeortanyotherequipmenttoincrease
the power or maximum speed.
⚠ WARNING
• When the assist system is switched on, and an assist level is selected, the riding
support is activated as soon as you step onto the pedals.
• You should be seated on the e-bike and engage in at least one brake before
pedaling.
• With the e-bike system switched on, do NOT put one foot on a pedal and throw
another leg over the bicycle, as it could accelerate unexpectedly.
• Failure to follow this warning may result in serious personal injury or even death.
EN-3HYENA E-BIKE SYSTEMS
A B
C E
D B1
A
B1
B
C
D
2. E-BIKE OVERVIEW
The e-bike includes an electric drive and control unit; it features:
• Silent and powerful electric motor performance.
• Multi-sensor technology provides excellent, precise, and natural feeling riding support.
• Easy to operate and ergonomic HMI provides visual clarity of the e-bike status.
LED Multi LCD Compact EX
LED Chip
Parts
System
A B/B1 C D E
Battery HMI Motor Sensor Charger
E-Urban BP-B250 LED Multi MRC-A250 ST-SQ-1 2A
E-Urban E BP-B250 LCD Compact EX MRC-A250 ST-SQ-1 2A
E-Urban T BP-B250 LED Chip MRC-A250 ST-SQ-1 2A

EN-4HYENA E-BIKE SYSTEMS
3. DRIVE UNIT INSTRUCTIONS
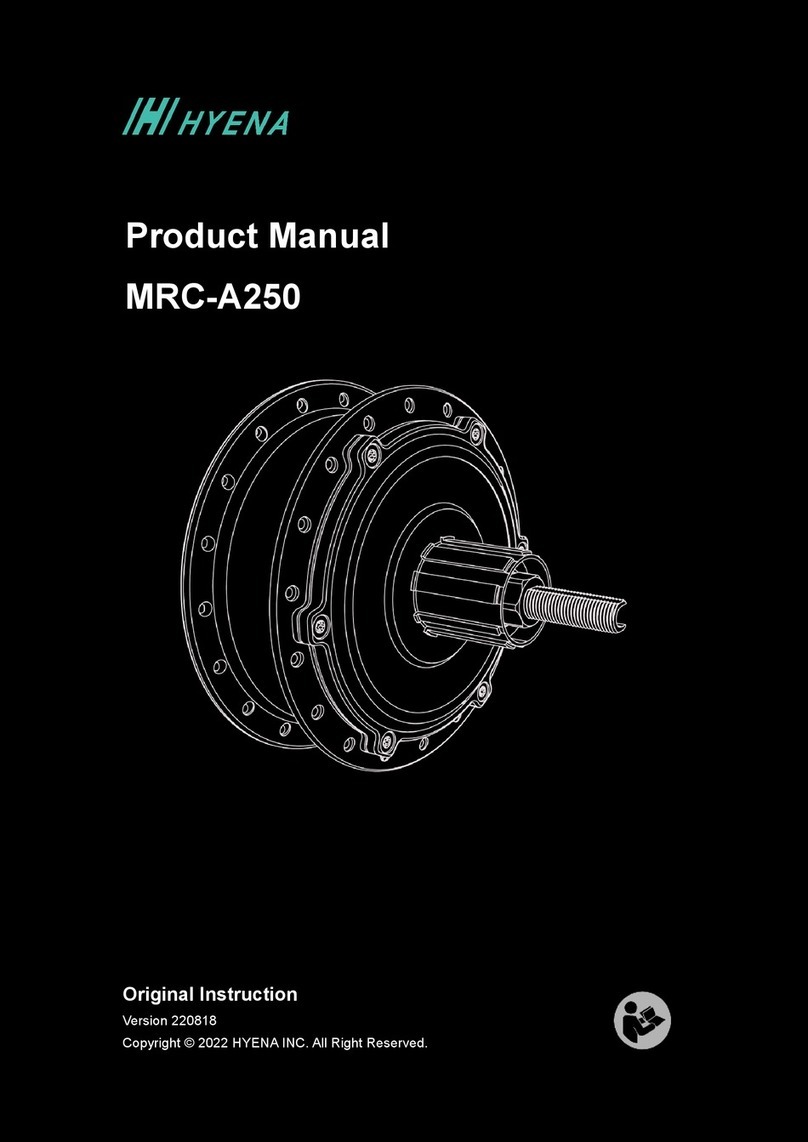
Youre-bikeis equippedwitha250Wattrear-wheelelectric motor,
which forms the hub of the rear wheel and also provides the electric
riding assistance.
⚠ CAUTION
Do NOT dismantle the hub motor. The hub motor should only be repaired or
maintained by a certied mechanic, using genuine spare parts from Hyena.
3.1. Motor safety instructions
• Do NOT allow the motor to suffer mechanical or physical impacts or make internal
modications.
• The motor is built with components that are sealed against dust and splashed water and
can safely operate in rain and other adverse weather conditions. However, do NOT
deliberately immerse the rear wheel in water or clean it with pressured water, also make
sure your e-bike will get fully dry after riding in wet weather.
⚠ WARNING
• Do NOT modify any components that are part of the bicycle drivetrain. Changing
components could cause damage or overload the hub motor, and may lead to serious
injury or death.
• Do NOT obstruct pedals, cranks, or wheels when the e-bike system is on.
Wrong operations could cause damage or overload the hub motor, and may lead to
serious injury or death.
• The motor can heat up during long uphill runs. After riding, do NOT touch the metal
housing of the hub motor with your bare hands or legs.
3.2. Technical data of the hub motor
Item Specication
Product model MRC-A250
Rated voltage 36 V
Rated power
250 W
Max.torqueatdrive 40 Nm
Operating temperature -10°C (14°F) to 40°C (104°F)
Storage temperature -20°C (-4°F) to 70°C (158°F)
Protection rating IPX4
Weight (approx.) 2.9 kg (6.4 lbs)

EN-5HYENA E-BIKE SYSTEMS
4. BATTERY HANDLING INSTRUCTIONS
⚠ CAUTION
This e-bike is powered by a Lithium-Ion (Li-Ion) battery. Always read and adhere to the
instruction manual before handling or charging the battery or using the e-bike.
⚠ WARNING
• If your battery or charger shows any signs of damage, do NOT use the bicycle and
immediately bring it to your nearest authorized bicycle brand dealer for inspection.
• Always turn o the e-bike system when not in use and/or when working on it.
• Always remove the battery during maintenance.
4.1. Battery safety instructions
• Do NOT allowthebatterytosuermechanicalorphysicalimpactsormakeinternal
modications.
• If the battery has any visible damage, do NOT continue using the e-bike; otherwise,
therewillbeariskofexplosionorreandmayresultinsevereinjuriesordeath.
• Ifthebatteryuidleaksoutduetodamageorimproperusage,avoidtouchingthe
leakedbatteryuid.Ifyouaccidentallytouchedthebatteryuid,pleaseimmediately
cleanitwithlargeamountsofwater.Ifthebatteryuidcomesincontactwithyoureyes,
pleaseseekfurtherhelpfromphysicians.Leakingbatteryuidsmaycauseburnsor
irritations to the skin.
• Store the e-bike in a dry and well-ventilated environment; keep the e-bike away from
humid environments and water sources for battery safety.
• To avoid a short circuit between the poles, keep the battery charging socket from
contact with paper clips, coins, keys, nail clippers, screws, or other objects that can
generate metallic attraction, to avoid a short circuit between the poles.
4.2. Technical data of the battery
Item Specication
Product model BP-B250
Nominal capacity 7Ah
Energy 252Wh
Rated voltage 36V
Operating temperature -10°C (14°F) to 60°C (140°F)
Storage temperature
1 month -20°C (-4°F) to 50°C (122°F)
3 months -20°C (-4°F) to 40°C (104° F)
1 year -20°C (-4°F) to 20°C (68°F)
Permitted charging
temperature range 0°C (32°F) to 45°C (113°F)
Protection rating IPX5
Weight (approx.) 1.45 kg (3.2 lbs)

EN-6HYENA E-BIKE SYSTEMS
5. E-BIKE OPERATION - LED MULTI
⚠ CAUTION
Before you ride:
• Regardless of your experience level, you should read this User Manual’s
“Introduction” chapter and carry out all essential safety checks.
• The e-bike system can only be activated when the battery is suciently charged.
5.1. HMI overview
Controlthee-bikewiththeLEDMultiHMI(CE-03),includingswitchingon/o,selecting
theridingsupportlevel,turningthelightson/o,andusingthewalkassistancefunction.
5.2. Technical data of the HMI
Item Specication
Product model LED Multi
Operating temperature -10°C (14°F) to 40°C (104°F)
Storage temperature -20°C (-4°F) to 70°C (158°F)
Protection rating IPX5
Weight (approx.) < 0.05 kg (< 0.11 lbs)
A
B
E
D
A. Up button (Increase support level
andswitchingon/olights)
B. Riding support/walk assist level
indicator
C. Down button (Decrease support
level and walk assist)
D. Poweron/obutton
E. Battery charge status indicator
F. Bluetooth/Error alert indicator
C
F

EN-7HYENA E-BIKE SYSTEMS
5.3. Turning the e-bike on/o
• Single press the power button to switch it on.
• Longpressthepowerbuttontoswitchito.
Ridingwiththeassistsystemturnedoislikeridinganormal,non-electricpoweredbicycle.
NOTE
• Always turn o the e-bike system after riding or when parking the e-bike.
• If the e-bike is not used and no buttons are pressed, the e-bike system will
automatically turn o after six minutes to save power.
5.4. Select an assist level
Single press the up/down button to select the desired support level:
Level 0 (no assistance), level 1 (Eco, approx. 140% assistance), level 2 (Tour, approx.
250% assistance), or maximum level 3 (Sport, approx. 390% assistance).
⚠ CAUTION
For safety reasons, always start riding at level 0 or level 1.
⚠ WARNING
When learning to ride an e-bike, start at the lowest assist level and gradually increase
levels.
< 0.5 sec ON > 2 secs OFF
Level 1 (Eco) (140%) Level 2 (Tour) (250%) Level 3 (Sport) (390%)Level0(Supporto)
Short press (<0.5 secs)

EN-8HYENA E-BIKE SYSTEMS
⚠ WARNING
It is strongly advised to ride away in a straight line with a low support level selected.
Never select assistance level 2 or 3 while maneuvering or riding away in a sharp
corner. The powerful reaction of the motor might cause the e-bike to surge forward
into a sharp turn resulting in a loss of balance.
NOTE
• When the e-bike system is switched on, and a support level is selected, the e-bike
system is activated as soon as you start pedaling.
• The assist support modes aect how much support the assist system delivers
based on your pedaling input.
• Generally, more support provides faster acceleration and easier climbing at the
expense of a shorter range. Lower assist levels that provide less support result in
longer battery run times, longer range, and more control in situations where traction
is limited.
• If your e-bike is equipped with gears, change gears appropriately to get, in addition
to adjusting assist modes, the most use out of your battery.
• The e-bike drive output only supports a maximum speed as demanded by local
regulation (e.g., 25 km/h in the EU region, 20 mph in the USA/Canada region); as
soon as you have reached this speed limit, the e-bike suspends the riding support,
then automatically reactivates when your speed comes below this.
5.5. Charge level indicator
Each color of the LED on the HMI represents approximately 25% capacity.
• When the battery is almost empty, the LED indicator will turn red; please charge the battery
as soon as possible.
• Whenthebatteryisunder9%,theLEDindicatorwillashred,pleasechargethebattery
immediately.
NOTE
At 4% charged, the riding support will stop.
The remaining charge capacity is reserved to power the lights for up to two hours (if
the lights are equipped and powered by the assist system).
Green 100-76% Blue 75-51% Yellow 50-26% Red 25-1%

EN-9HYENA E-BIKE SYSTEMS
5.6. Walk assistance
The walk assist mode can help you push your e-bike more easily, e.g., against a slope,
with a maximum speed of up to 6 km/h (4 mph).
You can only enable the walk assistance when the system is switched on and you are
pushing the e-bike.
• Long press and hold the down button on the HMI for two seconds to activate the walk
assist mode.
• When the walk assist mode is activated, the assist level indicators on the HMI begin
blinking.
• Press and hold the up button to start the walk assist. As long as you are holding the up
button, your e-bike will be propelled forward at a slow speed.
• Release the up button to stop pushing your e-bike.
• In the walk assist mode, if no buttons are pressed in 5 seconds, the walk assist mode
willautomaticallyturnoforsafety.
⚠ WARNING
• The walk assistance function may only be used when pushing the e-bike; make
sure you are ready and stand steady before activating the walk assistance.
• Do NOT activate the walk assistance when you ride on the e-bike or if the wheels
are not in contact with the ground.
> 2 secs to activate
<0.5secstoturnoLong press to push the e-bike
Activated

EN-10HYENA E-BIKE SYSTEMS
5.7. Turning the lights on/o
Withthesystemswitchedon,longpresstheupbutton toturnon orothe lights(ifthe
frontandrearlightsareequippedandpoweredbytheassistsystem).
• Thebatteryisalmostemptyifthechargeindicatorisashing(at<9%charge).Charge
the battery.
• At a 4% charge, the riding support will stop.
Theremainingchargeisreservedforpoweringthelights(ifequippedandpoweredby
the assist system) for up to two hours.
5.8. Bluetooth connection
With the system switched on, Bluetooth can be connected. When Bluetooth is connected
to the app, the Bluetooth indicator turns blue. The Bluetooth indicator will turn back to
white while Bluetooth is disconnected.
5.9. Error alert signal
Iftheerroralertindicatorashesred,pleasestopoperatingthesystemimmediatelyand
check the “Troubleshooting” chapter for further information and handling instructions.
Please contact your nearest authorized bicycle brand dealer if the problem cannot be
identiedorsolved.
Long press > 2 Secs
NOTE
• Be aware the lighting might not work due to an
empty battery.
• An empty battery has a reserve of a maximum of
two hours for lighting.

EN-11HYENA E-BIKE SYSTEMS
6. E-BIKE OPERATION - LCD COMPACT EX
⚠
CAUTION
Before you ride:
• Regardless of your experience level, you should read the “Introduction” chapter
of this User Manual and carry out all important safety checks.
• The e-bike system can only be activated when the battery is suciently
charged.
6.1. HMI overview and display element
Control the e-bike with the LCD Compact EX HMI(CC-02), including switching on/
off, selecting the level of riding support, turning the lights on/off, and using the walk
assistance function.
A. Display screen
B. Up & Increase support level button
C. Down & Decrease support level
button
D. Walk-assist button
E. Poweron/obutton
F. USB connection/charging port
a. Light
b. Error indicator
c. Display information type
d. Battery level
e. Bluetooth status
f. Speed/range
g. Support level
AE
B
C
F
D
a
b
c
d
e
f
g
6.2. Technical data of the HMI
Item Specication
Product model
LCD Compact EX
Operating temperature -10°C (14°F) to 60°C (140°F)
Storage temperature -20°C (-4°F) to 70°C (158°F)
Protection rating IPX5
Weight (approx.) < 0.05 kg (< 0.11 lbs)

EN-12HYENA E-BIKE SYSTEMS
NOTE
• Always turn o the e-bike system after riding or when parking the e-bike.
• If the e-bike is not used and no buttons are pressed, the e-bike system will
automatically turn o after six minutes to save power.
6.4. Switch to speed display/range display
Short press the power button to switch information.
6.3. Turning the e-bike on/o
Longpressthepowerbuttontoturniton/o.
Ridingwiththeassistsystemturnedoislikeridinganormal,non-electricpoweredbicycle.
> 2 secs ON > 2 secs OFF
90 miles
Speed Display
Range Display
0 mph 15 mph 25 mph
Short press
(< 0.5 secs)
25 miles WhenridingsupportO
range shows “ - - ”

EN-13HYENA E-BIKE SYSTEMS
6.5. Select an assist level
Single press the up/down button to select the desired support level:
Level 0 (no assistance), level 1 (Eco, approx. 140% assistance), level 2 (Tour, approx.
250% assistance), or maximum level 3 (Sport, approx. 390% assistance).
⚠ CAUTION
For safety reasons, always start riding at level 0 or 1 and gradually increase the levels.
⚠ WARNING
It is strongly advised to ride away in a straight line with a low support level selected.
Never select assistance over level 2 while maneuvering or riding away in a sharp
corner. The powerful reaction of the motor might cause the e-bike to surge forward into
a sharp turn resulting in a loss of balance.
NOTE
• When the e-bike system is switched on, and a support level is selected, the e-bike
system is activated as soon as you start pedaling.
• The assist support modes aect how much support the assist system delivers based
on your pedaling input.
• Generally, more support provides faster acceleration and easier climbing at the
expense of a shorter range. Lower assist levels that provide less support result in
longer battery run times, longer range, and more control in situations where traction
is limited.
• If your e-bike is equipped with gears, change gears appropriately, and adjust assist
modes, to get the most use out of your battery.
• The e-bike drive output only supports a maximum speed as demanded by local
regulation (e.g., 25 km/h in the EU region, 20 mph in the USA/Canada region); as
soon as you have reached this speed limit, the e-bike suspends the riding support,
then automatically reactivates when your speed comes below this.
助力模式設定
Short press
(<0.5 secs)
Level 1 (Eco) (140%) Level 2 (Tour) (250%) Level 3 (Sport) (390%)
Level0(Supporto)

EN-14HYENA E-BIKE SYSTEMS
6.6. Charge level indicator
The icon shows the battery capacity.
• Whenthebatteryisempty,theHMIwillturnoautomatically;pleasechargethebattery
as soon as possible.
• Whenthebatteryisunder9%,thebatterystatuslightwillkeepashing,pleasecharge
the battery immediately.
NOTE
At 4% charged, the riding support will stop. The remaining charge capacity is reserved
to power the lights for up to two hours (if the lights are equipped and powered by the
assist system).
6.7. Walk assistance
The walk assist mode can help you push your e-bike easily, e.g., against a slope, with a
maximum speed of up to 6 km/h (4 mph).
You can only enable the walk assistance when the system is switched on and you are
pushing the e-bike.
• Long press the “WALK” button on the HMI for two seconds to activate the walk assist
mode.
• When the walk assist mode is activated, “UP” word will be displayed.
• Press and hold the up button to start the walk assist. If you hold the up button, your e-bike
will slowly forward.
• Release the up button to stop pushing your e-bike.
• If no buttons are pressed within 5 seconds in the walk assist mode, the system will
return to general mode automatically for safety. Or if the “down/walk” button is pressed
in the walk assist mode, the system will also return to the general mode.
<9%
Flashes
0-20% 21-40% 41-60% 61-80% 80-100%
Long press (> 2 secs)
Walk assistance activated Press and hold

EN-15HYENA E-BIKE SYSTEMS
⚠ WARNING
• The walk assistance function may only be used when pushing the e-bike; make
sure you are ready and stand steady before activating the walk assistance.
• Do NOT activate the walk assistance when you ride on the e-bike or if the wheels
are not in contact with the ground.
6.8. Turning the lights on/o
Withthesystemswitchedon,longpresstheupbuttontoturnthelightson/o.Thelight
indicator on the upper-left corner of the display will light up.
• Thebatteryisalmostemptyifthechargeindicatorisashing(at<9%charge).Charge
the battery.
• At a 4% charge, the riding support will stop.
Theremainingchargeisreservedforpoweringthelights(ifequippedandpoweredby
the assist system) for up to two hours.
Bluetooth connected
NOTE
• Be aware that lighting might not work due to an empty battery.
• An empty battery has a reserve of maximum two hours for lighting.
6.9. Bluetooth connection
With the system switched on, Bluetooth can be connected. When Bluetooth is connected
to the app, the Bluetooth indicator on the upper-right corner of the display will light up.
LightO
Long press (> 2 Secs)
Light On
Long press (> 2 Secs)

EN-16HYENA E-BIKE SYSTEMS
6.10. Error alert signal
If the error alert indicator on the upper-mid corner of display lights up, please stop
operating the system immediately and check “Chapter 10 Troubleshooting” for further
information and handling instructions. Please contact your nearest authorized bicycle
branddealer iftheproblemcannot beidentiedorsolved. Inalertmode,theerroralert
indicatorwillash,andanerrorcodewillbedisplayed.
• After 3 seconds, the display will return to the general mode (range/speed display) for 10
seconds, then go back to the error alert and loop continuously.
• Short press (< 0.5 sec) any button to suspend the error code display circulation. The
error alert indicator will keep showing on the display until the error is solved.
• When you switch off the e-bike and turn it back on, the error alert indicator and error
code will be displayed again until the error is solved.
General mode stay 10 secs
Loop
Erroralertashes3secs
Short press < 0.5 sec
This manual suits for next models
3
Table of contents
Other Hyena Bicycle Accessories manuals

Hyena
Hyena TREK User manual

Hyena
Hyena CC-02 User manual

Hyena
Hyena LED Multi User manual

Hyena
Hyena CT-02 User manual

Hyena
Hyena E-Trekking Series User manual

Hyena
Hyena MRC-A250 User manual

Hyena
Hyena CE-03 User manual

Hyena
Hyena DP-A250+ User manual

Hyena
Hyena MRC-D500 User manual

Hyena
Hyena ST-SQ-2 User manual

Hyena
Hyena MRC-D350 User manual

Hyena
Hyena BS-A370 User manual

Hyena
Hyena DC-A250+ User manual

Hyena
Hyena E-Bike System User manual

Hyena
Hyena MRT-A250 User manual

Hyena
Hyena MRC-B750 User manual

Hyena
Hyena LED Chip User manual

Hyena
Hyena CE-02 User manual

Hyena
Hyena ST-SQ-1 User manual

Hyena
Hyena MRC-E250 User manual