manuals.online logo
Brands
  1. Home
  2. •
  3. Brands
  4. •
  5. Planet Bike
  6. •
  7. Bicycle Accessories
  8. •
  9. Planet Bike INSIGHT User manual

Planet Bike INSIGHT User manual

This manual suits for next models

1

Other Planet Bike Bicycle Accessories manuals

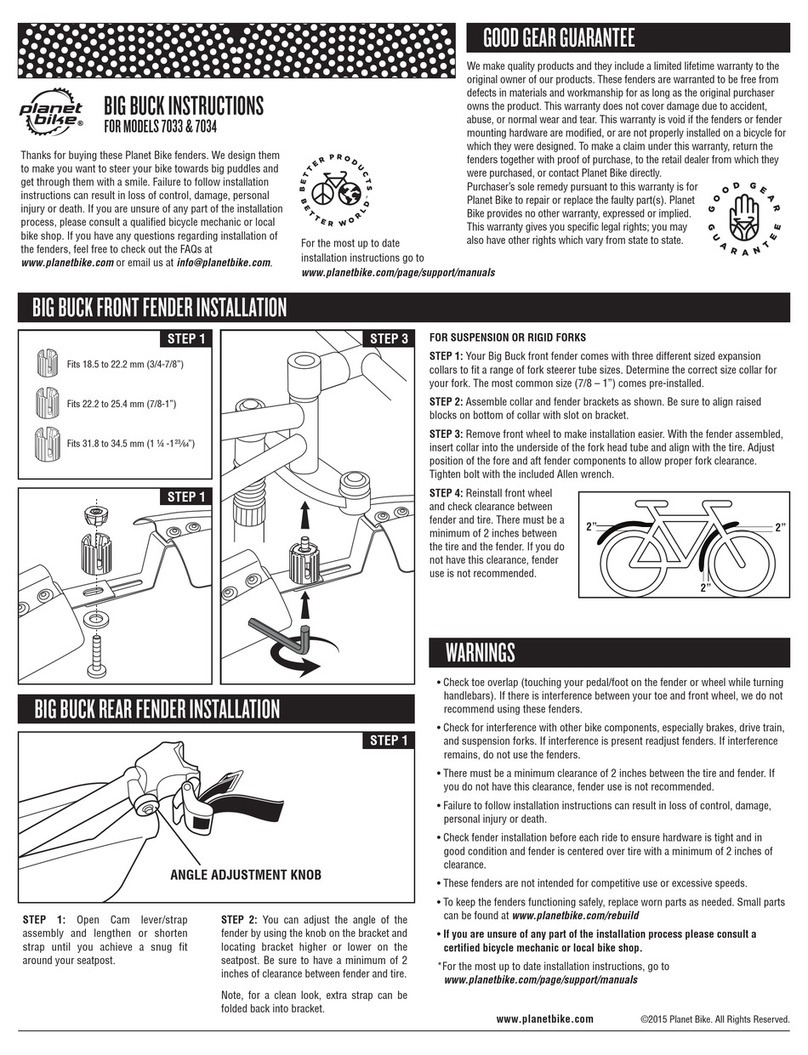
Planet Bike 7033 User manual

Planet Bike

Planet Bike 7033 User manual

Planet Bike PROTEGE 9.0 9 User manual

Planet Bike

Planet Bike PROTEGE 9.0 9 User manual

Planet Bike 4001 User manual

Planet Bike

Planet Bike 4001 User manual

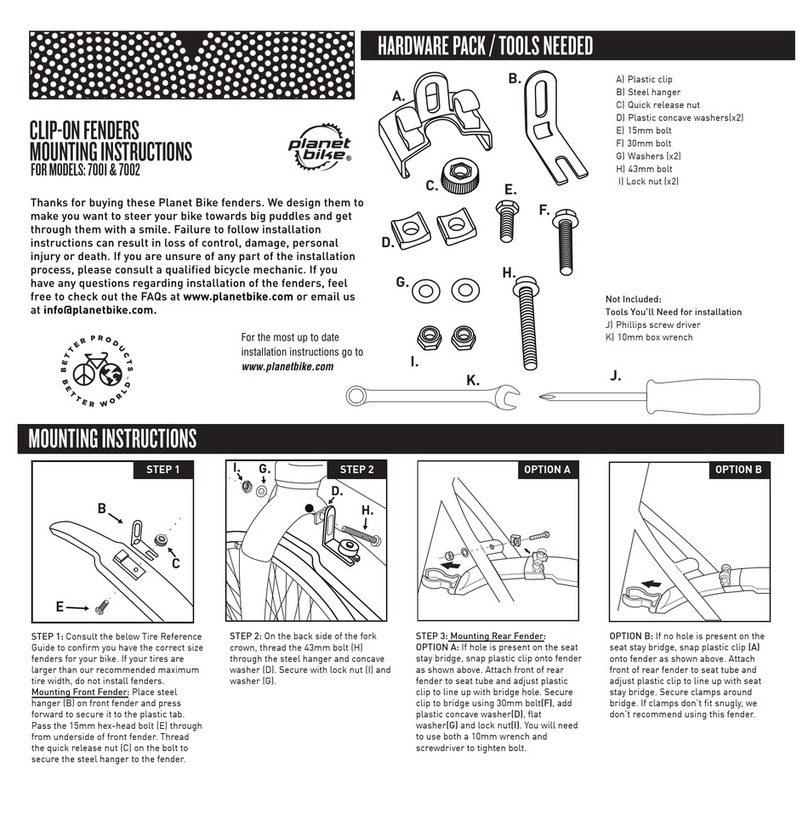
Planet Bike 7001 User manual

Planet Bike

Planet Bike 7001 User manual

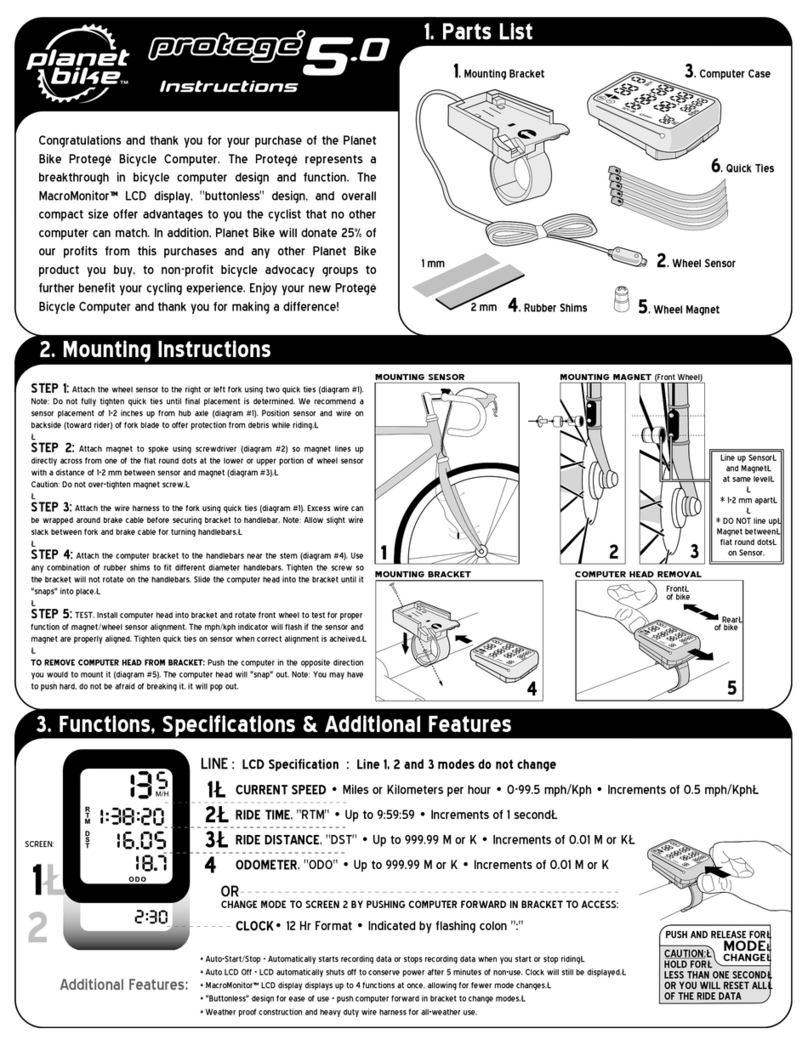
Planet Bike Protege 5.0 User manual

Planet Bike

Planet Bike Protege 5.0 User manual

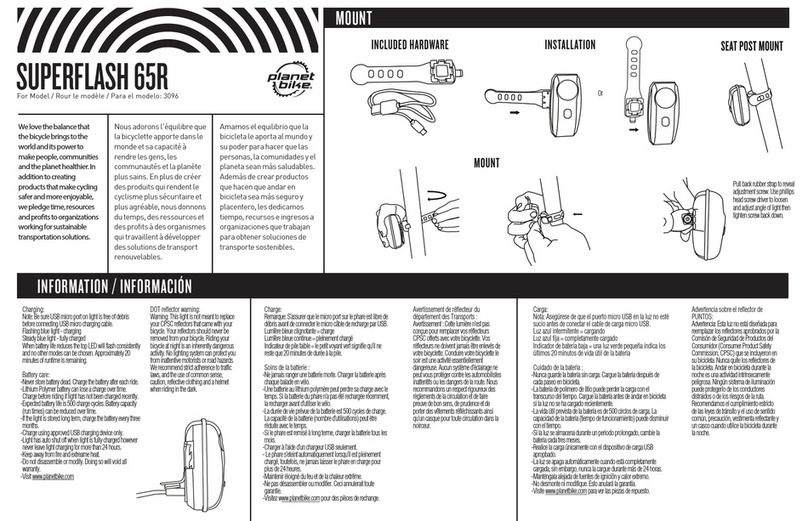
Planet Bike SUPERFLASH 65R User manual

Planet Bike

Planet Bike SUPERFLASH 65R User manual

Planet Bike BLAZE 180 SL User manual

Planet Bike

Planet Bike BLAZE 180 SL User manual

Planet Bike BLAZE 500 SLX User manual

Planet Bike

Planet Bike BLAZE 500 SLX User manual

Planet Bike GRATEFUL RED 3020 User manual

Planet Bike

Planet Bike GRATEFUL RED 3020 User manual

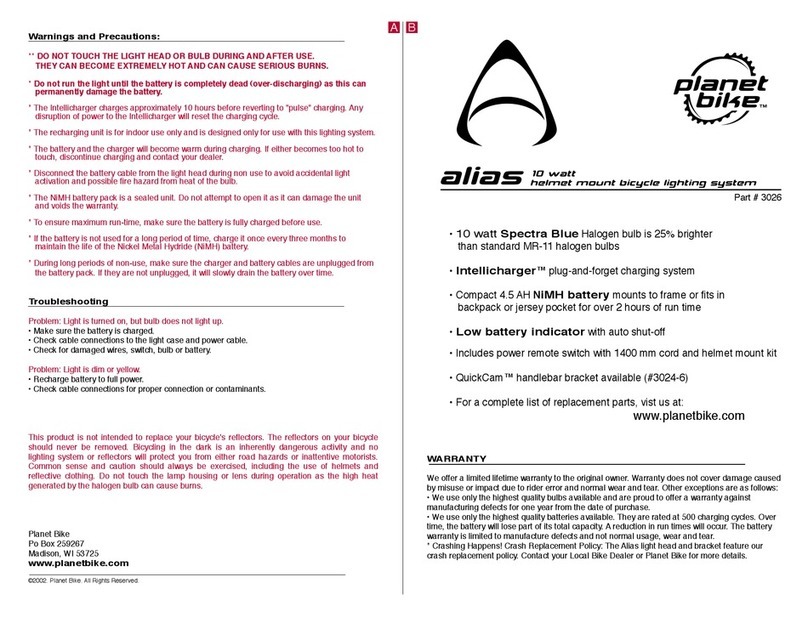
Planet Bike ALIAS User manual

Planet Bike

Planet Bike ALIAS User manual

Planet Bike Aero Wireless User manual

Planet Bike

Planet Bike Aero Wireless User manual

Planet Bike ALIAS SC User manual

Planet Bike

Planet Bike ALIAS SC User manual

Planet Bike Cascadia ALX User manual

Planet Bike

Planet Bike Cascadia ALX User manual

Planet Bike 1009 User manual

Planet Bike

Planet Bike 1009 User manual

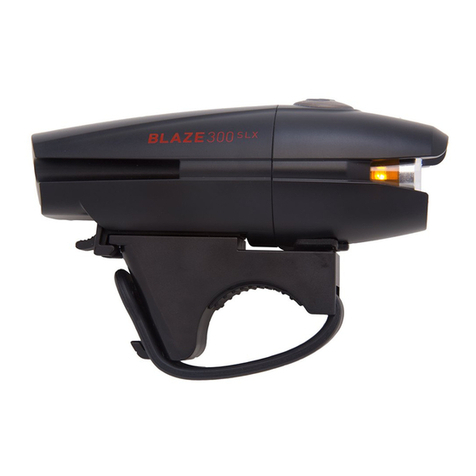
Planet Bike BLAZE 300 SLX User manual

Planet Bike

Planet Bike BLAZE 300 SLX User manual

Planet Bike ALIAS HELMET User manual

Planet Bike

Planet Bike ALIAS HELMET User manual

Planet Bike Blaze 650 XLR User manual

Planet Bike

Planet Bike Blaze 650 XLR User manual

Popular Bicycle Accessories manuals by other brands

Galeo Galeo user guide

Galeo

Galeo Galeo user guide

Shimano DURA-ACE FC-R9100 Dealer's manual

Shimano

Shimano DURA-ACE FC-R9100 Dealer's manual

BAFANG BT C01.340.UART Customer's manual

BAFANG

BAFANG BT C01.340.UART Customer's manual

Minshine T154 Series manual

Minshine

Minshine T154 Series manual

Cateye TRIPLE SHOT PRO HL-EL830RC instruction manual

Cateye

Cateye TRIPLE SHOT PRO HL-EL830RC instruction manual

Navad Trail 200 Quick manual guide

Navad

Navad Trail 200 Quick manual guide

Specialized Elite CylcoComputer user manual

Specialized

Specialized Elite CylcoComputer user manual

Sigma BC 16.16 manual

Sigma

Sigma BC 16.16 manual

Playcore Dero Setbacks installation instructions

Playcore

Playcore Dero Setbacks installation instructions

VDO Cyclecomputing x3dw instruction manual

VDO Cyclecomputing

VDO Cyclecomputing x3dw instruction manual

Cateye RAPID X2 manual

Cateye

Cateye RAPID X2 manual

buratti meccanica Clorofilla Trail Use and maintenance manual

buratti meccanica

buratti meccanica Clorofilla Trail Use and maintenance manual

Shimano SG-8R20 Service instructions

Shimano

Shimano SG-8R20 Service instructions

BOB YAK owner's manual

BOB

BOB YAK owner's manual

APLIC 303303/20190717TW012 user manual

APLIC

APLIC 303303/20190717TW012 user manual

Polini HI-SPEED E-BIKE quick start guide

Polini

Polini HI-SPEED E-BIKE quick start guide

SRAM AXS BlipBox user manual

SRAM

SRAM AXS BlipBox user manual

Shimano FD-RX810 Dealer's manual

Shimano

Shimano FD-RX810 Dealer's manual

manuals.online logo
manuals.online logoBrands
  • About & Mission
  • Contact us
  • Privacy Policy
  • Terms and Conditions

Copyright 2025 Manuals.Online. All Rights Reserved.

Features:
• New Spectra Blue Bulb - Beam Technology is 25% brighter than standard Halogens
• SuperCircuit™ Power Control - w/ soft touch remote accesses 9w/12w/15w settings
• Intellicharger™ plug-and-forget charging system circuitry
• Rechargeable 6V 4.5 A/H high capacity NiMH (Nickel Metal Hydride) battery
• Provides 3.4/2.5/1.6 hours of continuous run time
• Battery Indicator LED:
Red light = low battery
Green light = Charging
Flashing green = Battery is fully charged
• QuickCam™ handlebar bracket mounts, removes or adjusts in seconds without tools
• Helmet Mount available (Part # 3017-4)
Changing Bulb/Reflector
MAKE SURE BULB AND CASE ARE COOL BEFORE CHANGING BULB
• Unscrew front bezel ring counterclockwise and remove bezel
• Carefully pull the bulb/reflector unit out of the case
• Insert the new bulb/reflector into the light case by lining up and
inserting the bulb pins with the light case pin receptacles
• Replace the front bezel and test the light function
Technical Specifications
Battery: 6 volt NiMH 4.5 A/H
Charge: 500 milli. amp. Integrates with battery circuit to provide auto charging
Bulb: MR-11 Spectra blue halogen
Troubleshooting
Problem: Light is turned on, but bulb does not light up.
• Make sure the battery is charged.
• Check cable connections to the light case and power cable.
• Check for damaged wires, switch, bulb or battery.
Problem: Light is dim or yellow.
• Recharge battery to full power.
• Check cable connections for proper connection or contaminants.
This product is not intended to replace your bicycle's reflectors. The reflectors
on your bicycle should never be removed. Bicycling in the dark is an inherently
dangerous activity and no lighting system or reflectors will protect you from
either road hazards or inattentive motorists. Common sense and caution
should always be exercised, including the use of helmets and reflective
clothing. Do not touch the lamp housing or lens during operation as the high
heat generated by the halogen bulb can cause burns.
Planet Bike
Po Box 259267
Madison, WI 53725
www.planetbike.com
©2002. Planet Bike. All Rights Reserved.
Part # 3017-1
A B
Intellicharging and Discharging the Battery
The battery has been partially charged after production. It is recommended that the battery be
fully recharged before use.
1) Plug the CHARGER JACK on the CHARGER into the charger port on the side of the battery.
2) Plug the CHARGER into a wall outlet. The BATTERY INDICATOR LED lights up green
indicating the unit is charging. Charge the battery for approximately 12 hours or until
BATTERY INDICATOR LED is blinking green indicating the battery is fully charged.
Note: The main POWER SWITCH on the top of the battery can be in either the on or off
position during charging.
3) The Intellicharger feature allows you to leave the battery plugged in full time. The battery
charges fully and shuts off when full charge is achieved. Intellicharger then keeps your
battery fully "topped-off" by "pulse" charging the battery for a few seconds each minute to
maintain a full charge without risking battery damage. Very Smart!
WARNINGS AND PRECAUTIONS:
* The Intellicharger charges approximately 12 hours before reverting to "pulse" charging. Any
disruption of power to the Intellicharger will reset the charging cycle.
* The recharging unit is for indoor use only and is designed only for use with this lighting system.
* The battery and the charger will become warm during charging. If either becomes too hot to
touch, discontinue charging and contact your dealer.
* Disconnect the battery cable from the light head during non use to avoid accidental light
activation and possible fire hazard from heat of the bulb.
* The water bottle battery is a sealed unit. Do not attempt to open the bottle cap as it can
damage the unit and voids the warranty.
* To ensure maximum run-time, make sure your battery is fully charged before use.
* If the battery is not used for a long period of time, charge it once every three months to
maintain the life of the Nickel Metal Hydride (NiMH) battery.
* During long periods of non-use, unplug the charger from the battery pack.
OPEN
CLOSED
POWER PLUG
BRACKET CLAMP
CABLE
QUICK RELEASE LEVER
REMOTE SWITCH
Operating the Light
1) Turn on the battery POWER SWITCH on top of the water bottle battery. The POWER LED will
light up red when the power is on. After switching the power on, the headlamp will be
illuminated for the first 3 seconds while the system checks the current power reserve.
2) To turn the light on, press and hold the REMOTE SWITCH for 1-2 seconds.
3) To change power settings, press and release the REMOTE SWITCH. The switch will change
from low to medium to high and back to low power with each click of the REMOTE SWITCH.
4) To turn the light off, press and hold the REMOTE SWITCH for 1-2 seconds. Press the battery
POWER SWITCH to the off position.
WARNING: When the BATTERY INDICATOR LED lights red, this indicates the battery is getting
low. You will have approximately 15-20 minutes of run time remaining. During this time, the
system will automatically change to "reserve power" in the 9 watt power setting.
Note: If the battery POWER SWITCH is not turned off during non-use, the battery will continue to
use power and will go dead over a period of several days.
Mounting Instructions
1) Wrap BRACKET CLAMP around the handlebar as shown.
2) Adjust QUICK RELEASE clamp tension on the bar by rotating the LEVER clockwise to tighten
or counterclockwise to loosen.
3) Close CLAMP LEVER to secure. Ideal tension allows for the light beam to be adjusted up or
down by pushing the light case with your hand.
4) Insert POWER CORD PLUG into light case receptacle and battery pack.
5) Insert BATTERY PACK into forward water bottle cage.
*Side to side beam adjustment is adjusted by loosening the screw on the bottom of the light case.
POWER LED
POWER
SWITCH
BATTERY
PACK
BATTERY INDICATOR LED
CHARGER
CHARGER
JACK
RECHARGEABLE BATTERY PACK
CD