2
SPRINT S3
3. ASSEMBLING INSTRUCTIONS
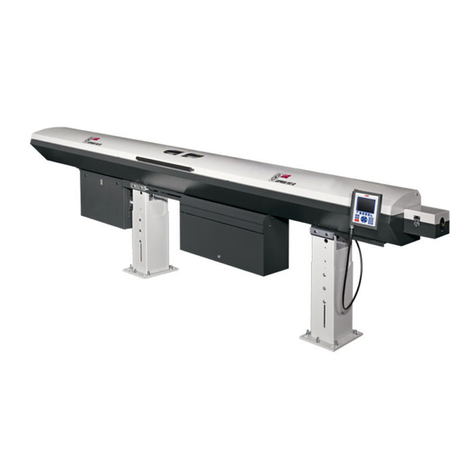
•Open the crate containing the stands and the bar loader (tall
rectangular crate).
•Unbolt the loader and other components fastened to the crate
for transportation purposes.
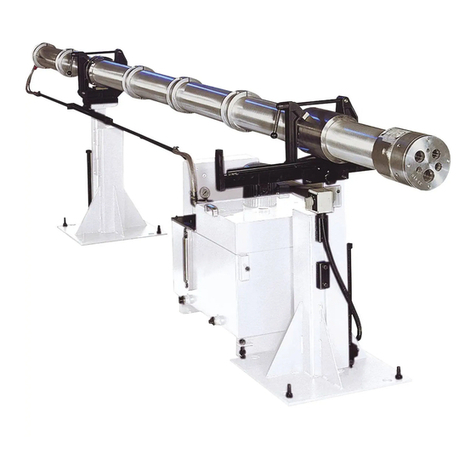
•Position the stands behind the lathe in approximate
alignment with the spindle (refer to floor plan). Remove nuts
(E) and upper seals (D) only.
•Place the 16 leveling pads under the stands and set the
leveling screws to allow 3 mm (1/8") gap between the top of
the leveling pads and the bottom of the base plate (refer to
point 6). Level the stands with the leveling screws maintaining
equal pressure on all leveling screws.
•Loosen the 8 set screws (A) located on the side of the 2
stands. Using the provided spanner wrench (C) raise or lower
the threaded columns by rotating the lock nuts (B) evenly.
Adjust so that the lower seals (lower half of D) are located at
230 mm (9") from the centerline of the spindle.
•Open the long crate by removing the top panel. Remove the
pins of the hinges on the bar feeder main cover. Carefully
remove the main cover of the bar feeder and take out of crate
by hand.
•Remove the 4 screws holding the main body to the bottom of
the crate and located inside the main body. Assemble the
provided hoisting kit :
1: the threaded rods (1) must be mounted in the lifting
plate located in the center of the main body.
2: install the rods connecting plate (2)
3: lock plate with eyed lock nuts (3)
•Carefully raise the main body of the Sprint out of the crate.
The lower part of the body will remain in the crate.
•Remove lower part out of the crate and carefully lower it on
top of the stands verifying that all O'ring (F) remain seated in
their groves.
•Install the 4 upper seals (D) inside the lower part of the body..
•Lower the main body into the lower part of the body.
•Secure with nuts (E) using the provided hexagonal tube
wrench.
