Introduction UTRED30-WiFi User Guide 8
Introduction
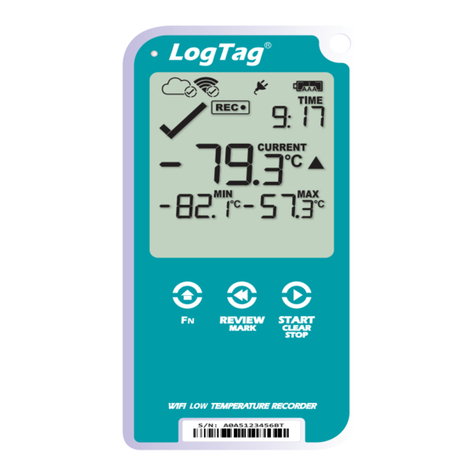
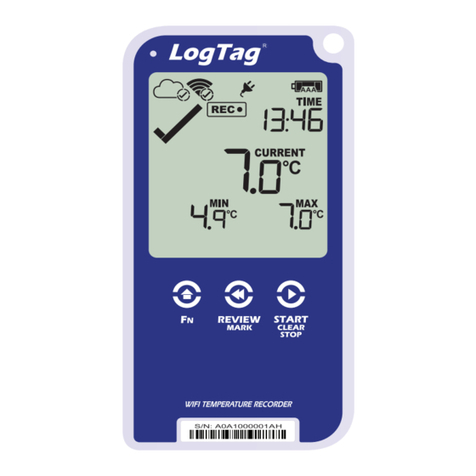
The LogTag® UTRED30-WiFi dual-channel temperature data logger automatically
uploads real-time temperature data1 to your LogTag® Online cloud account via your
existing wireless network. It features a large, easy-to-read display, along with many
familiar attributes known from the LogTag® family of data loggers. These include non-
volatile memory for up to 16,065 temperature readings and a statistical memory, storing
maximum and minimum reading as well as alarm duration for each of the last 30 days,
separate for each channel.
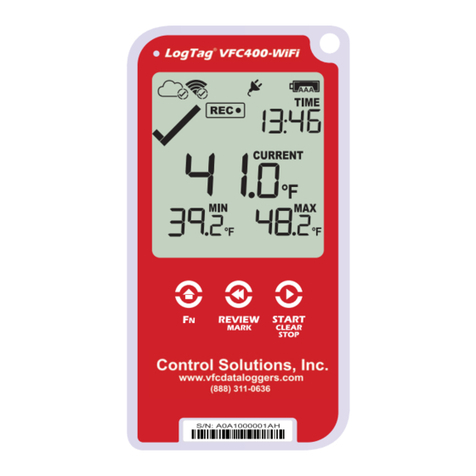
During recording the display shows the following, alternating for each channel:
lThe current temperature (of the most recent reading)
lThe alarm status, current time and battery status
lMinimum and maximum temperatures since the start of the trip
lAn alarm trigger summary of up to the last 30 days (today and 29 days previous)
lThe wireless and cloud connection states
Alarm events can be triggered when a number of readings are outside pre-set
temperature thresholds, and a “day alarm indicator” appears on the display. At set
intervals, the UTRED30-WiFi uploads the data to your LogTag®Online cloud account,
where it can be viewed, analyzed and shared with others, or downloaded for further
analysis.
Logged temperature data can also be viewed on any PC by plugging the unit into a
computer’s USB port via a micro-USB cable, for example if a Wireless Network is
unavailable. This allows viewing a PDF file, which can be accessed using PDF software
such as Acrobat Reader, or downloading the data to the free companion software
LogTag® Analyzer, where you can display data in chart, list or summary formats.
1 Please refer to Transferring data to LogTag®Online (on page33) for detailed information about upload frequency
