manuals.online logo
Brands
  1. Home
  2. •
  3. Brands
  4. •
  5. Lorex
  6. •
  7. Accessories
  8. •
  9. Lorex AM41TK-Z User manual

Lorex AM41TK-Z User manual

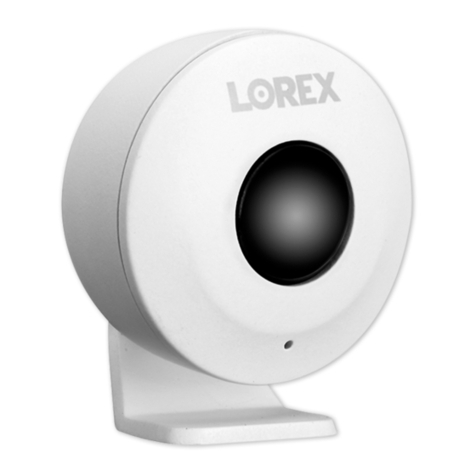
Motion Sensor
AM41TK-Z
Quick Start Guide
lorex.com
PIR Sensor Bracket (optional)
Mounting Adhesive
Pin*
Package Contents
AM41TK_QSG_EN_R1
LED Behavior
See the table below for denitions of the
sensor’s LED behaviors:
Lorex products come with a standard 1-year
warranty. For more information about Lorex’s
warranty policy, visit lorex.com/warranty.
WARNING:
CHOKING HAZARD
KEEP OUT OF REACH OF CHILDREN
Behavior Meaning
(solid for 2 seconds) Powered on.
(ashing rapidly) Ready to pair.
(solid for 2 seconds) Pairing successful.
(ashing 3 times) Pairing failed. Try
repeating the setup.
(ashing rapidly) Alarm has been
triggered.
(ashing) Firmware upgrade in
progress.
Battery slot
LED indicator
Pin insert
PIR sensor
Overview
• Environment: Indoor
•Maximum detection distance: 26 feet
• Maximum detection angle: 110°
•Operating temperature: 14°F~113°F
• Operating humidity: 0-95%RH
• Battery: CR2450
• Protocol: Bluetooth 5.0
Specifications
*May include one or more, depending on the package purchased.
To purchase additional sensors, visit lorex.com and/or authorized resellers.
AM41TK_QSG_EN_R1.indd 1
2020-05-04 5:03:36 PM
STEP 2: Installing the Motion Sensor
Location tips:
• The motion sensor can be installed
indoors on a wall, ceiling or table, with or
without the included bracket.
• The motion sensor works best when it’s
placed 6 to 8 feet high, to keep safe from
being bumped and out of reach from
children and pets.
• If you want to detect smaller objects, use
one of the angled sides of the bracket.
Keep in mind the range and width of the
sensor.
Option A Option B - Bracket
AM41TK_QSG_EN_R1
NOTE: The bracket offers 2 separate angles for
the sensor to face.
NOTE: The sensor can be mounted on any at surface using the
adhesive. If you prefer to have the sensor on a table or placed in a
45° angle, see Option B for the bracket.
110°
Changing the BatterySTEP 1: Pairing to Your Device
To connect the sensor to your
device:
1. Tap the Lorex Home icon to
launch the app.
2. In the Devices tab, press
+ Add sensor to set up the
sensor.
Tap the +icon on the top right
of the screen to add more
sensors.
NOTE: the screen to the left is
taken from the Sensor Hub.
To change the sensor’s battery:
1. Make sure your system is disarmed.
2. Use the wide part of the pin to open the
sensor from the battery slot.
3. Slide the old battery out and replace it with
the new one.
NOTE: This sensor uses a CR2450 battery.
4. Snap the sensor closed with the battery
slot meeting the Lorex logo at the top.
1. Pick a at surface area to stick the sensor.
2. Test the sensor’s connectivity.
1. Pick a at surface area to stick the sensor.
2. Test the sensor’s connectivity.
3. Peel the circular adhesive and stick to the
back of the sensor. Then stick the other
26 feet
side to the bracket.
4. Peel the other adhesive and stick to the desired bracket angle.
Then stick the other side to the chosen at surface area.
3. Peel the circular mounting
adhesive and stick to the back of
the sensor. Then stick the other
side to the desired area.
3. Follow the on screen prompts
to complete the rest of the
setup. The Lorex Home app will
walk you through the process,
step by step.
AM41TK_QSG_EN_R1.indd 2
2020-05-04 5:03:48 PM
IC Statement
This device complies with Industry Canada licence-exempt RSS standard(s).
1. This device may not cause interference, and
2. This device must accept any interference, including interference that may
Le présent appareil est conforme aux CNR d’Industrie Canada applicables aux
suivantes :
1. L’appareil ne doit pas produire de brouillage, et
2.
This equipment should be installed and operated with a minimum distance 20cm
between the radiator and your body.
le radiateur et votre corps.
type and its gain should be so chosen that the equivalent isotropically radiated power
type d’antenne et son gain de sorte que la puissance isotrope rayonnée équivalente
FCC Statement
1. This device may not cause harmful interference, and
2. This device must accept any interference received, including interference
responsible for compliance could void the user’s authority to operate the
equipment.
This equipment has been tested and found to comply with the limits for a Class B
digital device, pursuant to Part 15 of the FCC Rules. These limits are
try to correct the interference by one or more of the following measures:
• Reorient or relocate the receiving antenna.
•
•
which the receiver is connected.
• Consult the dealer or an experienced radio/TV technician for help.
RF exposure warning
This equipment must be installed and operated in accordance with provided
instrucons and antenna(s) used for this transmier must be installed to provide a
separaon distance of at least 20cm from all persons and must not be co-located or
operang in conjuncon with any other antenna or transmier. End-users and
installers must be provided with antenna installaon instrucons and transmier
operang condions for sasfying RF exposure compliance.
The equipment should be installed and operated with a minimum distance 20cm
between the radiator and your body.

Other Lorex Accessories manuals

Lorex B241AJ Series User manual

Lorex

Lorex B241AJ Series User manual

Lorex ACCHM2 Series User manual

Lorex

Lorex ACCHM2 Series User manual

Lorex LNWDB1 Series User manual

Lorex

Lorex LNWDB1 Series User manual

Lorex AM41TK Series User manual

Lorex

Lorex AM41TK Series User manual

Lorex ACCL224 User manual

Lorex

Lorex ACCL224 User manual

Lorex B862AJ Series User manual

Lorex

Lorex B862AJ Series User manual

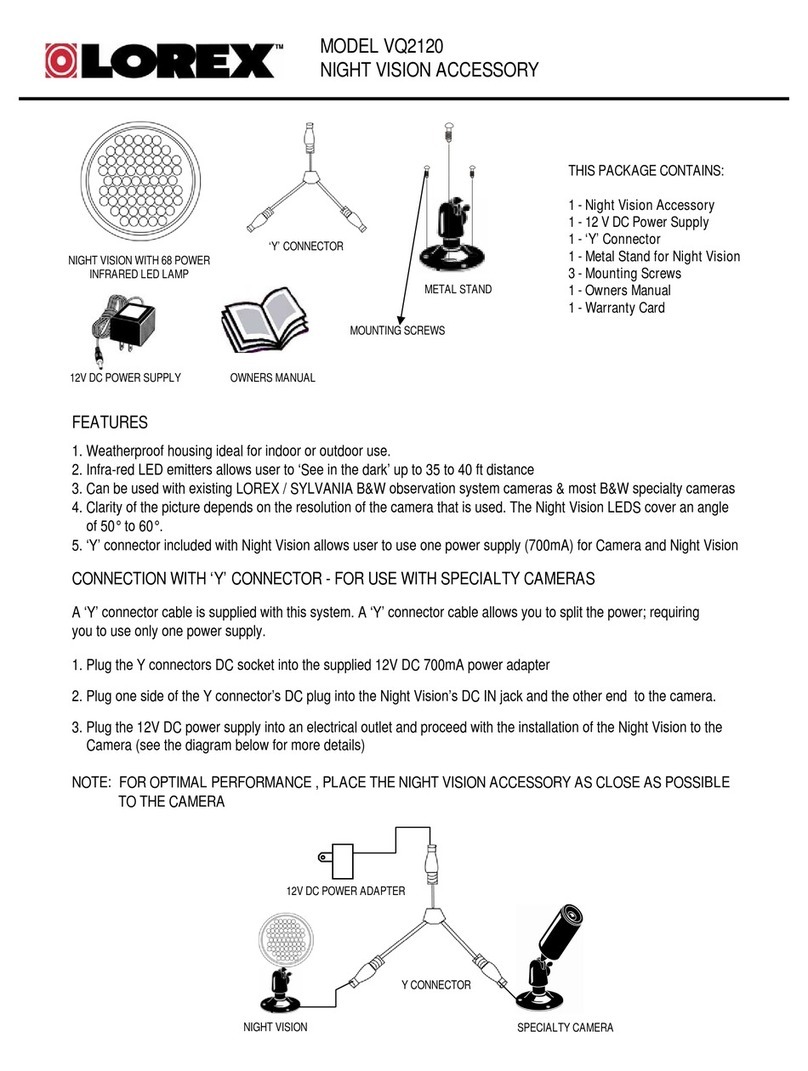
Lorex VQ2120 User manual

Lorex

Lorex VQ2120 User manual

Lorex B241AJ Series User manual

Lorex

Lorex B241AJ Series User manual

Lorex B463AJ Series User manual

Lorex

Lorex B463AJ Series User manual

Lorex AK41TK Series User manual

Lorex

Lorex AK41TK Series User manual

Lorex AK41TK Series User manual

Lorex

Lorex AK41TK Series User manual

Lorex B463AJ Series User manual

Lorex

Lorex B463AJ Series User manual

Lorex B451AJD-E User manual

Lorex

Lorex B451AJD-E User manual

Lorex AK41TK-Z User manual

Lorex

Lorex AK41TK-Z User manual

Popular Accessories manuals by other brands

Blitz BZLE4U7 quick start

Blitz

Blitz BZLE4U7 quick start

Nice HSDOM21 installation instructions

Nice

Nice HSDOM21 installation instructions

Peregrine Manufacturing Glide AC100-2 owner's manual

Peregrine Manufacturing

Peregrine Manufacturing Glide AC100-2 owner's manual

D-Link DUB-CR200 installation guide

D-Link

D-Link DUB-CR200 installation guide

nodon MSP-3-1-00 user guide

nodon

nodon MSP-3-1-00 user guide

SolarFocus Technology Power+ user guide

SolarFocus Technology

SolarFocus Technology Power+ user guide

Lanaform Heating Overblanket instruction manual

Lanaform

Lanaform Heating Overblanket instruction manual

Black & Decker BDL160S instruction manual

Black & Decker

Black & Decker BDL160S instruction manual

visiplex VS4820 Audio guide

visiplex

visiplex VS4820 Audio guide

Scooterpac Canopy user manual

Scooterpac

Scooterpac Canopy user manual

Blumfeldt 10028008 manual

Blumfeldt

Blumfeldt 10028008 manual

Vertiv Liebert Mini-Mate2 user manual

Vertiv

Vertiv Liebert Mini-Mate2 user manual

Costway OP70367 user manual

Costway

Costway OP70367 user manual

EnOcean Easyfit ETHSA user manual

EnOcean

EnOcean Easyfit ETHSA user manual

ThingMagic Mercury xPRESS Platform guide

ThingMagic

ThingMagic Mercury xPRESS Platform guide

Battery Tender 030-1030-PS instruction manual

Battery Tender

Battery Tender 030-1030-PS instruction manual

Byron 7910 instructions

Byron

Byron 7910 instructions

Dorner 2200 series Setup, operation & maintenance manual

Dorner

Dorner 2200 series Setup, operation & maintenance manual

manuals.online logo
manuals.online logoBrands
  • About & Mission
  • Contact us
  • Privacy Policy
  • Terms and Conditions

Copyright 2025 Manuals.Online. All Rights Reserved.