manuals.online logo
Brands
  1. Home
  2. •
  3. Brands
  4. •
  5. LS
  6. •
  7. Controllers
  8. •
  9. LS XGF-PO1A User manual

LS XGF-PO1A User manual

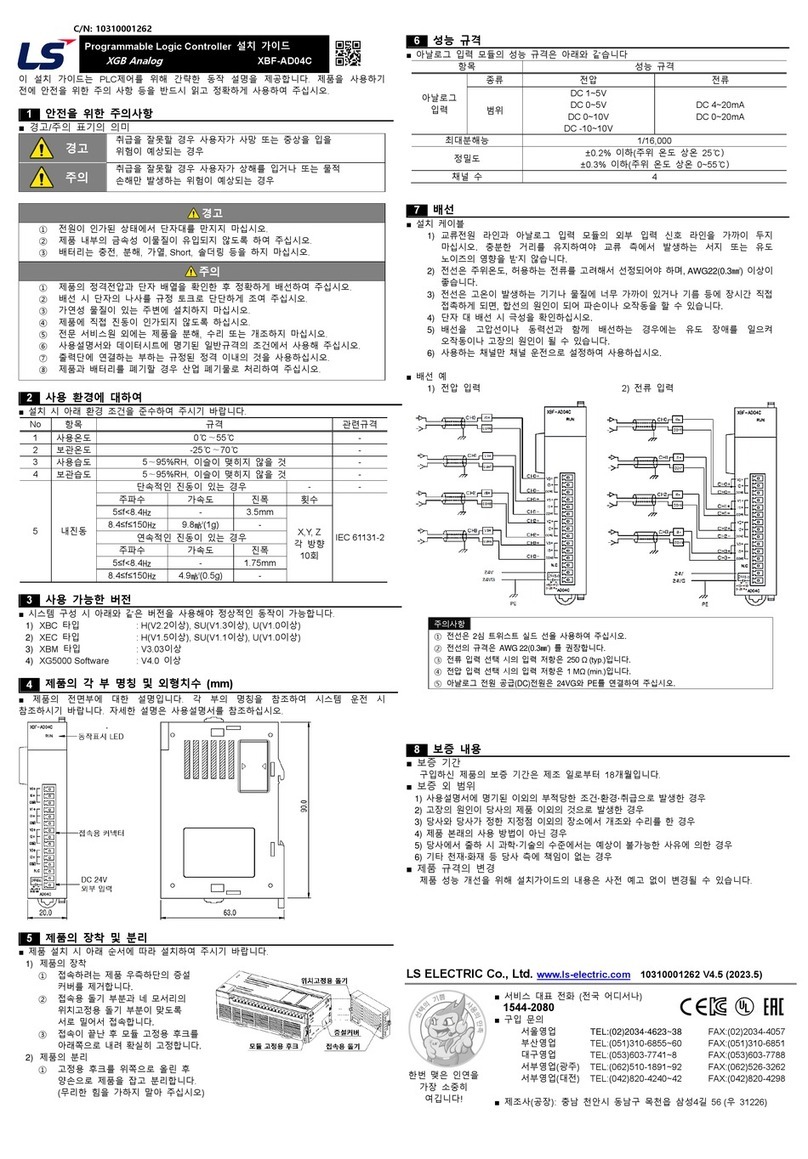
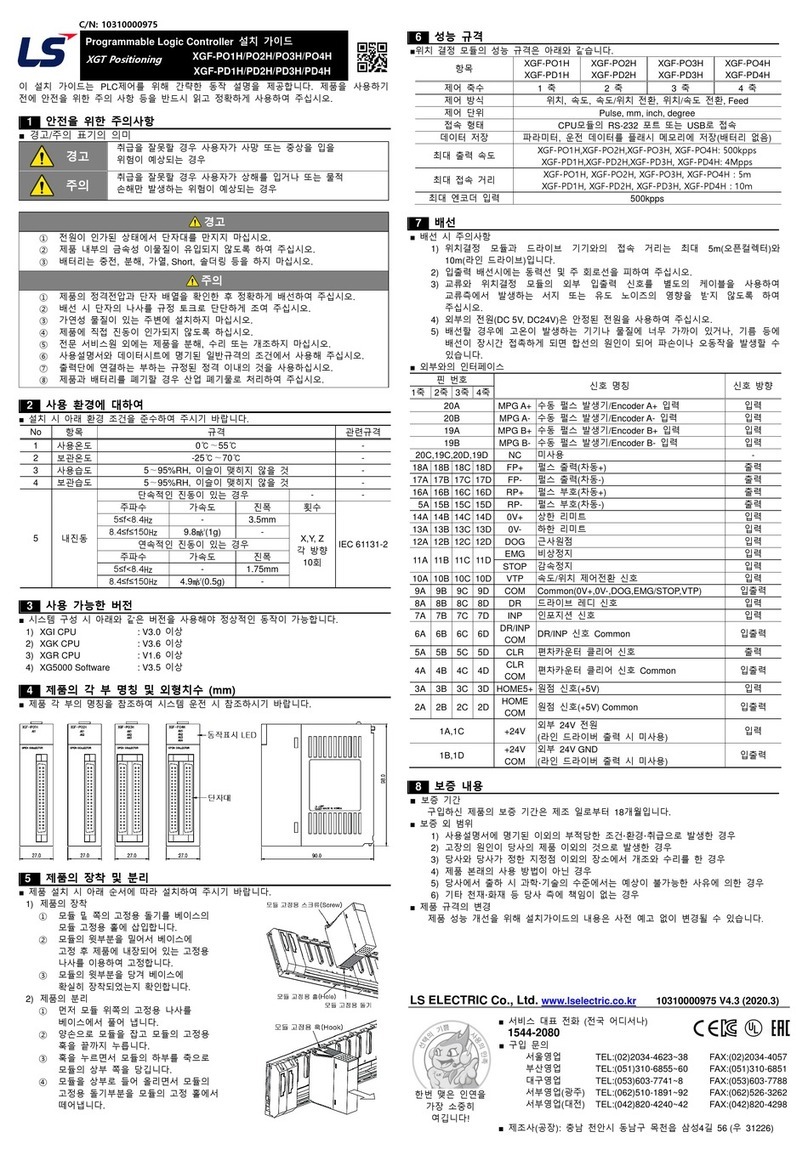
Programmable Logic Controller 설치 가이드
XGF-PO1A/PO2A/PO3A
XGF-PD1A/PD2A/PD3A
이설치 가이드는 PLC제어를 위해 간략한 동작 설명을 제공합니다. 제품을 사용하기
전에 안전을 위한 주의 사항 등을 반드시 읽고 정확하게 사용하여 주십시오.
■ 경고/주의 표기의 의미
경고
취급을 잘못할 경우 사용자가 사망 또는 중상을 입을
위험이 예상되는 경우
주의
취급을 잘못할 경우 사용자가 상해를 입거나 또는 물적
손해만 발생하는 위험이 예상되는 경우
경고
①전원이 인가된 상태에서 단자대를 만지지 마십시오.
②제품 내부의 금속성 이물질이 유입되지 않도록 하여 주십시오.
③배터리는 충전, 분해, 가열, Short, 솔더링 등을 하지 마십시오.
주의
①제품의 정격전압과 단자 배열을 확인한 후정확하게 배선하여 주십시오.
②배선 시단자의 나사를 규정 토크로 단단하게 조여 주십시오.
③가연성 물질이 있는 주변에 설치하지 마십시오.
④제품에 직접 진동이 인가되지 않도록 하십시오.
⑤전문 서비스원 외에는 제품을 분해, 수리 또는 개조하지 마십시오.
⑥사용설명서와 데이터시트에 명기된 일반규격의 조건에서 사용해 주십시오.
⑦출력단에 연결하는 부하는 규정된 정격 이내의 것을 사용하십시오.
⑧제품과 배터리를 폐기할 경우 산업 폐기물로 처리하여 주십시오.
설치 시아래 환경 조건을 준수하여 주시기 바랍니다.
No
항목
규격
관련규격
1
사용온도
0℃∼55℃
-
2
보관온도
-25℃∼70℃
-
3
사용습도
5∼95%RH, 이슬이 맺히지 않을 것
-
4
보관습도
5∼95%RH, 이슬이 맺히지 않을 것
-
5
내진동
단속적인 진동이 있는 경우
-
-
주파수
가속도
진폭
횟수
IEC 61131-2
5≤f<8.4㎐
-
3.5mm
X,Y, Z
각방향
10회
8.4≤f≤150㎐
9.8㎨(1G)
-
연속적인 진동이 있는 경우
주파수
가속도
진폭
5≤f<8.4㎐
-
1.75mm
8.4≤f≤150㎐
4.9㎨(0.5G)
-
■ 시스템 구성 시아래와 같은 버전을 사용해야 정상적인 동작이 가능합니다.
1) XGI CPU : V2.1 이상
2) XGK CPU : V3.6 이상
3) XGR CPU : V1.1 이상
4) XG5000 Software : V3.5 이상
■제품 각부의 명칭을 참조하여 시스템 운전 시참조하시기 바랍니다.
■ 제품 설치 시아래 순서에 따라 설치하여 주시기 바랍니다.
1) 제품의장착
①모듈 밑쪽의 고정용 돌기를 베이스의
모듈 고정용 홀에 삽입합니다.
②모듈의 윗부분을 밀어서 베이스에
고정 후제품에 내장되어 있는 고정용
나사를 이용하여 고정합니다.
③모듈의 윗부분을 당겨 베이스에
확실히 장착되었는지 확인합니다.
2) 제품의 분리
①먼저 모듈 위쪽의 고정용 나사를
베이스에서 풀어 냅니다.
②양손으로 모듈을 잡고 모듈의 고정용
훅을 끝까지 누릅니다.
③훅을 누르면서 모듈의 하부를 축으로
모듈의 상부 쪽을 당깁니다.
④모듈을 상부로 들어 올리면서 모듈의
고정용 돌기부분을 모듈의 고정 홀에서
떼어냅니다.
■위치 결정 모듈의 성능 규격은 아래와 같습니다.
항목
XGF-PD1A/PO1A
XGF-PD2A/PO2A
XGF-PD3A/PO3A
제어 축수
1축
2축
3축
보간 기능
없음
2축직선 보간
2축원호 보간
2/3축직선 보간
2축원호 보간
제어 방식
위치제어, 속도제어, 속도/위치 전환제어, 위치/속도 전환제어
제어 단위
Pulse, mm, inch, degree
접속 형태
CPU모듈의 RS-232 포트 또는 USB로접속
데이터 저장
파라미터, 운전 데이터를 플래시 메모리에 저장(배터리 없음)
최대 펄스 출력
XGF-PO1A, XGF-PO2A, XGF-PO3A : 200 kpps
XGF-PD1A, XGF-PD2A, XGF-PD3A : 1 Mpps
최대 접속 거리
XGF-PO1A, XGF-PO2A, XGF-PO3A : 2 m
XGF-PD1A, XGF-PD2A, XGF-PD3A : 10 m
최대 엔코더 입력
200 kpps
7
배선
■ 배선 시주의사항
1) 위치결정 모듈과 드라이브 기기와의 접속 거리는 최대 2m(오픈컬렉터)와10m(라인
드라이브) 입니다.
2) 입출력 배선시에는 동력선 및주회로선을 피하여 주십시오.
3) 접속 케이블의 거리는 가급적 짧게 구성하여 주십시오.
4) 교류와 위치결정 모듈의 외부 입출력 신호를 별도의 케이블을 사용하여 교류측에서
발생하는 서지 또는 유도 노이즈의 영향을 받지 않도록 하여 주십시오.
5) 전원(DC 5V, DC24V)은안정된 전원을 사용하여 주십시오.
6) 배선할 경우에 고온이 발생하는 기기나 물질에 너무 가까이 있거나, 기름 등에
배선이 장시간 접촉하게 되면 합선의 원인이 되어 파손이나 오동작을 발생할 수
있습니다.
■ 배선 예
핀번호
신호명칭
신호
방향
X축
Y축
Z축
21
41
61
FP+
펄스 출력
출력
22
42
62
FP-
펄스출력
출력
23
43
63
RP+
펄스 부호
출력
24
44
64
RP-
펄스 부호
출력
25
45
65
OV+
상한 신호
입력
26
46
66
OV-
하한 신호
입력
27
47
67
STOP
외부 정지 신호
입력
28
48
68
DOG
근사 원점 신호
입력
29
49
69
VTP
속도/위치 전환 신호
입력
30
50
70
ECMD
외부
명령
Start
입력
Skip
입력
JOG+(조그 정방향)
입력
31
51
71
JOG-
조그 운전시 역방향 명령
입력
32
52
72
COM
Common
(0V+,0V-,STOP,DOG,VTP,ECMD,JOG-)
입출력
33
53
73
DR/INP
Drive Ready/Inposition 신호
입력
34
54
74
DR/INP COM
Drive Ready/Inposition 신호 Common
입출력
35
55
75
HOME +24V
원점 신호(+24V)
입력
36
56
76
NC
미사용
-
37
57
77
HOME +5V
원점 신호(+5V)
입력
38
58
78
HOME COM
원점 신호(+24V, +5V) Common
입출력
39
59
79
24V
외부 24V 전원(Line Driver 출력시 미사용)
-
40
60
80
P COM
외부 24V GND(Line Driver 출력시 미사용)
입출력
■ 보증 기간
구입하신 제품의 보증 기간은 제조 일로부터 18개월입니다.
■ 보증 외범위
1) 사용설명서에 명기된 이외의 부적당한 조건·환경·취급으로 발생한 경우
2) 고장의 원인이 당사의 제품 이외의 것으로 발생한 경우
3) 당사와 당사가 정한 지정점 이외의 장소에서 개조와 수리를 한경우
4) 제품 본래의 사용 방법이 아닌 경우
5) 당사에서 출하 시과학·기술의 수준에서는 예상이 불가능한 사유에 의한 경우
6) 기타 천재·화재 등당사 측에 책임이 없는 경우
■ 제품 규격의 변경
제품 성능 개선을 위해 설치가이드의 내용은 사전 예고 없이 변경될 수있습니다.
LS산전주식회사 http://www.lsis.com 10310000516, V4.1 (2015.11.)
■ 서비스 대표 전화 (전국 어디서나)
1544-2080 080-777-2080(수신자부담)
■ 구입 문의
서울영업 TEL:(02)2034-4625,4657 FAX:(02)2034-4622
부산영업 TEL:(051)310-6855~60 FAX:(051)310-6851
대구영업 TEL:(053)603-7741~7 FAX:(053)603-7788
서부영업(광주) TEL:(062)510-1885~91 FAX:(062)526-3262
서부영업(대전) TEL:(042)820-4240~42 FAX:(042)820-4298
서부영업(전주) TEL:(063)271-4012 FAX:(063)271-2613
ⓒLSIS Co., Ltd 2009 All Rights Reserved.
1
안전을 위한 주의사항
2
사용 환경에 대하여
3
사용 가능한 버전
4
제품의 각부명칭 및외형치수 (mm)
5
제품의 장착 및분리
6
성능 규격
8
보증 내용
XGT Positioning
한번 맺은 인연을
가장 소중히
여깁니다!
전원
CPU
원AC
전원
트랜스포머
정전압
트랜스포머
100V~24
0VAC전원
100V~24
0V
Programmable Logic Controller Installation Guide
XGF-PO1A/PO2A/PO3A
XGF-PD1A/PD2A/PD3A
This installation guide provides simple function information of PLC control. Please read
carefully this data sheet and manuals before using products. Especially read safety
precautions and handle the products properly.
■ Meaning of warning and caution inscription
WARNING
WARNING indicates a potentially hazardous situation which,
if not avoided, could result in death or serious injury.
CAUTION
CAUTION indicates a potentially hazardous situation which,
if not avoided, may result in minor or moderate injury.
It may also be used to alert against unsafe practices.
WARNING
①Do not contact the terminals while the power is applied.
②Protect the product from being gone into by foreign metallic matter.
③Do not manipulate the battery(charge, disassemble, hitting, short, soldering).
CAUTION
①Be sure to check the rated voltage and terminal arrangement before wiring.
②When wiring, tighten the screw of terminal block with the specified torque rage.
③Do not install the flammable things on surroundings.
④Do not use the PLC in the environment of direct vibration.
⑤Except expert A/S staff, Do not disassemble or fix or modify the product.
⑥Use the PLC in an environment that meets the general specifications contained
in this datasheet.
⑦Be sure that external load does not exceed the rating of output module.
⑧When disposing of PLC and battery, treat it as industrial waste.
■To install, observe the below conditions.
No
Item
Specification
Standard
1
Ambient temp.
0 ~ 55℃
-
2
Storage temp.
-25 ~ 70℃
-
3
Ambienthumidity
5 ~ 95%RH, non-condensing
-
4
Storage humidity
5 ~ 95%RH, non-condensing
-
5
Vibration
Resistance
Occasional vibration
-
-
Frequency
Acceleration
IEC 61131-2
5≤f<8.4㎐
-
3.5mm
10 times in
each
direction
for
X, Y, Z
8.4≤f≤150㎐
9.8㎨(1G)
-
Continuous vibration
Frequency
Frequency
Frequency
5≤f<8.4㎐
-
1.75mm
8.4≤f≤150㎐
4.9㎨(0.5G)
-
■ For system configuration, the following version is necessary.
1) XGI CPU : V2.1 or above
2) XGK CPU : V3.6 or above
3) XGR CPU : V1.1 or above
4) XG5000 Software : V3.5 or above
■This is front part of the CPU. Refer to each name when driving the system. For more
information, refer to user manual.
■ Here describes the method to attach each product to the base or remove it.
1) Attachment of product
①Slide the upper part of module to fix
to the base, and then fit it to the base
byusing the module fixed screw.
②Pull the upper part of module to check
if it is installed to the base completely.
2) Detachment of product
①Loosen the fixed screws of the upper
part of module from the base.
②Hold the module by both hands and press
the fixed hook of module thoroughly.
③Bypressing the hook, pull the upper
part of module from the axis of the lower
part of module.
④Bylifting the module upward, remove
the fixed projection of module from the fixing hole.
■Performance specifications are as follows.
Items
XGF-PD1A/PO1A
XGF-PD2A/PO2A
XGF-PD3A/PO3A
No. of control axis
1 axis
2 axis
3 axis
Interpolation function
N/A
2 axis linear
interpolation
2 axis circular arcs
interpolation
2/3 axis linear
interpolation
2 axis circular arcs
interpolation
Control method
Position control, Speed control, Speed/Position control,
Position/Speed control
Control unit
Pulse, mm, inch, degree
Connection
Connected with RS-232C or USB Port of CPU module
Back-up
Save the parameter, operation data in Flash ROM (No Battery)
Max. output pulse
XGF-PO1A, XGF-PO2A, XGF-PO3A : 200 kpps
XGF-PD1A, XGF-PD2A, XGF-PD3A : 1 Mpps
Max. connection
distance
XGF-PO1A, XGF-PO2A, XGF-PO3A : 2 m
XGF-PD1A, XGF-PD2A, XGF-PD3A : 10 m
Max. encoder input
200 kpps
7
Wiring
■ Installation of cable
1) Don’t let AC power line near to positioning module’s external input/output signal line.
With an enough distance kept away between, it will be free from surge or inductive
noise.
2) Cable shall be selected in due consideration of ambient temperature and allowable
current. More than AWG22 (0.3㎟) is recommended.
3) Don’t let the cable too close to hot device and material or in direct contact with oil for
long, which will cause damage or abnormal operation due to short-circuit.
4) Check the polarity when wiring the terminal.
5) Wiring with high-voltage line or power line may produce inductive hindrance causing
abnormal operation or defect.
■ Wiring examples
Pin no.
Signal Name
Signal
direction
X축
Y축
Z축
21
41
61
FP+
Pulse output(Differential +)
Output
22
42
62
FP-
Pulse output(Differential -)
Output
23
43
63
RP+
Pulse direction(Differential +)
Output
24
44
64
RP-
Pulse direction(Differential -)
Output
25
45
65
OV+
High limit
Input
26
46
66
OV-
Low limit
Input
27
47
67
STOP
External stop
Input
28
48
68
DOG
Approximate origin
Input
29
49
69
VTP
Speed/Position switching
Input
30
50
70
ECMD
External
command
Start
Input
Skip
Input
JOG+(forward)
Input
31
51
71
JOG-
JOG reverse operation
Input
32
52
72
COM
Common
(0V+,0V-,STOP,DOG,VTP,ECMD,JOG-)
Input/
Output
33
53
73
DR/INP
Drive Ready/Inposition
Input
34
54
74
DR/INP COM
Drive Ready/Inposition Common
Input/
Output
35
55
75
HOME +24V
Origin (+24V)
Input
36
56
76
NC
No use
-
37
57
77
HOME +5V
Origin (+5V)
Input
38
58
78
HOME COM
Origin (+24V, +5V) Common
Input/
Output
39
59
79
24V
External 24V Power Input (no use in case
of Line Driver output)
-
40
60
80
P COM
External 24V GND(no use in case of Line
Driver output)
Input/
Output
■ Warranty period
18 months after the production date.
■ Scope of Warranty
18-month warranty is available except:
1) The troubles caused by improper condition, environment or treatment except the
instructions of LSIS.
2) The troubles caused by external devices
3) The troubles caused by remodeling or repairing based on the user’s own discretion.
4) The troubles caused by improper usage of the product
5) The troubles caused by the reason which exceeded the expectation from science
and technology level when LSIS manufactured the product
6) The troubles caused by natural disaster
■ Change in specifications
Product specifications are subject to change without notice due to continuous product
development and improvement.
LSIS Co., Ltd http://www.lsis.com 10310000516 V4.1 (2015.11)
HEAD OFFICE
Tel: (82) 2-2034-4870 Fax: (82) 2-2034-4888 E-mail: cshw[email protected]
LSIS USA Inc._Chicago, U.S.A. Tel: (1) 847-941-8240 Fax: (1) 847-941-8259
LSIS(ME) FZE_Dubai, U.A.E. Tel: (971) 4-886-5360 Fax: (971) 4-886-5361
LSIS_Shanghai, China Tel: (86) 21-5237-9977-8609 Fax: (86) 21-5237-7189
LS-VINA, Hanoi, Vietnam Tel: (84) 4-6275-8055 Fax: (84) 4-3882-0220
LSIS Europe B.V._Netherlands Tel: (31) 20-654-1420 Fax: (31) 20-654-1429
LSIS Tokyo, Japan Tel: (81) 3-6268-8241 Fax: (81) 3-6268-8240
ⓒLSIS Co., Ltd 2015 All Rights Reserved.
1
Safety Precautions
2
Use of environment
3
Applicable Version
4
Parts name and Dimension (mm)
5
Mounting & Installation
6
Performance specifications
8
Warranty
XGT Positioning
전원
CPU
AC전
정전압
AC전원
전원
CPU
AC전
원
정전압
트랜스포머
AC전원
100V~24
0V

This manual suits for next models

4

Other LS Controllers manuals

LS XGF-PN8A User manual

LS

LS XGF-PN8A User manual

LS XGF-RD4A User manual

LS

LS XGF-RD4A User manual

LS XEL-BSSRT/F/H User manual

LS

LS XEL-BSSRT/F/H User manual

LS XGT Series User manual

LS

LS XGT Series User manual

LS XBF-AD04C User manual

LS

LS XBF-AD04C User manual

LS SV008iS5-2 User manual

LS

LS SV008iS5-2 User manual

LS XGF-DV4A User manual

LS

LS XGF-DV4A User manual

LS XGT FEnet User manual

LS

LS XGT FEnet User manual

LS XBF-LD02S User manual

LS

LS XBF-LD02S User manual

LS XBC-DR28U User manual

LS

LS XBC-DR28U User manual

LS XGF-PO1H User manual

LS

LS XGF-PO1H User manual

LS XGF-PO1H User manual

LS

LS XGF-PO1H User manual

LS XBM-DN32H User manual

LS

LS XBM-DN32H User manual

LS XGF-M32E User manual

LS

LS XGF-M32E User manual

LS Smart I/O User manual

LS

LS Smart I/O User manual

Popular Controllers manuals by other brands

Osram SLC manual

Osram

Osram SLC manual

SICK Flexi Compact operating instructions

SICK

SICK Flexi Compact operating instructions

Sharp R-798M quick start guide

Sharp

Sharp R-798M quick start guide

BIFFI ALGA - EAC Installation, operation and maintenance manual

BIFFI

BIFFI ALGA - EAC Installation, operation and maintenance manual

Siemens RWC32/82 Installation and commissioning guide

Siemens

Siemens RWC32/82 Installation and commissioning guide

SMC Networks EX230-SDN1 Installation and maintenance manual

SMC Networks

SMC Networks EX230-SDN1 Installation and maintenance manual

Zero Zone Carel Programming instructions

Zero Zone

Zero Zone Carel Programming instructions

Neets QueBec Pro installation manual

Neets

Neets QueBec Pro installation manual

blossom-ic AVALON Assembly instructions

blossom-ic

blossom-ic AVALON Assembly instructions

Topkodas PROGATE Installation & programming manual

Topkodas

Topkodas PROGATE Installation & programming manual

Advantech MVP-3245 Series user manual

Advantech

Advantech MVP-3245 Series user manual

MOTECK CIS3 user guide

MOTECK

MOTECK CIS3 user guide

ascon G2 Series user manual

ascon

ascon G2 Series user manual

ADVATEK LIGHTING PixLite T8-S Mk2 user manual

ADVATEK LIGHTING

ADVATEK LIGHTING PixLite T8-S Mk2 user manual

ZIGBEE PR412 quick start guide

ZIGBEE

ZIGBEE PR412 quick start guide

Salus TRV10RFM quick guide

Salus

Salus TRV10RFM quick guide

YASKAWA J1000 CIMR-JC series quick start guide

YASKAWA

YASKAWA J1000 CIMR-JC series quick start guide

Omnitronic DXO-24E Driver installation

Omnitronic

Omnitronic DXO-24E Driver installation

manuals.online logo
manuals.online logoBrands
  • About & Mission
  • Contact us
  • Privacy Policy
  • Terms and Conditions

Copyright 2025 Manuals.Online. All Rights Reserved.