Lumantek Avenco SD MPEG-2 Mounting instructions

LUMANTEK Co., Ltd http://www.lumantek.com
Head Office : # 1208, Woolim Lion’s Valley II, Gasan-Dong, Geuncheon-Gu, SEOUL, KOREA (150-803)
USER OPERATION MANUAL
(MPEG-2 & RF Out)
AVENCO SD™
>> Second Edition

Trademarks and copyright
COPYRIGHT © 2006, LUMANTEK Unit 1208, Woolim Lion’s Valley II, 680 Gasan-Dong, Gumcheon Gu,
Seoul Korea (153-830), Tel: +82 2 2027 2400, Fax: +82 2 2027 2409 All rights reserved.
This document contains information that is proprietary to LUMANTEK. No part of this publication may
be reproduced, stored in a retrieval system, or transmitted, in any form, or by any means, electronically,
mechanically, by photocopying, or otherwise, without the prior written permission of LUMANTEK. Nationally
and internationally recognized trademarks and trade names are the property of their respective holders and are
hereby acknowledged.
Portions of this software are © 1996-2006 LUMANTEK Ltd. All intellectual property rights in such portions of
the Software and documentation are owned by LUMANTEK and are protected by United States copyright laws,
other applicable copyright laws and international treaty provisions. LUMANTEK and its suppliers retain all
rights not expressly granted.
Disclaimer
The information in this document is furnished for informational purposes only, is subject to change without prior
notice, and should not be construed as a commitment by LUMANTEK.
The information in this document is believed to be accurate and reliable; however LUMANTEK assumes
no responsibility or liability for any errors or inaccuracies that may appear in this document, nor for any
infringements of patents or other rights of third parties resulting from its use. No license is granted under any
patents or patent rights of LUMANTEK.
This document was written by the Technical Support Department of LUMANTEK, Korea. We are committed to
maintaining a high level of quality in all our documentation. Towards this effort, we welcome your comments
and suggestions regarding the content and structure of this document. Please fax or mail your comments and
suggestions to the attention of:
LUMANTEK Attn: Product Support Department Unit 1208, Woolim Lion’s Valley II, 680 Gasan-Dong,
Gumcheon Gu, Seoul Korea (153-830), +82 2 2027 2400, Fax: +82 2 2027 2409
Environmental Issues
Thank you for buying a product which contributes to a reduction in pollution and thereby helps save the
environment.
Our products reduce the need for travel and transport and thereby reduce pollution. Our products have either no
or few consumable parts (chemicals, toner, gas, paper). Our products are low energy consuming products.
Waste handling:
There is need to send material back to LUMANTEK. Please contact your local dealer for information on
recycling the product by sending the main parts of the product for disassembly at local electronic waste stations.
Production of products:
Our factories employ the most efcient environmental methods for reducing waste and pollution by ensuring that
the products are recyclable.

Contents
1. Introduction ...............................................4
1-1 Overview ...........................................5
1-2 Features ............................................5
2. Prodcut Description..........................................6
2-1 Appearance Description .................................7
2-1-1 Rear Pane......................................7
2-1-2 Front Pane .....................................7
2-1-3 Back Pane .....................................7
2-2 Equipment Description ..................................8
2-2-1 Rear Pane......................................8
2-2-2 Front Pane .....................................8
2-2-3 Back Pane .....................................8
2-3 AVENCO _SDTM Equipment ..............................9
2-4 Operator Safety Summary ............................... 10
3. Installation, Settings and Operating ............................. 11
3-1 AVENCO_SDTM Operation .............................. 12
3-2 Power on ........................................... 13
3-3 Main Menu ......................................... 13
3-4 ATSC Modulator ...................................... 13
3-4-1 FREQUENCY MENU ............................. 14
3-4-2 FREQ MENU ................................... 14
3-4-3 POWER MENU ................................. 14
3-5 ENCODER .......................................... 15
3-5-1 INPUT MENU .................................. 15
3-5-2 VID AGC MENU ................................ 15
3-5-3 VID BRIGHT MENU .............................. 16
3-5-4 VID CONTRAST MENU ........................... 16
3-5-5 AUD MODE MENU .............................. 16
3-5-6 AUD B.R MENU................................. 17
3-5-7 AUD RCA LEV MENU ............................. 17
3-6 PSIP .............................................. 18
3-6-1 VID PID MENU ................................. 18
3-6-2 AUD PID MENU ................................ 18
3-6-3 PCR PID MENU ................................. 19
3-6-4 PMT PID MENU ................................. 19
3-6-5 MAJOR CH MENU............................... 19

3-7 SYSTEM ............................................ 20
3-6-1 IP ADDRESS MENU .............................. 20
3-6-2 SUBNT MASK MENU ............................. 20
3-6-3 GATEWAY MENU ............................... 21
3-6-4 LOAD DEFAULT MENU............................ 21
APPENDIX ............................................. 22

AVENCO - 8VSB & Encoder All in One for MATV >> 5
User Manual
1. Introduction
1-1 Overview
AVENCO SD, Audio Video exciter recives existing SD grade analog video audio signals
of Set Top Box, Camera, VCR and DVD player and encodes the analog signals to digital
signal. The encoded digital signals are ginally modulated with 8-VSB and output to
UHF/VHF channel. Normally this product is used for SMATV systems and In house
Broadcasting and CCTV systems for retransmitting the satellite and CCTV signals
through coaxial cable.
1-2 Features
Basic Feature - Real time MPEG-2 encoding and ATSC Modulation
Feature
- MPEG-2 SD Encoding
- High Quality Video Processing
- Audio Level Controlling
- Dolby AC-3 / MPEG 1 Layer 2 Audio Support
- Front Panel LCD Drive Menu
- Easy Setup Operating
- UART Controlling
- Remoting Controlling by LAN
- ATSC Modulation
- VHF/UHF Output
- Frequency : 54.0 ~ 860.0 MHz 100Khz Step
- Level : -15.0 ~ 7.0 dBm
- 2ch A/V selection Support
Input Interface - Component, S-Video, CVBS1, CVBS2
- ASI-IN, 100BASE-T
Physical
- 1 RU ( 19 inches Rack Mount )
- 1.75 (H) X 17.5 (W) X 18.0 (D) inches
- Weight: 3.15 Kg
Power
- All Aluminum case
- Voltage 90-260 V
- Power consumption: 60W Max

AVENCO - 8VSB & Encoder All in One for MATV >> 6
User Manual
2. Product Description
2-1. Appearance Description
2-1. Front
POWER LED ACTIVITY LED ALRAM LED
Control LCD UP BUTTON LEFT BUTTON
DOWN BUTTON RIGHT BUTTON SET BUTTON
ESC BUTTON
2-1. Back
UART 100BASE-T ASI-IN
ASI-OUT Ch1 CVBS Ch1 S-VHS
Ch1 Audio Ch2 CVBS Ch2 Component
Ch2 Audio ⑪Power SW ⑫ GND
⑫
⑪

AVENCO - 8VSB & Encoder All in One for MATV >> 7
User Manual
2-2. Function of each panel
2-2-1. Front Panel
① POWER LED: When connected the power / the light [On]
② ACTIVITY LED: When it works propertly, / the light [On]
③ ALRAM LED: When system have any problem / the light [On]
④ LCD Windows: Text LCD
⑤ UP Button: Direction Button
⑥ LEFT Button: Direction Button
⑦ RIGHT Button: Direction Button
⑧ DOWN Button: Direction Button
⑨ SET Button
⑩ ESC Button:
2-2-2. Back Panel
① UART : Console Port
② 100BASE-T : Ethernet Port
③ ASI-IN : ASI Input Port
④ ASI-OUT: ASI Output Port
⑤ Ch1 CVBS: Ch1 CVBS Input Port
⑥ Ch1 S-VHS: Ch1 S-VHS Input Port
⑦ Ch1 Audio: Ch1 Audio Input Port(L/R)
⑧ Ch2 CVBS: Ch2 CVBS Input Port
⑨ Ch2 Component: Ch2 Component(Y/Pb/Pr) Input Port
⑩ Ch2 Audio: Ch2 Audio Input Port(L/R)
⑪ POWER SW : Power Switch
⑫ GND : Ground terminal

AVENCO - 8VSB & Encoder All in One for MATV >> 8
User Manual
2-3. AVENCO_SDTM 내내내
This product is configured as follows.
① AVENCO_SDTM Console
② AC Power Cord: 220VAC For input Power Cord
AVENCO_SDTM 본체

AVENCO - 8VSB & Encoder All in One for MATV >> 9
User Manual
Operator Safety Summary
For your protection, please read these safety instructions completely before operating the equipment and keep this
manual for future reference. The information in this summary is intended for operators. Carefully observe all warnings,
precautions and instructions both on the apparatus and in the operating instructions.
Equipment Markings
The lighting ash symbol within an equilateral triangle is intended to alert the user
to the presence of uninsulated “dangerous voltages” within the product’s enclosure
that may be of sufcient magnitude to constitute a risk of electrical shock.
The exclamation mark within an equilateral triangle is intended to alert the user to
the presence of important operating and maintenance (servicing) instructions within
literature accompanying the equipment.
Warnings
Water and Moisture - Do not operate the equipment under or near water - for example near a bathtub, kitchen sink, or
laundry tub, in a wet basement, near a swimming poor or in areas with high humidity.
Cleaning - Unplug the apparatus from the wall outlet before cleaning or polishing. Do not use liquid cleaners or aerosol
cleaners. Use a lint-free cloth lightly moistened with water for cleaning the exterior of the apparatus.
Ventilation - Do not block any of the ventilation openings of the apparatus. Install in accordance with the installation
instructions. Never cover the slots and openings with a cloth or other material. Never install the apparatus near heat
sources such as radiator, heat registers, stoves, or other apparatus (including ampliers) that produce heat.
Grounding or Polarization - Do not defeat the safety purpose of the polarized or grounding-type plug. A polarized
plug has two blades with one wider than the other. A grounding type plus has two blades and a third grounding prong.
The wide blade or third prong is provided for your safety. If the provided plug does not t into your outlet, consult an
electrician.
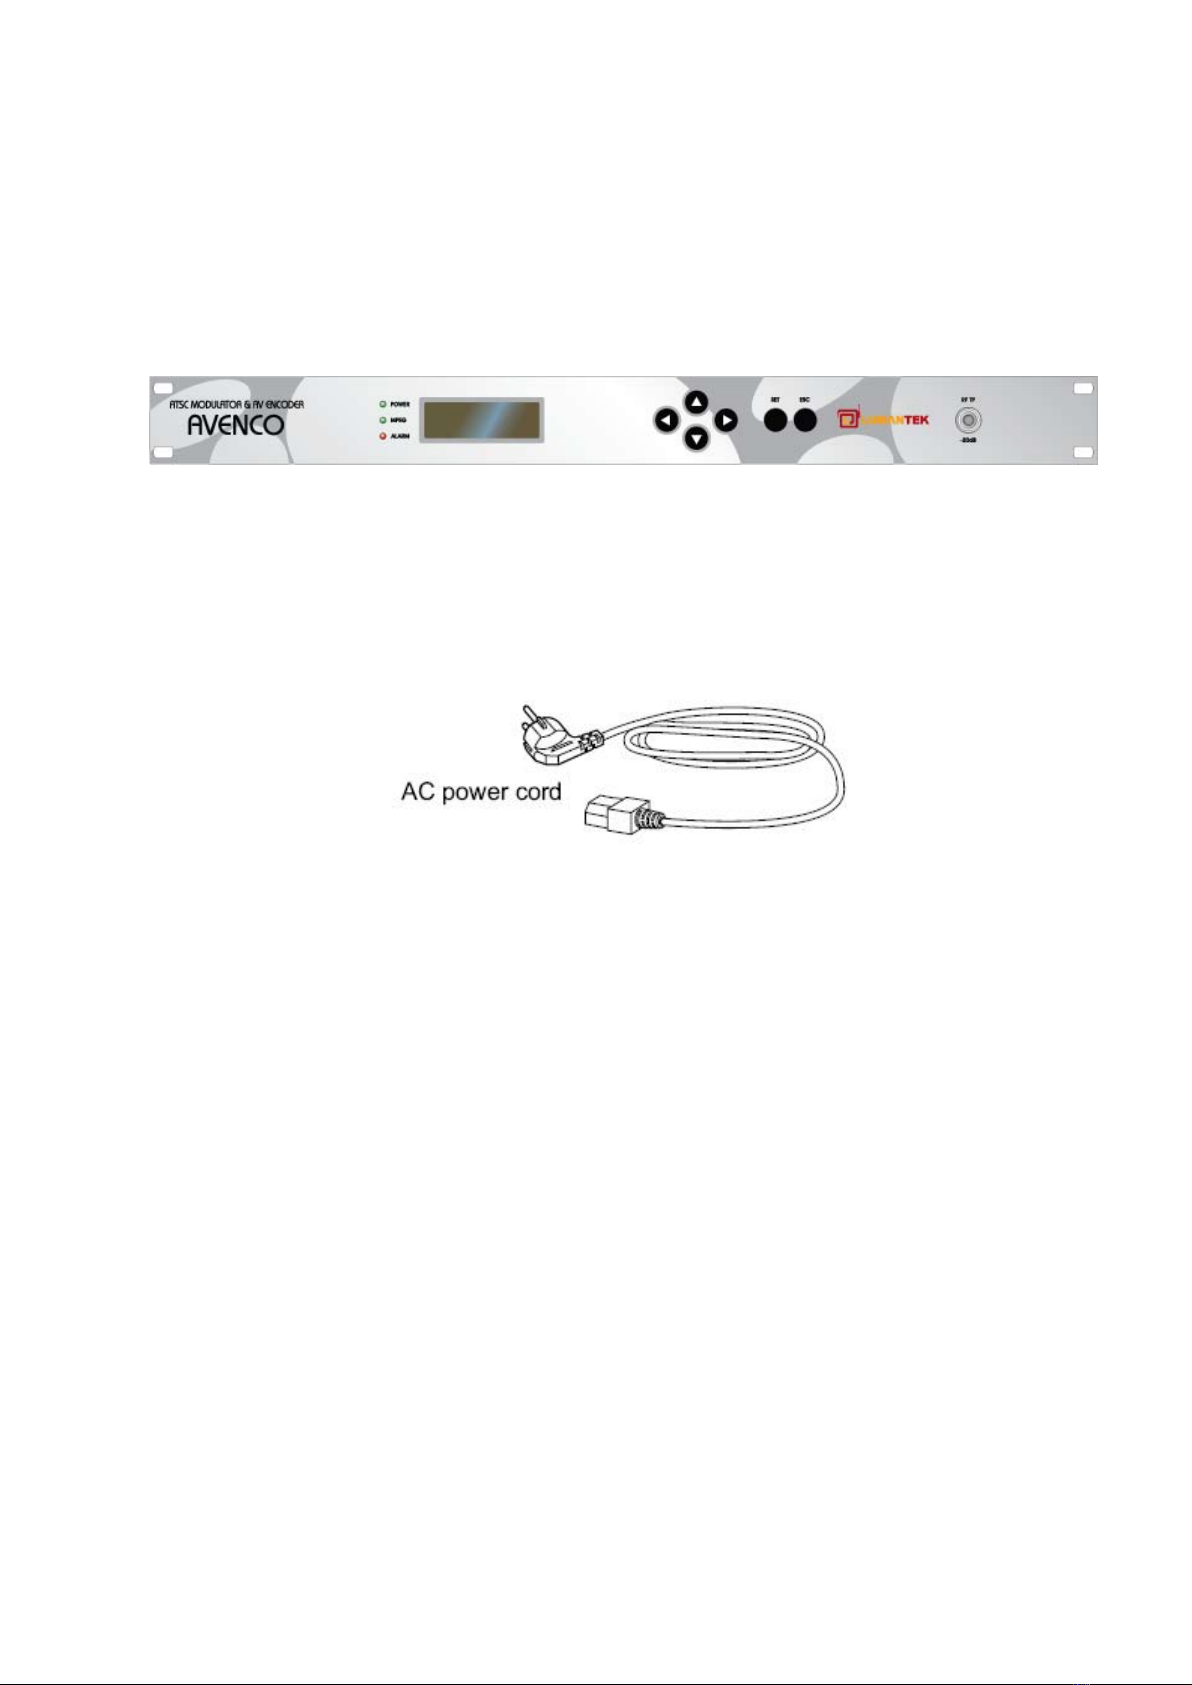
Power-Cord Protection - Route the power cord so as to avoid it being walked on or pinched by items placed upon or
against it, paying particular attention to the plugs, receptacles, at the point where the cord exits form the apparatus.
Attachments - Only use attachments as recommended by the manufacture.
Accessories - Use only with a cart, stand, tripod, bracket, or table specied by the manufacturer, or sold with the
apparatus. When a cart is used, use caution when moving the cart/apparatus combination to avoid injury from tip-over.
Lighting - Unplug this apparatus during lightning storms or when unused for long periods of time.
ISDN cables - CAUTION - to reduce the risk of re, use only No. 26 AWG or larger
telecommunication line cord.
Servicing - Do not attempt to service the apparatus yourself as opening or removing covers
may expose you to dangerous voltages or other hazards, and will void the warranty. Refer all
servicing to qualied service personnel.
Damaged Equipment - Unplug the apparatus from the outlet and refer servicing to qualied
personnel under the following conditions:
When the power cord or plug is damaged or frayed
If liquid has been spilled or objects have fallen into the apparatus
If the apparatus has been exposed to rain or moisture
If the apparatus has been subjected to excessive shock by being dropped,
or the cabinet has been damaged
If the apparatus fails to operate in accordance with the operating

AVENCO - 8VSB & Encoder All in One for MATV >> 10
User Manual
3. AVENCO_SDTM Operation
3-1. 기본 동작 버튼 소개
- LCD Display windows
-Window menu, and feature set
- On power, the basic information to be displayed.
- Change the cursor keys and to set the value
- Set value (numerber), move the cursor to the left.
Go to the top of the cursor, then the set
value(number) increases.
- Set value (numerber), move the cursor to the right
Move the cursor to the bottom, then the set value
(number) decreases.
- Setting the set Value.
- To exit the menu.

AVENCO - 8VSB & Encoder All in One for MATV >> 11
User Manual
•
3-2. Power ON
When you turn on the power AVENCO_SD, LCD window will display the
screen as shown below.
3-3. Main Menu
Power is ON, the initialization process is finished, select the SET button,
select the menu window is displayed.
Main Menu is composed ATSC_MODULATOR, ENCODER, PSIP, and SYSTEM.
The UP and DOWN buttons to select the menu button, then select
the SET button.
① ATSC_MODULATOR: ATSC Modulation Set Menu
② ENCODER : Encoder Set Menu
③ PSIP : PSIP Set Menu
④ SYSTEM : SYSTEM Set Menu
3-4. ATSC_MODULATOR
When SET button on the initial menu, then it displays ATSC_MODULATOR
menu. UP button and DOWN button will change to the input port.
- > Display using the UP button and DOWN button to move selected by
the SET button
- Detailed Menu : FREQUENCY, FREQ, POWER
- If ones want to move to the initial menu, select the ESC button.
AVENCO SD /-V1.0 b
INPUT: CH1-COMPONENT
SIGNAL: NO SIGNAL
MOD: 004CH/069MHz
>> MAINMENU <<
>ATSCMODULATOR
ENCODER
PSIP
SYSTEM
>> ATSC MODULATOR <<
> SET BY: FREQUENCY
FREQ : 57.0 MHz
POWER : 0.0 dBm

AVENCO - 8VSB & Encoder All in One for MATV >> 12
User Manual
3-4-1. FREQUENCY Menu: To select Frequency setting Menu
- Select (◀▶) the top and bottom button and press Set button (SET)
- Cancel button (ESC) are not applied when you click a value, go to the
top menu.
- Selection of KOR CABLE (cable), KOR TERR (terrestrial), FREQUENCY
(frequency)
3-4-2. FREQ Menu: Output frequency setting menu
- Select (◀▶) the number of digits to the left and right buttons
- Change (▲▼) the value of the top and bottom button, and then the
Settings button (SET) to apply the value, press
- Cancel button (ESC) are not applied when you click a value, go to the
top menu
- Frequency Range : 54 MHz ~ 860 MHz
3-4-3. CHANN Menu: Output frequency set by the channel selection menu.
- Press Left and right buttons (◀ ▶), To select the numbers
- Press the top and bottom buttons (▲ ▼) to change the value of the set
(SET) to apply the value,
- Cancel button (ESC) are not applied when you click a value, go to the
top menu
- Frequency Range : 02 ~ 130(Cable channel), 02 ~ 69(Terrestrial
channels)
>SET BY: FREQUENCY
CHANNEL: KOR CABL
CHANNEL: KOR TERR
>FREQUENCY
>FREQ : 057.0MHz
860.0MHz(MAX)
> 057.0MHz
054.0MHz(MIN)
>CHANN : 004/069Mhz
130(MAX)
>004
02 (MIN)

AVENCO - 8VSB & Encoder All in One for MATV >> 13
User Manual
3-4-4. POWER Menu: Output Level Settings menu
- The top and bottom buttons (▲ ▼) to change the value
- Press Set button (SET) to apply the value
- Cancel button (ESC) are not applied when you click a value, go to the
top menu
- Frequency Range : -15 dBm ~ 7.0 dBm
3-5. ENCODER
ENCODER from the main menu use the UP button or DOWN button, then
selecting the SET button, a menu is displayed as shown below
- Enter the port settings for the encoding, and video / audio encoding
settings, and output level settings menu
3-5-1. INPUT Menu: 입력 포트 설정 메뉴
- After checking the input port, press top and bottom (▲ ▼) then [set]
buttonto to set the port setting.
- Cancel button (ESC) are not applied when you click a value, go to the
top menu
- Select from ASI IN, CH1-CVBS1, CH2-CVBS2, CH2-Component.
>POWER : 0.0dBm
7.0 dBm(MAX)
> 0.0 dBm
-15.0 dBm(MIN)
>> ENCODER <<
>INPUT : CH1-CVBS
VID AGC : ON
VID BRIGHT : 128
VID CONTRAST: 128
AUD MODE: AC3(DDC)
AUD B.R : 384kbps
AUD RCA LEV: +00dB
>INPUT : CH1-CVBS
ASI Input
>CH1-CVBS
CH1-SVIDEO
CH2-CVBS
CH2-COMPONENT

AVENCO - 8VSB & Encoder All in One for MATV >> 14
User Manual
3-5-2. VID AGC Menu: VID AGC Setting Menu
- Automatically adjust the video input level
- Select (◀▶) the top and bottom button and press Set button (SET)
- Cancel button (ESC) are not applied when you click a value, go to the
top menu.
3-5-3. VID BRIGHT Menu: VID BRIGHT Setting Menu
- Screen for setting Color brightness
- Select (◀▶) the top and bottom button and press Set button (SET).
- Cancel button (ESC) are not applied when you click a value, go to the
top menu.
- Frequency Range : 0 ~ 255
3-5-4. VID CONTRAST Menu: VID CONTRAST 설정 메뉴
- Screen for setting Color brightness
- Select (◀▶) the top and bottom button and press Set button (SET).
- Cancel button (ESC) are not applied when you click a value, go to the
top menu.
- Frequency Range : 0 ~ 255
> VID AGC: ON
> ON
OFF
VID BRIGHT : 128
255(MAX)
>128
000(MIN)
VID CONTRAST : 128
255(MAX)
>128
000(MIN)

AVENCO - 8VSB & Encoder All in One for MATV >> 15
User Manual
3-5-5. AUD MODE Menu: Audio codec settings menu
- Audio codec settings menu
- Select (◀▶) the top and bottom button and press Set button (SET).
- Cancel button (ESC) are not applied when you click a value, go to the
top menu.
- Select items : AC3 (DDC), MPEG1 L2
3-5-6. AUD B.R Menu: Audio Bit Rate Settings menu
- Audio Bit Rate Settings menu
- Select (◀▶) the top and bottom button and press Set button (SET).
- Cancel button (ESC) are not applied when you click a value, go to the
top menu.
- Select items : 256 kbps, 384 kbps
3-5-7. AUD RCA LEV Menu : Audio RCA-level configuration menu
- Analog audio input (RCA connector) Gain Settings menu
- Select (◀▶) the top and bottom button and press Set button (SET).
- Cancel button (ESC) are not applied when you click a value, go to the
top menu.
- Frequency Range : -33 dB ~ 12 dB
>AUD MODE: AC3(DDC)
>AC3 (DDC)
MEPG1L2
>AUD B.R : 384kbps
256kbps
>384kbps
>AUD RCA LEV: +00dB
+12dB (MAX)
>+00dB
-33dB (MIN)

AVENCO - 8VSB & Encoder All in One for MATV >> 16
User Manual
3-6. PSIP
PSIP from the main menu use the UP button or DOWN button, then
selecting the SET button, a menu is displayed as shown below
3-6-1. VIDEO PID Menu: VIDEO PID Setting Menu
- Video PID Settings screen
- After moving the cursor to the appropriate number by using
Left and right buttons (◀ ▶), press the top and bottom
buttons (▲ ▼) to change the value of the set.
- Press Set button (SET) to apply the value.
- Cancel button (ESC) are not applied when you click a value, go to the
top menu.
3-6-2. AUDIO PID Menu: VIDEO PID Setting Menu
- Audio PID Setup screen
- After moving the cursor to the appropriate number by using
Left and right buttons (◀ ▶), press the top and bottom
buttons (▲ ▼) to change the value of the set.
- Press Set button (SET) to apply the value.
- Cancel button (ESC) are not applied when you click a value, go to the
top menu.
>> PSIP <<
>VIDEO PID : 0x0310
AUDIO PID : 0x0320
PCR PID : 0x0330
PMT PID : 0x0300
MAJOR CH : 02
>VIDEO PID : 0x0310
0x1FFF(MAX)
>0x0310
0x0100(MIN)
>>AUDIO PID : 0x0320
0x1FFF(MAX)
>0x0320
0x0100(MIN)

AVENCO - 8VSB & Encoder All in One for MATV >> 17
User Manual
3-6-3. PCR PID Menu: PCR PID Setting Menu
- PCR PID Setting Windows
- After moving the cursor to the appropriate number by using
Left and right buttons (◀ ▶), press the top and bottom
buttons (▲ ▼) to change the value of the set.
- Press Set button (SET) to apply the value.
- Cancel button (ESC) are not applied when you click a value, go to the
top menu.
3-6-4. PMT PID Menu: PMT PID 설정 메뉴
- PMT PID Setting Windows
- After moving the cursor to the appropriate number by using
Left and right buttons (◀ ▶), press the top and bottom
buttons (▲ ▼) to change the value of the set.
- Press Set button (SET) to apply the value.
- Cancel button (ESC) are not applied when you click a value, go to the
top menu.
3-6-5. MAJOR CH Menu: MAJOR CH Setting Menu
- MAJOR CH Setting Windows
- After moving the cursor to the appropriate number by using
Left and right buttons (◀ ▶), press the top and bottom
buttons (▲ ▼) to change the value of the set.
- Press Set button (SET) to apply the value.
- Cancel button (ESC) are not applied when you click a value, go to the
top menu.
>PCR PID : 0x0330
0x1FFF(MAX)
>0x0310
0x0100(MIN)
>PMT PID : 0x0310
0x1FFF(MAX)
>0x0310
0x0100(MIN)
>MAJOR CH :02
99(MAX)
>02
02(MIN)

AVENCO - 8VSB & Encoder All in One for MATV >> 18
User Manual
3-7. SYSTEM
System from the main menu use the UP button or DOWN button, then
selecting the SET button, a menu is displayed as shown below
- AVENCO_SD Network settings for the remote control
- Default Setting
3-7-1. IP ADDRESS Menu: IP ADDRESS Setting Menu
- AVENCO_SD Remote control IP settings screen
- After moving the cursor to the appropriate number by using
Left and right buttons (◀ ▶), press the top and bottom
buttons (▲ ▼) to change the value of the set.
- Press Set button (SET) to apply the value.
- Cancel button (ESC) are not applied when you click a value, go to the
top menu.
3-7-2. SUBNET MASK Menu: SUBNET MASK Setting Menu
- AVENCO_SD Remote control subnet Settings screen
- After moving the cursor to the appropriate number by using
Left and right buttons (◀ ▶), press the top and bottom
buttons (▲ ▼) to change the value of the set.
- Press Set button (SET) to apply the value.
- Cancel button (ESC) are not applied when you click a value, go to the
top menu.
>> SYSTEM <<
>IP ADDRESS
SUBNET MASK
DEFUALT GATEWAY
LOAD DEFAULT
>IP ADDRESS
000.000.000.000
>Subnet Mask
255.255.255.000

AVENCO - 8VSB & Encoder All in One for MATV >> 19
User Manual
3-7-3. DEFAULT GW Menu: DEFAULT GW Setting Menu
- AVENCO_SD Remote control subnet Settings screen
- After moving the cursor to the appropriate number by using
Left and right buttons (◀ ▶), press the top and bottom
buttons (▲ ▼) to change the value of the set.
- Press Set button (SET) to apply the value.
- Cancel button (ESC) are not applied when you click a value, go to the
top menu.
3-7-4. LOAD DEFAULT Menu: DEFAULT 설정 메뉴
- AVENCO_SD Initialization settings screen
- After moving the cursor to the appropriate number by using
Left and right buttons (◀ ▶), press the top and bottom
buttons (▲ ▼) to change the value of the set.
- Press Set button (SET) to apply the value.
- Cancel button (ESC) are not applied when you click a value, go to the
top menu.
>DEFAULT GATEWAY
000.000.000.000
>LOAD DEFAULT
| YES
|>NO

AVENCO - 8VSB & Encoder All in One for MATV >> 20
User Manual
APPENDIX
Table of contents
Other Lumantek Media Converter manuals

Lumantek
Lumantek ez-SHV+ User manual

Lumantek
Lumantek ez-Caster EN3 User manual

Lumantek
Lumantek ez-HSV+ User manual

Lumantek
Lumantek ez-SHV+ User manual

Lumantek
Lumantek ez-Caster EN8 User manual

Lumantek
Lumantek BAT-3HS User manual

Lumantek
Lumantek ez-Converter User manual

Lumantek
Lumantek ez-MD+ User manual

Lumantek
Lumantek ez-Caster EN8 User manual

Lumantek
Lumantek ez-SHV+ User manual