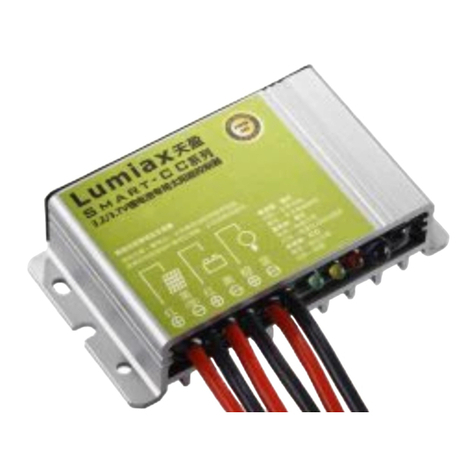
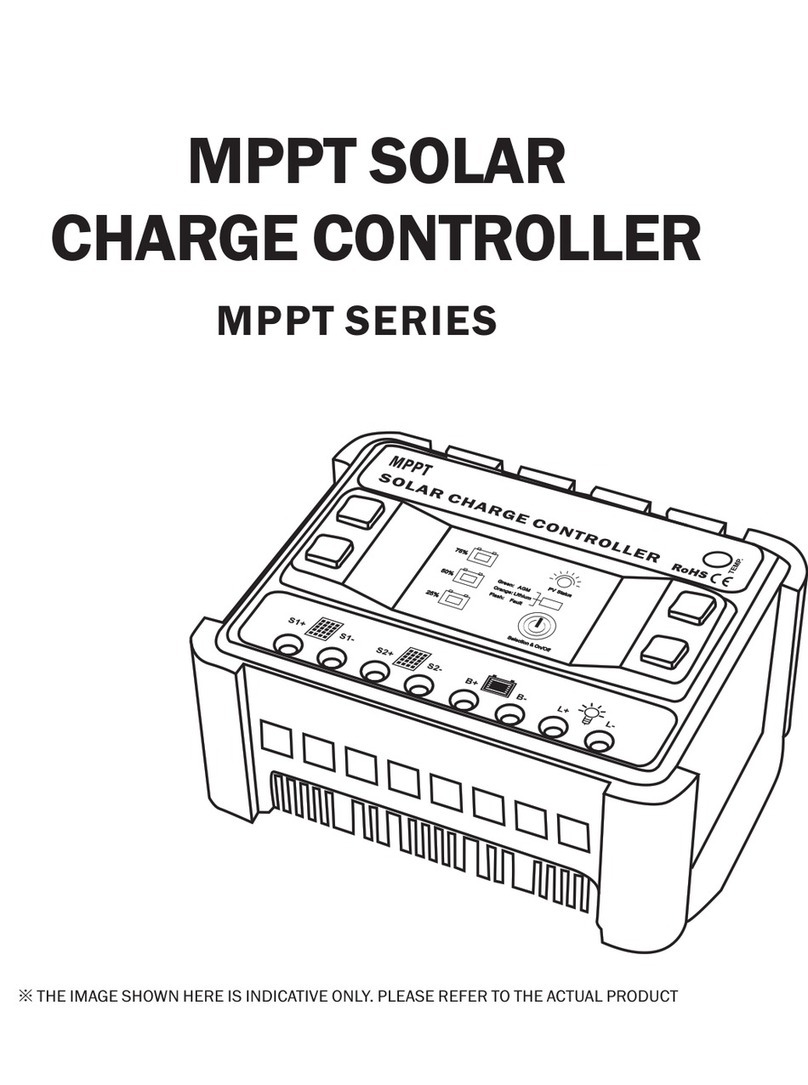
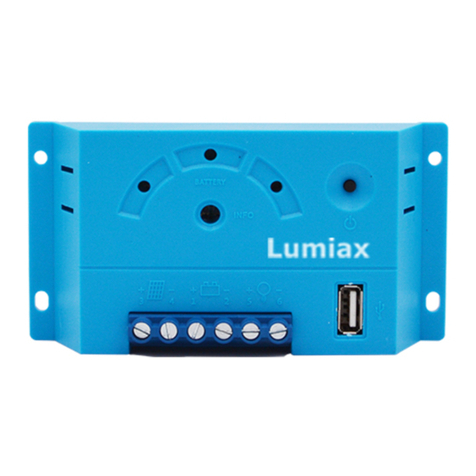
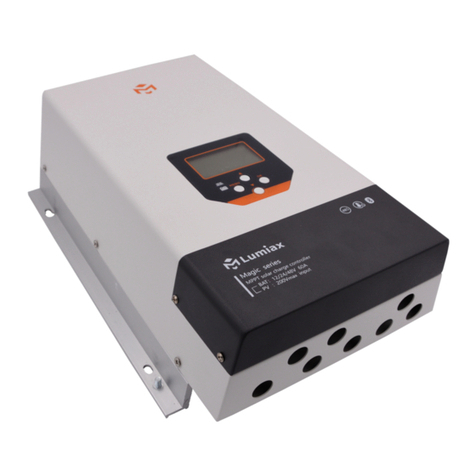
Lumiax Smart-DC Series User manual

TM
Smart -DC series
Solar charge controller
(Constant Current, Boost)
15/25A, 20W
Suitable for Lithium battery
User Manual
User Manual_Smart-DC series_MA
CE, Rohs, ISO9001:2015
Subject to change without notice!

Solar charge controller Smart-DC series User Manual
Smart-DC series intelligent solar controller, is programmable
and especially for boost mode LED solar street light system.
It includes constant current driver function, which can make
the cost of the whole system much lower.
It comes with some outstanding features, such as:
Dear Clients,
This manual gives important recommendations for installing, programming, using and so on. Read it carefully in your own
interest please.
TM
Thanks for selecting the Smart -DC series solar controller. Please take the time to read this user manual, this will help you
to take advantage of controller’s new features.
1.Description of Function
Can output constant current (output current can be set)
5 stages time and dimming can be adjusted
If battery voltage is low, it can be set to dimming
Dimming start voltage and percentage can be set
Auto sleeping during transportation
Suitable for single or two series lithium batteries
Low temperature charging protection
When BMS power off because of LVD, it can activate the
system automatically
Charging target voltage and recovery voltage can be set
Day/Night threshold can adjust automatically
Remote Unit to configure, with LCD display
Ip67, Strong and durable aluminum case
Full automatic electronic protect function
(SU/SG32)
2.Safety instructions and waiver of liability
2.1 Safety
①The solar charge controller may only be used in PV
systems in accordance with this user manual and the
specifications of other modules manufacturers. No
energy source other than a solar generator may be
connected to the solar charge controller.
②Batteries store a large amount of energy, never short
circuit a battery under all circumstances. We strongly
recommend connecting a fuse directly to the battery to
protect any short circuit at the battery wiring.
2.2
③Batteries can produce flammable gases. Avoid making
sparks, using fire or any naked flame. Make sure that the
battery room is ventilated.
④Avoid touching or short circuiting wires or terminals.
Be aware that the voltages on special terminals or wires
can be as much as twice the battery voltage. Use isolated
tools, stand on dry ground, and keep your hands dry.
⑤Keep children away from batteries and the charge
controller.
Liability Exclusion
The manufacturer shall not be liable for damages,
especially on the battery, caused by use other than as
intended or as mentioned in this manual or if the
recommendations of the battery manufacturer are
neglected. The manufacturer shall not be liable if there
has been service or repair carried out by any
unauthorized person, unusual use, wrong installation, or
bad system design.
3.Dimensions
Page 1 of 7 pages
Unit:mm
2.5
81
85.8
10
4
23.1
SMR1006-DCN3225LiGP
20.7
76.4
52
2.5
10
10
4
SMR1006-DCN3215Li(G)
20.7
76.4
61
2.5
10
10
4
SMR1006-DCN3225Li
3.2 Sensor dimension
3.1 Controller
Sensor lines length:400
Unit:mm
27
78
18
2
Hole diameter 52Φ
Φ78
Φ68.8
Φ3
Φ46

Solar charge controller Smart-DC series User Manual
4.Installation
4.1 Connection sequence
The following diagrams provide an overview of the
connections and the proper order.
1.Follow the chart, connect the load (positive pole and
negative pole) with the corresponding brown and blue
cables firstly, then seal them with tape.
2.Connect battery positive pole and negative pole to the
corresponding red and black cables, the load will be on
after 8s;
3.Connect the panel positive pole and negative pole to the
corresponding red and black(or green) cables, the load will
be off after 4s, and the controller begins to charge.
4.Confirm the LED display status: If the red LED is off and
the green LED flashes or constantly light, it is normal; else
it means fault, please refer to the 10.2Faults and Alarms
to identify the reason.
Make sure the length between battery and controller is as
short as possible.
Recommended mini. wire size: 15A: 2.5mm²; 25A: 4mm².
④
③
⑥
⑤②
①
Hot plugging is prohibited!
sensor to R series controller
first!
Please connect the inductive
!
will slow flash(0.2s on/5s off) ,the green and yellow led
will be off and the remote control displays "Open CP".
If the controller enters transport mode, the red LED
4.2.3 Exit the transportation mode
When the load is properly connected, press the test key
or connect the solar more than 1s during daytime , the
transport mode will terminate and the controller will
work normally.
4.2 Transportation mode
The controller is generally integrated with the lithium
battery in the lithium battery pack for transport, if the
controller works normal during transport, it will waste of
energy and increase the transport risk. If the controller is
set to transport mode, the load has no output, then the
power consumption is reduced by about 60%, to avoid
lithium battery voltage too low.
4.2.1 Open circuit protection
If the controller is only connected with the battery, but
not connected with solar and load, the controller will
enter transportation mode after 5 minutes.
4.2.2 Press the “Test” key
Press the“Back” and“Backlight”key at the same time
more than 3s, the remote controller will work in factory
mode. Press the "Test" key in the factory mode, the
remote controller displays "Transport OK" and will beep
a long sound, the controller enters into transport mode.
When Smart-DC series controller is connected to the
system, you can set the controller with S/G-
Unit(SU/SG32) infrared remote controller, as showed
below! Detailed setting operations, please read S/G-
Unit(SU/SG32) User Manual.
5 Remote controller, Default setting.
45°
45°
④
③
⑥
⑤②
①
!
S-Unit:
Be sure to set only one controller at
a time.
SG-Unit:
(1) It's ability to set up multiple
controllers at the same time.
(2) The indicators and load will be
turned off for 1 second and on for 3
seconds after the controller receives
the parameters
successfully(according to the actual
current), and then return to normal
status.
Remark:
Num
1
2
3
4
5
6
7
8
9
10
11
12
13
14
15
16
17
18
19
20
21
22
Factor y Default
4H
100%
0H
100%
0H
100%
0H
0%
0H
100%
2.0V
0min
0.3A
Yes
3.4V
30%
Li
3.6V
3.4V
2.6V
3.0V
Yes
Name
Time1
Dim1
Time2
Dim2
Time3
Dim3
Time4
Dim4
Time5
Dim5
D/N Thr
D/N Dly
Load I
Dim Auto
Dim V
Dim %
Battery
CVT
CVR
LVD
LVR
0℃ Chg
5.1 Read the parameters
Press the "Parameter" key of the S/G-unit to
read the setting parameters of the controller.
(SU/SG32)
Page 2 of 7 pages

Page 3 of 7 pages
Solar charge controller Smart-DC series User Manual
6.Starting up the controller
6.1 Self Test
As soon as the controller is connected to battery, it
starts self test. Then the display changes to normal
operation.
6.2 Battery Type
SMR1006-DCN32Li applies to Lithium rechargeable
battery. The charging target and charging recovery
voltage can be set according to customer
requirements.
6.3 0℃ Charging Protection
"0℃ Chg" can be set to “Yes", "Slow” or ”No”.
When the controller detects that the ambient
temperature is higher than 0℃, the charging
function is normal. when the ambient temperature is
low than 0℃, if the "0℃ Chg" is set to “Yes”, the
charging function is normal, else if the "0℃ Chg" is
set to “slow”, the max charging current is 20% of
the rated current, else if the "0℃ Chg" is set to
“No”, the controller does not charge the battery.
The user can select the appropriate charging
method.
7. Streetlight Function
7.1 Dusk to Dawn (D2D, no induction function)
Dusk to Dawn(D2D)
Light on
Light off
D/N Thr D/N Thr
Sunset Sunrise
D/N Dly
If Time1 is set to D2D ,the controller works in dusk to
dawn mode.
" " " "
!1.SMR-DC controller is set to D2D mode, the
corresponding dimming setting is still valid.
2. If Time1 is set to D2D mode, Time4 can not be set
to T0T mode.
" " " "
7.2 Five-stage Night Mode(Time3、Time4 can induction)
Time1Time2Time5Time3 Time4
Light on
Light off
D/N Thr D/N Thr
Sunset Sunrise
D/N Dly
You can set the Time 1-5 and Dim 1-5 with S/SG-Unit.
For controllers with infrared sensing function( R series), if
work mode is set to Five-stage Night Mode or T0T mode ,
"DelayOff and Dim NP work in Time3 and Time4 .
"DelayOff" setting range: 10~150s.
"Dim NP" setting range: 0~100%.
" " " "
" " " " " " "
5.2 Test function
Press the“T S/G-Unit , the controller
will turn on load for 30s. During daytime, the testing
function can help users to verify correct installation or for
system trouble shooting. 30s later the load will
automatically turn off.
The relationship between “Test”key press times in the
30s and the output power of the controller is shown in
est”key of (SU/SG32)
"Test”press times
1
2
3
4
5
6
Output power
Dimming1
Dimming2
Dimming3
Dimming4
Dimming5
End of test function
Num
1
2
3
4
5
6
7
8
9
10
11
12
13
14
Name
Status:
Batt V
Load I
Load V
PV V
PV I
Energy
OD Times
FC Times
Day1-HV
Day1-LV
Day2-HV
Day2-LV
Day3-HV
Day3-LV
Name describe
Charge
Battery voltage
Load current
Load voltage
PV voltage
PV current
Total generating capacity
Over discharge times
Fully charge times
A day ago highest voltage
A day ago lowest voltage
Two days ago highest voltage
Two days ago lowest voltage
Three days ago highest voltage
Three days ago lowest voltage
Unit
V
A
V
V
A
AH
Times
Times
V
V
V
V
V
V
5.3 Read the running status
Press the "Status" key of the S/G-unit(SU/SG32) to read
the running status of the controller.

Solar charge controller Smart-DC series User Manual
Page 4 of 7 pages
9.LVD, LVR, Threshold, Dimming
9.3 Day/Night Threshold, Day/Night Delay
The controller recognizes day and night based on the
solar array open circuit voltage. This day/night threshold
can be modified according to local light conditions and
the solar array used.
Day/Night threshold setting range: 1.0 ~ 5.0V.
In the evening, when the solar array open circuit voltage
reaches the setting day/night threshold, you can adjust
the day/night delay time to make the load turn on a little
later.
Day/Night delay time setting range: 0~30min.
9.1Low Voltage Disconnect(LVD)
9.2Low Voltage Reconnect(LVR)
Low voltage disconnect setting range: 2.4~7.2V.
Low voltage reconnect setting range: 2.6~7.6V.
!
will restore only when the battery being recharged to the
recovery voltage.
If the controller goes into low voltage disconnect, it
Sunset
Dusk
Sunrise
Dawn
1.0~5.0V 1.3~5.3V
!1. Day/Night threshold voltage of load disconnect is
0.3V higher than the setting data, means the load will
disconnect when the solar voltage at 1.3~5.3V.
2.The controller has an automatic day/night threshold
adjustment function. If the lowest voltage of solar array is
higher than the setting day/night threshold, the load has
no output in first night, 24 hours later the controller can
automatically adjust the day/night threshold to meet the
requirements of lighting at night.
9.4 Auto Dimming
The "Dim Auto" of S/G-Unit is set to "Yes",
V" and "Dim %" at the same time, press the "Send" key to
set up the controller. when the battery voltage is lower
than the voltage of "Dim V" , it starts to dimming
automatically. Battery voltage reduces per 0.1V, load
current decreased according to the set of "Dim %", the
minimum output current is 10% of the setting current.
item set "Dim
!
the minimum output current can be as low as 50mA.
2. Dimming voltage should not be greater than the
voltage of “CVT”(Charging voltage target).
When the battery voltage is reduced to close to the LVD
voltage, the output current of the controller is reduced to
50mA.
1.If the controller is set to “Dim” or “Auto Dim”,
Parameter setting example:
Time1: 1.0H Dim1: 100%
Time2: 2.0H Dim2: 80%
Time3: 3.0H Dim3: 60%
Time4: T0T Dim4: 40%
Time5: 2.0H Dim5: 100%
DelayOff: 10s Dim NP: 10%
The controller works as follows:
After the arrival of the evening the first time the load is
lit for 1 hour (full power 100%), the second time the load
is lit for 2 hours (power 80%), the third time load light for
3 hours (when people is near the lamp then the load is
60% light, when people is away from the lamp the load is
60% * 10% light), and then the controller according to
the actual night time automatically calculate the length
of the fourth paragraph (when people is near the lamp
then the load is 40% light, when people is away from the
lamp the load is 40% * 10% light), the fifth time load
light 2 hours (full power 100%).
7.3 T0T mode(Time3、T0T can induction)
D/N Thr
Time1Time2Time5
Time3 T0T
Light on
Light off
D/N Thr
Sunset Sunrise
D/N Dly
If "Time4" is set to "T0T", this mode is T0T mode.
* If Time4 is set to T0T mode, Time1 can not set to D2D
mode.
" " " "
八、安全特性及故障描述
8.Safety Features
Short circuit
Over current
Over voltage
Over temp.
Reverse
polarity
Solar terminal
Protected
Protected*1
Protected
Max.15V *3
Battery terminal
Protected
Protected *2
Max. 10V
Load terminal
Protected
Switches off
Switches off
with delay
If the temperature reaches the set value,
the controller cuts off the load.
Switches off
immediately
Reverse
Current
Low
voltage
*1.When the PV doesn't charge, the controller will not be
damaged if short-circuit just happened in the PV array.
Warning: It is forbidden to short-circuit the array during
charging .Otherwise, the controller may be damaged.
*2. Battery must be protected by fuse, or battery will be
permanently damaged.
*3. The solar panel voltage should not exceed this limit for a
long time.
PV
!
may cause damage to the controller.
Always remove the error before you continue connecting
the controller.
Warning: The combination of different error conditions
Page 5 of 7 pages
Solar charge controller Smart-DC series User Manual
10.LED indications and Faults & Alarms
10.2 Faults & Alarms
Fault Status Reason Remedy
Over
voltage
protection
Batt ery
can’ t b e
char ged
Overcurrent,
short circuit
protection
Battery capacity
is low
Loads are
over current
or short circuit
High battery
voltage>
(” VT +0.2V)C ”
PV panel fault
or reverse
connection
Load will be reconnected
when battery is recharged
Switch off all loads,
remove short circuit,
load will be reconnected
after 1 minute automatically
Gree n
LED is
always on
Low
voltage
protection
Low volt.
prote cti on
Over temp.
protection
Controller temp.
is too high
Load reconnects
after temp. reduces
High
voltage
at
battery
terminal
Loads
are
not
powered
Check if other sources
overcharge the battery.
If not,controller is damaged.
Battery wires or
battery fuse
damaged,
battery has high
resistance.
Check battery wires,
fuse and battery.
Battery is
empty
after a
short time
Battery has low
capacity Change battery
Check panels and
connection wires
10.1 LED Display Explanation
LED
Status
Function
On
On
On
Fast flash(0.1/0.1s)
Flash(0.5/0.5s)
Work normal
The output power is 0.
Open circuit or
transport mode. *1
Off
Off
Slow flash(0.5/2s)
Slow flash(0.5/2s)
Super slow flash
(0.2s on/5s off )
Fast flash(0.1/0.1s)
Charging
not charging
Green
LED
Over temperature
protection
Over
current protection
Short circuit or
Over voltage protection
Battery is normal
Yellow
LED
Red
LED
Low voltage protection
Battery voltage is low
*1.If the controller is in transport mode, the red LED
is super slow flash(0.2s on/5s off ), the green and
yellow led is off.
*2.Detailed fault information can be read by
S/G-Unit remote controller.
Red
Yellow
Green
11.Recommended connection of LED
Following connect ways is for the LED lights
(Vf: 2.9V~3.4V; I: 300mA, Power: 1W )
n for number of parallel connection
m for number of
in series connection
Output Voltage Recommendatory
connect way
Load current
M=2~10
N=1~6
( ) ~ 32VVbat+2V 0.1~2.0A
!
current range of the controller, then the controller is
unable to set successfully.
Note: If the current setting requirements exceed the

Page 6 of 7 pages
12.Technical Data
Solar charge controller Smart-DC series User Manual
Item
Max Charging Current
Charging voltage target
Charging voltage recovery
Low voltage disconnect
Low voltage reconnect
Battery Type
0℃ Charging protection
Max volt on Bat. Terminal
Max volt on PV terminal
Dusk/Dawn detect volt.
Day/Night delay time
Output Current
Output Voltage
Output power
Min current
Current precision
Max LED driver efficiency
Dimming
Auto dimming
Dim V
Dim %
Induction delay off time
Dimming when no people
Communication
Self consumption
Dimensions
Weight
Ambient temperature
Ambient humidity
Protection degree
Max Altitude
Wire size
Battery
Parame-
ters
Panel
Parame-
ters
Load
Parame-
ters
System
Parame-
ters
R 2
15A 25A
1
.0~ .0V
0~30min
0.1~2.0A
Battery voltage
50mA
±2%
92%
0~100%
Yes、NO
~0%
mA
g
2.5
-35~+60℃
0~100%RH
IP67
4000m
SMR1006-DCN3215Li SMR1006-DCN3215Li SMR1006-DCN32 5Li
3.0~9.0V(Programmable)
2.9~8.9V(Programmable)
2.4~7.2V(Programmable)
2.6~7.4V(Programmable)
Lithium
Yes、No、Slow(Programmable)
0V
7V(Single cell), 15V(Two lithium batteries in series)
1 3 (Programmable)
(Programmable)
(Programmable)
( + 2V)~ 34V
1~20W
(Dimming)
(Programmable)
(Programmable)
2.8 ~ Charging voltage target(Programmable)
5 4 (Programmable)
10~150s(Programmable) --
0~100%(Programmable) --
Infared
18 9mA
76.4 * 52 * 20.7mm 76.4 * 61 * 20.7mm
140 150g
mm² 4mm²

Page 7 of 7 pages
Solar charge controller Smart-DC series User Manual
Item
Max Charging Current
Charging voltage target
Charging voltage recovery
Low voltage disconnect
Low voltage reconnect
Battery Type
0℃ Charging protection
Max volt on Bat. Terminal
Max volt on PV terminal
Dusk/Dawn detect volt.
Day/Night delay time
Output Current
Output Voltage
Output power
Min current
Current precision
Max LED driver efficiency
Dimming
Auto dimming
Dim V
Dim %
Communication
Self consumption
Dimensions
Weight
Ambient temperature
Ambient humidity
Protection degree
Max Altitude
Wire size
Battery
Parame-
ters
Panel
Parame-
ters
Load
Parame-
ters
System
Parame-
ters
2
15A 25A
1
.0~ .0V
0~30min
0.1~2.0A0.1~.0A
Battery voltage
50mA
±2%
92%
0~100%
Yes、NO
~0%
mA
g g
2.5
-35~+60℃
0~100%RH
IP67
4000m
SMR1006-DCN3215LiG SMR1006-DCN32 5LiGP
3.0~9.0V(Programmable)
2.9~8.9V(Programmable)
2.4 ~ 7.2V(Programmable)
2.6~ 7.4V(Programmable)
Lithium
Yes、No、Slow(Programmable)
0V
7V(Single cell), 15V(Two lithium batteries in series)
1 3 (Programmable)
(Programmable)
(Programmable) 3 (Programmable)
( + 2V)~ 34V
1~20W 1~40W
(Dimming)
(Programmable)
(Programmable)
2.8 ~ Charging voltage target(Programmable)
5 4 (Programmable)
Wireless remote control, 0.5 meters~30 meters can be set
18 @3.2V(
76.4 * 52 * 20.7mm 85.8* 81 * 23.1mm
140 280
mm² 4mm²
Transportation mode)
Other manuals for Smart-DC Series
1
This manual suits for next models
4
Table of contents
Other Lumiax Controllers manuals

Lumiax
Lumiax MT1050 User manual

Lumiax
Lumiax Magic Series User manual

Lumiax
Lumiax SMR1012-DCN5LIG User manual

Lumiax
Lumiax Magicube Series User manual

Lumiax
Lumiax Smart-DC Series User manual

Lumiax
Lumiax MPPT Series User manual

Lumiax
Lumiax Smart CC Series User manual

Lumiax
Lumiax Shine series User manual

Lumiax
Lumiax Shine -EU Series User manual

Lumiax
Lumiax MPPT-DC Series User manual