PROCEDURE:
REMOVE CONTENTS FROM BOX. VERIFY ALL PARTS ARE PRESENT. READ INSTRUCTIONS
CAREFULLY BEFORE STARTING INSTALLATION. ASSISTANCE IS RECOMMENDED.
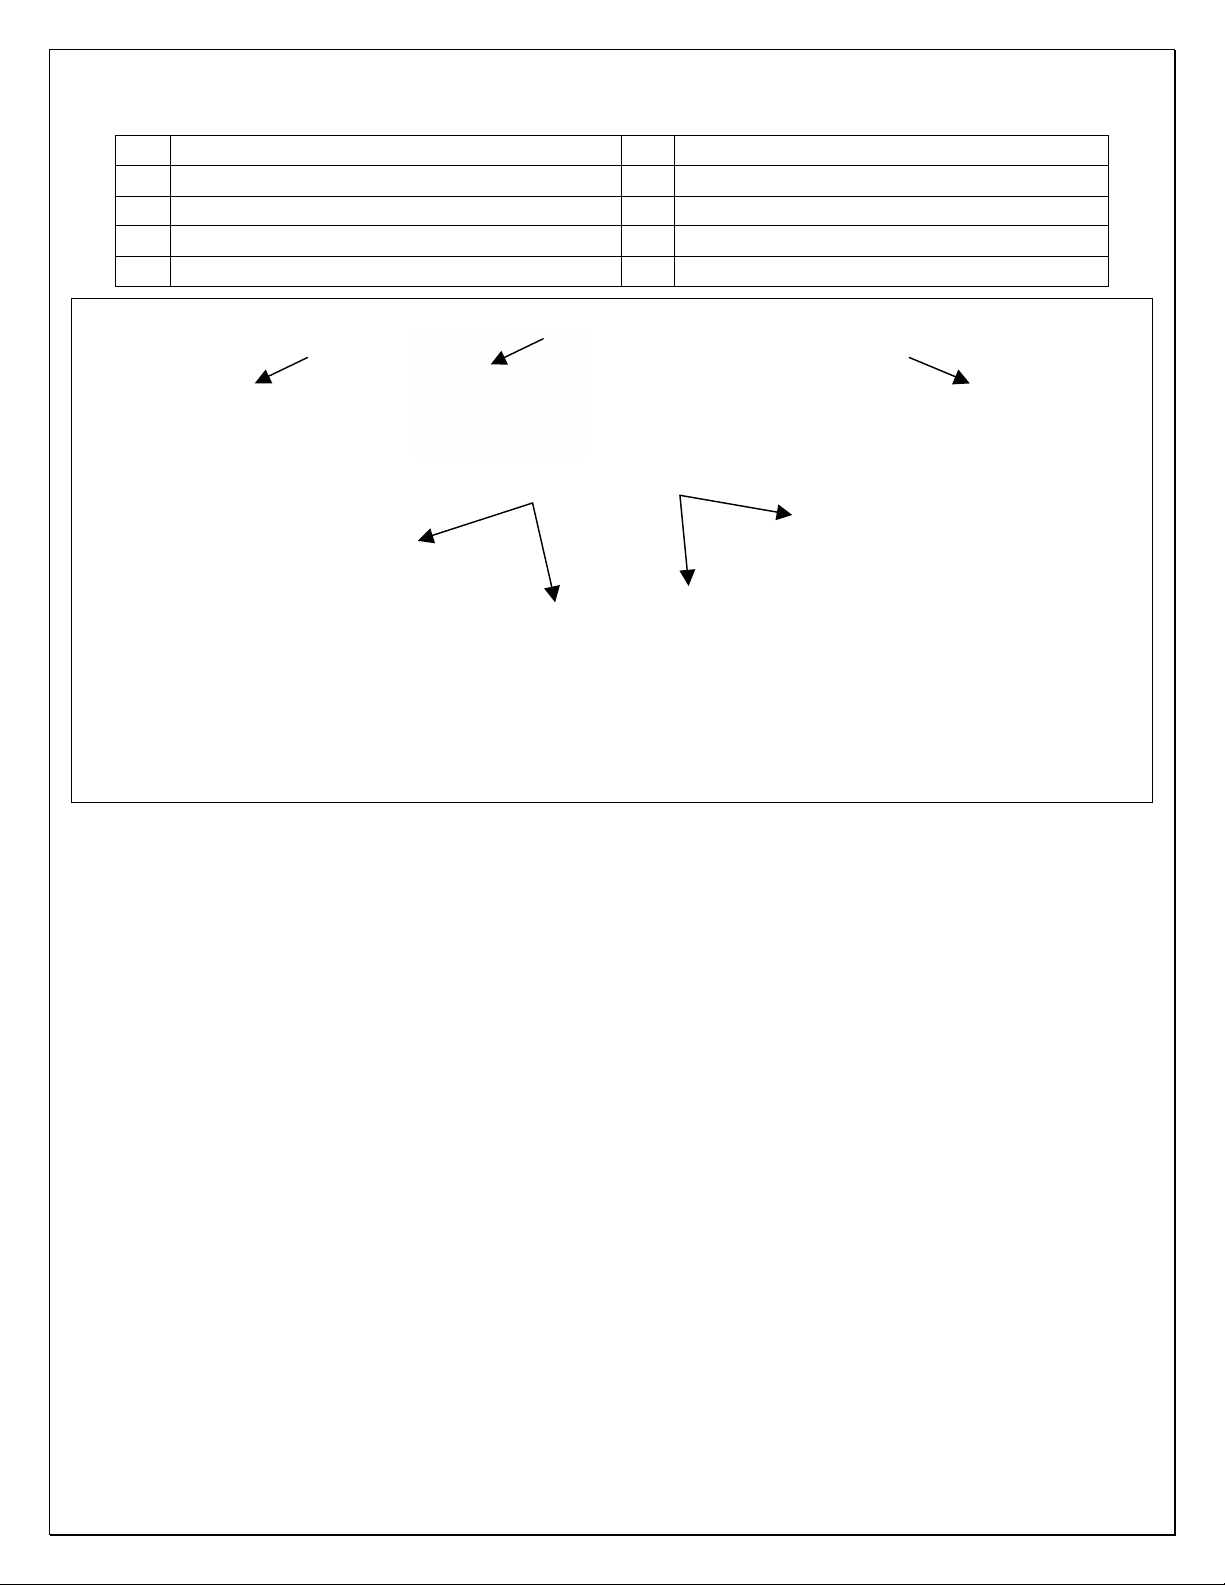
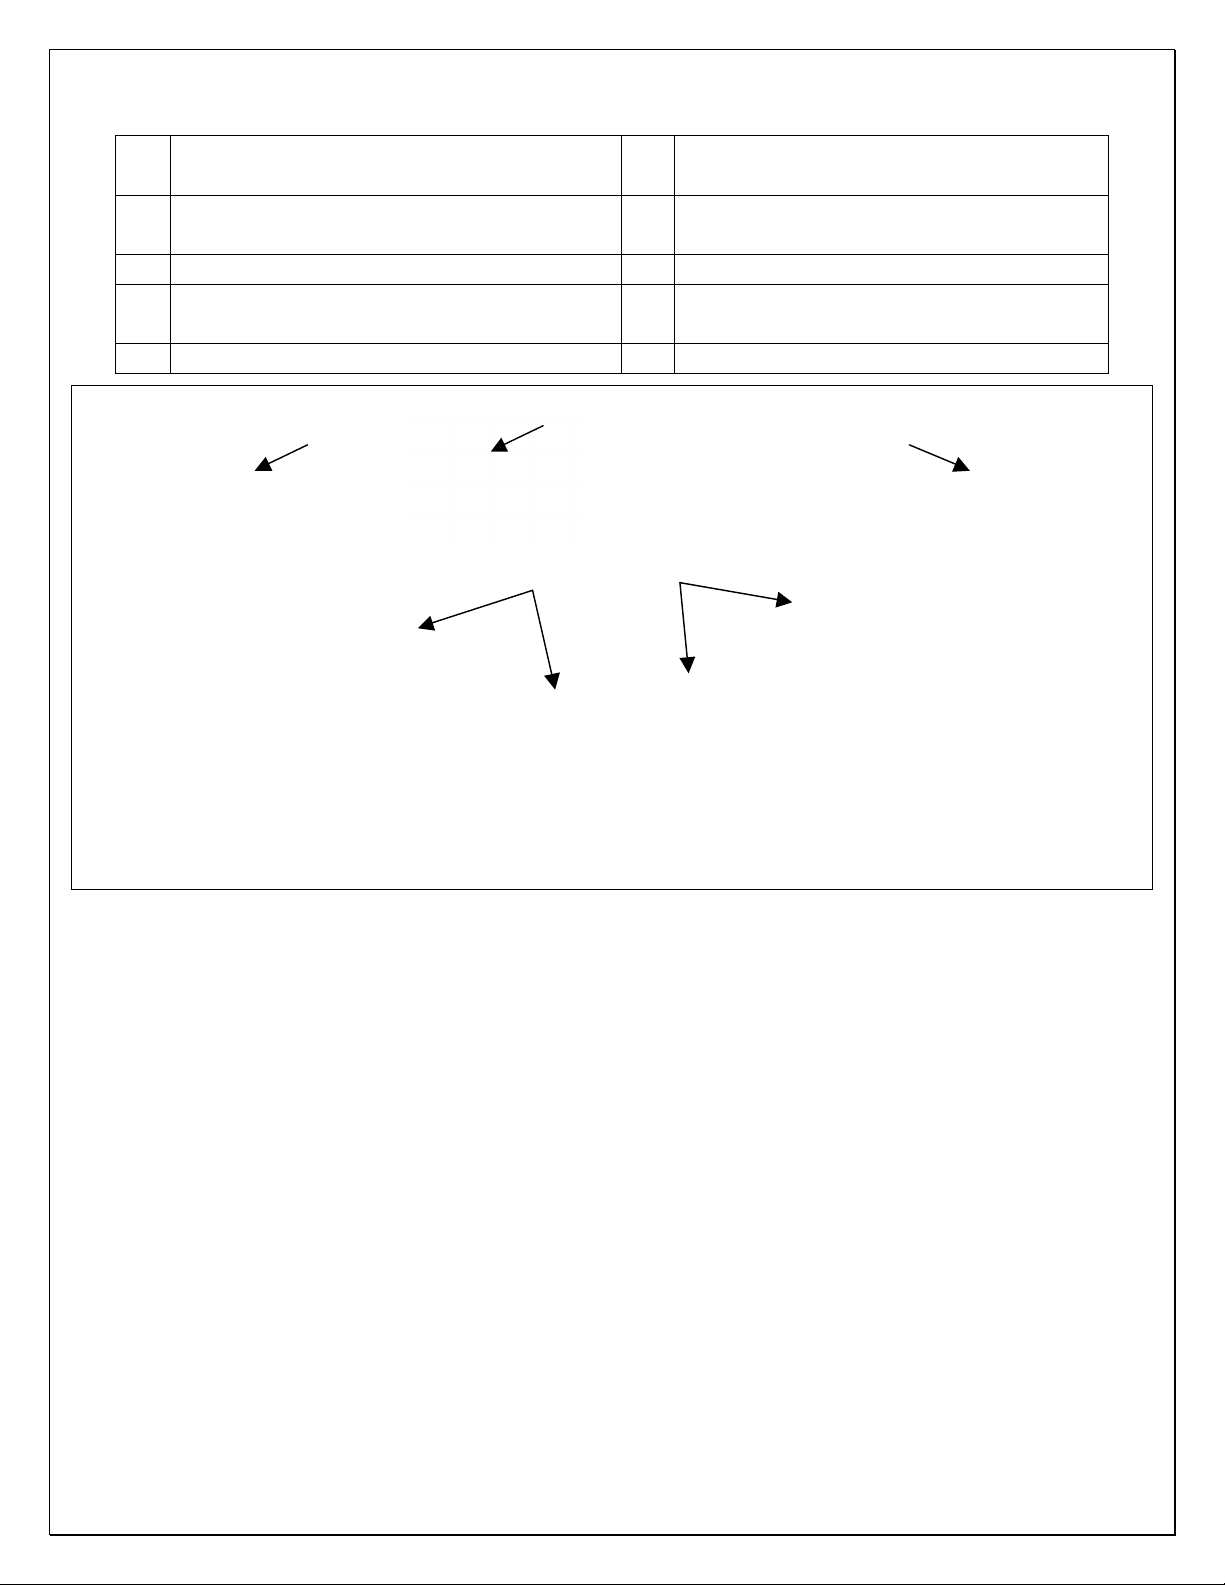
1. Start the installation under the passenger side of the vehicle. Locate the (4) factory running
board mounting locations along the bottom and inner side of the body, (Figure 1). Mounting
Brackets will bolt to the 1st, 2nd and 4th mounting locations. NOTE: It may help to hold a
Bracket up in place to help determine the mounting holes to use along the bottom and inner
side of the body.
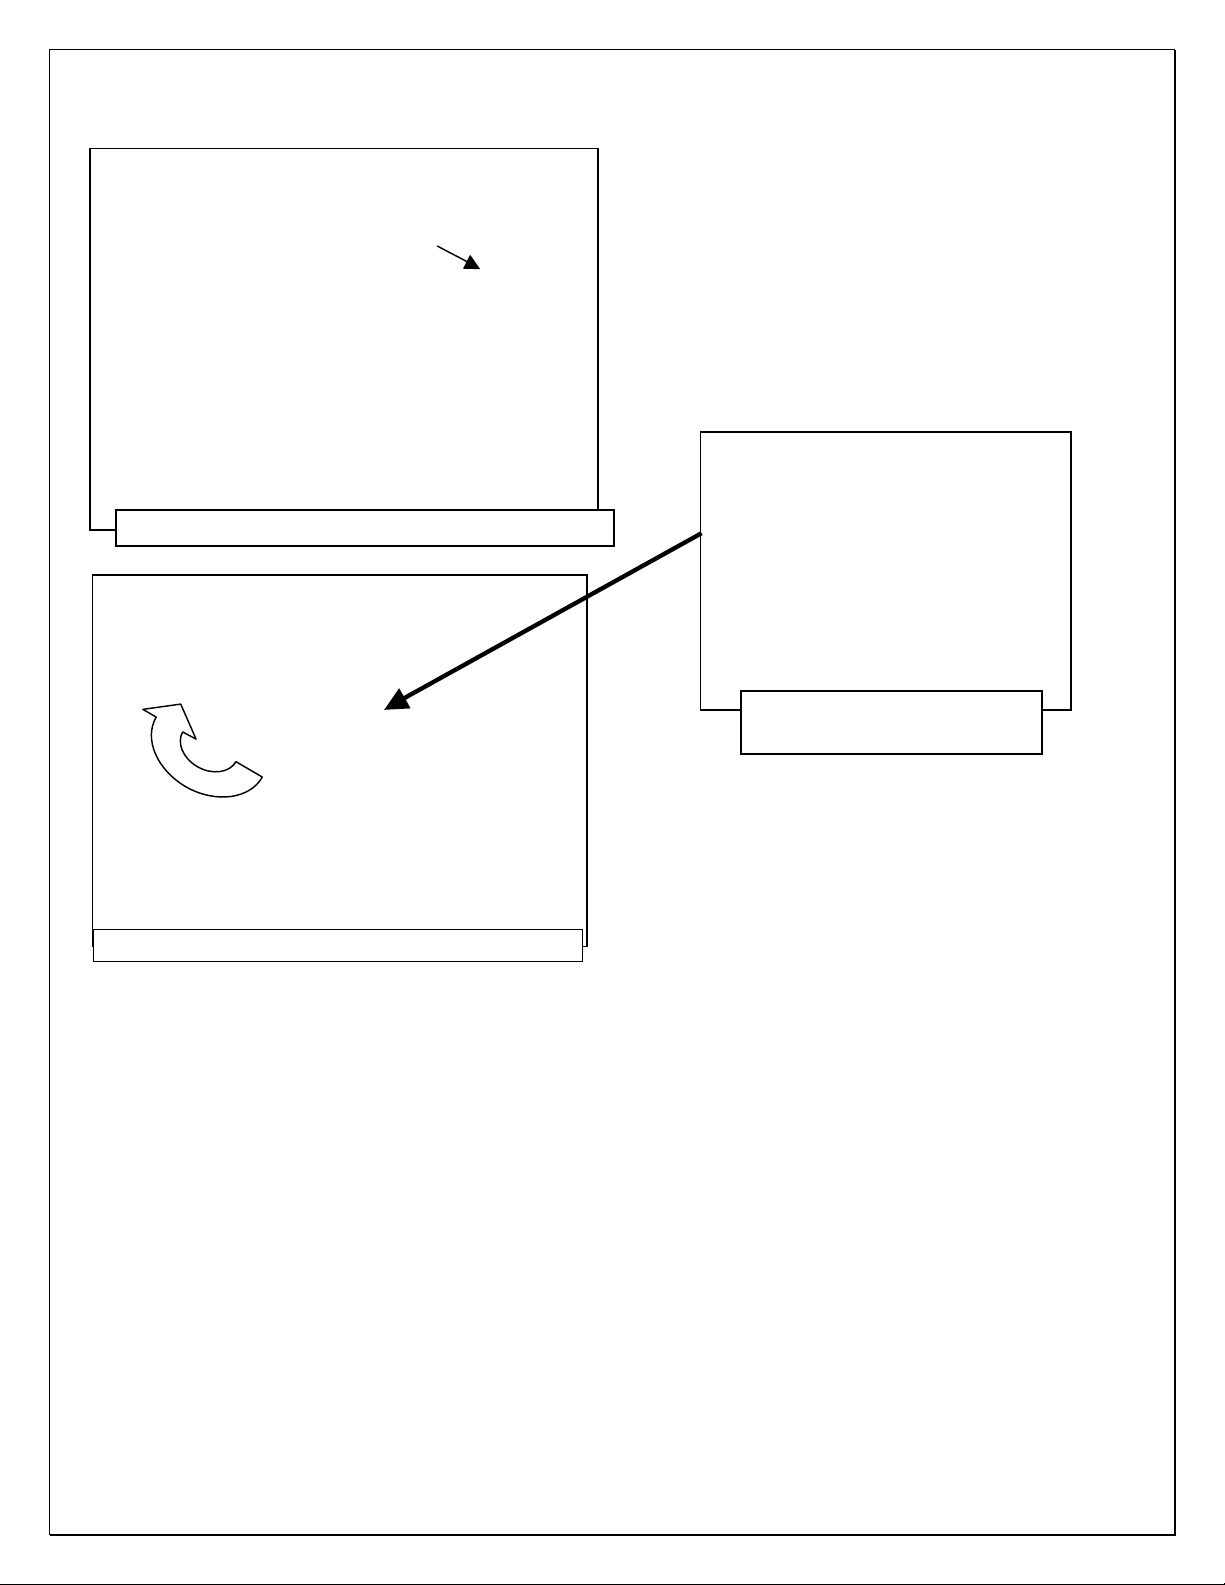
2. Remove rubber plugs as necessary from the (2) factory mounting holes, (Figure 2). Select (1)
8mm Clip Nut. Slide the Clip Nut into the large hole and over the smaller hole next to it. Line up
threaded nut on the Clip Nut with smaller hole in body panel, (Figure 3). Repeat to install a
2nd Clip Nut in the remaining front mounting hole.
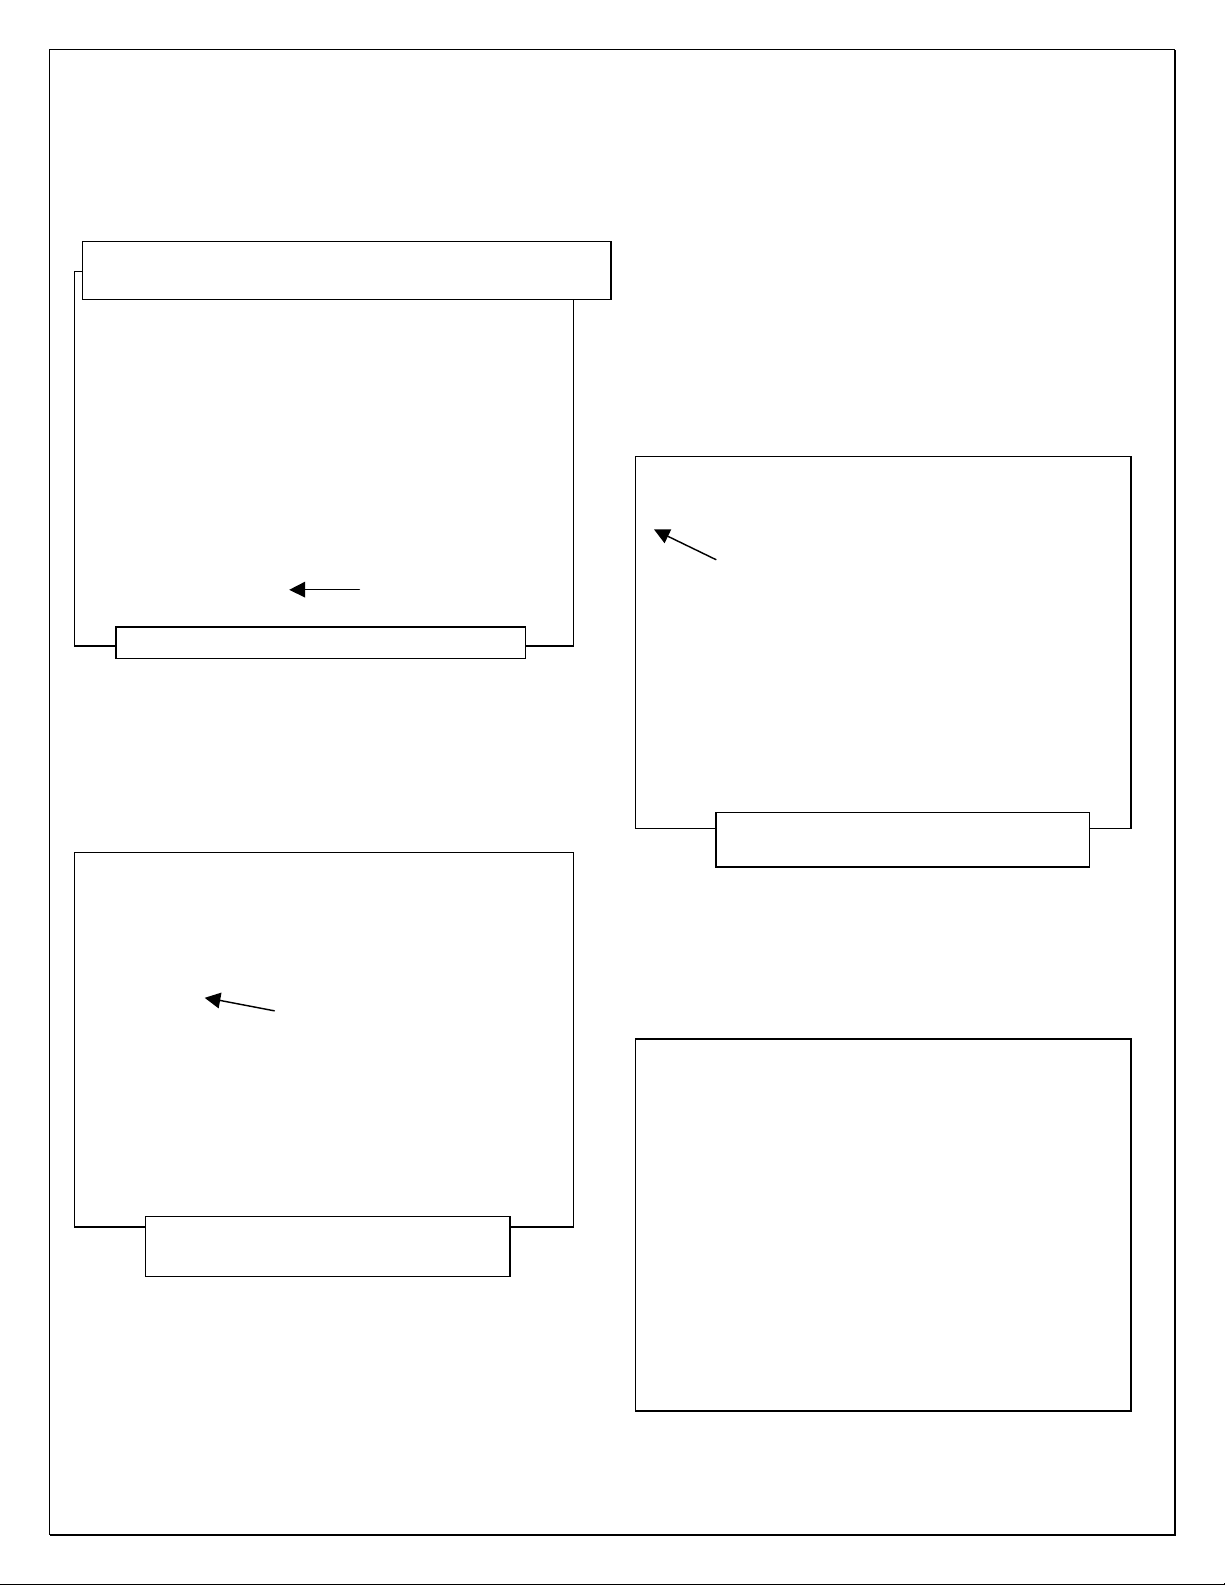
3. Select (1) Front/Center Bracket. IMPORTANT: Use the illustration above and Figure 4 to help
determine the correct Bracket. Attach the Bracket to the (2) Clip Nuts with (2) 8mm Hex Bolts,
(2) 8mm Lock Washers and (2) 8mm Flat Washers, (Figures 4 & 5). Snug but do not fully
tighten the hardware.
4. Move along to the 2nd mounting location, (Figures 1 & 2). Repeat Steps 2 & 3 to install (1)
Front/Center Bracket on the center location.
5. Continue to the last mounting location, (Figures 1 & 6). Repeat Step 2 to install (2) 8mm Clip
Nuts, (Figure 6). Next, select the Passenger side Rear Bracket, (Figure 7). IMPORTANT: Use
the illustration above and Figure 7 to help determine the correct Bracket. Attach the Bracket to
the (2) Clip Nuts using (2) 8mm Hex Bolts, (2) 8mm Lock Washers and (2) 8mm Flat Washers.
6. Select (1) Running Board. Place the Running Board on top of the Brackets. Locate the
channels in the bottom of the Running Board. Select (3) 8mm Double Bolt Plates, (Figure 8).