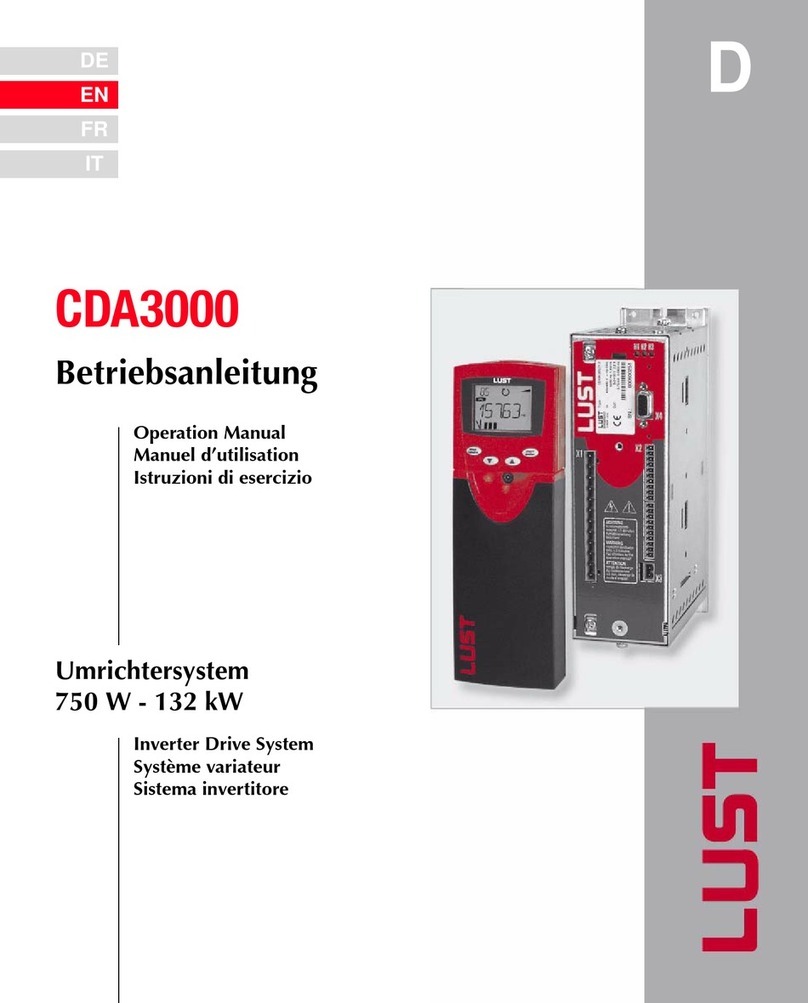
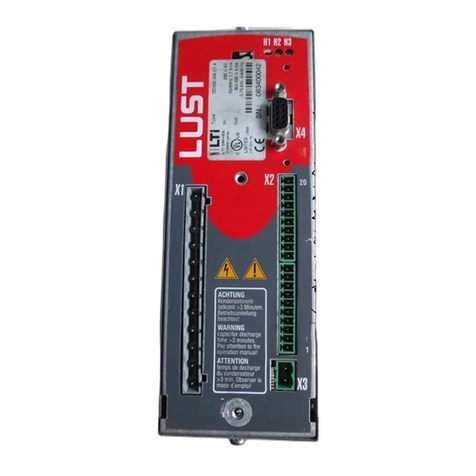
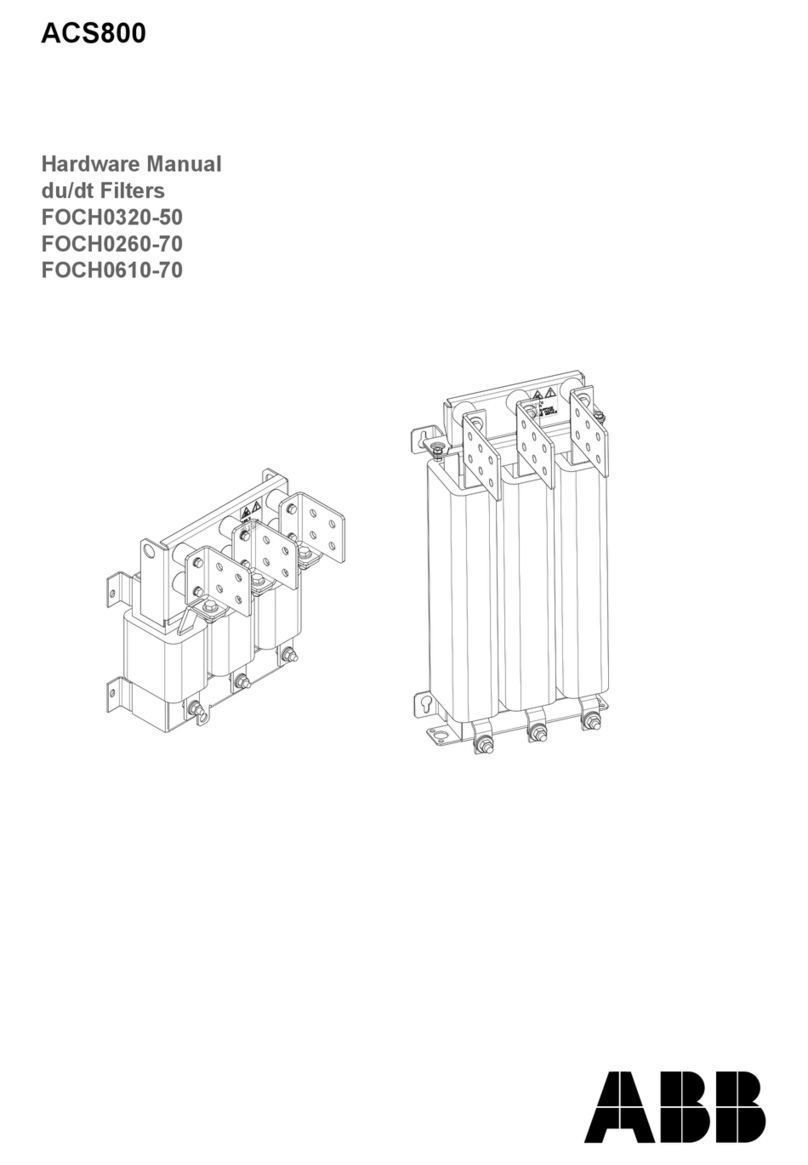
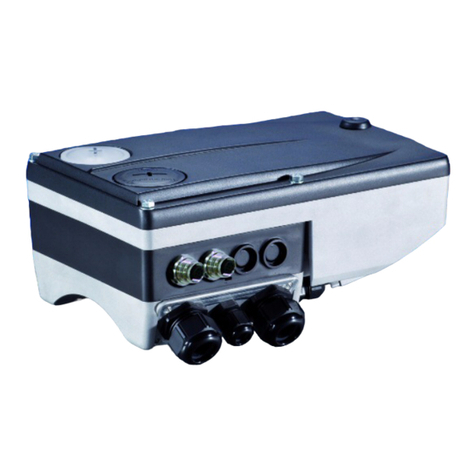
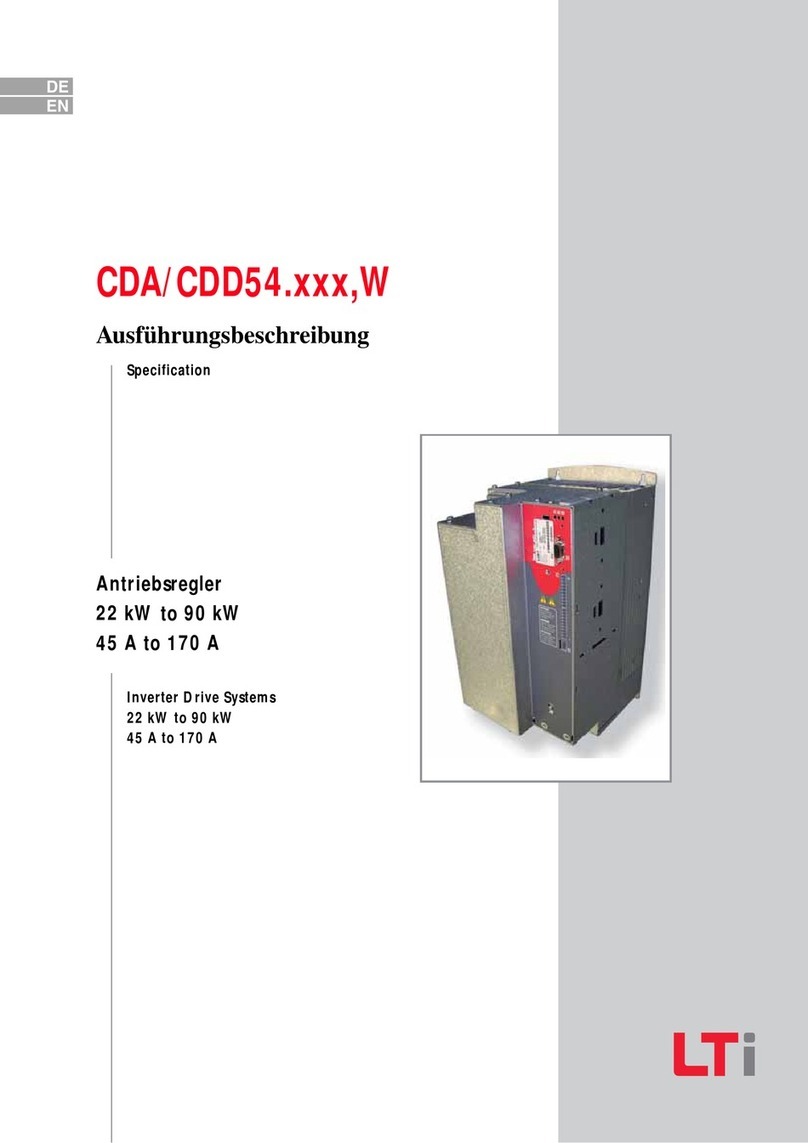
Lust CDA3000 User manual

D
CDA3000
Inverter Drive System
375 W - 90 kW
DE
EN
FR
IT
ES
Operation Manual
Betriebsanleitung
Manuel d’utilisation
Istruzioni di esercizio
Instrucciones de servicio
Umrichtersystem
Système variateur
Sistema invertitore
Sistema de convertidor

Sizes (BG)
Baugrößen (BG)
Modèles (BG)
Grandezze costruttive (BG)
Tamaños (BG)
CDA3000 Operation Manual
Betriebsanleitung CDA3000
Manuel d’utilisation CDA3000
Istruzioni di esercizio CDA3000
Instrucciones de servicio CDA3000
ID no.: 0840.00 B.2-00 • 02/2000
We reserve the right to make technical changes.
Technische Änderungen vorbehalten.
Sous réserve de modifications techniques.
Ci riserviamo il diritto di apportare modifiche tecniche.
Sujeto a modificaciones técnicas.
H1H2 H3
X4
X2
X3
WARNING
capacitordisscharge
time>3minutes.
Payattentionto the
operationmanual!
ATTENTION
tempsdedecharge
ducondensteur
>3min.observer le
modedèmploi!
!
ANTRIEBSTECHNIK
SN.:
000.000.00000000
Typ:
Netz:
Ausg.:
D-35633Lahnau
X1
L3
U
V
W
RB+
RB
L-
L1
L2
ACHTUNG
Kondensatorent-
ladezeit>3Min.
Betriebsanleitung
beachten!
X2
X3
H1H2 H3
X4
ANTRIEBSTECHNIK
SN.:
000.000.00000000
Typ:
Netz:
Ausg.:
D-35633Lahnau
X1
L3
U
V
W
RB+
RB
L-
L1
L2
!
ACHTUNG
Kondensatorent-
ladezeit>3Min.
Betriebsanleitung
beachten!
WARNING
capacitordisscharge
time>3minutes.
Payattentionto the
operationmanual!
ATTENTION
tempsdedecharge
ducondensteur
>3min.observer le
modedèmploi!
X2
X3
H1H2 H3
X4
ANTRIEBSTECHNIK
SN.:
000.000.00000000
Typ:
Netz:
Ausg.:
D-35633Lahnau
L-
L2 RB+
RB
L1 L3 UVW
!
ACHTUNG
Kondensatorent-
ladezeit>3Min.
Betriebsanleitung
beachten!
WARNING
capacitordisscharge
time>3minutes.
Payattentionto the
operationmanual!
ATTENTION
tempsdedecharge
ducondensteur
>3min.observer le
modedèmploi!
X1
L3
U
V
W
RB+
RB
L-
L1
L2
H1H2 H3
X4
X2
X3
ACHTUNG
Kondensatorent-
ladezeit>3Min.
Betriebsanleitung
beachten!
WARNING
capacitordisscharge
time>3minutes.
Payattentionto the
operationmanual!
ATTENTION
tempsdedecharge
ducondensteur
>3min.observer le
modedèmploi!
!
ANTRIEBSTECHNIK
SN.:
000.000.00000000
Typ:
Netz:
Ausg.:
D-35633Lahnau
H1H2 H3
X4
X2
X3
WARNING
capacitordisscharge
time>3minutes.
Payattentionto the
operationmanual!
ATTENTION
tempsdedecharge
ducondensteur
>3min.observer le
modedèmploi!
!
ANTRIEBSTECHNIK
SN.:
000.000.00000000
Typ:
Netz:
Ausg.:
D-35633Lahnau
X1
L3
U
V
W
RB+
RB
L-
L1
L2
ACHTUNG
Kondensatorent-
ladezeit>3Min.
Betriebsanleitung
beachten!
BG5
11...15kW
BG4
5,5...7,5kW
BG3
3,0...4,0kW
BG2
0,75...2,2kW
BG1
0,37...0,75kW
BG6
22...37kW
CDA32.006
CDA32.008
CDA34.003
CDA34.005
CDA34.006
BG7
45...55kW BG8
75...90kW
CDA32.003
CDA32.004
CDA34.008
CDA34.010 CDA34.014
CDA34.017 CDA34.024
CDA34.032
CDA34.045
CDA34.060
CDA34.072 CDA34.090
CDA34.110
CDA34.143
CDA34.170
D

CDA3000 Operation Manual
DE
EN
FR
IT
ES
FR
Dear User!
Signposts
Step Action Comment
1
This Operation Manual will enable you
to install and commission the
CDA3000 drive system very quickly
and easily.
Guide to quick-starting
2
Simply follow the
step-by-step tables
in sections 2/3/4.
Experience “Plug 'n Play” with the
CDA3000.
And away you go!
1 Safety
2 Mechanical installation
Appendix: Technical data, ambient conditions,
engineering guide A
3 Electrical installation
4 Commissioning
5 Diagnosis/Fault rectification
1
2
3
4
5
Table of contents

CDA3000 Operation Manual
Overview of
documentation
If you want more information on the drive solutions presented here and
on the full scope of software features of the drive system, please refer to
the CDA3000 Application Manual. You can order the following docu-
ments from us, or download them free of charge from our website at
www.lust-tec.de:
Pictograms
CDA3000 Operation
Manual
User Manual
KEYPAD
Application Manual
CDA3000
Quick and easy initial
commissioning
Operation via
KEYPAD KP200
Adaptation of the drive
system to the application
CANLust Communication
Module Manual
CANopen Communication
Module Manual
PROFIBUS-DP Communi-
cation Module Manual
Project planning,
installation and
commissioning of the
CDA3000 on the field bus
Project planning,
installation and
commissioning of the
CDA3000 on the field bus
Project planning,
installation and
commissioning of the
CDA3000 on the field bus
D
E
F1
G1
G2
G3
➢ Attention! Misoperation may result in damage to the
drive or malfunctions.
➢ Danger from electrical tension! Improper behaviour
may endanger human life.
➢ Danger from rotating parts! The drive may start
running automatically.
➢ Note: Useful information

CDA3000 Operation Manual 1-1
1
2
3
4
5
A
DE
EN
FR
IT
ES
FR
1Safety
1.1 Measures for
your safety
The CDA3000 inverter drives are quick and safe to handle. For your own
safety and for the safe functioning of your device, please be sure to
observe the following points:
Read the Operation Manual first!
• Follow the safety instructions!
Electric drives are dangerous:
• Electrical voltages > 230 V/460 V:
Dangerously high voltages may still be present
10 minutes after the power is cut. You should therefore
always check that no power is being applied!
• Rotating parts
• Hot surfaces
Your qualification:
• In order to prevent personal injury and damage to
property, only personnel with electrical engineering
qualifications may work on the device.
• The qualified personnel must familiarize themselves with
the Operation Manual (refer to IEC364, DIN VDE0100).
• Knowledge of national accident prevention regulations
(e.g. VBG 4 in Germany)
During installation observe the following instructions:
• Always comply with the connection conditions and
technical specifications.
• Comply with the standards for electrical installations,
such as regarding wire cross-section, grounding lead
and ground connections.
• Do not touch electronic components and contacts
(electrostatic discharge may destroy components).

1-2
1 Safety
CDA3000 Operation Manual
1.2 Intended use Inverter drives are components that are intended for installation in electri-
cal systems or machines. The inverter may not be commissioned (i.e. it
may not be put to its intended use) until it has been established that the
machine as a unit complies with the provisions of the EC Machinery
Directive (89/392/EEC). EN 60204 (Safety of machines) is to be obser-
ved.
If the frequency inverter is used for special applications (e.g. in areas sub-
ject to explosion hazard), the required standards and regulations
(e.g. EN 50014, “General provisions” and EN 50018 “Flameproof enclos-
ure”) must always be observed.
Repairs may only be carried out by authorized repair workshops.
Unauthorized opening and incorrect intervention could lead to physical
injury or material damage. The warranty provided by LUST would thereby
be rendered void.
1.3 Responsibility Electronic devices are fundamentally not fail-safe. The company setting
up and/or operating the machine or plant is itself responsible for ensuring
that the drive is rendered safe if the device fails.
EN 60204-1/DIN VDE 0113 “Safety of machines”, in the section on “Elec-
trical equipment of machines”, stipulates safety requirements for electrical
controls. The requirements are intended to protect the safety of personnel
and machines and to maintain the function capability of the machine or
plant, and must be observed.
The function of an emergency off system does not necessarily have to cut
the power supply to the drive. To protect against danger, it may be more
beneficial to maintain individual drives in operation or to initiate specific
safety sequences. Execution of the emergency off measure is assessed
by means of a risk analysis of the machine or plant, including the electri-
cal equipment to EN 1050, and is determined with selection of the circuit
category in accordance with prEN 954 “Safety of machines - Safety-rela-
ted parts of controls”.
The CDA3000 conforms to the Low Voltage Directive
(73/23/EEC).
EMC The following generic standards are complied with in
application of the installation instructions:
• EN 50081-1 and EN 50081-2 (line-borne and radiated
interference emission)
• IEC 1000-4-2 to 5 / EN61000-4-2 to 5 (Interference
immunity of the inverter module)
CDA3000 Operation Manual 2-1
1
2
3
4
5
A
DE
EN
FR
IT
ES
FR
2 Mechanical installation
2.1 Notes on operation ..................................................2-1
2.2 Mounting variants ...................................................2-1
2.3 Wall mounting (Wx.x) ..............................................2-2
2.4 Cold plate (Cx.x) ......................................................2-4
2.5 Push-through heat sink (Dx.x) ...............................2-7
2.1 Notes on
operation
Please ensure that ...
• no damp enters the device
• no aggressive or conductive substances are in the immediate vicinity
• no drill chippings, screws or foreign bodies drop into the device
• the vent openings are not covered over.
The device may otherwise be damaged.
2.2 Mounting
variants
Step Action Comment
1Refer to the name plate to find out the
mounting variant of your inverter module.
The mounting variants differ in
their mode of cooling.
Name plate Mounting and cooling variant Continued
on
CDA3..., Wx.x Wall
mounting Page 2-2
CDA3..., Cx.x Cold plate Page 2-4
CDA3..., Dx.x Push-through
heat sink Page 2-7
Table 2.1 Mounting and cooling variants
Wx.x
Cx.x
Dx.x

2-2
CDA3000 Operation Manual
2 Mechanical installation
2.3 Wall mounting
Figure 2.1 Mounting clearances (see Table 2.2)
Step Action Comment
1
Mark out the position of the tapped holes
on the backing plate.
Cut a tap for each fixing screw in the
backing plate.
Dimensional drawings/hole
spacing - see Table 2.2
The tapping area will provide
you with good, full-area contact.
2Mount the inverter module vertically on
the backing plate.
Pay attention to the mounting
clearances!
The contact surface must be
metallically bright.
3
Mount the other components, such as the
mains filter, line choke etc., on the back-
ing plate.
Mains filter max. 20 cm below
the inverter module
4Continue with the electrical installation in
section 3.
Note the following points:
• Air must be able to flow unhindered through the device.
• The backing plate must be well grounded.
• The best result for effective EMC installation is attained with a chro-
mated or galvanized backing plate. If backing plates are varnished,
the coating must be removed in the area of the contact surface!
,yzz
{||
F
E
E1 G
F
{{{|||
,
,
y
y
{
{
z
z
z
|
|
|
z
z
z
|
|
|
,,,yyyzzz
UM-xxxx
CM-xxxx
,
,
,
,
,
y
y
y
y
y
,
,
,
,
,
y
y
y
y
y

CDA3000 Operation Manual 2-3
2 Mechanical installation
1
2
3
4
5
A
DE
EN
FR
IT
ES
FR
CDA3...,Wx.x BG12) BG22) BG3 BG4 BG5 BG6 BG7 BG8
Weight [kg] 2.4 3.5 4.4 6.5 7.2 20 31 60
W (width) 70 70 120 170 250 300 412
H (height) 245 270 330 375 600 510
D (depth) 195 220 218 325 305 380
A 40 40 80 130 215 265 340
C235260 320 360 555 485
D∅∅
4.8 ∅ 4.8 ∅ 6∅ 9
Screws 4 x M4 4 x M4 4 x M5 4 x M8
E050
E1 (with module) 35 –
F100
1001)
G>300 > 400
1) Additionally allow enough space at the bottom for the bending radii of the connecting cables.
2) Corresponding to cold plate version with accessory heat sink HS3X.xxx
Table 2.2 Dimensional drawings: Wall mounting (dimensions in mm)
A
C
D
,,,yyy
T
B
H
A
C
D
B
H
,,,yyy
T
BG3
BG4
BG5
BG6
BG7
BG8
BG1
BG2

2-4
CDA3000 Operation Manual
2 Mechanical installation
2.4 Cold plate
Figure 2.2 Mounting clearances (see Table 2.3)
Step Action Comment
1
Mark out the positions of the tapped
holes on the backing plate or the cooler.
Cut a tap for each fixing screw in the
backing plate.
Dimensional drawings/hole
spacing - see Table 2.3.
The tapping area will provide
you with good, full-area contact.
2
Clean the contact surface and coat it
thinly and evenly with heat transfer
compound.
The contact surface must be
metallically bright.
3
Mount the inverter module vertically on
the backing plate or cooler. Tighten all
screws to the same tightness.
Pay attention to the mounting
clearances! Size of cooling area
- see Table 2.4.
4
Mount the other components, such as
the mains filter, line choke etc., on the
backing plate.
Mains filter max. 20 cm below
the inverter module
5Continue with the electrical installation in
section 3.
,yzz
{||
F
E
G
F
{{{|||
,
,
y
y
{
{
z
z
z
|
|
|
,
,
,
y
y
y
z
z
z
{
{
{
|
|
|
,,,yyyzzz
E1
UM-xxxx
CM-xxxx

CDA3000 Operation Manual 2-5
2 Mechanical installation
1
2
3
4
5
A
DE
EN
FR
IT
ES
FR
CDA3...,Cx.x BG1 BG2 BG3 BG4 BG5
Weight [kg] 1.6 2.3 3.2 5.2 6.4
W (width) 70 70 100 150 200
H (height) 215 240 300
D (depth) 120 145 150
A5085135185
C205230 200
C1 –100
D∅∅ 4.8 ∅ 5.5
Screws 4 x M4 6 x M5
E0 0
E1 (with module) 35 5
F1001)
G>300
1) Additionally allow enough space at the bottom for the bending radii of the connecting cables.
Table 2.3 Dimensional drawings: Cold plate (dimensions in mm)
A
B
CH
D
,,,yyy
T
A
C1
C
D
T
,,,,yyyy
B
H
BG3
BG4
BG5
BG1
BG2

2-6
CDA3000 Operation Manual
2 Mechanical installation
.
Note the following points:
• The cooling can be attained either by a sufficiently
large backing plate (see Table 2.4) or by an additional
cooler. The cooler must be mounted centrally behind
the hottest area (1) of the device.
• The temperature on the rear panel of the inverter mod-
ule must not exceed 85.0 °C. At a temperature > 85° C
the device shuts down automatically. It can only be restarted when it
has cooled.
• Required evenness of contact surface = 0.05 mm, maximum
roughness of contact surface = roughness factor 6.3
(1)
Size Output Inverter module PV 1)
[W]
RthK 3)
[K/W]
Backing plate (unvarnished
steel min. cooling area
Ambient
temperature
BG1 0.375 kW CDA32.003,Cx.x 25 W 0.05 None 45°C
0.75 kW CDA32.004,Cx.x 45 W 0.05 650x100mm = 0.065m² 45°C1), 40°C2)
BG2
1.1 kW CDA32.006,Cx.x 75 W 0.05 650x460mm = 0.3m² 45°C1), 40°C2)
1.5 kW CDA32.008,Cx.x 95 W 0.05 650x460mm = 0.3m² 45°C1), 40°C2)
0.75 kW CDA34.003,Cx.x 45 W 0.05 None 45°C1), 40°C2)
1.5 kW CDA34.005,Cx.x 80 W 0.05 650x460mm = 0.3m² 45°C1), 40°C2)
2.2 kW CDA34.006,Cx.x 100 W 0.05
An additional cooler is required to supply
adequate cooling.
For project planning notes see Appendix A.3.
BG3 3.0 kW CDA34.008,Cx.x 150 W 0.03
4.0 kW CDA34.010,Cx.x 190 W 0.03
BG4 5.5 kW CDA34.014,Cx.x 220 W 0.02
7.5 kW CDA34.017,Cx.x 270 W 0.02
BG5 11 kW CDA34.024,Cx.x 400 W 0.015
15 kW CDA34.032,Cx.x 480 W 0.015
1) With a power stage clock frequency of 4 kHz
2) With a power stage clock frequency of 8 kHz
3) Thermal resistance between active cooling area and cooler
Table 2.4 Required cooling with cold plate
Note the following points:
• The backing plate must be grounded over a large area.
• The best result for effective EMC installation is attained with a chro-
mated or galvanized backing plate. If backing plates are varnished,
the coating must be removed in the area of the contact surface!

CDA3000 Operation Manual 2-7
2 Mechanical installation
1
2
3
4
5
A
DE
EN
FR
IT
ES
FR
2.5 Push-through
heat sink (Dx.x)
Step Action Comment
1
Mark out the positions of the tapped
holes and the breakthrough on the
backing plate.
Cut a tap for each fixing screw in the
backing plate.
Dimensional drawings/hole
spacing - see Table 2.6.
The tapping area will provide
you with good, full-area contact.
2
Mount the inverter module vertically on
the backing plate. Tighten all screws to
the same tightness.
Pay attention to the mounting
clearances! The mounting seal
must contact flush on the sur-
face.
3
Mount the other components, such as the
mains filter, line choke etc., on the
backing plate.
Mains filter max. 20 cm below
the inverter module
4Continue with the electrical installation in
section 3.
Note the following points:
• Distribution of power loss:
• The all-round mounting collar must be fitted with a seal. The seal
must fit flush on the surface and must not be damaged:
(1) Seal
(2) Tapped hole for
EMC contact
(3) Outside
(4) Inside
• The backing plate must be well grounded.
• The best result for effective EMC installation is attained with a chro-
mated or galvanized backing plate. If backing plates are varnished,
the coating must be removed in the area of the contact surface!
BG3 BG4 BG5 BG6
Power loss Outside (3) 70% 75% 80% 85%
Inside (4) 30% 25% 20% 15%
Protection Heat sink side (3) IP54 IP54 IP54 IP20
Machine side (4) IP20 IP20 IP20 IP20
,,yy
,,yy
,yz
(1)
(4)
(3)
(2)

2-8
CDA3000 Operation Manual
2 Mechanical installation
Figure 2.3 Mounting clearances (see Table 2.6)
Dimensions
of break-
through
BG3 BG4 BG5 BG6
W (width) 75 125 175 250
H (height) 305 305 305 365
Table 2.5 Breakthrough for push-through heat sink (dimensions in mm)
F
E
E1 G
F
{{{||
,
,
y
y
{
{
z
z
z
|
|
|
,,,yyyzzz
UM-xxxx
CM-xxxx
,,yyz
{{|
,
,
,
y
y
y
{
{
{
B
H
B
H
B
H

CDA3000 Operation Manual 2-9
2 Mechanical installation
1
2
3
4
5
A
DE
EN
FR
IT
ES
FR
CDA3...,Dx.x BG3 BG4 BG5 BG6
Weight [kg] 4.6 6.7 7.4 20.5
W (width) 110 160 210 285
H (height) 340 425
D (depth) 138 248
A90140 190 264
A1 –80 100 –
C 320 381
C1 200 411
D∅∅
4.8 ∅ 4.8 ∅ 4.8 ∅ 6.0
Screws 8 x M4 10 x M4 10 x M4 6 x M5
E100
E1 (with module) 10 0
F1001)
G>300 > 400
1) Additionally allow enough space at the bottom for the bending radii of the connecting cables.
Table 2.6 Dimensional drawings: Push-through heat sink
(dimensions in mm)
A1
A
C1
C
D
T
,,,yyy
B
H
A
CC1
D
T
,,,yyy
B
H
BG6BG3
BG4
BG5
For additional ambient
conditions refer to
Appendix A.2.

2-10
CDA3000 Operation Manual
2 Mechanical installation

CDA3000 Operation Manual 3-1
1
2
3
4
5
A
DE
EN
FR
IT
ES
FR
3 Electrical installation
3.1 Overview ..................................................................3-2
3.2 Grounding lead connection .....................................3-3
3.3 Motor connection .....................................................3-4
3.4 Mains connection ....................................................3-6
3.5 DC network ..............................................................3-8
3.6 Braking resistor (RB) ..............................................3-9
3.7 Control terminals ..................................................3-10
3.7.1 Choice of terminal assignment ...........................3-11
3.7.2 Specification of control terminals .......................3-12
3.7.3 Terminal assignment 1 ......................................3-13
3.7.4 Terminal assignment 2 ......................................3-14
3.7.5 Terminal assignment 3 ......................................3-15
3.7.6 Terminal assignment 4 ......................................3-16
Attention: The installation must only be carried out by qualified
electricians who have undergone instruction in the
necessary accident prevention measures.

3-2
CDA3000 Operation Manual
3 Electrical installation
3.1 Overview
1) For supplementary components see CDA3000 Order Catalogue.
2) In inverter modules up to 7.5 kW (BG1 to BG4) the mains filter is built-in.
Figure 3.1 Overview of connections
,
,
H1 H2 H3
X4
X2
X1
X1
X3
CDA34.xxx
CDA32.xxx
20
19
18
17
16
15
14
13
12
11
10
9
8
7
6
5
4
3
2
1
L1
U
V
W
L+
L+
RB
L-
L-
L3
L2
L1
U
V
W
L+
RB
L-
N
L1
K1
K1
L2L3
L1 N
PE
RB ϑ
M
3~
FN
(1)
(7)
(1)
(2)
(6)
(8)
(4)
(5)
(3)
Attention: For all
shielded connections a
cable type with double
copper braiding with
60-70% coverage must
be used.
Key Explanation
(1) Line choke1) Reduces the voltage distortions in the system
(2) Mains filter1) 2) Suppresses line-borne interference emission
(3) Braking resistor1) Required for repeated braking
(4) Control term. X2 Connection terminal - see section 3.7
(5) Motor PTC terminal X3 For thermal monitoring of the motor, see section 3.3
(6) RS232 terminal X4 For operation with KEYPAD/DRIVEMANAGER see section 4.6
(7) Connection for
DC network Permits power exchange between inverters, see section 3.5
(8) Software name plate Indicates the shipped software status

CDA3000 Operation Manual 3-3
3 Electrical installation
1
2
3
4
5
A
DE
EN
FR
IT
ES
FR
3.2 Grounding lead
connection
Figure 3.2 Star configuration layout of the grounding lead
Step Action Comment: PE mains connection
to VDE 0100 part 540
1
Ground every inverter module!
Connect terminal X1/ in star
configuration to the PE-rail (main
ground) in the switch cabinet.
Mains connection < 10 mm²
:
Use grounding lead (PE) cross section
min. 10 mm²
or
2 wires with cross-
section of mains leads.
Mains connection > 10 mm²:
Use grounding lead (PE) cross section
according to cross-section of mains
leads.
2
Also connect the grounding lead con-
nections of all other components,
such as the line choke, filter, etc., in
star configuration to the PE-rail
(main ground) in the switch cabinet.
Note the following points:
• The grounding lead must be laid out in star configuration to conform
to the EMC standards.
• The backing plate must be well grounded.
• The motor cable, mains lead and control cable must be laid
separately from each other.
• Avoid loops, and lay cable over short distances.
• The operational leakage current is > 3.5 mA.
,,
,,
,,
W1
V2 W2
U2
U1 V1
,,
,
,,
,,
,
W1
V2 W2
U2
U1 V1
,,
,,
W1
V2 W2
U2
U1 V1
PE

3-4
CDA3000 Operation Manual
3 Electrical installation
3.3 Motor
connection
Step Action Comment
1
Define the wire cross-section depend-
ent on the maximum current and ambient
temperature.
Wire cross-section as per
VDE0100, part 523, see section
3.4 "Mains connection".
2
Wire the motor phases U, V, W by way of
a shielded cable and ground the motor to
X1/ .
Mount shield at both ends to
reduce interference emission.
3Wire the temperature sensor PTC
(if fitted) with separately shielded wires.
Mount shield at both ends to
reduce interference emission.
Figure 3.3 Connection of motor
Note the following points:
• Always use shielded cables to connect the motor.
• Shield contact on the inverter module:
− For inverter modules BG1 ... 5 (0.37 ... 15 kW) there is an
accessory shield (ST02, ST04 or ST05) permitting simple clip
mounting with all-round contact.
− For inverter modules BG6 ... 8 (22 ... 90 kW) we recommend
using a cable clamp rail with shield connection directly on the
cable gland in the switch cabinet.
• The motor at the inverter output may be shut off by means of a
contactor or motor circuit-breaker. The inverter module cannot be
damaged in the process. It may switch to Fault status, however, if a
switching voltage overload occurs when the motor is shut off. In
such cases a motor choke must be fitted.
• Multi-motor operation is possible; for project planning notes see
Appendix A.4.
The CDA3000 inverter
modules are short-cir-
cuit and earth fault
proof at the terminals
during operation. If an
earth fault or short-cir-
cuit occurs in the motor
cable, the power stage
is disabled and an error
message is sent.
X3
X1
U
V
W
M
3~ ϑ
1
V
2
U
W
Other manuals for CDA3000
3
This manual suits for next models
20
Table of contents
Other Lust Inverter Drive manuals