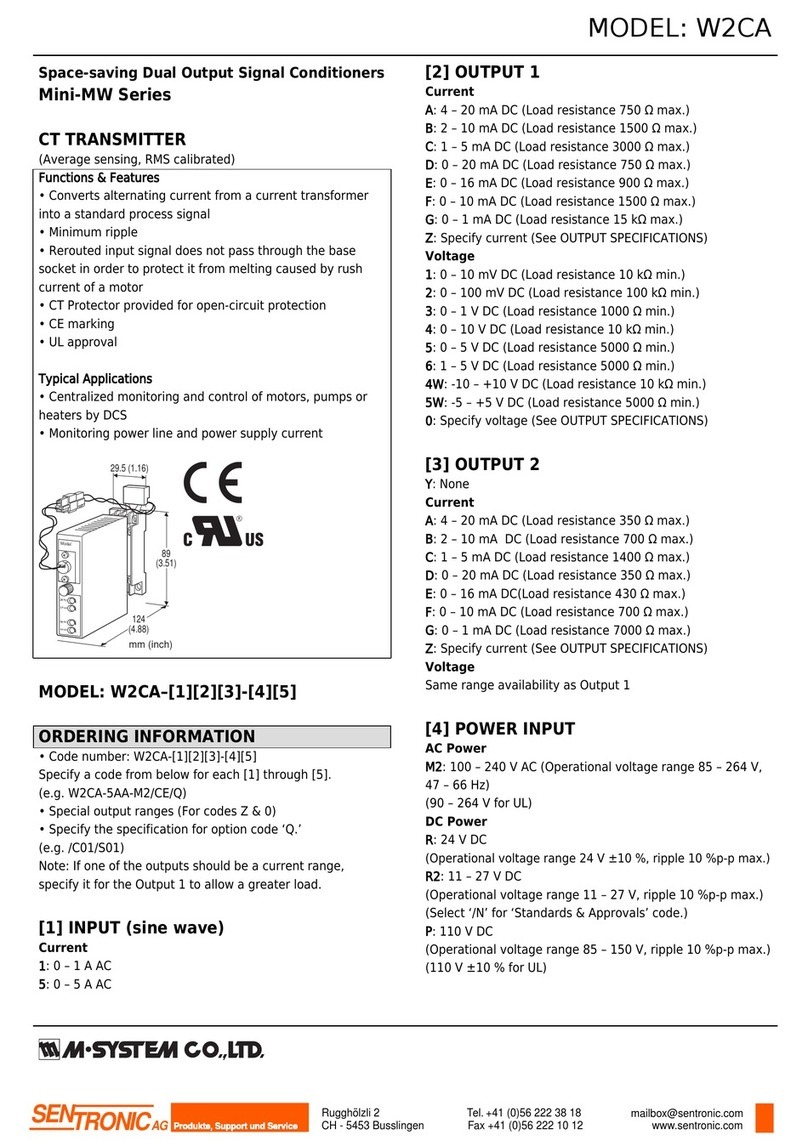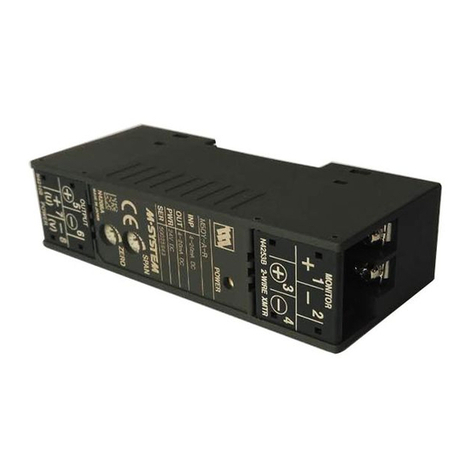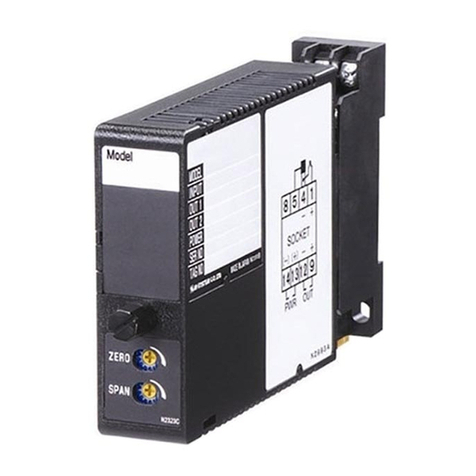
M2XPA3
P. 1 / 5EM-5104 Rev.1
FREQUENCY TRANSMITTER
(PC programmable) MODEL M2XPA3
INSTRUCTION MANUAL
BEFORE USE ....
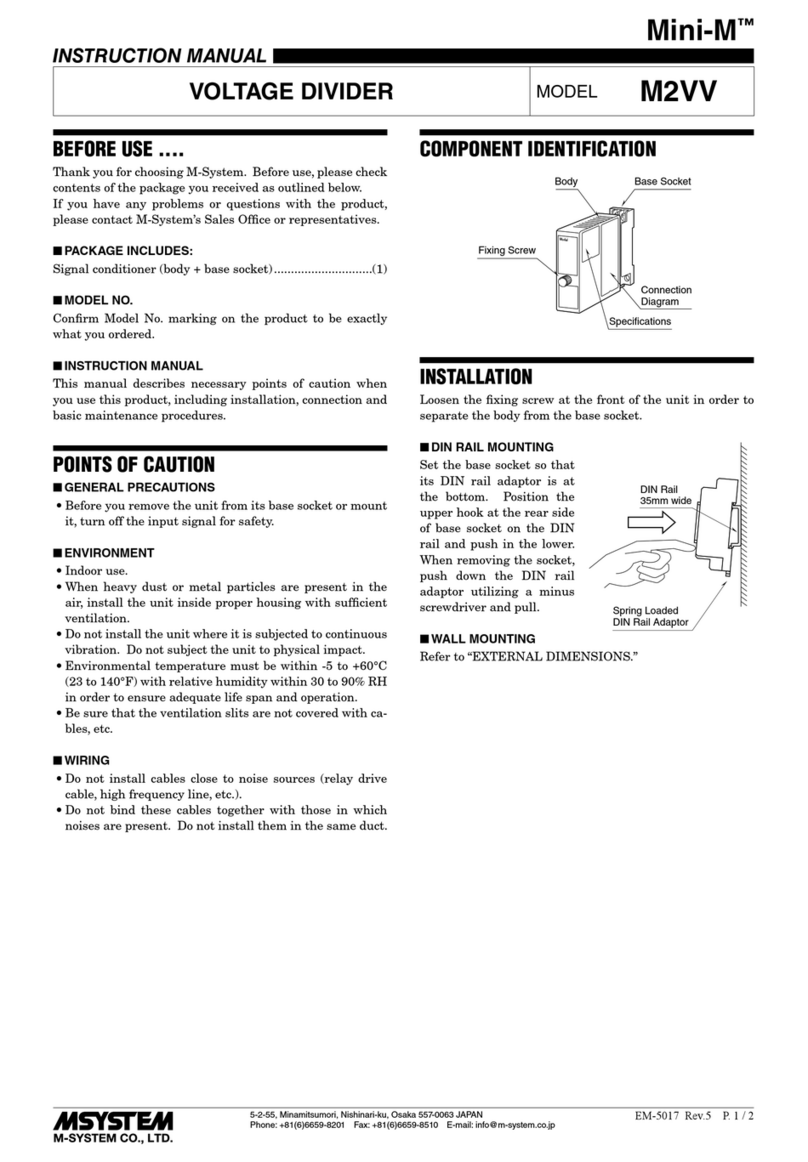
Thank you for choosing M-System. Before use, please check
contents of the package you received as outlined below.
If you have any problems or questions with the product,
please contact M-System’s Sales Office or representatives.
■ PACKAGE INCLUDES:
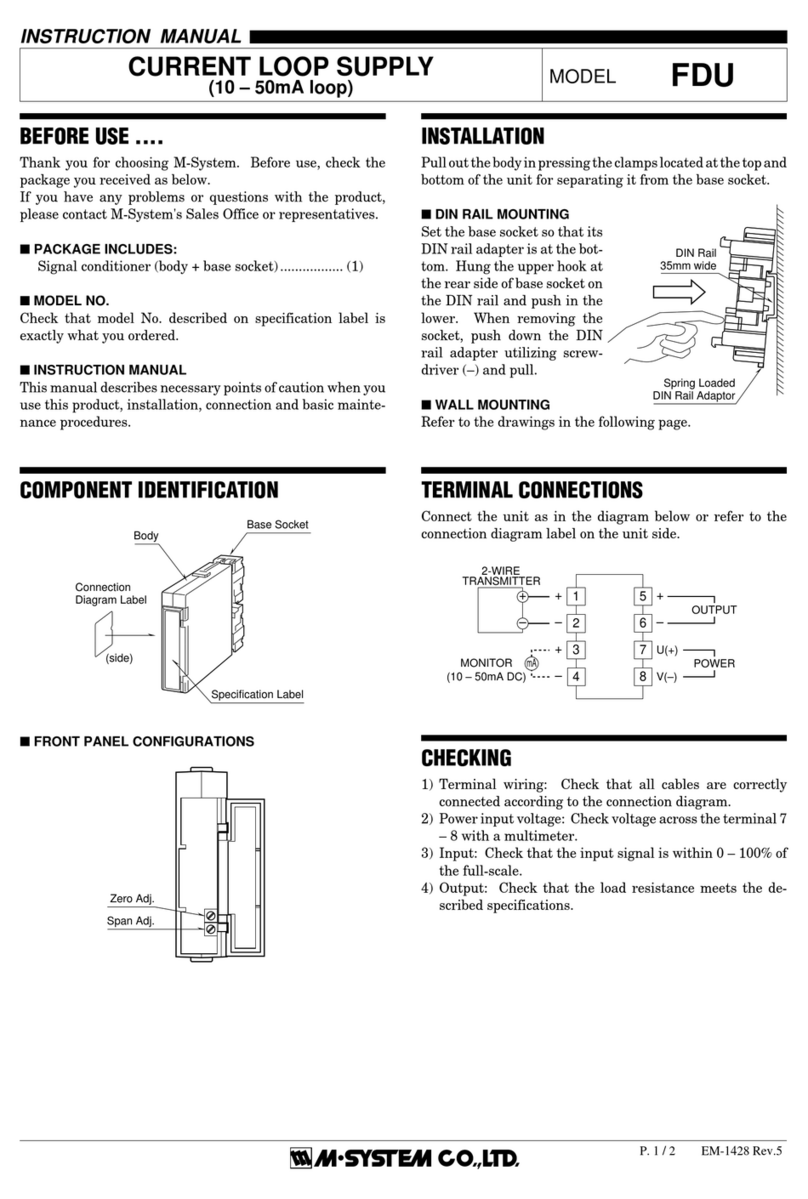
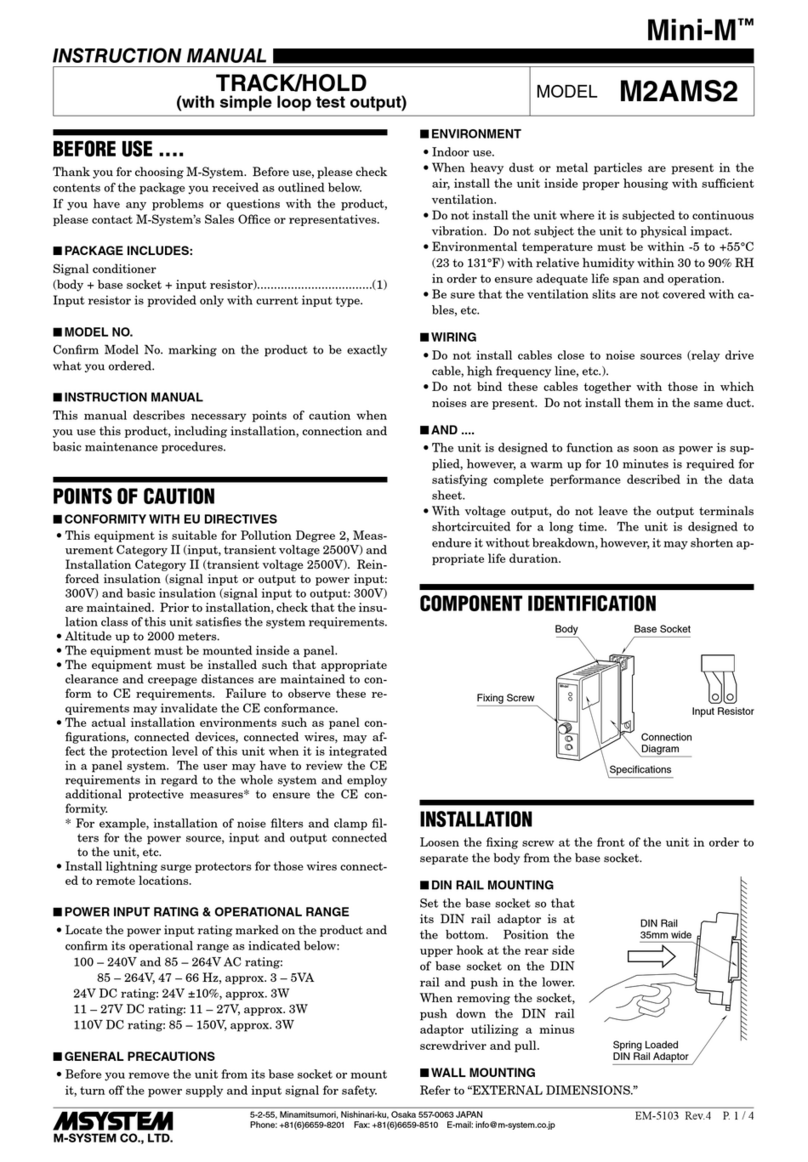
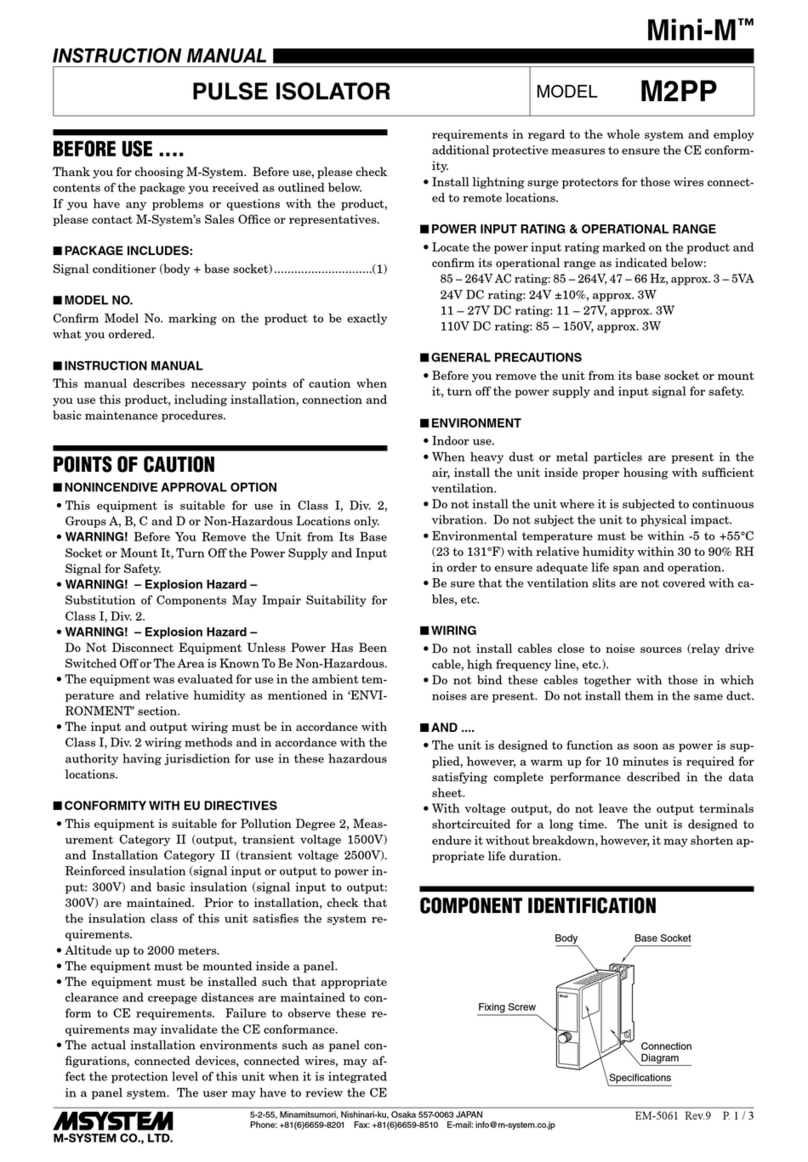
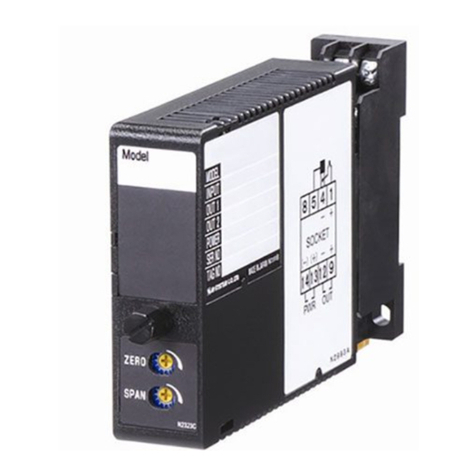
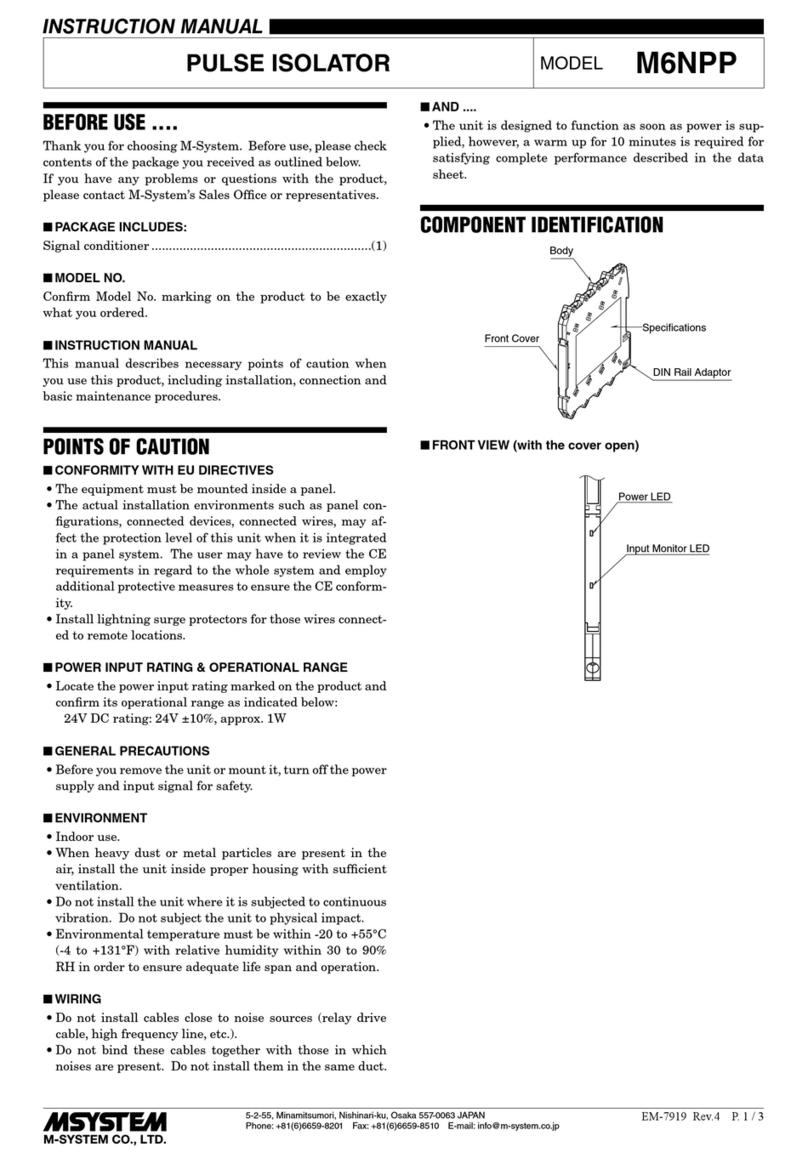
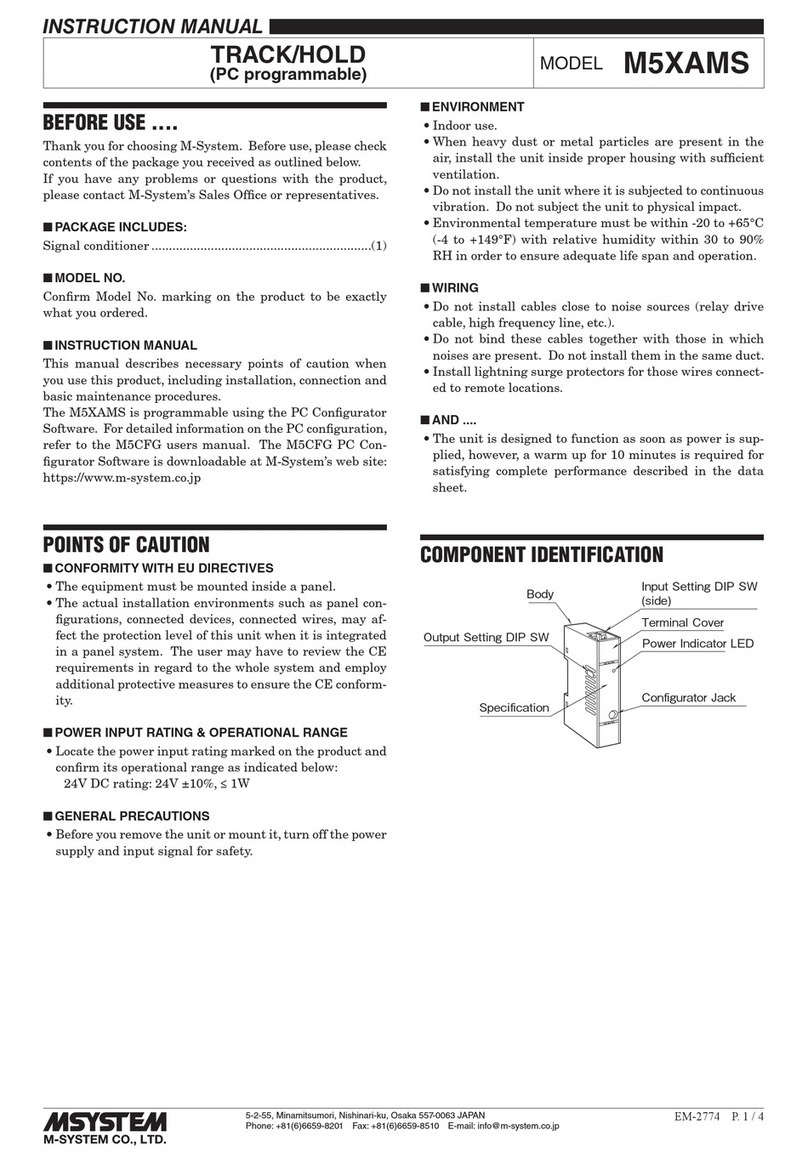
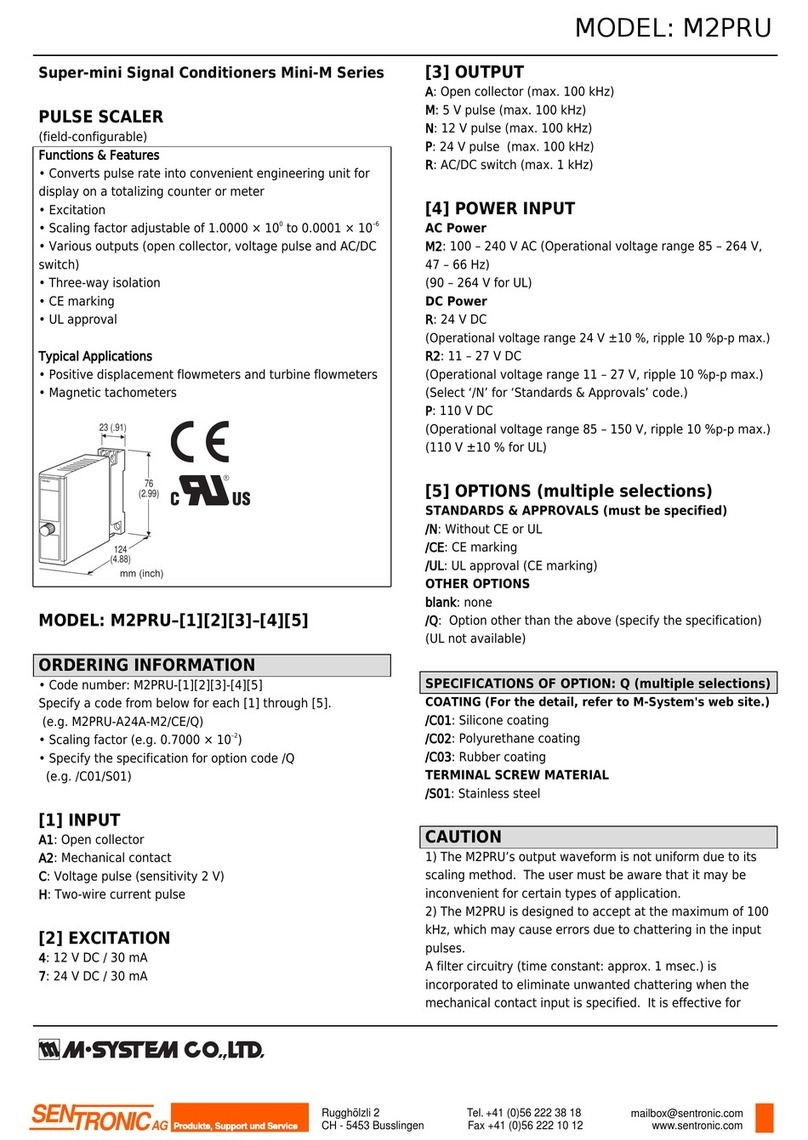
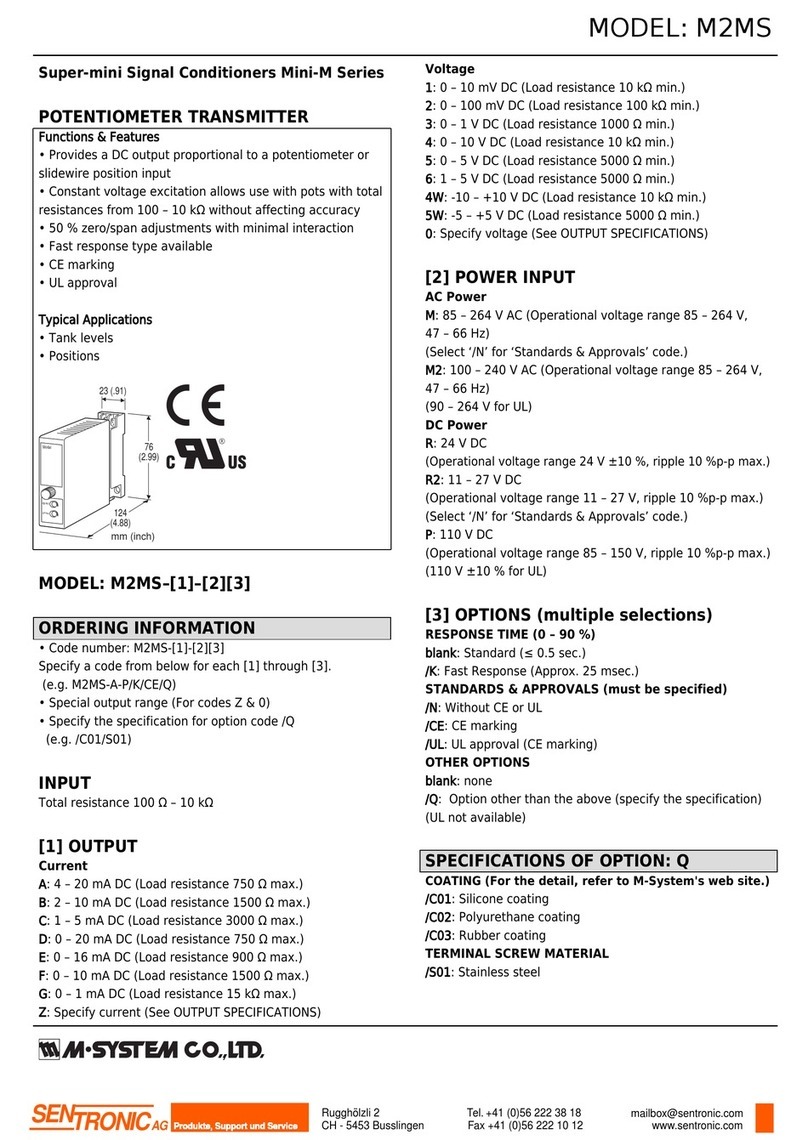
Signal conditioner (body + base socket) ...................... (1)
■ MODEL NO.
Confirm Model No. marking on the product to be exactly
what you ordered.
■ INSTRUCTION MANUAL
This manual describes necessary points of caution when
you use this product, including installation, connection and
basic maintenance procedures.
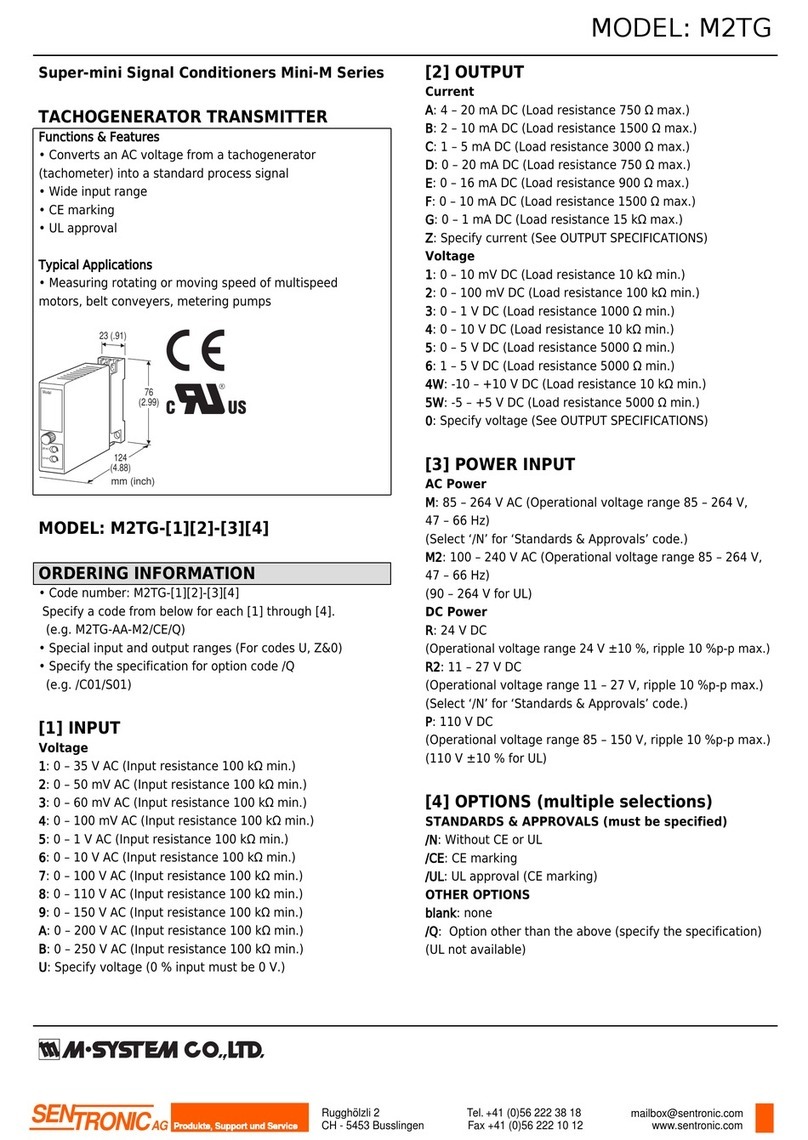
To change I/O ranges, the JX Configurator Connection Kit
(model: JXCON) is required. For detailed information, refer
to the data sheet and instruction manual for the JXCON.
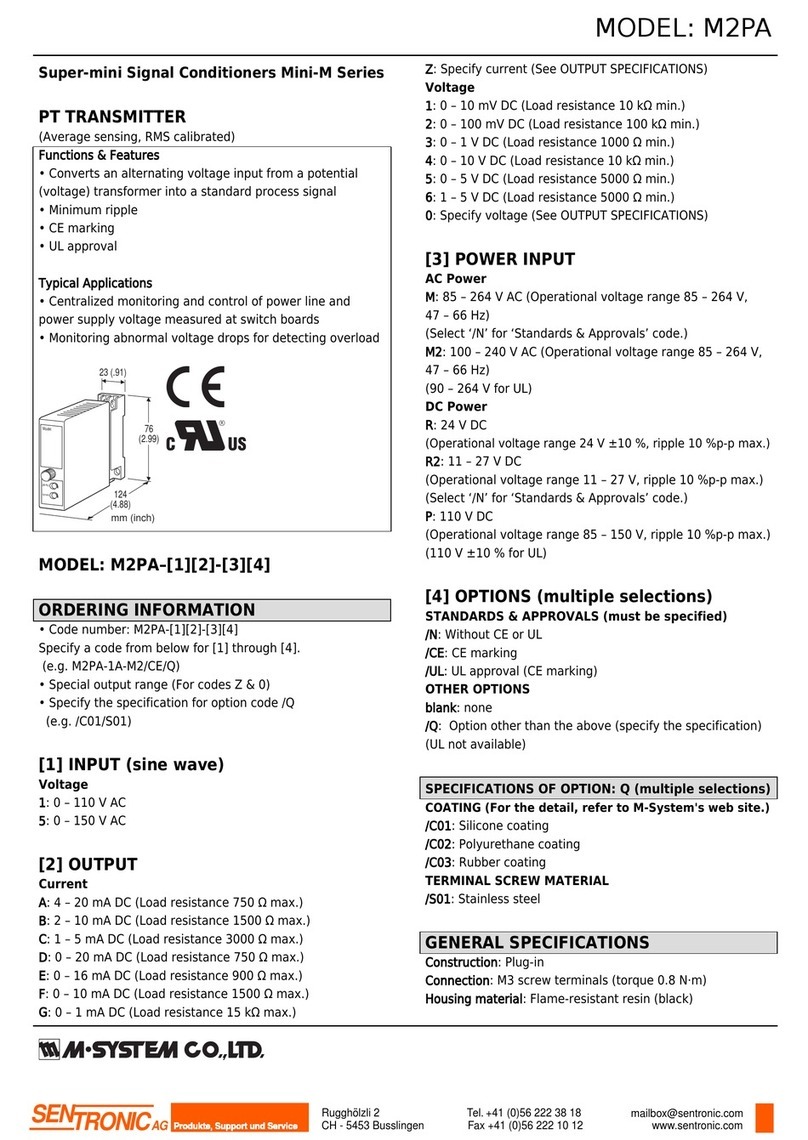
■ POWER INPUT RATING & OPERATIONAL RANGE
•Locate the power input rating marked on the product and
confirm its operational range as indicated below:
100 – 240V AC rating: 85 – 264V (90 – 264V for UL),
47 – 66 Hz, approx. 4 – 6VA
24V DC rating: 24V ±10%, approx. 2W
110V DC rating: 85 – 150V (110V ±10% for UL), approx.
2W
■ WARNING!
• To protect very delicate components contained inside
the unit against damage from static electricity, wear a
grounded wrist strap when handling them. If you do not
have one, touch both of your hands to a safely grounded
object or to a metal object.
•Ensure that the power supply and input signal are
switched off before you plug in or remove the unit.
■ ENVIRONMENT
• Indoor use
• When heavy dust or metal particles are present in the air,
install the unit inside proper housing with sufficient ven-
tilation.
• Do not install the unit where it is subjected to continuous
vibration. Do not subject the unit to physical impact.
• Environmental temperature must be within -5 to +55°C
(23 to 131°F) with relative humidity within 30 to 90% RH
in order to ensure adequate life span and operation.
• Be sure that the ventilation slits are not covered with ca-
bles, etc.
■ WIRING
• Do not install cables (power supply, input and output)
close to noise sources (relay drive cable, high frequency
line, etc.).
• Do not bind these cables together with those in which
noises are present. Do not install them in the same duct.
■ AND ....
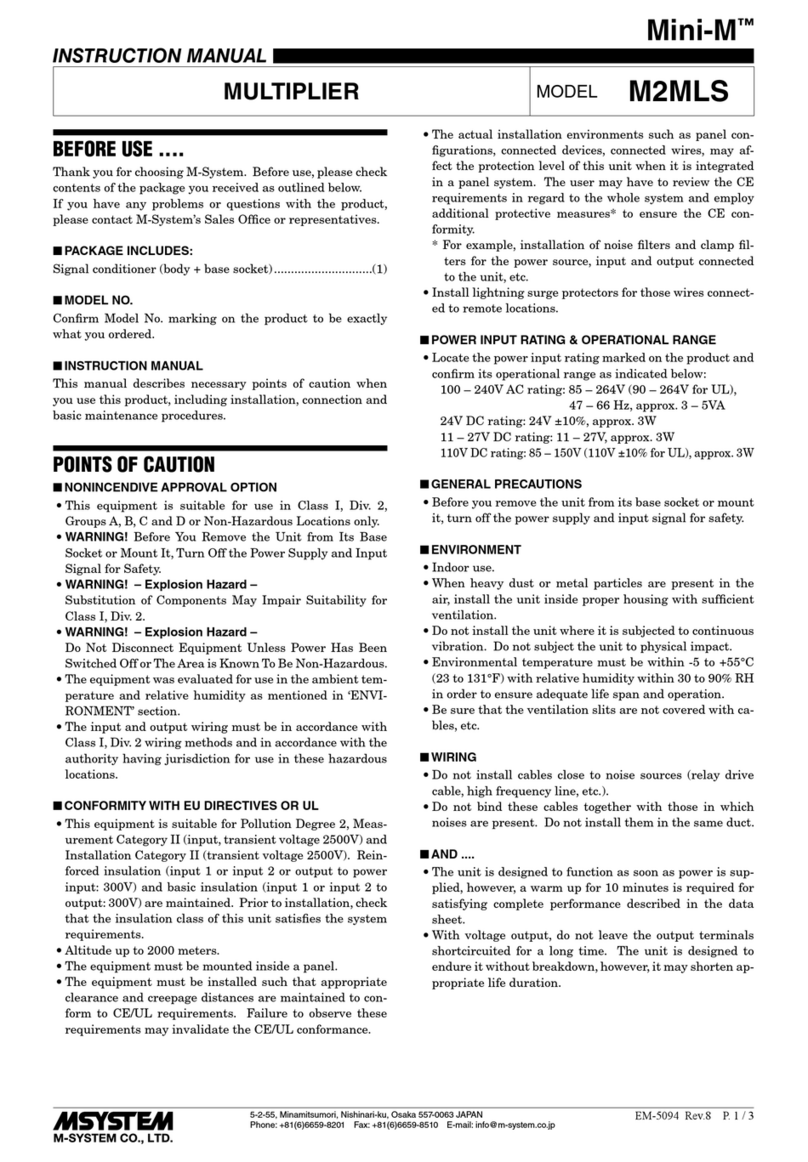
• The unit is designed to function as soon as power is sup-
plied, however, a warm up for 20 minutes is required for
satisfying complete performance described in the data
POINTS OF CAUTION
■ NONINCENDIVE APPROVAL OPTION
• This equipment is suitable for use in Class I, Div. 2, Groups
A, B, C and D or Non-Hazardous Locations only.
• WARNING! Before You Remove the Unit from Its Base
Socket or Mount It, Turn Off the Power Supply and Input
Signal for Safety.
• WARNING! – Explosion Hazard –
Substitution of Components May Impair Suitability for
Class I, Div. 2.
• WARNING! – Explosion Hazard –
Do Not Disconnect Equipment Unless Power Has Been
Switched Off or The Area is Known To Be Non-Hazardous.
• The equipment was evaluated for use in the ambient tem-
perature and relative humidity as mentioned in ‘ENVI-
RONMENT’ section.
•The input and output wiring must be in accordance with
Class I, Div. 2 wiring methods and in accordance with the
authority having jurisdiction for use in these hazardous
locations.
■ CONFORMITY WITH EC DIRECTIVES OR UL
• This equipment is suitable for Pollution Degree 2 and In-
stallation Category II. Reinforced insulation (signal input
or output to power input: 300V) and basic insulation (sig-
nal input to output: 300V) are maintained. Prior to instal-
lation, check that the insulation class of this unit satisfies
the system requirements.
• The equipment must be mounted inside a suitable fire
enclosure.
•Altitude up to 2000 meters
• The equipment must be installed such that appropriate
clearance and creepage distances are maintained to con-
form to CE/UL requirements. Failure to observe these re-
quirements may invalidate the CE/UL conformance.
Rugghölzli 2
CH - 5453 Busslingen Tel.+41 (0)56 222 38 18
Fax +41 (0)56 222 10 12 mailbox@sentronic.com
www.sentronic.com
Produkte, Support und Service
SENTRONICAG
