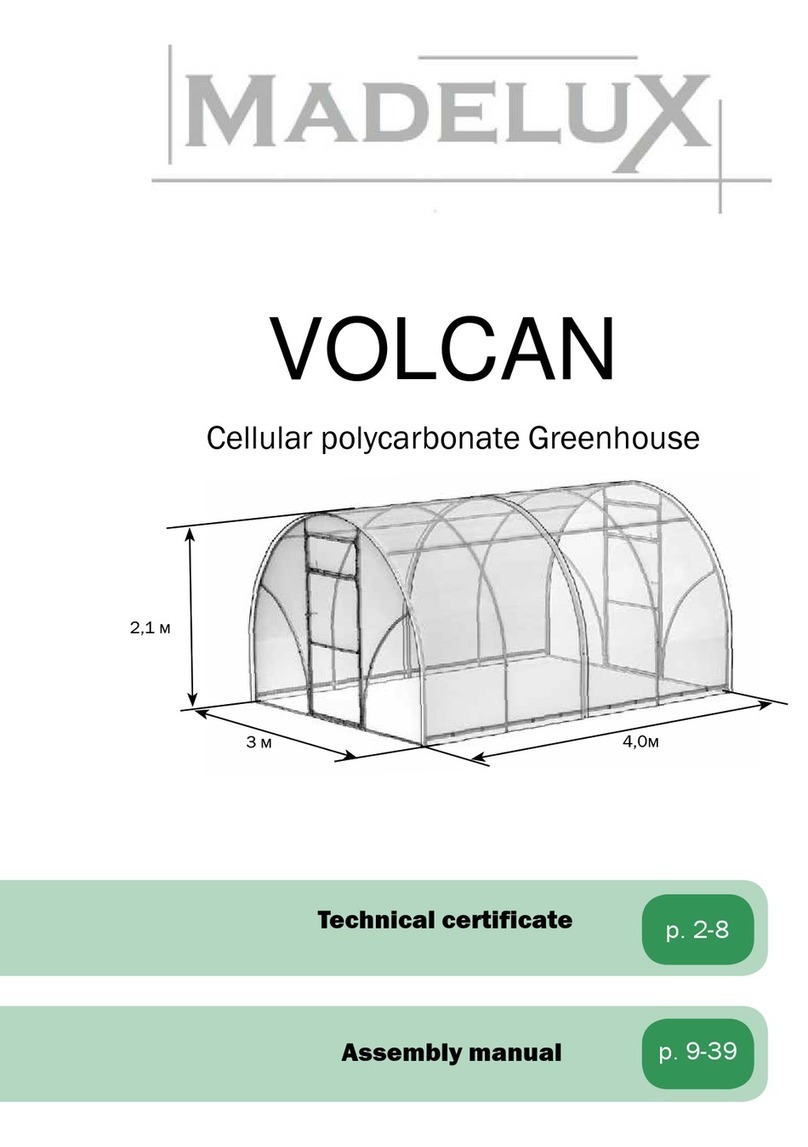
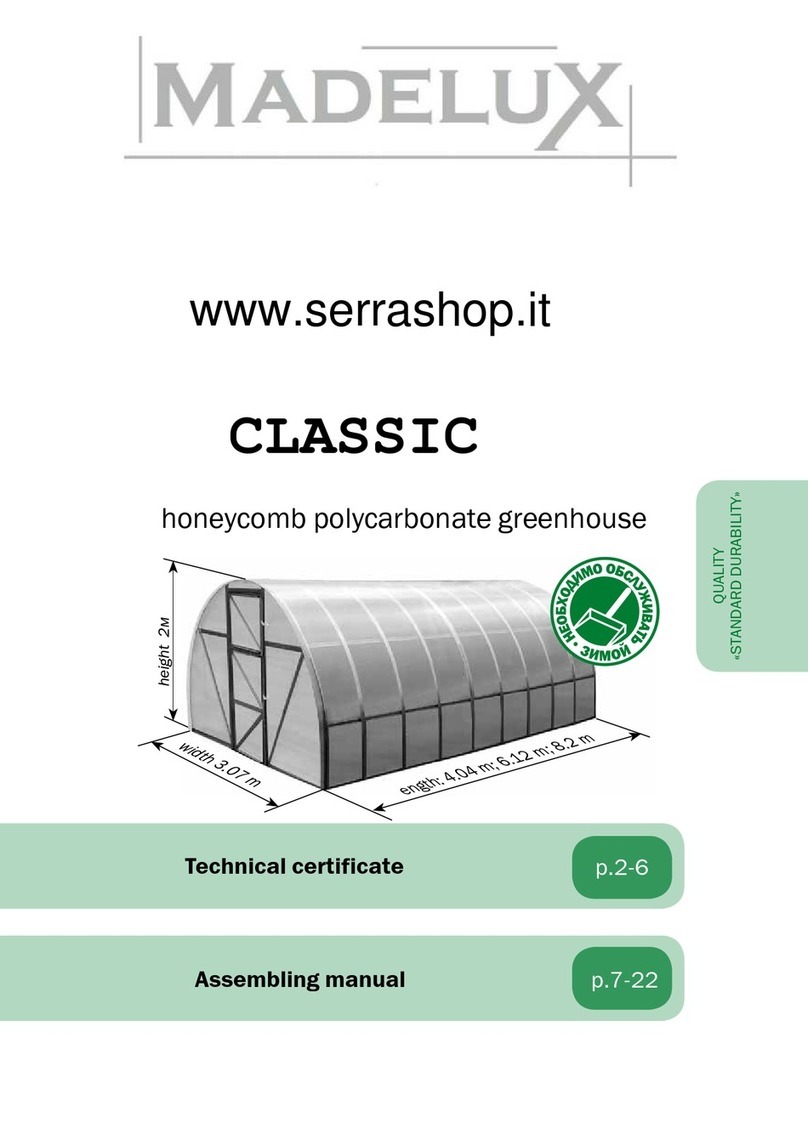
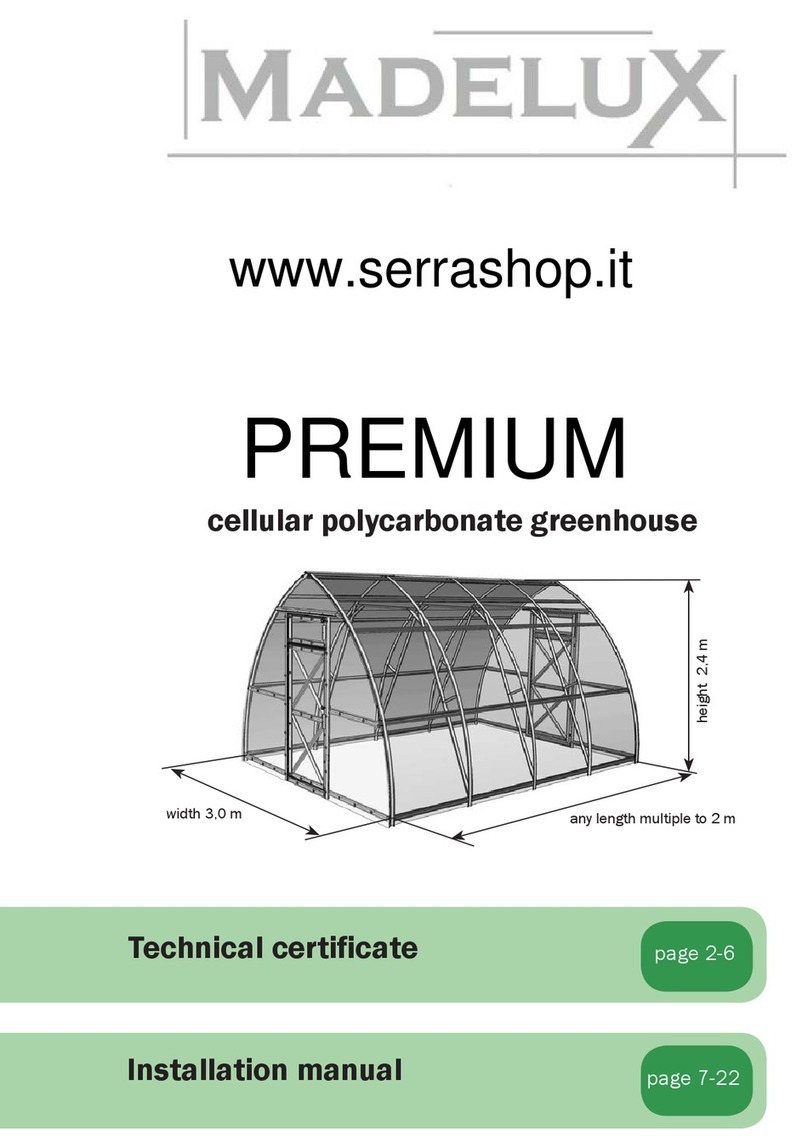
Madelux COMPACT Programming manual

VOLYA COMPANY
GREENHOUSE PRODUCTION
DACHNAYA DVUSHKA
honeycomb polycarbonate
greenhouse
height 2.2 m
width 2.0 mlength 2.0; 4.0; 6.0 m
Technicalcertificate
Assembling manual
page 2-6
page 7-22
2012
www.serrashop.it
COMPACT

Technical certificate
2
Perform assembling and operation of the greenhouse in strict accordance
with the manual and operating rules stated in the technical certificate.
Please keep this technical certificate for further reference.
Description
Dachnaya Dvushka greenhouse if designed for creation of microclimate favorable
for growing garden crops on cottage and household plots. The greenhouse may
have various length depending on desire of buyer. Required length of greenhouse
is provided by purchase of packages with extending inserts in addition to the base
length 2 m (table 1). Covered ground area depends of the length.
Height of installed greenhouse frame is 2.2 m.
Frame of greenhouse is made of galvanized steel and assembled using screws
and nuts. No foundation is required for the greenhouse but foundation installation
is acceptable. Greenhouse is fixed on the ground by digging special frame
endings. Complete set includes all that is needed for fastening of coverage.
Greenhouse may be completed with coverage on buyer’s request.
Greenhouse has two door openings in opposite ends and door and small window
in each door opening. See page 17 for number of polycarbonate sheets.
Table 1 Package completing
greenhouse
length
package number
No. 1
No. 2
No. 3
No. 4
No. 5*
Insert
No. 1
No. 2
2 m
+
+
+
+
—
4 m
+
+
+
+
—
+
+
6 m
+
+
+
+
—
++
++
Table 2 Contents of packages
contents
dimensions, mm
weight, no more kg
Frame (base length 2 m)
1 package - straight elements and manual
55х50х1260
8.0
2 package - arc elements
230х50х1180
3.0
3 package - end straight elements
95х50х1260
15.6
4 package - fixtures and component parts
180х130х80
2.0
5* package - sealing profile
350х300
1.5
Insert (2 m frame elongation)
1 package
- balks, straight elements, fixtures and component
parts
75х50х1260
10.5
2 package - arc elements
230х50х1180
2.0
* The 5th package is not included in Dachnaya Dvushka complete set. It is purchased separately on
buyer's rerquest.
See page 22 for information about completing and installation of 5 packages.

Technical certificate
3
Table3 Dachnaya Dvuska detailed parts list
marking name quantity (pcs.)
1st package
1 stand 6
2кend balk 12
2кк ridge balk 2
3 supports 10
24 foundation stand 10
2nd package
4ВК top end arcs 2
4Вtop arc 1
4Нbottom arcs 6
3rd package
8 end connecting elements (bottom) 8
9-1лdoor opening vertical elements 2
9-1пdoor opening vertical elements 2
9-2лdoor opening vertical elements 2
9-2пdoor opening vertical elements 2
9-3 door opening bottom cover plate 4
9-4 door opening top cover plate 4
10 door opening horizontal elements 4
12фл end small window vertical elements 2
12фп end small window vertical elements 2
12дл door vertical elements 2
12дп door vertical elements 2
13м
door and end small window horizontal elements
10
14м
door and end small window diagonals
12
long clamp 10
short clamp 6
22
horizontal strainer
1
23 brace strut elements 4
25 radial
strainer
2
26 angle boom 2
door and small window hook 4

Technical certificate
4
Dachnaya Dvuska detailed parts list
marking name quantity (pcs.)
4th package
hinge for door and small window
8
hook arm
8
screw M4 х8 332
screw M4 х14 32
screw M4 х25 92
screw M4 х40 24
nut M4 484
washer 60
special wrench
1
adhesive tape
1
lock blank part (rotator with 2 elastic headers)
4
rotator bending tube
1
5th package (not included in basic complete set)
door profile 8.5 m
hinge profile 3.6 m
end profile 12 m
Table4 Vstavka insert detailed parts list
marking name quantity (pcs.)
1st VSTAVKA insert package
1
stand
4
2
basic balk
12
2-кк
ridge balk
2
3
supports
4
screw M4 х 8
118
screw M4 х 35
8
nut M4
134
washer
16
2nd VSTAVKA insert package
4В
top arcs
2
4Н
bottom arcs
4

Technical certificate
5
Operating rules
The greenhouse is designed for no more than 30 m/s wind speed
and 240 kg/m2 snow load that correspond approximately to 0.6 m
packed snow layer.
1. Before use of the greenhouse, assemble and install it on the ground in
accordance with the manual.
2. In winter, coverage of greenhouse should not be removed provided that
snow load is limited. Dachnaya Dvushka does not require snow load control
in most Russian regions including Moscow, Tver, Leningrad, Sverdlovsk,
Novosibirsk and other oblasts with snow region number not higher than IV
(according to SNiP 2.01.07-85). Clarify snow region number for locality
where the greenhouse will be installed with trading organization or local
building organizations. If snow region is higher than VI, the greenhouse
requires snow load control, i.e. periodic removal of snow blanket and
preventing snow pressure on side walls.
When installing the greenhouse by
third parties, buyer should supervise
compliance of assembling with the
manual.
Do not install greenhouse close to
buildings and trees from which snow
or ice can fall down. 2 m distance is
recommended.
Cleaning and washing of polycarbonate sheets
1. Rinse the sheet with warm water.
2. Wash it with mild soap solution or domestic detergent using a soft cloth or
sponge to remove dirt.
3. To remove water, rinse the sheet with cold water and wipe with a soft cloth.
Never use abrasives or high-alkali detergents for cleaning
polycarbonate sheets. Dry wiping damages protective layer of the
coverage and shorten its service life. Never rub surface of
polycarbonate sheets with a brush, metalized fabric or other
abrasive materials.
To prevent corrosion (darkening) of frame, do not use fungicidal
and antibacterial sulphur cartridges for disinfecting the
greenhouse.

Technical certificate
6
Warranty
Warranty
1. Manufacturer is responsible for full completing frame elements of
greenhouse.
2. Manufacturer is responsible for assemblability of the greenhouse in
accordance with the manual.
3. Manufacturer is responsible for durability of the greenhouse under
specified values of weather impact.
4. Warranty period –12 months from date of purchase.
Warrantyconditions
The warranty does not cover cases of:
1. Installation of greenhouse with violation of manual’s requirements.
2. Violation of operating rules.
3. Unintended use of greenhouse.
4. Floods, hurricanes, other natural disasters.
Date of manufacture:
Manufacturer: Volya LLC
8 Severnyi Pereulok, Dubna, Moscow Oblast 141983
Manufacturer is responsible for quality of products in
accordance with RF Civil Code.
Manufacturer reserves right to change design of
greenhouse

7
Manual
Dachnaya Dvushka greenhouse installation manual
Introduction
1. General view of frame is represented in Figure 1. Install details in such a
way to make profile side shelves facing coverage.
Frame is constructed from numbered elements. Some elements are
composed of several parts having equal number but different index.
2. Indices:
К –end (along the length of greenhouse);
КК - ridge;
Н- bottom;
В- top;
П- right;
Л- left;
- arrow indicates installation direction
according to manuals’ schemes.
3. Terminology:
Some elements have free
holes resulted from
elements’ uniformity.
Left side is from the left when standing outside of the greenhouse in front
of the door.
Right side is from the right when standing outside of the greenhouse in
front of the door.
4. Connect the elements by putting profiles and fastening with screws and
nuts through holes. When connecting elements by profile-in-profile
method, no matter what the element is on top.
5. Be careful not to damage elements, because they do not have enough
rigidity before final assembling.
When assembling the frame, connect elements using all available holes.
Simplified connection with one or two screws is a violation of assembling
rules and a ground for warranty waiver.
Be careful! Elements have sharp angles. Guard against cutting! Work in
safety gloves.

8
Manual
General view of Dachnaya Dvushka greenhouse frame
2кк 4ВК 4В
В
10
4Н 9-2
А
Е
8
22 26
2К
2К
9-2
4Н 25
8 2к
1 9-1
Г
24 8
3 Д10
23
9-1
1
Fig. 1
elements 4 - see. Fig.4
elements 2 - see. Fig.5
8 24 Б
3
elements 12...14 (door and small window) - see. Fig.13,14
25
2к 24
2к 3
1
9-2
4ВК
А
(inside view) Б
(outside view) В
(outside view)

9
Manual
General view of greenhouse frame extended by inserts
2
Fig. 2
One VSTAVKA insert
extends greenhouse by 2 m
Two VSTAVKA inserts
extend greenhouse by 4 m
1 8 9-1 1
8
2-к
24
10
2к
24 8
Г
(outside view) Д
(outside view) Е
(outside view)

10
Manual
2060+2016 *
кол.вставок
1008
1008
44
Installation sequence
1.
Perform assembling close to location of the greenhouse.
2.
Assemble greenhouse in accordance with photographs of assembling stages
and units represented in Fig.
6…14.
3. Use support layout plan to install the greenhouse on a foundation (Fig.3).
When installing on the ground, dig a trench by the frame perimeter at a
depth of shovel blade on the site selected for greenhouse installation.
Install frame into the trench. Check equality of frame diagonals using a
cord. Total draft of greenhouse into the ground should be so that bottom
elements 10 of door opening touch the ground. Check equality of the
diagonals using a cord again and correct position of the frame angles.
4. Level the frame using filling or deepening of the trench to make
longitudinal elements straight, horizontal and parallel to each other and to
make arcs even at side view. Perform final tightening of all screws.
2000
Door
840 580
Door 15
Fig. 3. Greenhouse foundation support layout plan

11
Manual
Layout of frame arcs and longitudinal connecting elements of
greenhouse extended by inserts
Fig. 4 4Н 4Н 4Н 4Н 4Н
4ВК 4В 4В 4В 4ВК
4Н 4Н 4Н
One Vstavka insert
extends greenhouse by 2 m
4Н 4Н
Two Vstavka inserts
extend greenhouse by 4 m
Fig. 5
2к 2
2к 2
2 2к
2 2к
2к 22 2к
2-кк
2к
2к
2к
2кк
2
2
2
2кк
2
2
2
2-кк
2к
2к
2к
ONE VSTAVKA
insert extends
greenhouse by 2 m
TWO VSTAVKA
inserts extend
greenhouse by 4 m

Manual
Assembling stages
1 STAGE
В Б
3
Fig. 6
4В
22 4Н
А26
А23
1
24
23 Б
1 4Н
25
Assemble one load-bearing arc (or required number of
load-bearing arcs depending on number of inserts) from
elements 1, 3, 4В, 4Н, 22, 23, 24, 25, 26 using screws
M4x8, nuts M4. Do not use elements 24 and 3 if the
greenhouse is installed on a foundation.
23 В
2 STAGE
БА
В1
24
Fig. 7
4Н 4Н
4ВК 1
АБ
Assemble two end arcs using
elements 1, 3, 4ВК, 4Н, 24.
В
3 STAGE 25
2
2 А
А
Fig. 8
12
Connect elements 2Кand 2 to the arc
nearest to the end in accordance with Fig.
5 and depending on availability of inserts.

Manual
13
2
Assembling stages
4 STAGE
25 2
2
АВ
А
ВConnect end arc to the section assembled
at stage 3.
Fig. 9
5 STAGE
Д
23
4Н 2
2
2 2
А
ВАБ
2к
4Н 2к
1
ГБ24
Fig. 10 ВГ
Connect balks in accordance with Fig.
10 and Fig. 5.
4В
2кк
Д

Manual
2кк
Assembling stages
6 STAGE
А
2кк
4В
2кк
А
Fig. 11
7 STAGE
Connect the second end arc. If
greenhouse length is more than two
meters, connect required number of
inserts sequentially increasing balks
and then connect end arc.
Assemble end elements.
1
В1
А2к
2к 8
Г8 24
АБ
Б(outside view) (outside view)
Д9-2
4ВК 8 9-1
10
Fig. 12
9-2
В
8
9-1
ГД24
(outside view)(inside view)(outside view)
14

Manual
15
Manual
Assembled door and small window
АБА
13м
Б
13м
12фл
13м
14м
13м
12фп
12фл
12фл
В
14м
12фп
12фп
Г
ВГ
Fig. 13
Small window - outside view
13м
14м
13м
ДЖДЖ
13м
12дл
13м
14м
12дп
И
13м
12дл
З
14м
12дп
И
13м
13м 13м
З
12дл
14м
13м
12дп
12дл
14м
К
12дл
13м
12дп
12дп Л
14м
КЛ
Fig. 14
Door - outside view
13м

Manual
CUTPOLYCARBONATESHEETSTRICTLYINACCORDANCEWITHFIG. 15
2100 x 600 mm honeycomb polycarbonate sheet
2420 (installation on a
foundation)
2220 (установка на
грунт)
200
Strip
Allowance
for ground
penetration
Left end
side
Door
Right end
side
Small window
Fig. 15
Cutting
line
Scheme of cutting of
honeycomb polycarbonate for
installation on a foundation.
When installing on the ground,
extend sides
Ridge panel
Small window
Right end
side
600
Door
800
Left end
side
16

Manual
17
Cutting and fastening of coverage
Cutting layout for greenhouse installation on a foundation is given in Fig.
15. If the greenhouse is installed on the ground, it is recommended to
extend bottom end sides for 200 mm for appropriate penetration of
polycarbonate in the ground. Such a penetration of the coverage around the
greenhouse perimeter makes a barrier for intrusion of weeds' roots into the
greenhouse.
Mount honeycomb polycarbonate strictly facing sun with a side
having protective layer (by all means, clarify it under purchase or
before mounting). Protective layer usually is on the side with
inscriptions on transport film. On the other side of sheet film is clear.
After marking the sheet but before its cutting make marks on
protective side of each piece of the sheet: after removal of transport
film sheet sides have no visual differences. Transport film is removed
from both sides immediately before fastening coverage on the frame.
A power jigsaw or fine tooth arm saw is recommended for cutting.
1. Greenhouse coverage requires:
two 2100 x 6000 x 4 mm honeycomb polycarbonate sheets for Dachnaya
Dvushka; three sheets for Dachnaya Dvushka + Vstavka insert;
four sheets for Dachnaya Dvushka + 2 Vstavka inserts.
2. Cut a piece of polycarbonate (Fig. 15) with allowance and mark it by elements
1, 4Нand 4ВК. Then put assembled door and small window on a coverage
sheet adding 15 mm for one side edge opposite to hinges. Cut the pieces to be
installed above small window at the place of installation.
3. Mount side pieces of end coverage
in accordance with Fig. 16. Holding a
piece of coverage fasten it with
screws and washers by elements 8
(Fig.22). Holes for screws are drilled
by boring bit of 4 mm diameter from
inside of greenhouse through
available holes in frame elements.
protective layer
end coverage
Fig.16
elements 9-1, 9-2

Manual
18
coverage
торца
Fastening of coverage
4. Join elements 9-3 and 9-4 (Fig. 17)
and mount them in accordance with
Fig. 19. Press polycarbonate pieces
by edges on the side of door and
small window by cover plates 9-3, 9-
4 (Fig. 19) leaving holes for rotators.
Cut pieces of coverage for
installation above door openings and
install them fixing by washers (Fig.
22) on element 10.
5. Using a knife, even coverage pieces
by arcs 4Н, 4ВК and element 1, then
cover the obtained cut-off with
adhesive tape in accordance with
Fig. 18.
Fig.17
Fig.18
9-4
9-3
adhesive tape
elements 4ВК, 4НК and 1
6. Fasten coverage pieces on small
windows and doors with washers
from the side of hinges, and with
clamps from other sides (Fig. 20)
covering honeycomb with adhesive
tape beforehand. On the sides
opposite to hinges coverage should
protrude behind the frame for 15 mm
(Fig. 20). Hinges are put over
polycarbonate and wrinkle
polycarbonate under tightening the
screws.
Fig. 19
element 9-1, 9-2
film
screw M4х14
hinges
element 12
washer
element
9-3,9-4 screw M4х40 screw M4х25
7. Gaps in door opening should be
covered by polyethylene film or
isolon (Fig. 19, 20).
Fig. 20
element 12
element 9-1,9-2
door or small window
short clamp film
element 9-3,9-4

Manual
19
Ground level
Fastening of coverage
7.Mount end washers and clamps in accordance with Fig. 21.
АБ
9-4
9-4
9-3
Long
clamp
Rotator
Rotator
9-3
Short
clamp
Cover plate
Washer
АБ
Fig. 21
8. Fasten the coverage using
screws and washers in
accordance with Fig. 22.
Fig. 22
Some elements still have
free holes. Do not install
screws and washers in
them!

Manual
20
Fastening of coverage
Before mounting a sheet, make sure to cover edges with
adhesive tape to protect from getting dust, moisture and insects.
9. Cover the top of Dachnaya Dvushka greenhouse of 2 m length with one 6 x 2.1
m sheet and each extending insert with one sheet. Fasten panels by elements 1
with screws and washers removing a slack between the frame and sheet. Mount
screws inclined, so that when tightening a nut, the screw would pull down a
panel edge. For this purpose, when drilling sheets through the hole in element
1, tilt a bore bit under 30° angle. Start coverage fastening from the middle of
sheet gradually moving to the edges.
Firstly, mount one sheet so that its
edges lay on elements 1, 4Вand 4Н.
Fasten bottom edges on elements 1 with
screws and washers initially in the
middle of sheet width. Install the second
sheet in the same way overlapping the
first sheet (Fig. 23). The last thing is
placing screws and washers by side
edges of the sheets.
coverage washer
screw
M4х35
elements 1
Fig. 23
10.
Glue coverage joint between
greenhouse ends and top panels with
adhesive tape (Fig. 24).
outermost panel
adhesive tape
adhesive
tape
element 4Н, 4ВК and 1
Fig. 24
end
panel
Table of contents
Other Madelux Greenhouse Kit manuals