4
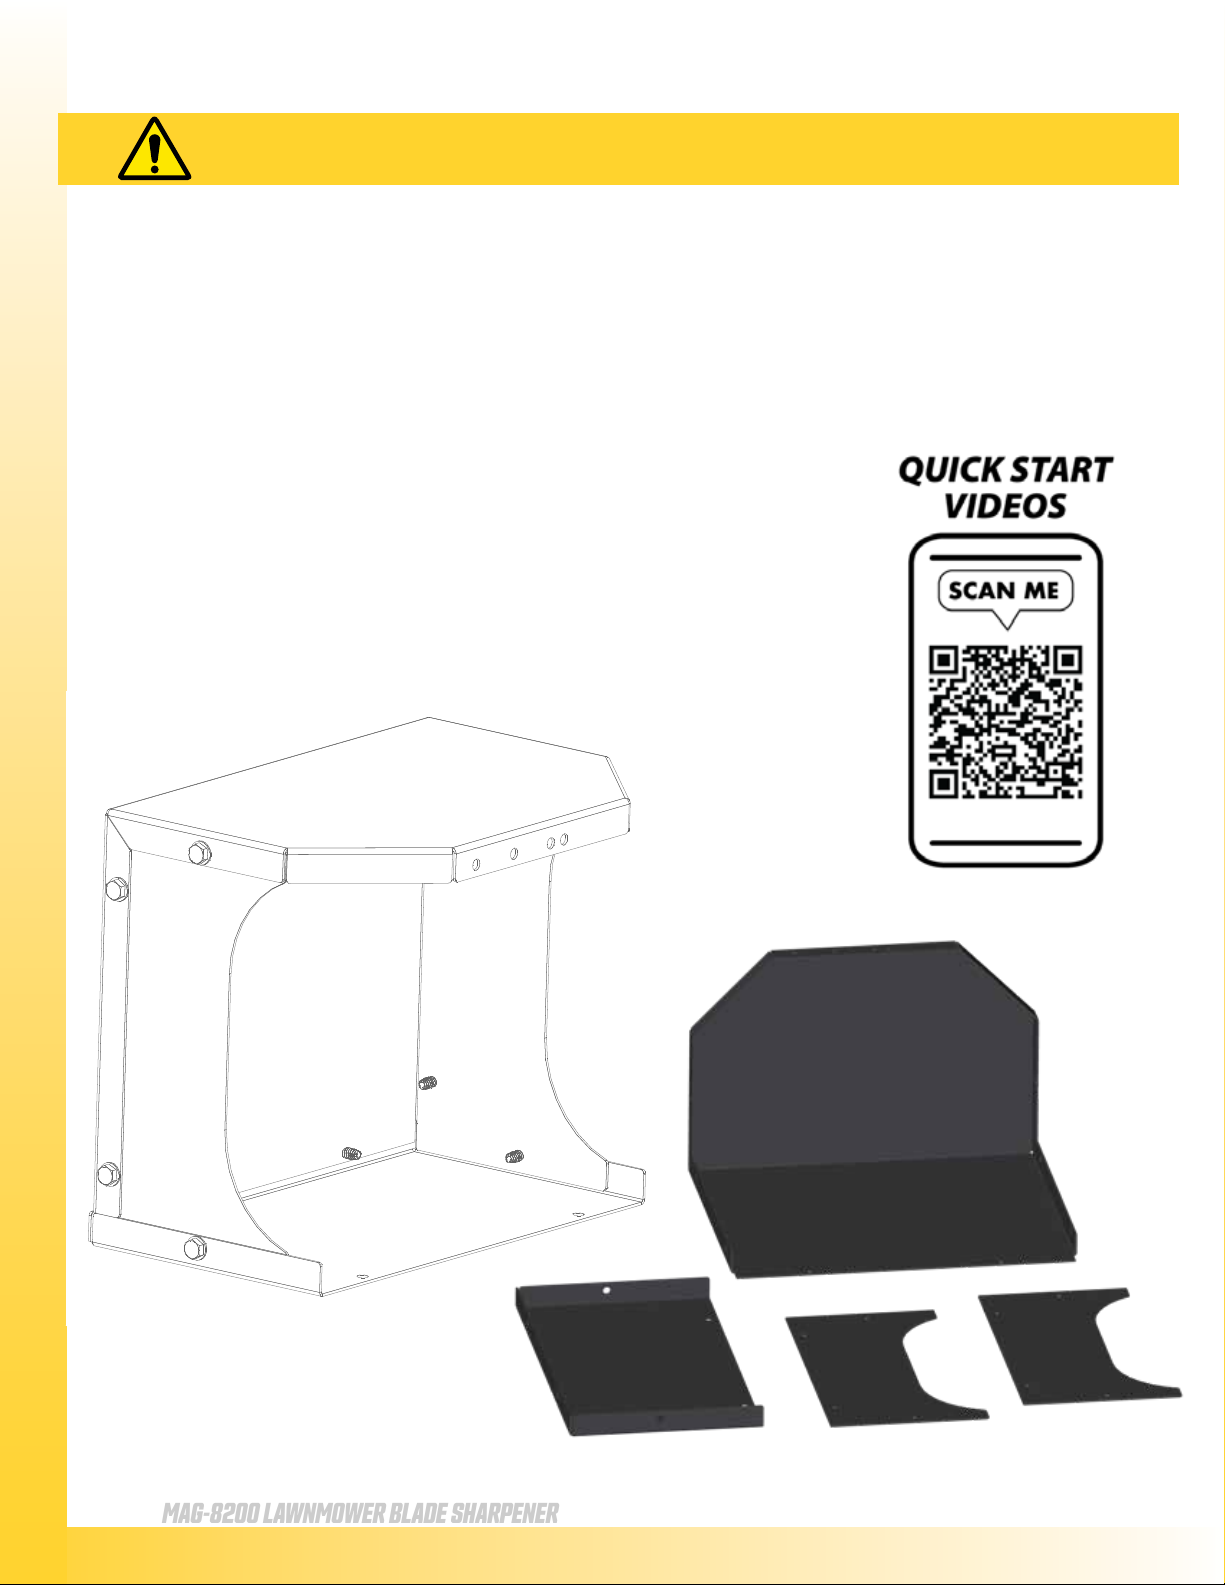
MAG-8200 LAWNMOWER BLADE SHARPENER
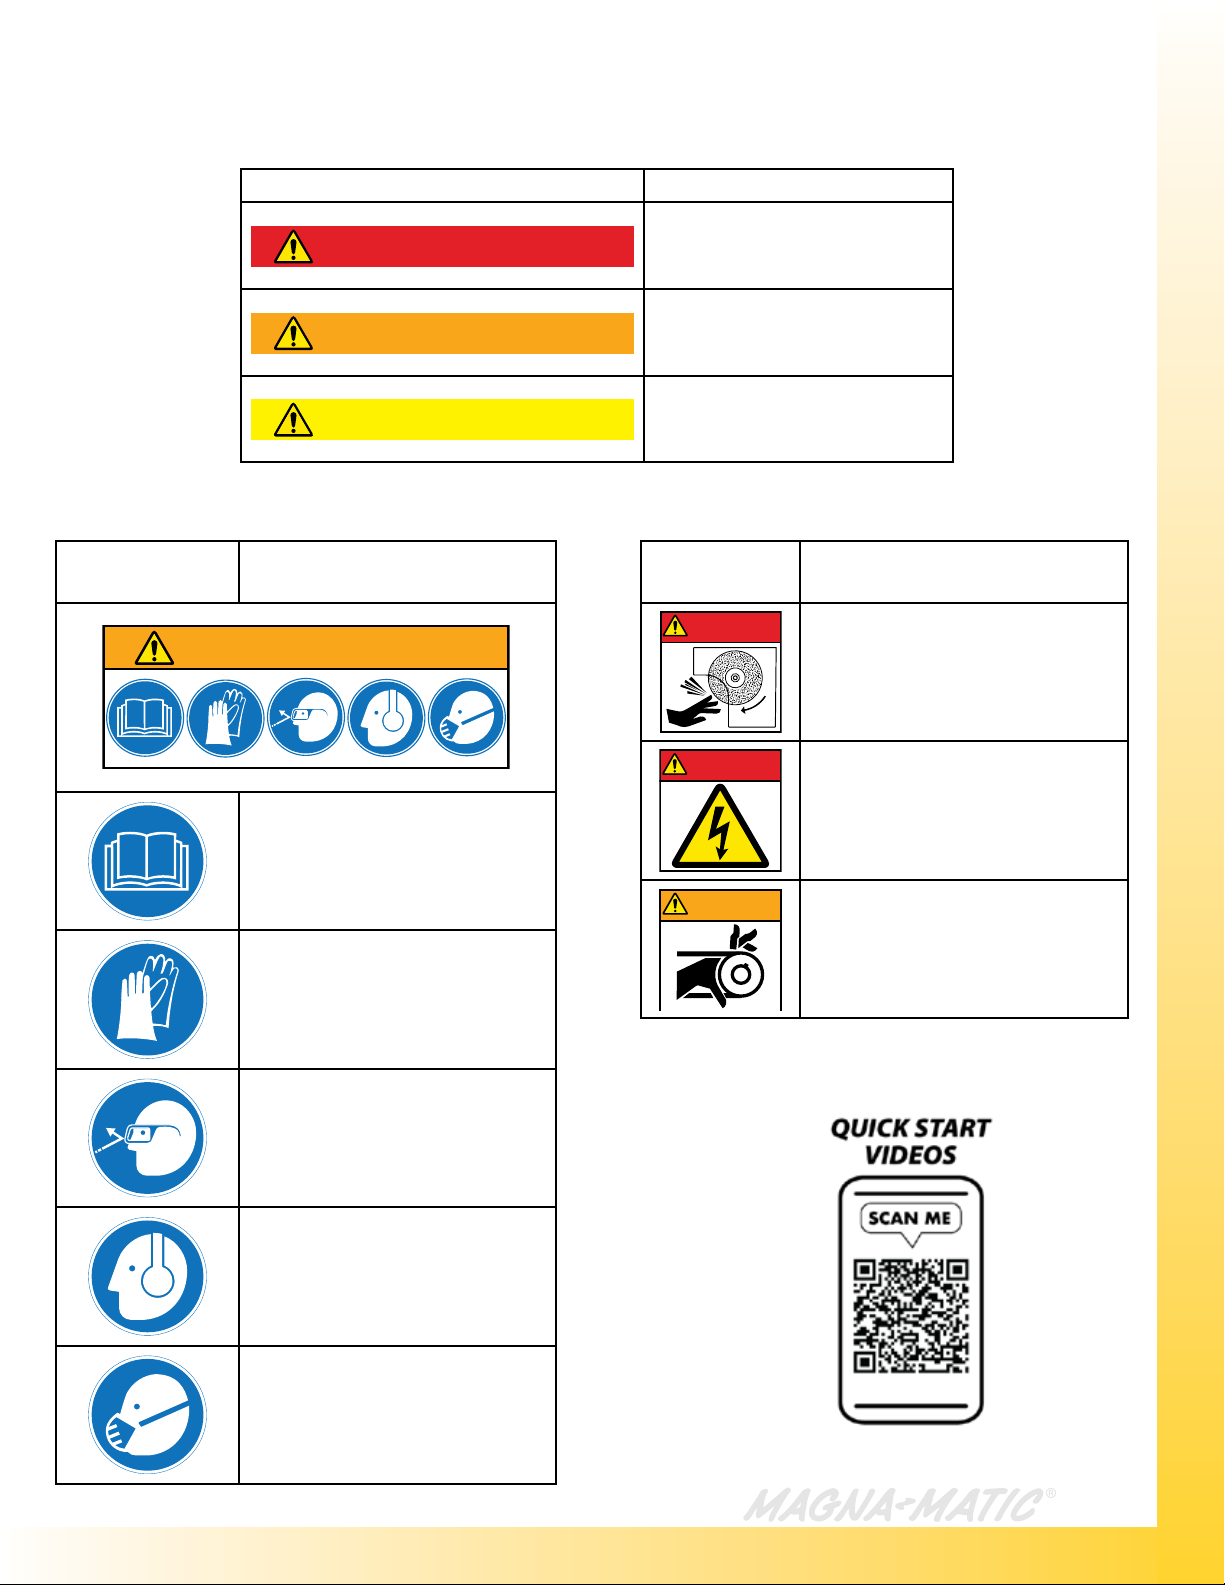
Before handling any equipment read and understand the instructions.
THE SAFE WAY IS THE ONLY WAY TO GRIND!
• Grounding Instructions - This tool must be grounded while in use to protect the operator from electric
shock. The tool is equipped with an approved three conductor cord and three prong grounding type plug
to t the proper grounding type receptacle. The green (or green and yellow) wire is the grounding wire.
• Extension Cords - Use only three wire extension cords which have three prong grounding type plugs and
three pole receptacles which accepts the tool’s plug. Replace or repair damaged cords.
• Keep Work Area Clean - Clean benches and oors to prevent slip, trip, or falls.
• Consider Working Environment - Don’t use power tools in damp or wet locations. Keep work area well lit.
Don’t expose power tools to rain.
• Do not use tool in presence of ammable liquids or gases.
• Keep Children Away - All visitors should be kept a safe distance from the work area. Do not let visitors
have contact with the tool or the extension cord.
• Store Idle Tools - When not in use, tools should be stored in dry, high or locked-up places out of reach of
children.
• Do Not Force Tool - It will do the job better and safer at the rate for which it was designed.
• Do Not Over-Reach - Keep proper footing and balance at all times
• Use Safety Glasses - Also face or dust mask-wrap around goggles, or other eye protection.
• Wear Proper Apparel - Do not wear loose clothing or jewelry that can get caught in moving parts. Gloves
and non-skid footwear are required when working. Wear protective hair covering to contain long hair.
• Do Not Abuse Cord - Never carry tool by cord or pull it to disconnect from receptacle.
• Keep cord away from heat, oil, and sharp edges.
• Disconnect Tool - When not in use; before servicing; when changing grinding wheels.
• Avoid Accidental Starting - Don’t carry plugged in tool. Be sure switch is o when plugging in.
• Grinding Wheels - Use only grinding wheels having a maximum operating speed of 5500 RPM.
KEEP GUARDS IN PLACE.
• Guard Against Electrical Shock - Prevent body contact with grounded surface. For example: pipes, radia-
tors, etc.
• Stay Alert - Watch what you are doing. Use common sense. Do not operate tool when you are tired, or
under the inuence of any drugs or alcohol.
• Check Damaged Parts - Before further use of the tool, a guard or other part that is damaged should be
carefully checked to determine that it will operate properly and perform its intended function.
• Check for alignment of moving parts, breakage of parts, mounting and any other condition that eect
its operation. All parts should be properly repaired or replaced. Do not use this tool if the switch does not
turn it on or o.
• Never Leave Tool Unattended - Turn the power o. Don’t leave the tool until it comes to a complete stop.
• Read “A Primer on Grinding Wheel Safety” https://www.magna-matic.com
WARNING WHEN USING ELECTRIC TOOLS, BASIC SAFETY PRECAU-
TIONS SHOULD ALWAYS BE FOLLOWED TO REDUCE
THE RISK OF FIRE, ELECTRIC SHOCK, AND PERSONAL
INJURY.
CAUTION LAWN MOWER BLADES HAVE SHARP EDGES - ALWAYS WEAR
PROTECTIVE GLOVES AND SAFETY GLASSES!