2. Power on the unit and enter to USB mode as previously instructed:
You will hear an audible prompt say “USB”.
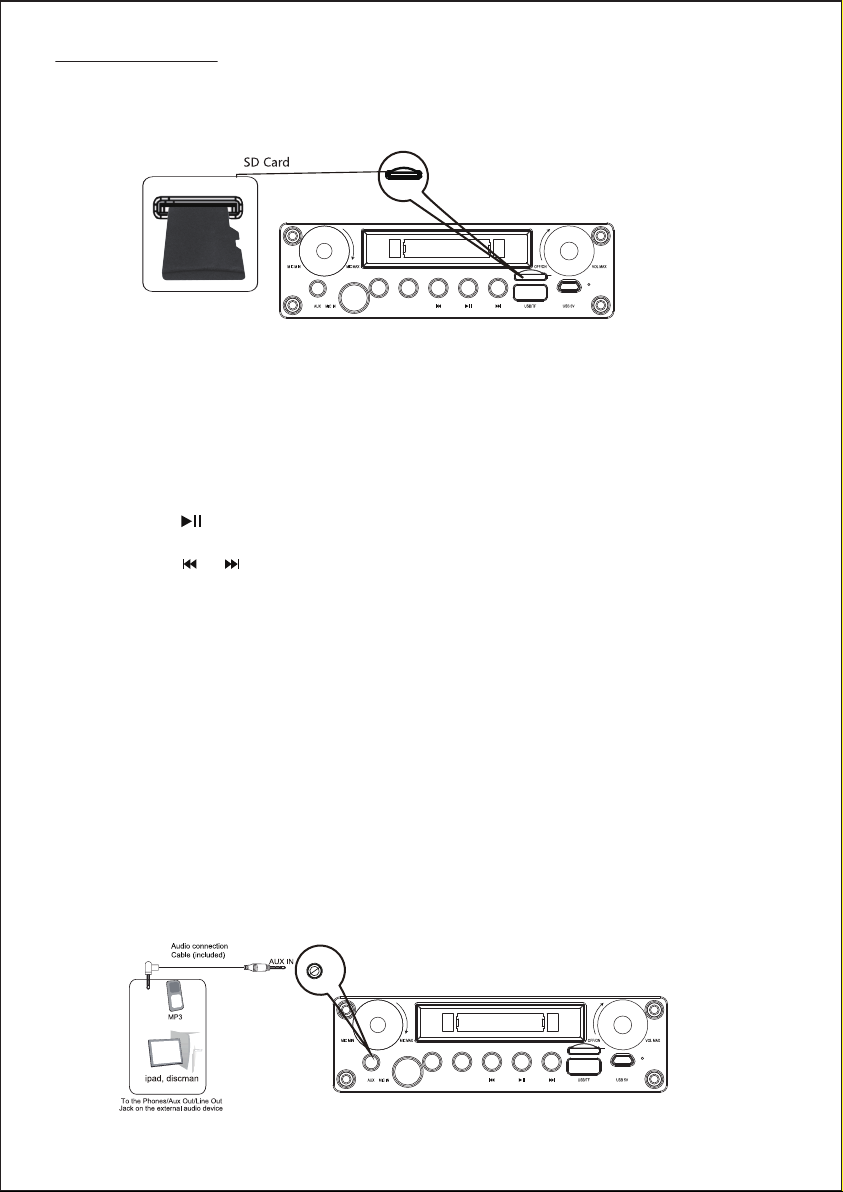
Indicator “U/TF” on display will illuminate.
Music on USB Device will be automatically played back.
3. During playback:
Turn the Power On-Off/Volume Control Knob on the unit (Or, press the VOL
(Volume) +/- buttons on the Remote Control) to adjust the volume level as desired.
Press the Button on the unit or Remote Control to pause; press again to resume
to normal playback.
Press the or buttons on the unit or Remote Control repeatedly to skip tracks.
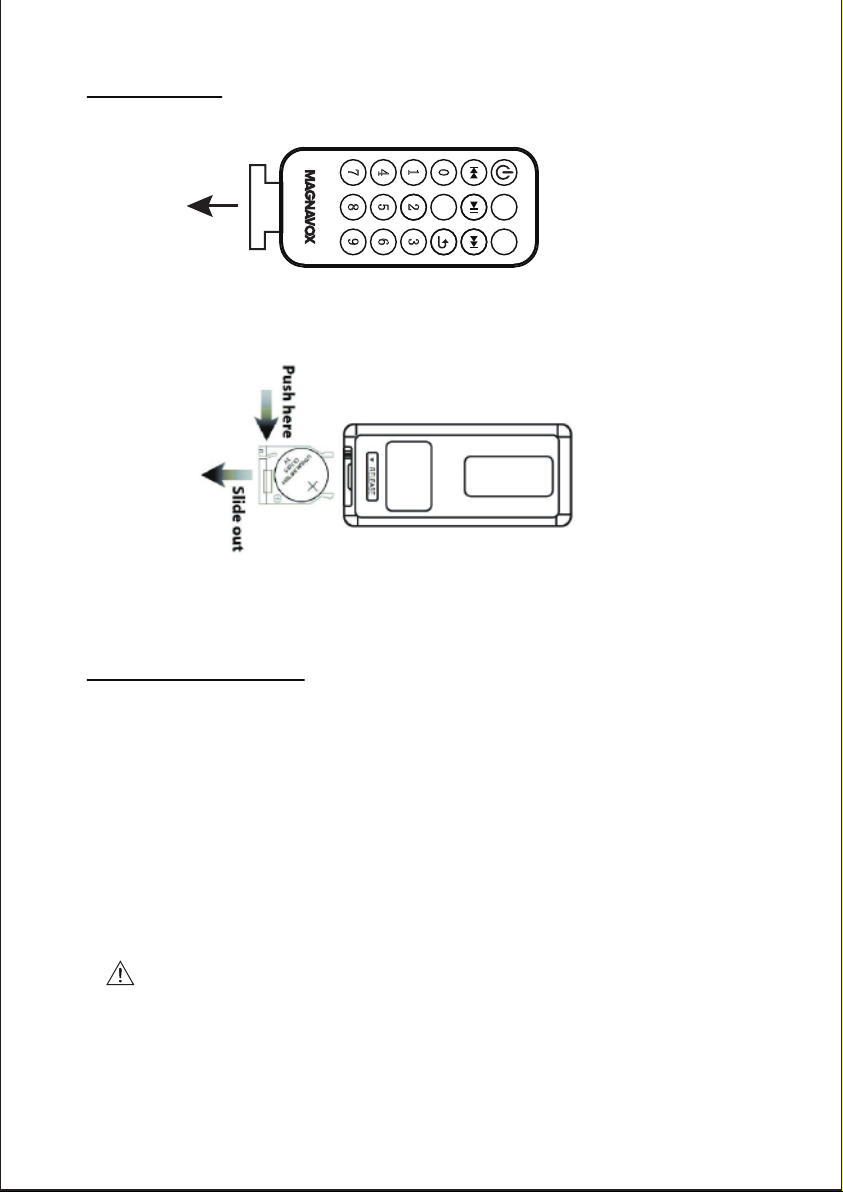
Or, press the numeric buttons on the Remote Control to enter the track number
of the desired track to play it directly.
8
BT Mode:
BT (Bluetooth) pairing:
Notes:
When the external BT Device searched the unit, our model number “MMA3778”
will appear on the display of external BT Device.
If while pairing you are asked for a code please try "0000" or "1234".
For first time use or re-pairing the unit to a new BT Device, pair as follows:
1. Power on the unit and enter to BT mode as previously instructed. You will hear an
audible prompt say “Bluetooth ready for connection” and indicator “bLUE” will appear
on the display and blink.
2. Power on the external BT Device and enter to BT searching mode. Start pairing
following the on screen instructions from the external BT Device. When paired, the
unit will sound a prompt “Bluetooth connected” and indicator “bLUE” on display will
stop blinking.
3. If pairing is complete you may now play music with your external BT Device.
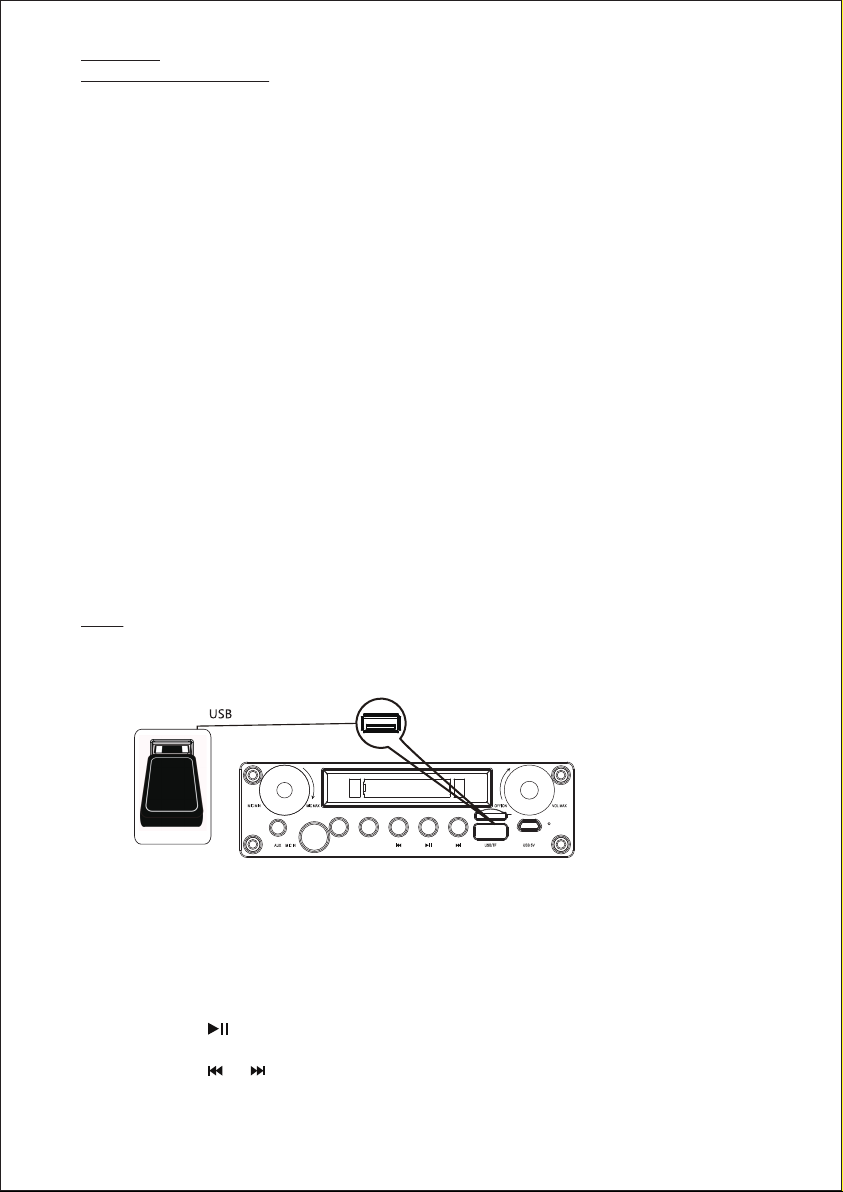
USB:
To play the music in external USB Device:
1. In power off mode, connect the USB Device into the USB Port on the front of unit
as illustrated below:
Normal operation after pairing:
1. Power on the external BT Device and enter to BT playback mode.
2. Power on the unit and enter to BT mode as previously instructed. You will hear an
audible prompt say “Bluetooth ready for connection” and indicator “bLUE” will
appear on the display and blink.
3. Wait a few seconds until the unit is automatically paired to the external BT Device.
When paired, the unit will sound a prompt “Bluetooth connected” and indicator
“bLUE” on display will stop blinking.
4. After pairing is complete you may now play music with your external BT Device.
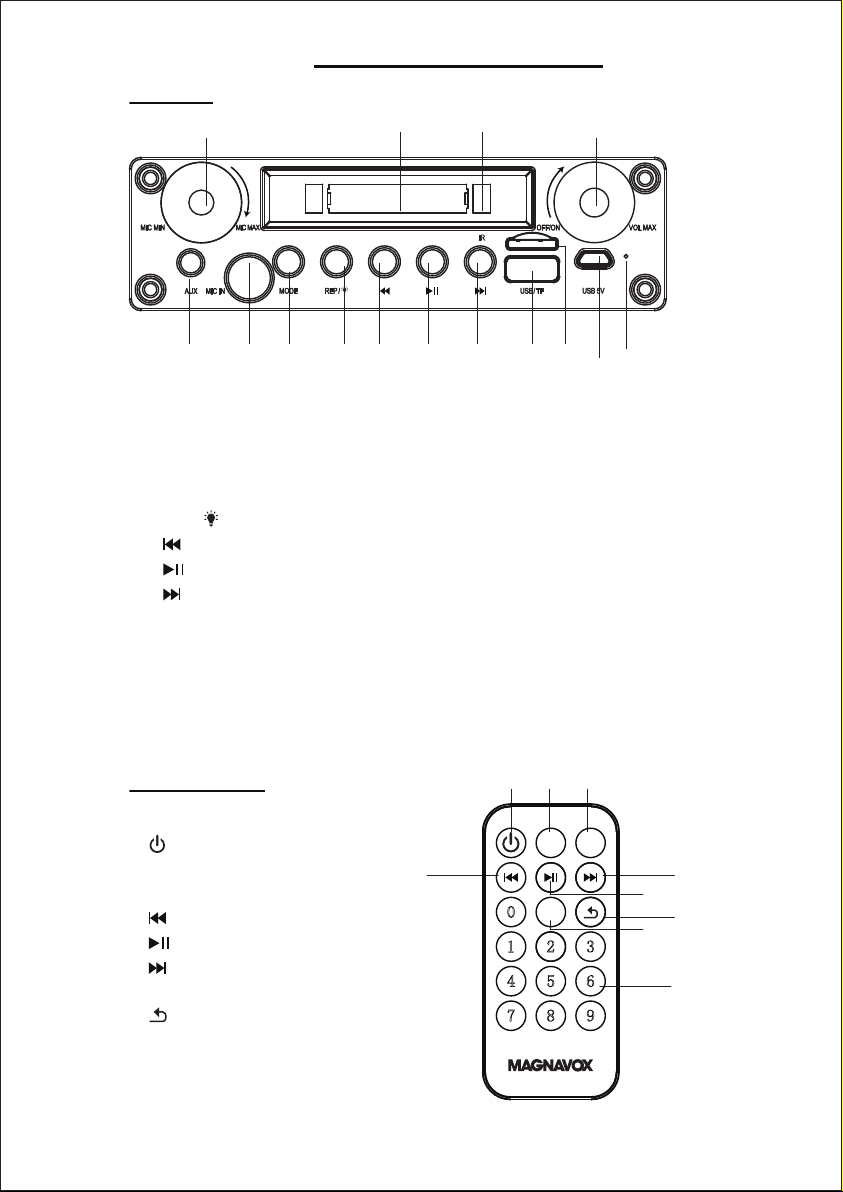
MODE REP/LIGHT