3
Majestic • CK36MS Contemporary Kit Instructions • 2488-970 Rev. D • 7/18
5. Remove base pan by removing one screw and lifting it
out of the rebox. See Figure 3 for screw location.
Figure 3. Remove Base Pan
Figure 4. Remove Air Skirts
6. Remove the two air skirts by removing four screws as
shown in Figure 4. The four screws MUST be rein-
stalled to ll the holes.
WARNING! Risk of Asphyxiation! DO NOT leave holes
open! Screws from air skirt removal MUST be reinstalled
in same holes as removed to maintain rebox seal.
REMOVE BASE PAN SCREW
REMOVE 4 BURNER BRACKET SCREWS
REMOVE SCREWS
REINSTALL SCREWS IN HOLES
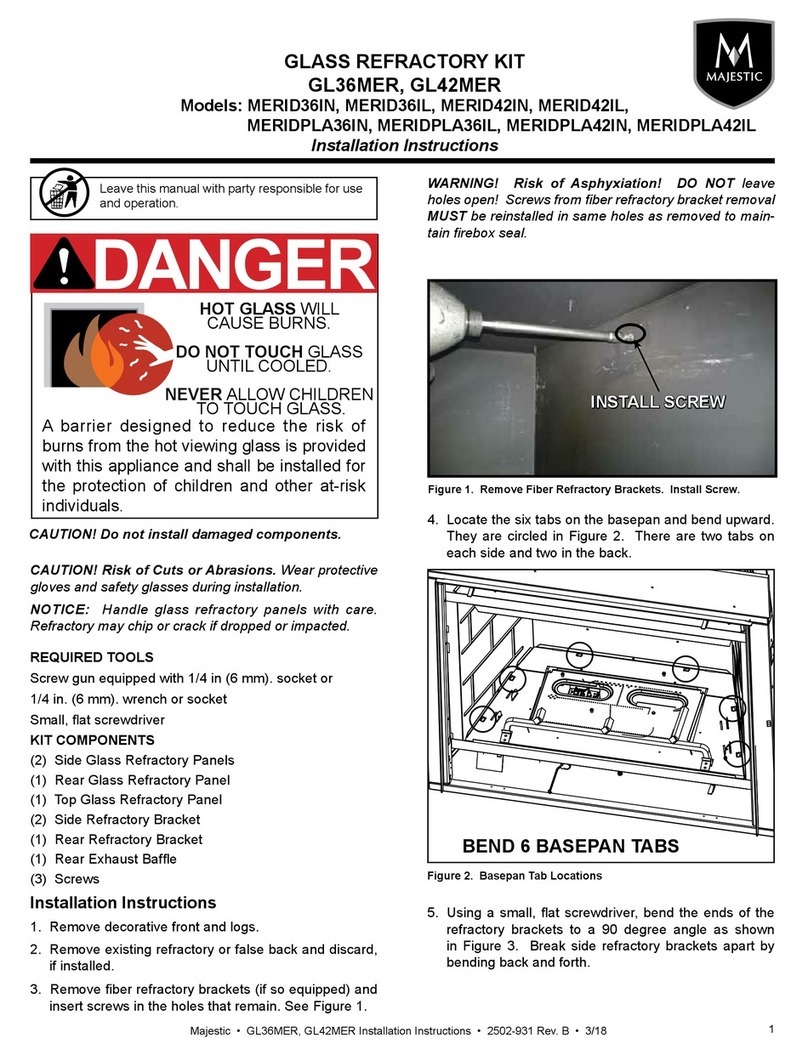
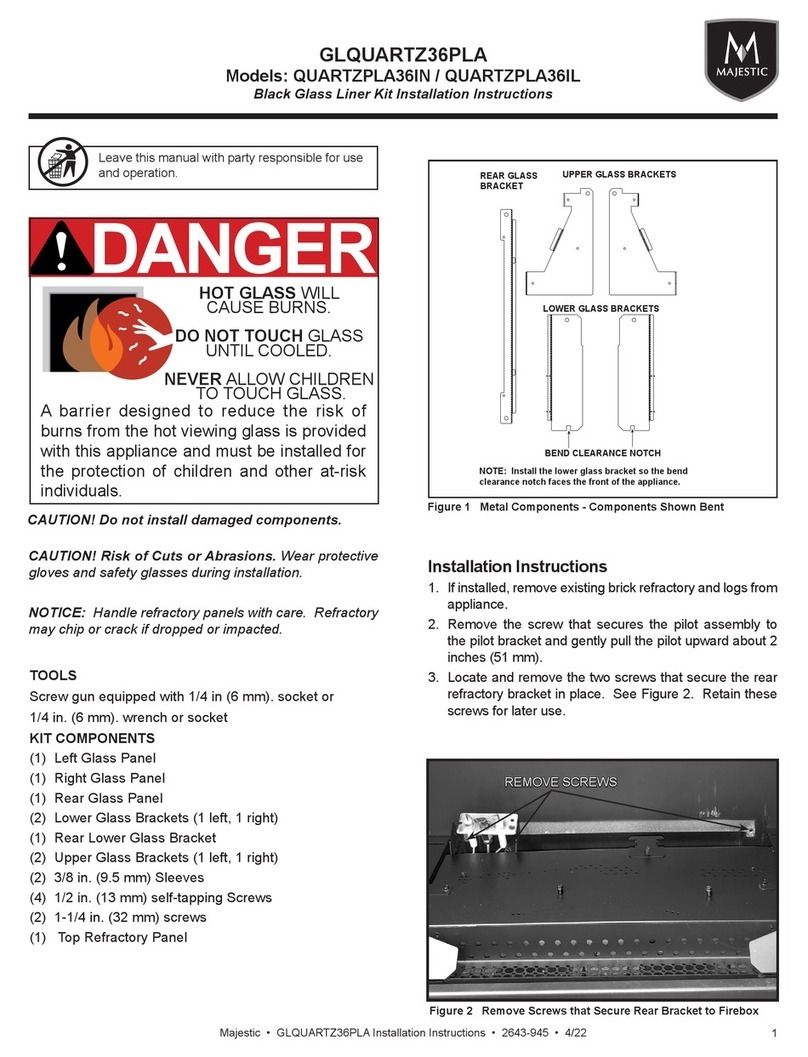
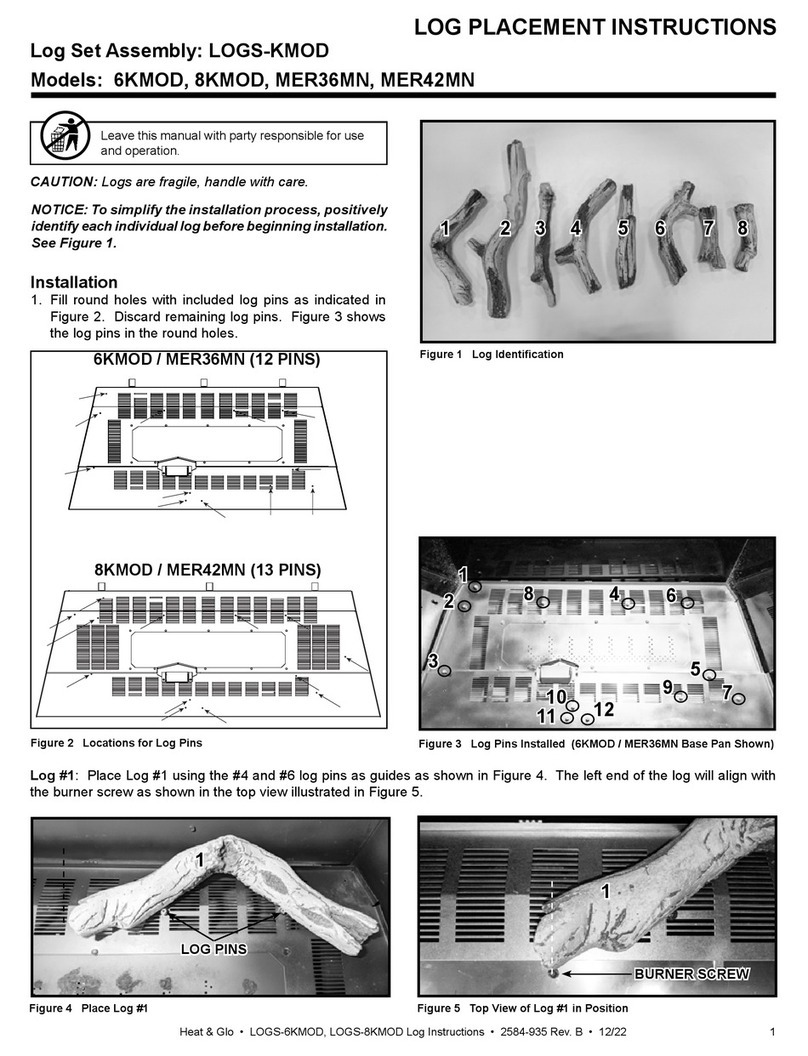
Note: Propane (P) Appliances Only
The appliance MUST be derated. If converting the appli-
ance to propane (P), refer to the propane conversion in-
structions and use the #52 orice that is included in this
Contemporary (CK36MS) Kit. If the appliance is already
propane, replace the current orice with the #52 orice
provided in this Contemporary (CK36MS) kit. Fill out the
conversion plate included with this kit and replace the
conversion plate already on the appliance. It should be
located in the control cavity, next to the rating plate.
Figure 5. Install Refractory Channel - Pilot Side
7. Install refractory channels as shown in Figure 1, using
two self-tapping screws for each channel.
Place pilot side refractory channel into position by
setting onto the tab and installing the two self-drilling
screws. See Figure 5. PEARL36PRIN models will
only use one refractory channel, which will be installed
on the pilot side of the appliance.
PEARL36STIN Only: Install refractory channel on
the side opposite the pilot by positioning the channel
against the rebox wall below the rebox ledges. Slide
the channel up until the tabs on the channel contact
the rebox ledges on both sides. See Figure 6. Hold
in place while fastening with two self-drilling screws.
SCREWS
CHANNEL RESTS ON TAB
Figure 6. Install Refractory Channel - Side Opposite the Pilot
Note: If the optional LINER-36ST or LINER-36PIER
kit will be used with the CK36MS, install the refractory
supports and glass panels that are included in the kit
using the instructions included with the kit.
TAB CONTACTS
LEDGE


