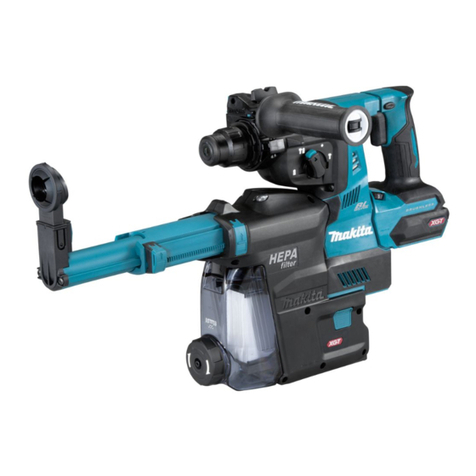
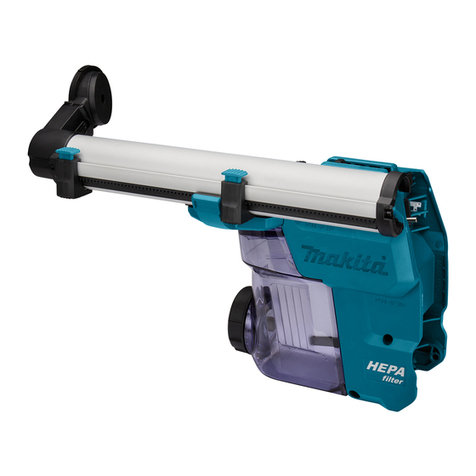
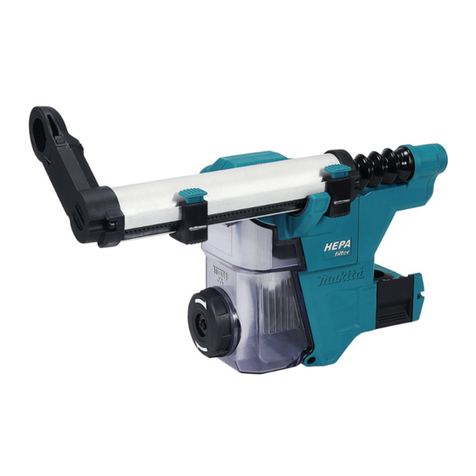
Makita DX15 User manual

EN Dust Collection System INSTRUCTION MANUAL 5
PTBR SISTEMA DE COLETA DE PÓ MANUAL DE INSTRUÇÕES 7
FR Système D'aspiration Des Poussières MANUEL D’INSTRUCTIONS 10
DE Staubabsaugung BETRIEBSANLEITUNG 13
IT Sistema di raccolta polveri ISTRUZIONI PER L’USO 16
NL Stofopvangsysteem GEBRUIKSAANWIJZING 19
ES Sistema de Recolección de Polvo MANUAL DE INSTRUCCIONES 22
PT SISTEMA DE COLETA DE PÓ MANUAL DE INSTRUÇÕES 25
DA System til støvopsamling BRUGSANVISNING 28
EL 30
TR KULLANMA KILAVUZU 33
SV Dammuppsamlingssystem BRUKSANVISNING 35
NO Støvoppsamlingssystem BRUKSANVISNING 37
FI Pölynkeräysjärjestelmä KÄYTTÖOHJE 39
LV LIETOŠANAS INSTRUKCIJA 41
LT NAUDOJIMO INSTRUKCIJA 43
ET Tolmukogumissüsteem KASUTUSJUHEND 45
PL 47
HU HASZNÁLATI KÉZIKÖNYV 50
SK Systém na zber prachu NÁVOD NA OBSLUHU 52
CS Systém odsávání prachu NÁVOD K OBSLUZE 54
SL Sistem za zbiranje prahu NAVODILA ZA UPORABO 56
SQ Sistemi i grumbullimit të pluhurit MANUALI I PËRDORIMIT 58
BG 61
HR 64
67
SR 70
RO Sistem de colectare a prafului 73
UK 76
RU 79
KK 82
ZHCN 集尘系统 使用说明书 85
ZHTW 集塵裝置系統 使用說明書 87
KO 집진기 취급 설명서 89
ID Sistem Pengumpul Debu PETUNJUK PENGGUNAAN 91
VI 94
TH 96
MS Sistem Pengumpulan Habuk MANUAL ARAHAN 99
FA 103
AR 105
DX15

12
Fig.1
2
1
3
Fig.2
1
2
Fig.3
1
2
Fig.4
12
3
4
Fig.5
13
2
Fig.6
1
2
Fig.7
1
Fig.8
2

1
2
Fig.9
Fig.10
1
Fig.11
1
2
Fig.12
12
3
Fig.13
1
2
Fig.14
1
2
Fig.15
1
2
3
4
Fig.16
3

1
2
3
4
Fig.17
2
1
3
4
5
Fig.18
1
2
3
Fig.19
1
2
Fig.20
4

5ENGLISH
ENGLISH (Original instructions)
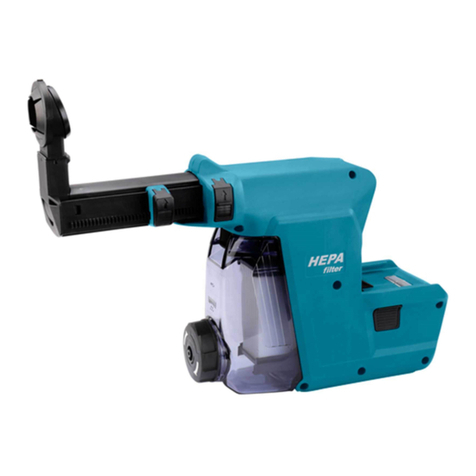
INTRODUCTION
The accessory is designed to be used with following
Makita Combination Hammer to extract concrete dust
while drilling.
HR007G
GRH07
SAFETY WARNINGS
Read all safety warnings, instructions, illustrations
before using this dust collection system with your
power tool.
CAUTION:
• The dust collection system is intended for
drilling in concrete only. Do not use the dust
collection system for drilling in metal or wood.
•
and the battery cartridge is removed before
carrying out any work on the tool.
• When using the tool with the dust collection
collection system to prevent dust inhalation.
• Before using the dust collection system, check
Failure to do so
may cause dust inhalation.
• Do not use the dust collection system for
drilling in wet concrete or use this system in
wet environment. Failure to do so may cause
malfunction.
• Do not point the nozzle at yourself or others
when releasing the nozzle by pushing the
guide adjustment button.
• Always follow national laws, regulations and
ordinance which prescribe working with mate-
rials hazardous to health.
• Wear respiratory protection when emptying
the dust case.
NOTICE:
• Do not use the dust collection system for core
drilling or chiseling.
• Before installing the dust collection system,
make sure that the attachment points and
power tool itself are free from dust and foreign
matter. After installing the dust collection
system, also make sure that it is securely
installed.
•
it.
• Do not use a brush or air duster to clean the
Using a brush or compressed air
maydamagethelter.
• Never use gasoline, benzine, thinner, alcohol
or the like for maintenance. Discoloration,
deformation or cracks may result.
ASSEMBLY
Installing dust collection system
1. Slide the air duct cap out of the motor housing
while lifting the lock tab up to the unlocked position.
►Fig.1: 1. Air duct cap 2. Lock tab
2. Mount the tool onto the dust collection system by
sliding the guide grooves on bottom surface of the gear
housing over the guide rails on top surface of the dust
collection system until it locks in place with a click.
►Fig.2: 1. Guide grooves 2. Guide rails 3. Dust col-
lection system
Removing dust collection system
1. Dismount the tool from the dust collection system
byslidingthetoolawayowhilepressingthelocko
button on the dust collection system.
►Fig.3: 1. Dust collection system 2.Lockobutton
2. Slide the air duct cap back along the guide
grooves on gear housing until it locks in place with a
click.
►Fig.4: 1. Air duct cap 2. Guide grooves
NOTICE: Make sure to place the air duct cap
back over the air duct after detaching the dust
collection system from the tool. Tool performance
canbeaectedifitisoperatedwithouttheairduct
cap in place.
OPERATION
Adjusting nozzle position
Slide in and out the nozzle guide while pressing the
guide adjustment button, and then release the button at
an exact position where the tip of the bit sits just behind
the front surface of the nozzle.
►Fig.5: 1. Nozzle guide 2. Guide adjustment button
3. Tip of bit 4. Front surface of nozzle
NOTE: Before adjusting the nozzle position, press
the guide adjustment button to release the tension on
the nozzle guide and set it free into a fully extended
position.
Adjusting drilling depths
Drilling depth can be adjusted by changing the lengths
between the depth adjustment button and rear end of
the nozzle guide. Press and hold the depth adjustment
button and slide it to your desired position.
►Fig.6: 1. Depth adjustment button 2. Nozzle guide
3. Drilling depths

6ENGLISH
CAUTION: Do not turn the dial on the dust
case while the dust case is removed from the
dust collection system. Doing so may cause dust
inhalation.
CAUTION:
turning the dial on the dust case. Turning the dial
while the tool is running may result in the loss of
control of the tool.
►Fig.7: 1. Dust case 2. Dial
Disposing of dust
CAUTION: Be sure to wear dust mask when
disposing of dust.
CAUTION: Empty the dust case regularly
before the dust case becomes full. Failure to do so
may decrease the dust collection performance and
cause dust inhalation.
CAUTION: The performance of dust collection
guide. Failure to do so may cause dust inhalation.
1. Remove the dust case while pressing down the
latch lever of the dust case.
►Fig.8: 1. Latch lever
2. Lift the lock tab slightly outwards and open the
dust case cover.
►Fig.9: 1. Dust case cover 2. Lock tab
3. Disposeofthedust,andthencleanthelter.
►Fig.10
NOTICE:
MAINTENANCE
1. Remove the dust case while pressing down the
latch lever of the dust case.
►Fig.11: 1. Latch lever
2. Lift the lock tab slightly outwards and open the
dust case cover.
►Fig.12: 1. Dust case cover 2. Lock tab
3. Insertaat-bladescrewdriverinbetweenthelter
caseanddustcasecoverasshowninthegure.Press
thesidewallsoftheltercaseinwards,andliftthelter
caseupousingtheat-bladescrewdriver.
►Fig.13: 1. Flat-blade screwdriver 2. Filter case
3. Dust case cover
4. Pushthelteroutoftheltercaseasshowninthe
gure.
►Fig.14: 1. Filter 2. Filter case
5. Replaceanewlterintheltercase.Setthelter
case back onto the dust case aligning the guide projec-
tionontheltercasewiththegrooveinthedustcase.
►Fig.15: 1. Guide projection 2. Groove
6. Close the dust case cover, and then reassemble
the dust case to the dust collection system.
Replacing sealing cap
1. Insertaat-bladescrewdriver,withitsatsurfaces
vertical, into one of the release holes placed on the
sidesofthenozzlehead.Tilttheat-bladescrewdriver
at an angle to squeeze and pop the cube hook of the
sealing cap out of the molded receptacle. Then peel the
rubber edges of the sealing cap away from the rims of
the nozzle head opening.
►Fig.16: 1. Sealing cap 2. Cube hook 3. Release
hole 4. Nozzle head
2. Set one of cube hooks of a renewed sealing cap
into the molded receptacle in the nozzle head with a
recessed surface of the sealing cap facing forwards.
►Fig.17: 1. Cube hooks 2. Receptacles 3. Sealing
cap 4. Recessed surface
3. Place the other hook into the receptacle on the
opposite side of the nozzle head, while repositioning the
sealingcaptotnelytothenozzlehead.
►Fig.18: 1. Sealing cap 2. Cube hook 3. Receptacle
4. Nozzle head 5. Rims
4. Gently lay the rubber edges of the sealing cap
down over the rims of the nozzle head opening from
bottom to top.
►Fig.19: 1. Rubber edges 2. Sealing cap 3. Nozzle
head
Storage
NOTICE: When not in use for a certain period
of time, the nozzle guide needs to be extended
to approximately 100 mm (3-15/16") from its fully
shortened position. Failing to do so may damage
the duct hose pre-installed in the nozzle guide.
►Fig.20: 1. Guide adjustment button 2. Approx.
100 mm (3-15/16")

www.makita.com
Makita Europe N.V.
Makita Corporation
3-11-8, Sumiyoshi-cho,
Anjo, Aichi 446-8502 Japa
n
Jan-Baptist Vinkstraat 2,
3070 Kortenberg, Belgium
885920-920
EN, PTBR, FR, DE,
IT, NL, ES, PT, DA,
EL, TR, SV, NO,
FI, LV, LT, ET, PL,
HU, SK, CS, SL,
SQ,BG,HR,МК,
SR, RO, UK, RU,
KK, ZHCN, ZHTW,
KO, ID, VI, TH, MS,
FA, AR
20210701
Table of contents
Other Makita Dust Collector manuals
Popular Dust Collector manuals by other brands

Grizzly
Grizzly G0443 Parts Breakdown

Dust-Hog
Dust-Hog SUPRA-CONIC Installation and operation manual

Vaniman
Vaniman STONEVAC AM quick start guide

Showa Denki
Showa Denki FUMERESA FRM-H15 Operation Manual & Cautions

OHM
OHM DUST CUBE instruction manual

Elektra Beckum
Elektra Beckum Metabo SPA 1701 Gebruiksaanwijzing