Malloca MOV-655EST User manual

USER MANUAL
BUILT-IN OVEN
HƯỚNG DẪN SỬ DỤNG
LÒ NƯỚNG ÂM TỦ
MODEL: MOV-655EST / MOV-655EGT

Please read all warnings and instructions written in this manual carefully.
You may use device correctly and safely only by reading this manual carefully. Take care
of preserving this manual so that you can require it again in time as well as any another
person can use device correctly and safely.
Make sure that device packing is strong and products were delivered to you as damage free.
If you determine any problems, do not permit device montage.
Erection (montage) of device should be made by authorized service personnel. Any failures
or problems caused from erections made persons apart from authorized service personnel.
It is not evaluated in scope of warranty. Grounding absence of electric installation to which
injuries even deaths because of electric shock during operation rarely. Therefore, it is
important that device montage shall be made by authorized service personal who is
the damages or injuries which can occur.
Take care of not leaving packing protection materials (nylon, polystyrene etc.) remained
after packing was opened in places where children can reach. During removing device
from its packing, always use carrying gaps on device and never try to lift oven via its
door handle.
Device becomes hot during operation. Care should be taken to avoid from touching
heating elements within oven.
1

This device should only be used for domestic usage and cooking meal. Do not use your
device for any other purposes. While devise is running, it becomes hot in proportional
within tended use. Therefore, attention should be paid not to touch accessible places of
device. It should especially be ensured that child younger than 8 years old is far away
from device. Safely usage conditions should be informed to children 8 years old or older
as well as disabled persons as physically, auditory or mentally and even they should be
kept under surveillance. It should be prevented that children play with device. Accessible
sections of grill can be hot while it is being used. Children should be kept far away from
device.
Flammable objects should not be placed in device. Never try to place materials which
have volume bigger than the pots within oven or to cook them.
Before operating device for the rst time, make sure that any contacts with hot 20nesor
any cable jammed in door do not exist. When device is operated for the rst time, it emits
some odors and smokes and this situation shall terminate after a short time. This is
because device insulation materials evacuate the humidity they contained. Therefore, in
the rst operation, no cooking should be made in oven and device should be operated in
load-free condition for 60 minutes.
While making cooking, do not leave oven by itself against the possibilities like rising
dough or overheating Never use vapor-inhibitor for cleaning and maintenance after use.
Door inner glass should be removed from its place as specied in manual and should be
retted after cleaning as specied in manual again. (See Page: 20)
Do not touch device with your wet or humidied hands while device is running. Do not
use device unless you wear rubber sole shoes (sandal) f any failure occurs in your device,
switch o the fuse of line giving energy to device or disconnect supply cable of device
from wall outlet and inform authorized service about failure
2

Do not try to repair device by yourselves because its failure may only be eliminated by
authorized service personnel. Do not forget that this kind of intervention can make
warranty void. When authorized service personal comes, check whether original spare
parts are used or not if required.
This device has been marked according to EC Directive No 2002/96/EC related to Waste
Electrical and Electronic Equipment (WEEE). By disposing this product correctly, you can
help to eliminate possible negative results for environment and human health which can
caused from waste product.
Devices which became old and its service life expired should not be discharged to trash
bin directly. Reusable and benecial parts may exist in electrical and electronic parts.
Furthermore, substances which can be hazardous for nature and environment may exist
in components which drive devices and are sent to disposal centers when they are too
old.
Therefore, after consulted your manufacturer, ensure that electrical or electronic parts
shall be reevaluated by giving them to connection centers foreseen in your city.
Do not use the oven door handle to move the appliance,
such as to remove it from the packaging.
3

While mouting the device to its place ( under the counter or on another device ) x it by screwing
it to the four holes that are visible when the cover is open.
4

5

6
IMPORTANT! Kitchen cabinets should be appropriate so that built-in ovens operate correctly.
Cabinets are adjacent to each other should be heat-resistant. If adjacent cabinet units are wood
sheathing, the adhesive used should be resistible against 90 "C temperature. The plastics or adhesives
which are not resistible against this temperature can be separated from each other or deformed.
According to safety rules, device should be positioned in such a way that it shall never be contacted
with electrical parts after installed. All protective parts should be tted in such a way that they cannot
be removed from their places unless necessary tools exist.
Connection to main electric network should be made only by authorized electrician in accordance
with valid regulations
Check whether power rate of network and outlets complies with device maximum power
written on technical specication label or not. Fit the plug to 3-pin grounded outlet. This
outlet should be connected in a correct manner. this product is not supplied with a plug,
t a plug which is If suitable to the power written on technical specication label. Grounding
cable is yellow/green. If the plug tted on devices not suitable to the outlet, have a
professionally expert person t the plug Make sure that cable is suitable to device power.
220-240V operation instruction: Use Ho5RR-F
H05RN-F type three-wire cable (3 x 1.5 mm2),
There should be L min. 20mm length grounding
cable (yellow end connected to device.
A terminating switch complying with high-voltage category lll should be tted to power
supply in such a way that it allow to cut connection completely. Yellow/green cable should
not be controlled by switch. Single/phase switch used for plug or main network connection
should be in a position which can be accessed easily while device is in place.
IMPORTANT!
Temperature of main network cable should never exceed 50 C above room temperature.
Electrical safety of device may be guaranteed only if it is connected to a grounded power
supply correctly as specied in electric safety rules.

7
IMPORTANT! The manufacturer shall not be liable for any damages caused from grounding
deciency.
When any cleaning and maintenance process shall be made in oven or before oven
is removed from cabinet, electric supply to device should always be cut by disconnecting plug
or turning o the switch.
If cable becomes damaged, replace it as the following:
Remove main cable and replace it with a new, insulated
(HOSRRF type) cable complying with power features of
device.
Yellow/green grounding cable should be approx. 20mm
longer than other cables and connected to
connection end; blue neutral cable should be connected
to the connection end marked with N letter.
Black (can be brown or red) loaded cables should be
connected to "L' connection end.

8
• Remove all trays and the wire rack from the oven.
• Set the temperature to maximum (highest) setting.
• Set the function knob to BOTTOM and TOP heating (and if available, FAN) function.
• Run the oven for 60 minutes in this state.
• During this time, a one-time odor can be released from the oven's insulation material and heating
elements. If this situation occurs, just wait for the odor and smoke to before placing food in the oven.
• Repeat this step for the grill element.
• When these steps are completed, clean the inside of the oven with a damp soft cloth and dry with
another cloth
WARNING: Please wash the product's accessories like tray, wire rack etc. carefully before rst use.
IMPORTANT Always hold the oven door's handle in the middle to open. (Figure 6)
The information below will help you use your appliance ecologically and save energy.
• Use dark colored or enameled cooking utilities that conduct heat better in the oven.
• Opening the oven's door frequently during cooking causes cold air to enter the oven every time,
and thus loss of energy. So, do not open the oven's door unless necessary.
• The residual heat resulting from cooking can be utilized for the next food. At least 10 minutes of
pre-heating must be made for all kinds of cooking. Frozen foods should be thawed before cooking.
• Turn the oven off a few minutes before the cooking time is completed.

9
Embossed

10
ok
MOV-655EST
MOV-655EGT
4 Functions

11
MALLOCA
MOV-655EST - MOV-655EGT
PRODUCT FICHE

12
: MOV-655EST - MOV-655EGT
All functions shall start after oven temperature
is selected.
In oven lighting lamp shall reamin as lighted
in all positions.
Natural Convection: when this function
selected, lower and upped resistances
work along together This is usual oven
usage. It is ideal for cooking biscuits, cake,
pastry and meals. Excellent results can be
achieved with suitable cooking temperature
to be selected between 50 C and MAX C.
Upper Resistance Function : oven is heated by
upper resistance. Air to be selected in
temperature between 50 C and MAX C scatters
upper side of oven intensively. This function is
ideal for cooking foods to which you want to
cook from top.
Upper Resistance Function :
Oven is heated by lower Resistance. Air to be
selected in temperature between 50 C and
Max C scatters inside of oven. This function is
ideal for sterilizing vegetables and fruits,
making canned food and for cooking foods
to which you want to cook from bottom.
Grill Function Roasting Chicken on Skewer:
This function can be used for cooking
traditional meals (meat, sh, meatball,
chicken etc.).

13
The Knobs control power and setting of each heating element. Turn Knobs clockwise to
activate oven and set at required cooking temperature. Turn Knob anti-clockwise to decrease
cooking temperature and to deacvate Oven.
The indicator lamp will switch on together with the thermostat. When the heat inside the oven
reaches the set value, the thermostat cuts the circuit and the lamp will go o. When the heat falls
below set value, the thermostat will switch on again and indicator lamp will be lit.
There are two dierent types of side racks in products depending on model. In built-in rack models
it is coated with easy-to-clean enamel and it is xed in oven's internal structure.

14
MOV-655 EGTMOV-655 EST
Page 12 Page 12
Page 12 Page 12
Depending on model of device you purchased, there mechanic or digital timer (programmer
by which you can adjust cooking period on device. You can use your device more eciently by
programming cooking period and the time on which you desired that the meal shall be ready
as cooked. You can program the programmer within your device by applying following steps
described below.
You can follow up cooking period mechanic Turn Timer button into desired period until 90' may
varies according to model; you can see maximum period to which you may select from the sign
on oven control panel). Mechanic time counter shall proceed backward from the period you
determined and give audible alarm when period expires. If you want to control cooking period
of your meal by yourself directly, rotate the button toward symbol in the counter clockwise.
In this case, you shall determine device stop time.

15
Feature of Roasting Chicken on Skewer is excellent for cooking big parts such as chicken and
fowl. It is ensured that chickens shall be cooked homogenously.
You can fasten connection with a tape. Chicken should be compressed into its body from its
This prevents that chicken turns black.
Penetrate skin from bottom so that chicken's inner fats shall ow.
Place chicken roasting skewers as the following.
1. Place skewer in its seat as
shown on picture and push it
until the last point as far as
possible in the 2. shelf position
2. Place skewer in its place on rear
wall in oven.
3. Pour some water into cooking tray
and place cooking tray in 1 shelf
position so that evacuate dinner fat
shall be collected
4. Take out handle by turning it and close
device cover.
Turn control buttons into the position required for operating grill.
Bring Control button into "o" position.
* Never touch heated surfaces and hot elements.
* Children should be kept in a safely distance from device.
* Be careful while you are opening device cover a hot vapor can be emitted out.
* Never touch chicken revolving mechanism and other accessories while they are hot.
* Always wear heat-resistant gloves,
1. Open device cover carefully and grasp chicken rotating skewel with handle.
2. Pull the skewel and take out from rear wall carefully.

16
MOV-655EST
MOV-655EGT

17
Dough and cake mixtures should not be too watery; it increases cooking time. Do not place on
oven base directly. This prevents heat disspation and can cause that enamel becomes cracked
or broken.

18
• Do not place aluminum folio or cake mould (cake metal sheet) on device bottom. Since temperature
compression occurs, enamel coating of device can be damaged as well as your cooking period and
temperature can vary.
• Do not discharge hot water into working device. Although enamel coating can resist against thermal
variances, sudden thermal dierences in time can give damage to coating.
• Droplets which can splash from juices containing too water during cooking, can cause indelible stains.
• In your device, there is cooling fan which becomes active in determined intervals for cooling device.
Therefore, you do not have to make an extra process for cooling device. Even if your cooling process
terminates, fan shall continue to work until device shall reach sucient cooling temperature. This is a
normal situation. If you accelerate cooling by opening or semi-opening device door, control elements
within panel group can overheat.
• You can clean oven inside with a non-chemical cleaning agent.
• Never remove in-door label on which device model and serial number are written. You may require
the information written on this label for the processes like repair or maintenance which can occur in
future.

19
- Before beginning cleanness, wait until device becomes cooled.
- Cut the electric by turning o main switch or removing cable plug, wipe coated or painted
surfaces with warm soap water and non-abrasive liquid detergent.
- Do not put abrasive or acidic substances (lemon juice, vinegar etc.) on enamel, painted stainless
steel parts.
- Never use abrasive substances, corrosive cleaning on enamel, painted or agents, bleaching
agents or acids for cleaning oven.
- Do not put abrasive or acidic substances (lemon juice,oven. vinegar etc.) stainless steel parts.
Oven cover thoroughly. Move inner glass slightly from its lower edge. Thereby, ensure that inner
glass lower edge is removed from metallic seats. By pulling lower edge is removed from seta
towards oven center take out inner glass from its place carefully. After completing related cleaning
process, place upper edge of inner glass into plastic part within cover and by pushing again
slightly towards inside (by applying press into interior springs), place lower edge of glass into
metallic seats.
Do not carry out this process while oven is hot. Take care of not giving damage to glass lass is being
removed as well as during cleanness.
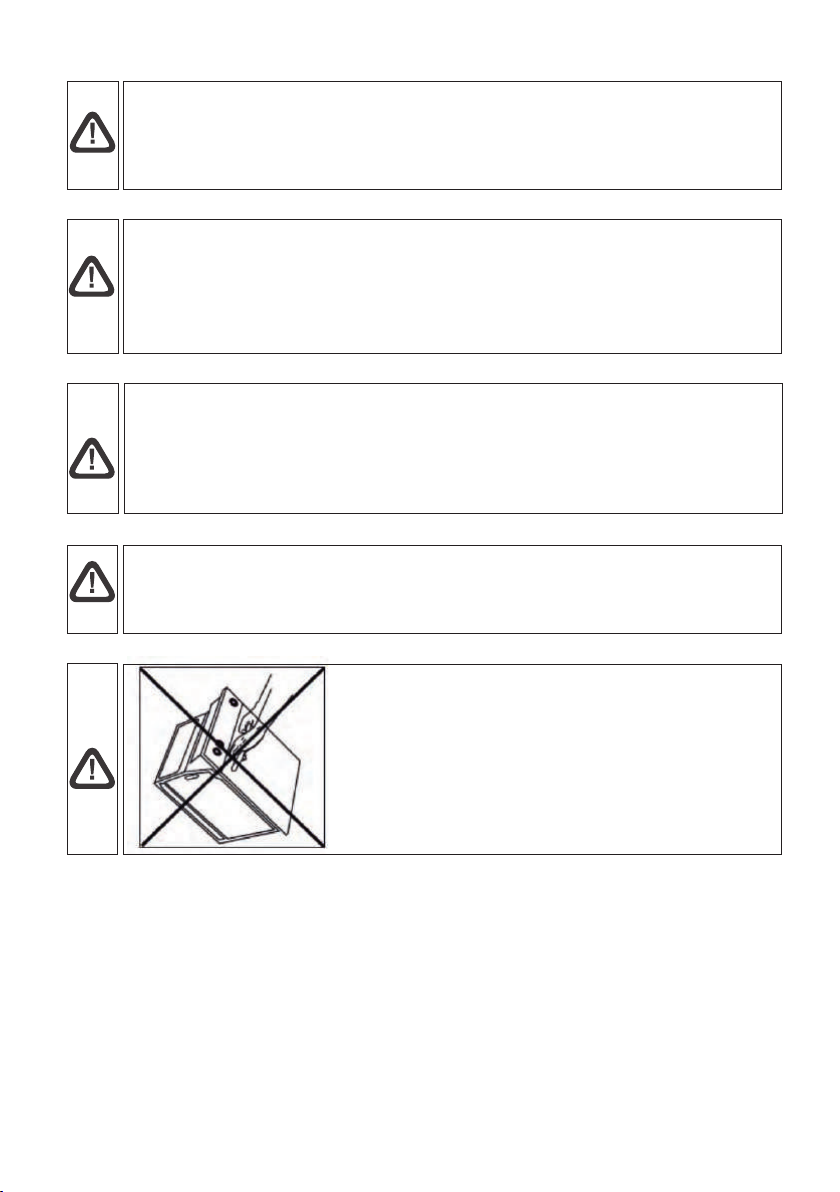
There is heat-resistant special bulb in the oven. Replace it as the removing its plug or switching
o main fuse; Remove protection glass in Figure A and replace blown bulb with another fuse of
the same type. Fit the protection glass in place.
lf oven shall not be used, it should be brought into inoperative status by switching o from main
fuse and cutting electric cable. Unused cables establish safety risk since children play with them
frequently. Therefore, oven should be secured.
Please check this gasket at regular periods. If it requires cleaning, clean it without using abrasive
materials. lf gasket is damaged, immediately contact with closest authorized service. Do not use
oven till ask repaired or replaced.
This manual suits for next models
1
Table of contents
Languages:
Other Malloca Oven manuals

Malloca
Malloca MST-48CP User manual

Malloca
Malloca MST-LX12 User manual

Malloca
Malloca MOV-575 ECO User manual

Malloca
Malloca MOV-65T5 User manual

Malloca
Malloca MOV-659TC User manual

Malloca
Malloca MDO-80BL User manual

Malloca
Malloca MOV-LX74 User manual

Malloca
Malloca MOV-65DA User manual

Malloca
Malloca MOV-LX12 User manual

Malloca
Malloca MW34TS User manual