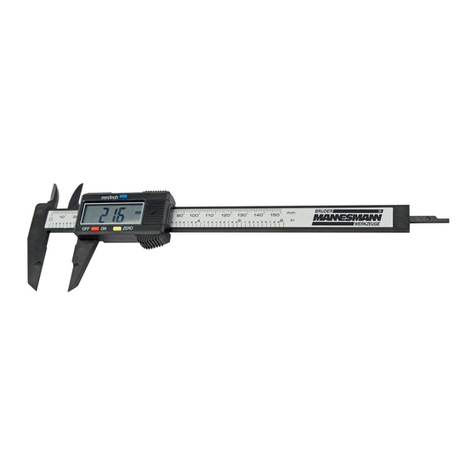
Mannesmann M81220 User manual
Other Mannesmann Measuring Instrument manuals
Popular Measuring Instrument manuals by other brands
MICRO-EPSILON
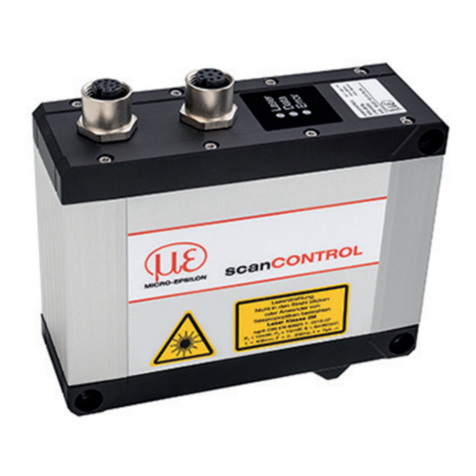
MICRO-EPSILON scanCONTROL 3000/BL Assembly instructions
Sparrow
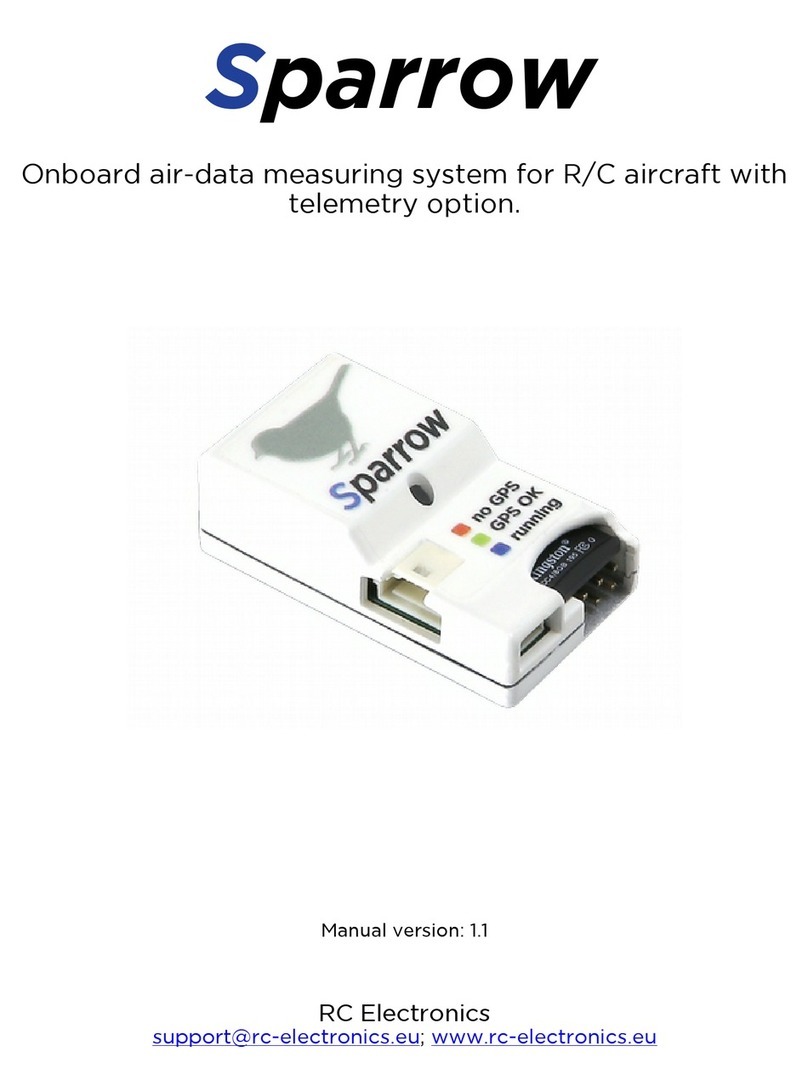
Sparrow Sparrow manual
Tractel
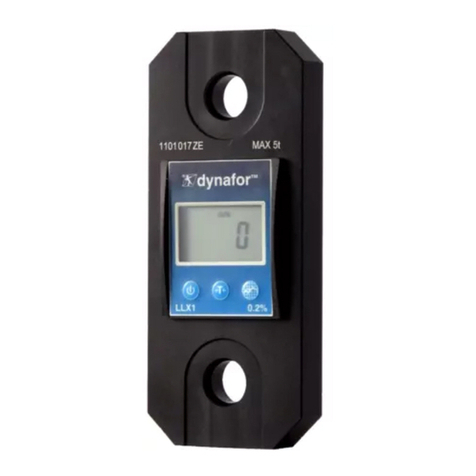
Tractel dynafor LLX1 Series Operation and maintenance manual

Casella
Casella 620 Series manual
gamma scientific
gamma scientific G-3 instruction manual
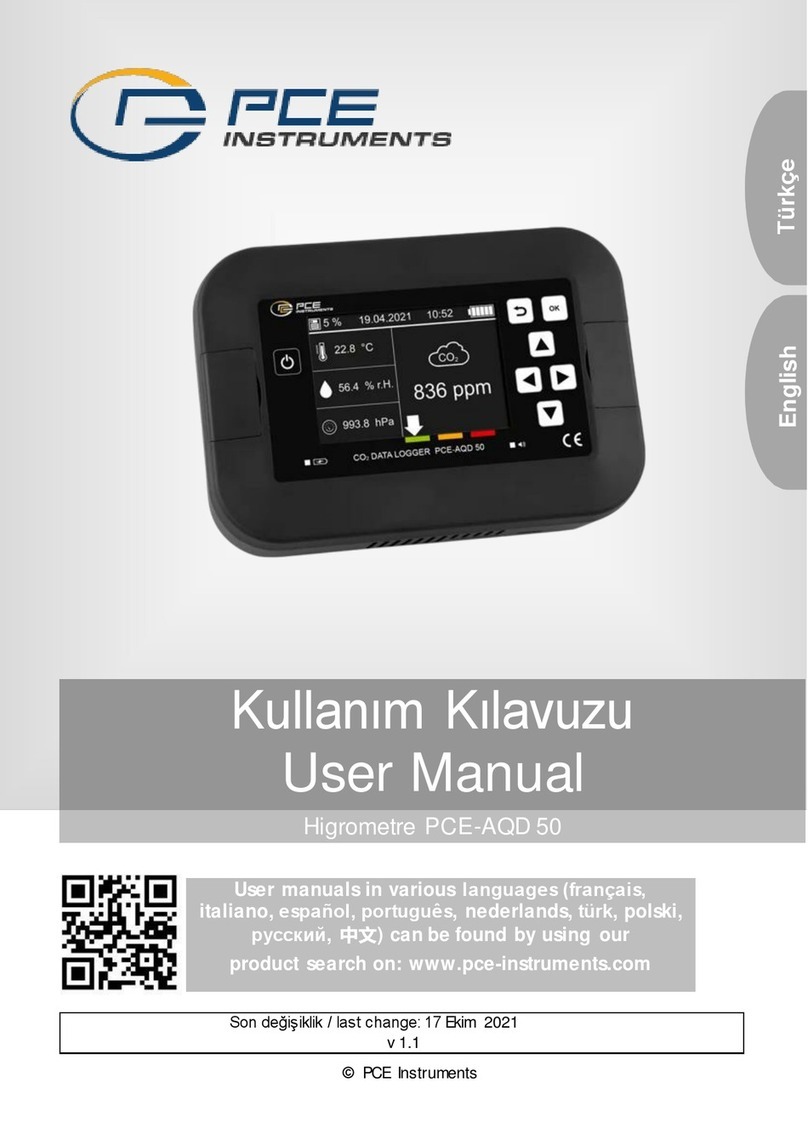
PCE Instruments
PCE Instruments PCE-AQD 50 user manual
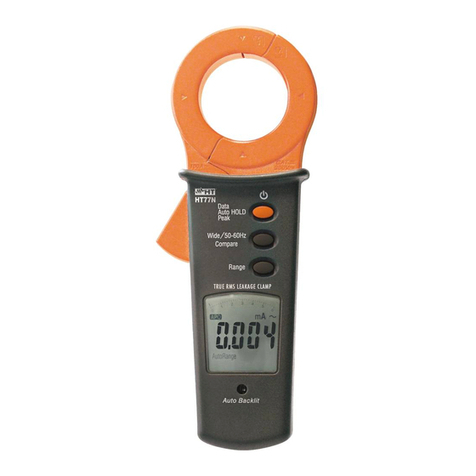
HT
HT HT77N user manual
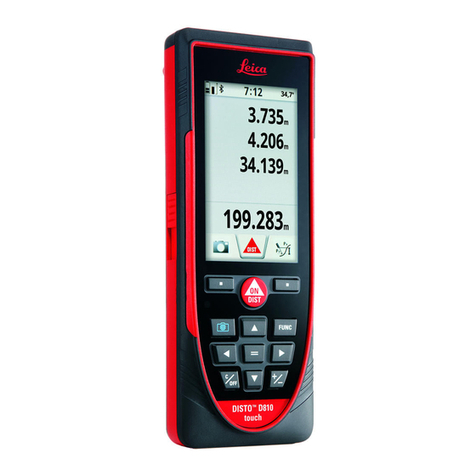
Leica Geosystems
Leica Geosystems DISTO D810 touch quick start
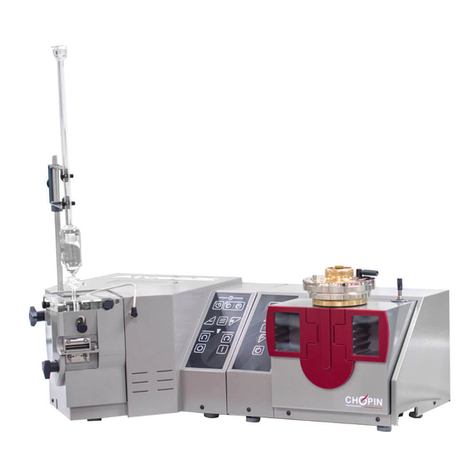
Chopin
Chopin AlveoPC Maintenance manual

Kessler-Ellis Products
Kessler-Ellis Products MRT Installation & operating instructions

Haag-Streit
Haag-Streit LENSTAR LS 900 Instructions for use

finder
finder 7E.12/13 Assembly and operating instructions


