Marmitek DOORGUARD 470 User manual

DOORGUARD
20656/20160128 • DOORGUARD 470
TM
© ALL RIGHTS RESERVED MARMITEK®
DOORGUARD 470
3
19
35
51
67
83
USER MANUAL
GEBRAUCHSANLEITUNG
GUIDE UTILISATEUR
MODO DE EMPLEO
MANUALE D’ISTRUZIONI
GEBRUIKSAANWIJZING

© MARMITEK
2

DoorGuard 470
3
ENGLISH
SAFETY WARNINGS
xTo prevent a short circuit, this product should only be used inside and
only in dry spaces. Do not expose the components to rain or
moisture. Do not use adjacent to or near a bathtub, swimming pool,
etc.
xDo not expose the components of your system to extremely high
temperatures or bright light sources.
xThis product is not a toy. Keep out of reach of children.
xNever open the product: the device may contain parts with deadly
voltage. Repairs or service should only be performed by qualified
personnel.
xConnect the adapter to the mains only after you have verified that the
line voltage corresponds to the value specified on the type plates.
Never connect a power adapter if it's damaged. In such cases,
please contact your supplier.
xImproper use, self-installed modifications or repairs will void any and
all warranties. Marmitek does not accept any product responsibility
for incorrect use of the product or use other than for which the
product is intended. Marmitek does not accept liability for any
consequential damage other than the legal product responsibility.

© MARMITEK
4
TABLE OF CONTENTS
1INTRODUCTION..............................................................................5
2SET CONTENTS .............................................................................6
2.1 DoorGuard 470 Set (DG470 set)......................................................6
2.2 Optional additional camera doorbell (OCW470)...............................6
2.3 Optional additional monitor (CM470)................................................6
3CAMERA DOORBELL .....................................................................7
3.1 Required cable type .........................................................................8
3.2 Electric door opener .........................................................................9
3.3 Mounting the camera doorbell..........................................................9
4MONITOR ......................................................................................10
4.1 Mounting monitor ...........................................................................11
4.2 Wiring diagram...............................................................................11
4.3 Using the monitor ...........................................................................12
4.4 Monitor display settings..................................................................12
4.4.1 Call tone menu .................................................................12
4.4.2 Image menu......................................................................12
4.4.3 Time menu........................................................................12
4.4.4 Camera menu...................................................................13
4.4.5 Video menu ......................................................................13
5A VISITOR RINGS THE DOORBELL ............................................14
6LOOKING OUTSIDE......................................................................15
7FREQUENTLY ASKED QUESTIONS............................................16
8TECHNICAL DATA ........................................................................17
9COPYRIGHTS ...............................................................................18
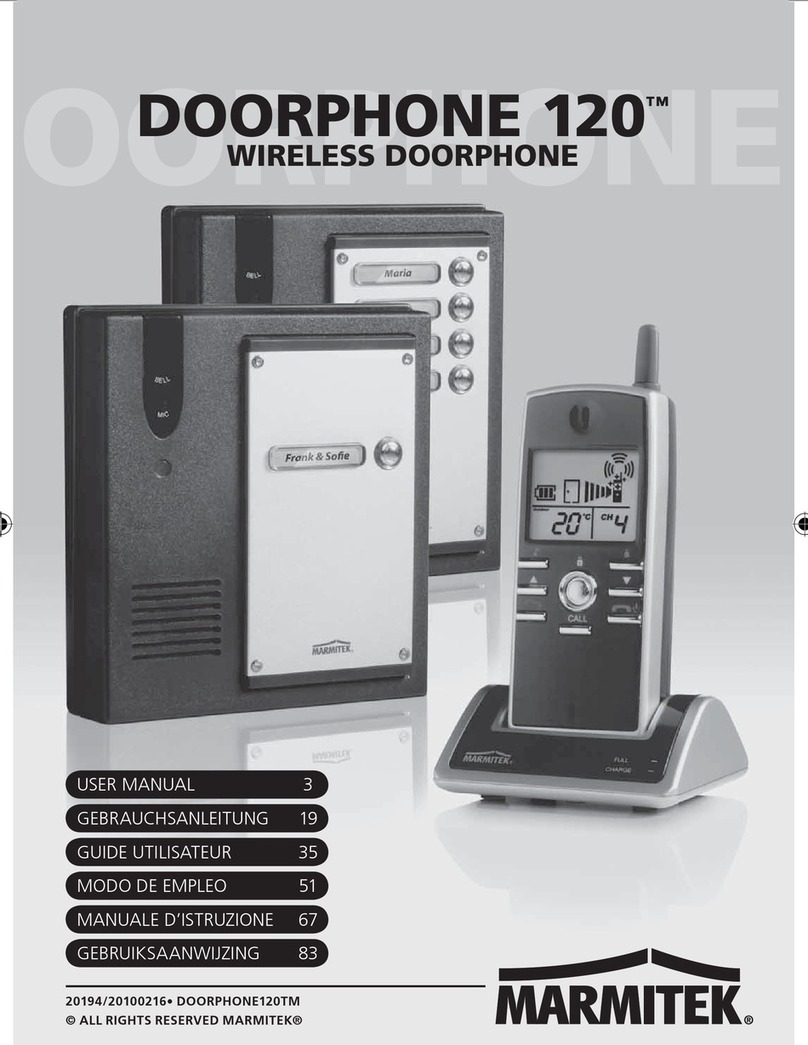
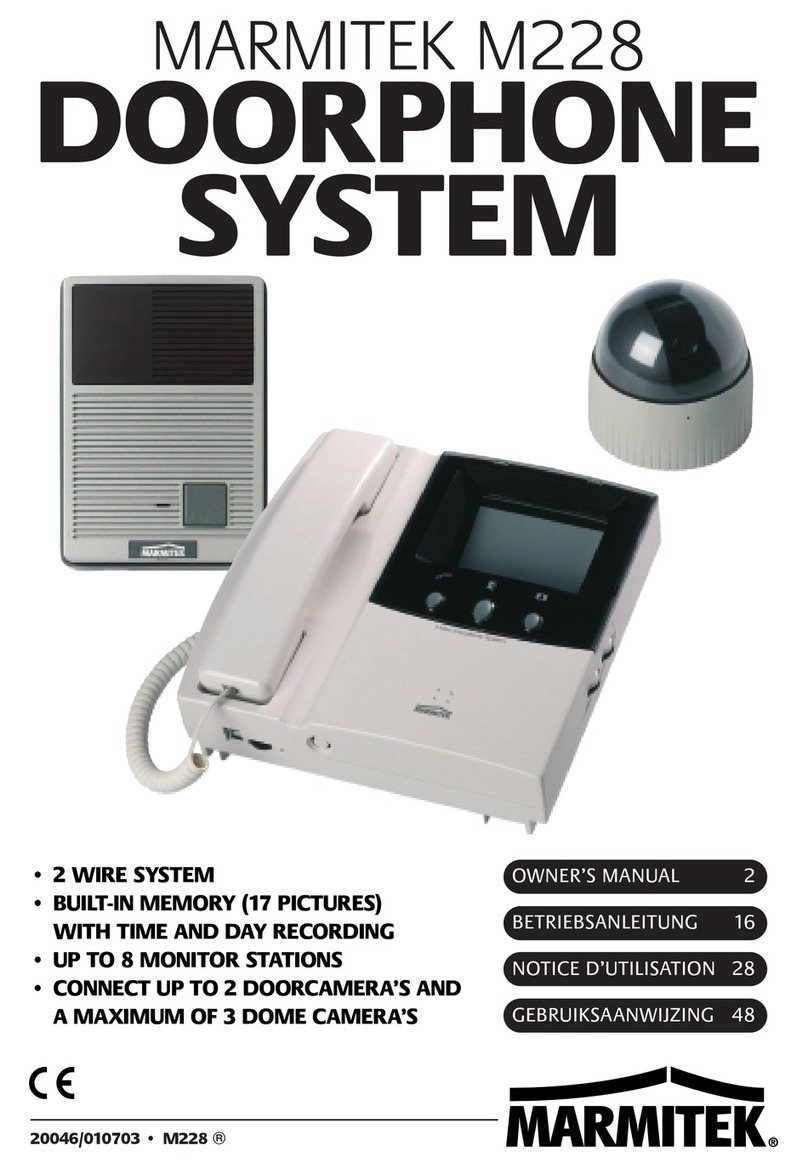
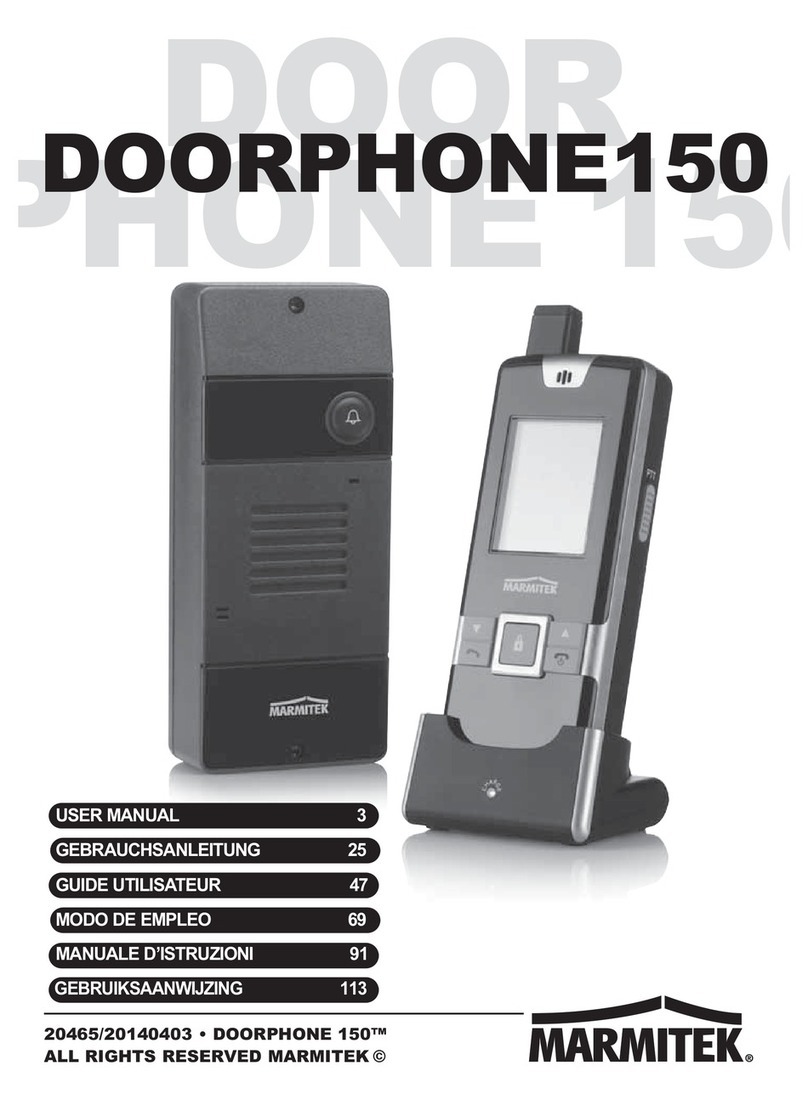
DoorGuard 470
5
ENGLISH
1 INTRODUCTION
Congratulations on your purchase of the Marmitek DoorGuard 470™.
This video door intercom enables you to see and hear who is at your door
before you decide to open it. The camera delivers good image quality,
even in the dark.
xHandsfree LCD video intercom with video memory –colour
xSee who's at the door, a safe feeling
xLuxurious design; neat looks and Hands Free.
xProvided with a 7", 17.5 cm colour LCD screen.
xSave a video from every visitor on a SD memory card (not included).
xAlways perfect sound and clear picture, also in the dark.
xNarrow front door unit that fits onto the doorframe.
xSolid weatherproof housing with unique 100º wide angle lens.
xOpen the door remotely by electric door opener (optional).
xOptional connection of 1 additional camera doorbell (sold separately).
xIncludes camera and rain hood.
How does it work? The moment a visitor rings the bell on the camera
doorbell, their image appears instantly on the monitor in the house. You
will instantly see who rang the bell and you can decide to open the door
or not. To talk with the visitor, simply press the intercom button. If you
installed an electric door opener, you can open the door via the monitor.

© MARMITEK
6
2 SET CONTENTS
2.1 DoorGuard 470 Set (DG470 set)
1 x Monitor with display
1 x Wall plate for the monitor
1 x Camera doorbell with rain hood
1 x Power adapter
1 x 10 metres 4-wire cable to connect the camera
2 x 30 cm 4-wire cable with connector for use with own cable
1 x Various mounting and screw materials
1 x User manual
2.2 Optional additional camera doorbell (OCW470)
1 x Camera doorbell with rain hood
1 x Various mounting materials and screws
2.3 Optional additional monitor (CM470)
1 x Monitor with display
1 x Wall plate for the monitor
1 x Power Adapter
1 x 10 metres 4-wire cable to connect to 1st monitor
2 x 30 cm 4-wire cable with connector
1 x Various mounting materials and screws

DoorGuard 470
7
ENGLISH
3 CAMERA DOORBELL
1
Rain hood
Protects the outdoor unit against the weather
2
Microphone
Sound to the monitor
3
Camera
Creates the image on the monitor
4
IR LEDs
Infrared lighting for better visibility
5
Doorbell
Ring to communicate
6
Speaker
Sound from the monitor
7
Connecting cable
Connection to monitor and door opener
8
Volume control
To adjust the speaker volume

© MARMITEK
8
3.1 Required cable type
Please ensure that the power to the system is off during
installation.
To connect the camera doorbell to the monitor, you can use the supplied
4-wire cable.
Should you want to cross a longer distance, please refer to the following
table for the required type of cable:
Cable length
Required cable type
1-25m
4-wire cable of minimum 4x 0.2mm2, unshielded
25-50m
4-wire cable of minimum 4x 0.3mm2, shielded
50-80m
4-wire cable of minimum 4x 0.5mm2, shielded
80-100m
coaxial cable, 75 ohm of minimum 1.55mm2+ 2-wire
audio cable of 0.55mm
2
CAT5 or CAT6 network cable connections (not recommended)
You can use the two included additional connectors for this.
Unshielded cable (<25m)
Shielded cable (<80m)
Coaxial cable + 2-wire audio cable (<100m)
Unshielded network cable (<25m)
Shielded network cable (<50m)
Afscherming
Afscherming

DoorGuard 470
9
ENGLISH
3.2 Electric door opener
The electric door opener is optional (Item no. 09774).
The system supports door openers with a Normally Open (NO)
door unlocking method. This means that in the normal state, the dry
contact is open. If the release button is pressed, the open contact will be
closed for a set period of time. (dry contact: the contact will not supply
power to the door opener. If you use the Marmitek electric door opener,
you can use the camera's power for this. If you use another door opener,
please ensure it is possible to use the camera's 12V for this, and that it
does not use more than 0.6A. Otherwise, use a separate power supply for
the door opener.)
3.3 Mounting the camera doorbell
The camera is equipped with a wide angle lens. Even if a visitor is not directly in
front of the camera, you'll still get a good view.
xDetermine the correct height for the camera.
xDrill a hole through the frame at the height where you want to mount the
doorbell.
xAttach the mounting plate to the frame using the four screws.
xNow slide the doorbell's cable through the mounting plate and the hole in
the frame.
xThen mount the doorbell on the mounting plate, using the included two
screws.

© MARMITEK
10
4 MONITOR
1 TFT screen
2 Microphone
3 Transfer button (to another monitor)
4 Monitor button (to activate camera)
5 Intercom button (to activate speech)
6 Door opener button
7 Disconnect button
8 Display settings
9 Monitor speaker volume
10 Speaker
11 SD card slot (SD card: up to 32GB, FAT32, Class 10 or higher,
not included)

DoorGuard 470
11
ENGLISH
4.1 Mounting monitor
xAvoid installing the monitor near intense radiation, such as from a
TV, video recorder or PC.
xChoose an ideal position, with the monitor installed at eye level.
xBefore installing the monitor, please ensure that it is de-energised.
xPlease ensure that the power supply is installed at least 30 cm away
from the monitor, to prevent interference.
Follow the diagram below to install the monitor:
4.2 Wiring diagram
Two doorbells with camera and one external camera can be connected to
the monitor. Up to three additional monitors can be looped through to the
monitor.
Plugs
Wall plate
Connection cables to doorbells with camera,
2
nd
monitor and power cable
Door 2
Door 1
Door opener
Door opener
Next monitor
Power
supply
1st monitor
Wall

© MARMITEK
12
4.3 Using the monitor
Follow these steps to connect your monitor to the camera doorbell:
xConnect the supplied 4-wire cable to the doorbell.
xConnect the other end to your monitor, DOOR1.
xConnect the adapter to the power jack.
Supply adapter with voltage.
The monitor will now start up.
After a few seconds you will hear a 'beep', indicating that the system has
booted.
4.4 Monitor display settings
On the monitor, press button 8 briefly to activate the display settings.
By rotating the button downward, you cycle through the 5 main menus.
Make your selection by briefly pressing the button.
In the sub menu, you can make your selection by rotating the button down
or up and briefly pressing it to confirm the selection.
You can then adjust the selection again by turning the button up or down
and briefly pressing it to confirm the adjustment.
4.4.1 Call tone menu
xSelect call tone: Choice of 16 melodies.
xCall tone duration: can be set between 5 and 30 seconds.
xCall tone volume 1, 2 and 3: You can set the call tone volume for 3
time spans.
For example, loud during the day, a little softer in the evening and
very soft at night.
4.4.2 Image menu
xLanguage: EN, DE, FR, ES, IT or NL
xClear
xColour
xContrast
4.4.3 Time menu
xTime: setting date and time
xKey tone: turn on/off key confirmation tone
xReboot: reboot monitor
xVersion: monitor firmware version

DoorGuard 470
13
ENGLISH
4.4.4 Camera menu
xUnlock time: When using an electric door opener, unlock duration
can be set between 2 and 10 seconds.
xFunction: Master or Slave. Choose Master if this monitor is the first or
only monitor. Choose Slave if this monitor is a 2nd, 3rd or 4th
monitor.
xDOOR2: On, if you are using a 2nd camera doorbell, otherwise Off.
xCAM1: On, if you are using an additional camera, otherwise Off.
xCAM2: On, if you are using an additional camera, otherwise Off.
4.4.5 Video menu
xRecord: On, when using an SD card in the monitor to automatically
make a video recording when the bell rings.
xPlay: Automatically plays all recordings. Button 8 lets you scroll
through all the recordings.
xFormatting: Formats the inserted SD card.
xFW Update (SD): this allows any available firmware updates to be
installed from the SD card.
Choose Close to exit the menu. (Menu will automatically close 1 minute
after making your last choice)

© MARMITEK
14
5 A VISITOR RINGS THE DOORBELL
In this example, 2 camera doorbells are connected.
Please refer to the left column if you only have 1 doorbell.
Both the image and the voice of the visitor remain active for 20
seconds when the door opener is operated. This enables you to
verify that the door opener has worked well.
If an SD card is installed in the monitor, a video recording will be
made each time the bell is rung.
STANDBY mode
The visitor rings doorbell 1
For 5...30 seconds
you will hear a
melody, both inside
and outside. (1 out of
16 selectable melodies)
The image of the visitor
will automatically appear
on the monitor.
Press the intercom button
(5).
The melody will stop.
You can now start a
conversation via
doorbell 1.
The conversation stops
automatically after 120
seconds.
P
ress the door opener
button (6) (or walk to the
door if it is not installed)
The door opener is
activated.
Press the disconnect
button (7).
Standby
The visitor rings doorbell 2
If both doorbell 1 and 2 are rang at the same time, the
doorbell that was pressed first will be connected to the
monitor. On the monitor, you will now hear 3 short
tones to indicate that the other doorbell was also
pressed.
If the camera of the outdoor unit is blocked, and you
do not see an image of the visitor, press the monitor
button to switch to a 2nd camera. Press the monitor
button again to return to the image from the outdoor
unit.
The monitor will automatically enter standby mode
when the intercom button is not pressed within 60
seconds.

DoorGuard 470
15
ENGLISH
6 LOOKING OUTSIDE
If you only use 1 camera doorbell, you can also go to standby by pressing
the disconnect button (7).
If the monitor function is active on the monitor and someone rings the
doorbell, the monitor will automatically switch to the image of this
doorbell's location.
STANDBY mode
The display stops
automatically after
60 seconds.
Press the monitor button (4).
The image of the first camera
is displayed.
Press the intercom button (5).
You can now start a
conversation via the camera.
Press the disconnect
button
(7).
Standby
P
ress the monitor button (4
)
again.
The image of the second
camera is displayed.
P
ress the monitor button (4
)
again to enter standby.
Press the door opener button
(6) to activate it.

© MARMITEK
16
7 FREQUENTLY ASKED QUESTIONS
Can I set the speaker volume of the doorbell?
On the back of the doorbell, there is a small volume control located
behind the rubber sealing cap. Using a small screwdriver, you can gently
fine-tune the volume.
What is the recommended height for mounting the doorbell?
The recommended height is 1.60 metres. Also, pay attention to incident
light from the sun, streetlights and the like.
Can I connect multiple monitors in parallel?
No, a second monitor is connected to the first monitor. A third monitor is
then connected to the second monitor and a fourth monitor to the third
monitor. Next, go to the settings menu of each monitor to set it as either a
Master or a Slave monitor. The first monitor is always a Master; the other
three monitors are Slaves. (Please refer to 4.4.4 Camera menu.)
If I want to install a door opener, can I operate it from each monitor?
Yes, you can operate the door opener from each monitor.
Can I set the monitor's call tone?
You can choose from 16 different call tones, set the duration and adjust
the volume for three time spans. You can set this individually for each
monitor. (Please refer to 4.4.1 Call tone menu.)
I hear a clearly audible humming noise during the conversation.
A humming noise can be caused by interference with other types of
installations. High AC voltage cables next to intercom cables will almost
certain result in a humming noise in the door intercom. If it is unavoidable
that the intercom cable runs along 230V cables, please ensure that
shielded cables are used. (Please refer to 3.1 Required cable type.)
What is the function of the three extra wires on the doorbell cable?
The blue and brown wires are the switching wires for the door opener.
The red/white wire supplies 12 volts when the camera is active. It can be
used, for example, to control an external DVR.
Do you still have questions?
Please check out www.marmitek.com for more information.
.

DoorGuard 470
17
ENGLISH
8 TECHNICAL DATA
OCW470 camera doorbell with rain hood
Resolution 420TVL
Camera ¼” CMOS colour
Lens and angle 100°
Light sensitivity 0.1 LUX
Night vision 4 infrared LEDs (60°)
Night vision range 0.5 ~1 m
Sound Built-in microphone and speaker
Door open switch Dry contact, N.O., Max 1A.
Unlock time 2…10 seconds (configurable)
Active consumption 200mA Max.
Adapter Powered by indoor unit
Mounting Surface mounting
Dimensions 125 x 60 x 35 mm (h x b x d)
Ambient temperature -40 ~ +50°C (in use)
Humidity ≤ 85% RH
CM470 Monitor
Display 7 inch TFT LCD
Resolution 800(H) x 3 (RGB) x 480 (V)
Video system PAL/NTSC compatible
Intercom mode Semi-duplex communication
Call duration 120 seconds
Standby consumption 300 mA max.
Active consumption 600 mA max.
Call tone selection Choice of 16 melodies
Call tone duration 5…30 seconds
Call tone volume Can be set time-dependent
SD card slot Up to 32 GB
FAT32 formatted
Class 10 or above
Adapter DC12V
Ambient temperature -10 ~ +60°C (in use)
Mounting Surface mounting
Dimensions 194 x 124 x 18 mm

© MARMITEK
18
Environmental Information for Customers in the European
Union
European Directive 2002/96/EC requires that the equipment
bearing this symbol on the product and/or its packaging must
not be disposed of with unsorted municipal waste. The symbol
indicates that this product should be disposed of separately from regular
household waste streams. It is your responsibility to dispose of this and
other electric and electronic equipment via designated collection facilities
appointed by the government or local authorities. Correct disposal and
recycling will help prevent potential negative consequences to the
environment and human health. For more detailed information about the
disposal of your old equipment, please contact your local authorities,
waste disposal service, or the shop where you purchased the product.
9 COPYRIGHTS
Marmitek is a trademark of Pattitude B.V.
DoorGuard 470™ is a trademark of Marmitek B.V. All rights reserved.
Every effort has been made to ensure that the information in this manual
is accurate. Marmitek is not responsible for printing or clerical errors.
Copyright and all other proprietary rights in the content (including but not
limited to model numbers, software, audio, video, text and photographs)
rests with Marmitek B.V. Any use of the Content, but without limitation,
distribution, reproduction, modification, display or transmission without the
prior written consent of Marmitek is strictly prohibited. All copyright and
other proprietary notices shall be retained on all reproductions. Other
company and product names mentioned herein may be trademarks of
their respective companies. Mention of third-party products is for
informational purposes only and constitutes neither an endorsement nor a
recommendation. Marmitek assumes no responsibility with regard to the
performance or use of these products.
MARMITEK BV - P.O. BOX 4257 - 5604 EG EINDHOVEN
THE NETHERLANDS

DoorGuard 470
19
DEUTSCH
SICHERHEITSHINWEISE
xUm Kurzschluss vorzubeugen, dieses Produkt bitte
ausschließlich innerhalb des Hauses und nur in trockenen
Räumen nutzen. Setzen Sie die Komponenten nicht Regen oder
Feuchtigkeit aus. Nicht neben oder nahe eines Bades,
Schwimmbades usw. verwenden.
xSetzen Sie die Komponente Ihres Systems nicht extrem hohen
Temperaturen oder starken Lichtquellen aus.
xDieses Produkt ist kein Spielzeug. Außer Reichweite von
Kindern halten.
xDas Produkt niemals öffnen: Das Gerät kann Teile enthalten,
worauf lebensgefährliche Stromspannung steht. Überlassen Sie
Reparaturen oder Wartung nur Fachleuten.
xSchließen Sie den Netzadapter erst dann an das Stromnetz an,
nachdem Sie überprüft haben, ob die Netzspannung mit dem auf
dem Typenschild angegeben Wert übereinstimmt. Schließen Sie
niemals einen Netzadapter an, wenn diese beschädigt sind. In
diesem Fall nehmen Sie Kontakt mit Ihrem Lieferanten auf.
xBei einer zweckwidrigen Verwendung, selbst angebrachten
Veränderungen oder selbst ausgeführten Reparaturen verfallen
alle Garantiebestimmungen. Marmitek übernimmt bei einer
falschen Verwendung des Produkts oder bei einer anderen
Verwendung des Produktes als für den vorgesehenen Zweck
keinerlei Produkthaftung. Marmitek übernimmt für Folgeschäden
keine andere Haftung als die gesetzliche Produkthaftung.

© MARMITEK
20
INHALTSVERZEICHNIS
1EINFÜHRUNG ...............................................................................21
2VERPACKUNGSINHALT...............................................................22
2.1 DoorGuard 470 Set (DG470 Satz) .................................................22
2.2 Optional, extra Klingel mit Kamera (OCW470)...............................22
2.3 Optional, extra Monitor (CM470) ....................................................22
3KLINGELTASTER MIT KAMERA...................................................23
3.1 Benötigte Kabelart..........................................................................24
3.2 Elektrischer Türöffner.....................................................................25
3.3 Montage Klingeltaster mit Kamera .................................................25
4MONITOR ......................................................................................26
4.1 Montieren Monitor ..........................................................................27
4.2 Anschlussplan................................................................................27
4.3 Monitor in Gebrauch nehmen.........................................................28
4.4 Monitor Bildschirmeinstellungen.....................................................28
4.4.1 Menü Klingelsignal............................................................28
4.4.2 Menü Bild..........................................................................28
4.4.3 Menü Zeit..........................................................................28
4.4.4 Menü Kamera ...................................................................29
4.4.5 Menü Video ......................................................................29
5EIN BESUCHER KLINGELT..........................................................30
6HINAUSSCHAUEN ........................................................................31
7HÄUFIG GESTELLTE FRAGEN ....................................................32
8TECHNISCHE DATEN...................................................................33
9COPYRIGHT..................................................................................34
Table of contents
Languages:
Other Marmitek Intercom System manuals

Marmitek
Marmitek Doorguard 100 User manual

Marmitek
Marmitek DOORPHONE 170 User manual

Marmitek
Marmitek Proguard PGI850 Marmitek User manual

Marmitek
Marmitek M228 User manual

Marmitek
Marmitek 120 User manual

Marmitek
Marmitek DoorGuard400TM User manual

Marmitek
Marmitek DOORGUARD 450 User manual

Marmitek
Marmitek VIDEO DOORPHONE User manual

Marmitek
Marmitek Digimax 210 User manual

Marmitek
Marmitek BOOMBOOM 100 User manual