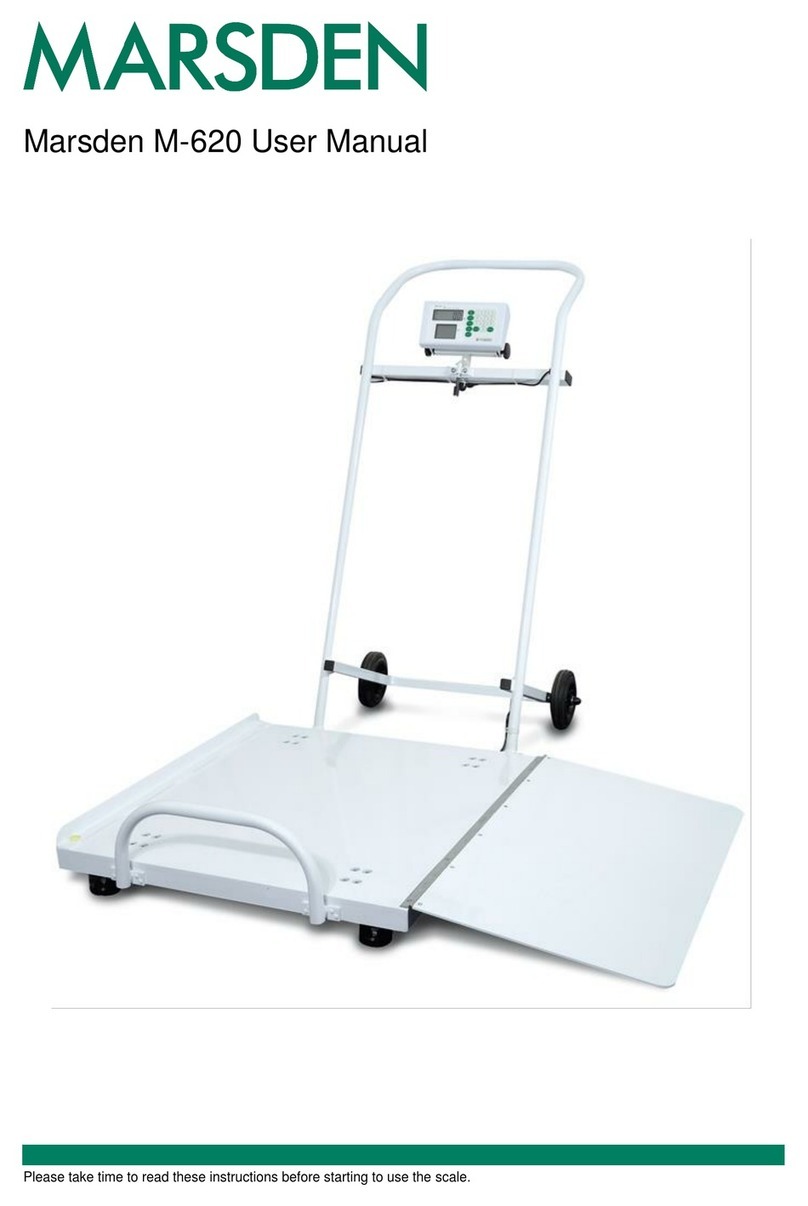
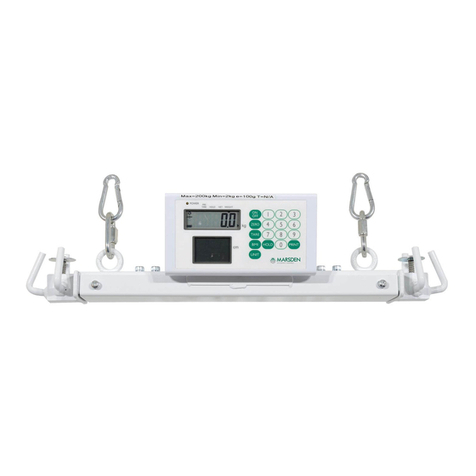
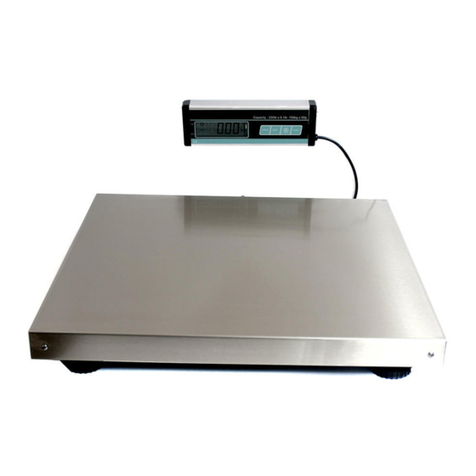
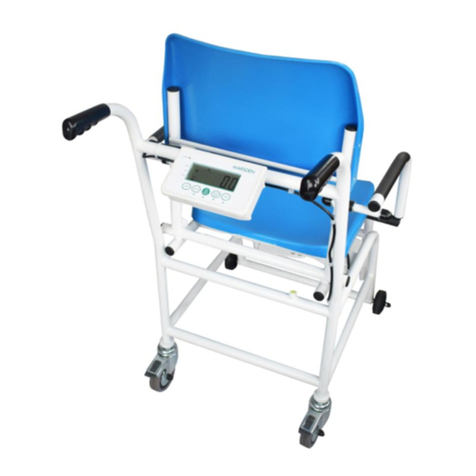
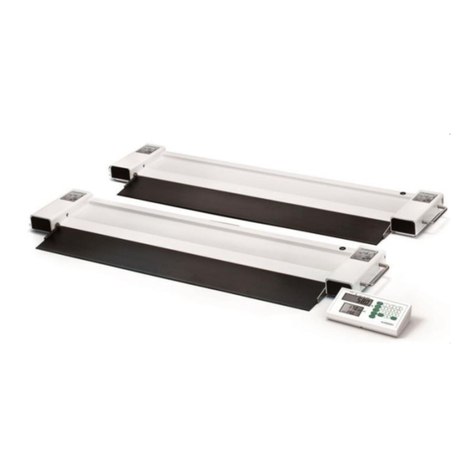
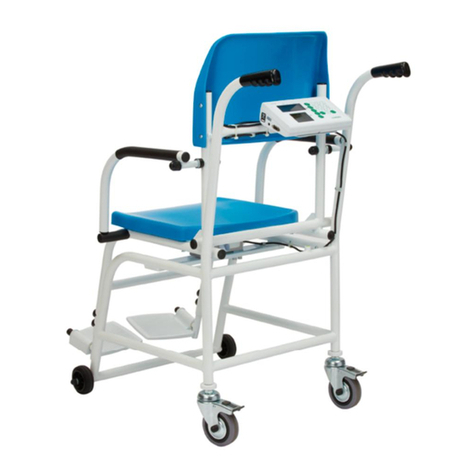
marsden M-610 User manual

M-610
USER MANUAL
PLEASE TAKE THE TIME TO READ THESE INSTRUCTIONS BEFORE
STARTING TO USE THE SCALES

1
TABLE OF CONTENTS
INTRODUCTION…….………………………………………… 2
POWER SUPPLY…….………………………………………… 4
INSTRUCTION FOR REPLACING BATTERIES…………… 5
SPECIFICATIONS………………………………………….…. 7
KEY FUNCTIONS……………………………………………… 8
LCD SYMBOL DESCRIPTION………………………………. 9
MAINATENANCE AND GENERAL CARE……………….… 10
1.0 BASIC FUNCTIONS……………………………………. 11
1.1 SWITCHING ON ………………………………. 11
1.2 SWITCHING OFF……………………………… 12
1.3 SETTING ZERO……………………………….. 12
2.0 ADVANCED FUNCTIONS …………………………… 13
2.1 HOLD FUNCTION …………………………….. 13
2.2 BODY MASS INDEX (BMI) FUNCTION…….. 14
2.3 SETTING AND RECALL THE PRE-TARE FUNCTION 15
2.4 SETTING THE DATE AND TIME……………. 16
2.5 PRINTING FUNCTION………………………. 17
2.6 ASSEMBLING THE TP2100) PRINTER……… 18
2.7 BLUETOOTH VERSION……………………………. 18
2.8 BLUETOOTH CONNECTION……………………… 19
ERROR MESSAGES………………………………………... 21
ROHS COMPLIANCE & PRODUCT CONFORMITY……. 22
CONTACT INFORMATION ………..………………………… 23

2
INTRODUCTION
Thank you for purchasing a Marsden Professional Medical
Scale. This is a precision Class III Weighing Instrument and it
will reward considerate use with many years of accurate
weighing results
SAFETY INSTRUCTION
Before putting the device into use, please read with care the
information given in the Operating Instructions. They contain
important instructions for installation, proper use and maintenance of the
device.
The manufacturer shall not be liable for damages arising out of failure to
heed the following instructions:
1. Don’t leave the baby unattended on scale.
2. When using electrical components under increased safety requirements,
always comply with the appropriate regulations.
3. Improper installation will render the warranty null and void.
4. Ensure the voltage marked on the power supply unit matches your mains
power supply.
5. This device is designed for use indoors.
6. Observe the permissible ambient temperatures for use
7. The device meets the requirements for electromagnetic compatibility. Do
not exceed the maximum values specified in the applicable standards.
8. These batteries should be kept away from small children. If swallowed,
promptly seek medical assistance.
9. Expected Service Life: 5 years
If you have any problem, contact your local service partner.
CLEANING
10. We would recommend using alcohol based wipes or similar when
cleaning the scales.
11. Please do not use large amounts of water when cleaning the scales as
this will cause damage to the scales electronics, you should also refrain
from using corrosive liquids or high pressure washers.
12. Always disconnect the scales from the mains power supply before
cleaning.

3
13.
MAINTENANCE
14. The scale does not require any routine maintenance. However, we
recommend checking the scale’s accuracy at regular intervals. The
regularity of these checks is dependent on the level of use and the state
of the scale. If any inaccuracies occur, please contact your local dealer or
service partner
DISPOSING OF THE SCALE
15. This product is not to be treated as regular household waste, but should
be handed in to an electrical/electronic equipment recycling centre.
16. You can obtain further details from your local council, your municipal
waste disposal company or the firm which you purchased the product
17.
Explanation of the graphic symbols
This EEC verification mark indicates that
these scales are in conformity with EEC
Directive 2009/23/EC for Non-Automatic
Weighing Instruments. Weighing instruments
bearing this mark are approved for medical
purposes within the European Union.
SN-21300100
Designation of the serial number of every
device, applied at the device.
(Number as an example)
“Please note the accompanying documents“
or “Observe operating instructions”
“Electro-medical appliance“
with attachment for type B
Device protection category II

4
Dispose of old appliances separately from
your household waste!l!
Instead, take them to communal collection
points.
Carefully read this operation manual
before setup and commissioning, even if
you are already familiar with Marsden
scales.

5
POWER SUPPLY
1. Make sure the battery pack is installed in the battery box of
indicator, or, plug the connector of AC ADAPTER (12V 1A) in the
indicator.
The INDICATOR uses a rechargeable battery pack, or an
AC adaptor.
When the indicator displays (low battery
indication), please plug in the AC adaptor for operation and
rechargeable batteries (where rechargeable batteries are
installed) –for at least 4.5 hours if batteries are fully
charged.
The battery should be recharged at least every 3
months regardless if it is used or not. After a long
period in storage, e.g. over 3 months, the battery
should run a full cycle (charge/discharge) to allow it
to restore to full capacity.

6
9
INSTRUCTION FOR REPLACING
BATTERIES
1. Take out the battery housing, and reset the rechargeable battery.
2. To make sure that the housing pin is connecting to the right point.
3. Place the housing back, and close the battery housing cover.
Rechargeable
Battery
AA size Battery
( to fit on an
optional battery
holder)

7
SPECIFICATION
Capacity &
Division
300kg x 100g
Accuracy
±150g
Units of Measure
kg
Function keys
ON/OFF, ZERO, TARE, BMI, UNIT, HOLD, PRINT,
0 ~ 9
Stabilisation Time
1-2 seconds
Operating Temp. and
humidity
0°C - 40°C
15% - 85% RH
Transport and storage
temp. And humidity
- 20°C … + 60°C
10% - 95% RH
Power supply
7.2V 2000mA Rechargeable battery pack or
Adaptor: 12v 1A
Indicator display
1.0” LCD display with 5 active digits
Dimensions
(w x d x h)
1200mm x 150mm x 95mm

8
KEY FUNCTIONS
Key
Description
ON/OFF
Switching on/off the scale
PRINT
Data transmission via interface
BMI
Determination of Body Mass Index
HOLD
Hold function / determination of stable weighing
value
Long press 3sec, to enter into the “TIME” setting
mode.
ZERO
The scale is reset to 0.0kg display.
It is possible to set max. up to 2% of maximal load
for verified scales, and 2% or 100% of maximal load
for common scales (possibility of selection in the
menu)
TARE
Taring the scale
Long press 3sec, to enter the Pre-tare Setting
mode.
UNIT
Press this key to select weight units (kg and lb).
NOTE: only “kg” unit can be used in approval
mode.
0-9
Entering digits

9
LCD SYMBOL DESCRIPTION
Definitions
Stable symbol: To indicate that the weight is stable.
Minor weight: Weight under zero.
Zero symbols: Weight is at zero point.
Power Index: When the indicator show “LO”, means Battery need to
recharge.

10
MAINTENANCE AND GENERAL CARE
Repair and Service should only be carried out by authorized
service agents.
There are no user serviceable parts in the weighing scale itself.
The mains power adaptor fuses that are not accessible.
When the adaptor is plugged into the mains supply a Green
LED should illuminate to indicate that the adaptor is functioning
correctly. If the LED does not illuminate then the scale should
be checked by competent personnel.
The weight indicator contains an internal rechargeable battery
pack; this should only be replaced by authorized service agents.
Under normal operating conditions the batteries should last for
several years.
We would recommend using alcohol based wipes or similar
when cleaning the scales.
Please do not use large amounts of water when cleaning the
scales as this will cause damage to the scales electronics, you
should also refrain from using corrosive liquids or high pressure
washers.
Always disconnect the scales from the mains power supply
before cleaning.

OPERATOR INSTRUCTIONS
SECTION
1
-
BASIC
FUNCTIONS
1.1 SWITCHING ON THE SCALE
Press the ON/OFF button firmly.
The scale will first test all of the
display segments.
The scale will now show its
current software version number.
The scale will now go into
weighing mode and should show
0.0kg on the display.

1.2 SWITCHING OFF THE SCALE
Press the ON/OFF button when
the scale is turned on.
The scale will power down.
1.3 SETTING THE SCALE TO ZERO
If for some reason the scale
shows a reading other than 0.0kg
then it can be reset to zero (2% of
capacity).
Press the zero key once.
The scale will return to 0.0kg.

13
SECTION 2 –ADVANCED FUNCTIONS
2.1 HOLD FUNCTION
Press the HOLD button once.
The person should now get on
to the scales.
After a few seconds the scale
will lock on the person’s weight.
When the person stand off the
scale, the weight will unlock
automatic.
Press HOLD again to unlock the
weight and return to 0.0kg

2.2 BMI (BODY MASS INDEX) FUNCTION
For this example we will assume we have a person weighing 60kg who is 170.0cm
tall
.
In normal mode, press BMI key to enter
into BMI mode.
The display will show the last height
entered and the extreme left digit will
flash. Enter the height by using the
numeric key (e.g. 170.0cm), press
ZERO key to confirm the height. Or
getting it from the height rod via data
transmission cable automatically.
There will always be an active flashing
digit in the height display
(unless the HOLD key is pressed).
Proceed to weigh as normal. The
instrument will show the weight, height,
and BMI value.
At this time, the weight and height can
be freely changed, and the BMI value
will be automatically calculated
according to the changed weight and
height.
Stand on the scale for 5 seconds. Press the HOLD key to lock the weight,
height, and BMI value. Press the HOLD key again to disable the display
locking function.
Press the BMI button, return to normal
mode and the person can now be
taken off the scale.

2.3 SETTING AND RECALL THE PRE-TARE FUNCTION
Long press TARE key 3sec to enter
PRE-TARE setting mode.
And then press TARE key again.
(Over 3sec, it will return to the normal
mode.)
The display will show the last pre-tare
entered and the extreme left digit will
flash.
Enter the pre-tare value by using the
numeric key (e.g. 60.0kg), then press
TARE key again to confirm the pre-tare
value.
Press ZERO key to return to the normal mode.

16
2.4 SETTING THE DATE AND TIME
Press the HOLD key for 3 seconds to access the time setting mode.
The time period digit that is flashing can be changed by entering the
appropriate number from the numeric key pad. The time period to
be edited is selected by pressing the HOLD key.
E.g. To input 25 December 2008, 8:00 a.m.:
Enter the year. Press HOLD to
confirm and access the date
editing field.
Enter the date. E.g. “12.25”
for December 25th. Press
HOLD to confirm and access the
time clock editing field.
Enter the time (24 hour clock
only).
Press Hold and the display
shows:
YYYY→MM.DD→HH:SS
Press HOLD key to return to the
normal mode.

2.5 PRINTING FUNCTION
An optional Marsden external printer (ModelTP-2100)is available for
all models. When theprinterisfitted the patient’s weight, height, and
BMI result can be printed on to a paper roll.
Once the person has been weighed and their BMI calculated, simply
press the print key to produce the following ticket:
GROSS WEIGHT 60.00kg
TARE WEIGHT 30.00kg
NET WEIGHT 30.00kg
PATIENT HEIGHT 100.0cm
PATIENT B.M.I 37. 5
29/12/2008 17:00

18
2.6 ASSEMBLING: TP2100 THERMAL PRINTER
Plug the cable to the printer, and then connect its 9D connector
to the indicator.
2.7 BLUETOOTH VERSION
For Bluetooth version, Bluetooth symbol will show on the panel.
Example as below:

19
2.8 BLUETOOTH CONNECTION
Workflow
Display
Long press ZERO key for 3seconds to enter the
SETTING mode and then display the A-OFF
menu.
Press TARE key twice, and then press HOLD
once to enter the Bluetooth setting mode.
Using HOLD key to select “ON” (enable) or
“OFF” (disable).
Press TARE key to confirm the setting.
Note: Disable the Bluetooth function will be helpful to
save the power consumption when the Bluetooth is
useless.
Display the “bluEt” menu. Press TARE key
once.
Press HOLD key, return to normal mode.
Using smart phone or computer to search
Bluetooth devices (procedures vary depends on
device)
The scale will appear on Bluetooth device list of
your smart phone or computer in the name of
“MARSDEN BT”
Connect your smart phone or computer with
“MARSDEN BT”, and the scale is ready to
transmit data through Bluetooth.
Other manuals for M-610
1
Table of contents
Other marsden Scale manuals

marsden
marsden VT-250 User manual

marsden
marsden M-910 User manual

marsden
marsden M-925 User manual

marsden
marsden BFA-220R User manual

marsden
marsden M-100 User manual

marsden
marsden M-900 User manual

marsden
marsden M300 User manual

marsden
marsden M-700 User manual

marsden
marsden B-400 User manual

marsden
marsden V-23 User manual

marsden
marsden V-180 User manual

marsden
marsden M-920 User manual

marsden
marsden B-800 User manual

marsden
marsden M-M-955 User manual

marsden
marsden M-610 User manual

marsden
marsden MPPS-250 User manual

marsden
marsden V-22 User manual

marsden
marsden Jadever JCO User manual

marsden
marsden BAS-200 User manual

marsden
marsden M-65 Series User manual