manuals.online logo
Brands
  1. Home
  2. •
  3. Brands
  4. •
  5. Martin
  6. •
  7. Indoor Furnishing
  8. •
  9. Martin Avanti U-7100 User manual

Martin Avanti U-7100 User manual

4444 Lawton Avenue, Detroit, MI 48208 USA • Tel:(313)895-0700/Fax:(313)895-0709
Email: [email protected] • visit us at www.MartinUniversalDesign.com
Avanti Designer Table U-7100
Assembly Instructions
Contents of Carton: Contents of Parts Bag:
[1]ThreadedLever[AA] [1] Large Washer for Lever
[BB]
[1] Female Knob
[CC] [2] Male Knob [DD] [1] Washer for
Female Knob
[EE]
[2] Female Knobs
with bolt & washer
included [FF]
[2] Large Pin with
hole [EE] [2] “C” Washers for
Large Pins
[FF]
[12] Long Wood
Screws [GG] [2] 1-3/4” Bolts
[HH] [4] Small Wood
Screws [II]
[2] Metal Tilt Adjustment Rods [JJ]
[2] Metal Pin End Caps for Tilt Rods [KK]
[2] Left & Right Legs
forA-Base[B]
[2] A-Base Ends [A]
[2] A-Base Cross Supports [C]
[2] Chanelled Side Supports [D]
[1] Upper Cross ESupport [E]
[2] Drawing Top Braces [G]
[1] Chanelled Cross Member with Threaded Rod [F]
IMPORTANT
If you have difficulty assembling your U-7100 Avanti Base
or need customer service assistance.
Please call: Martin Universal Design, Inc.
Customer Service Hot Line at
1-313-895-0700. If you need additional parts, it is not
necessary to contact your dealer, our Customer Service
Rep. will forward them to you immediately.
Tools needed for assembly:
Phillips Screwdriver, Flat Screwdriver
or Power Drill and Hammer (to tap holes into
drawing board during attachment)
STEP1]AssemblingA-Base(s)
TaketheA-Base end[A] asshown belowandthe LeftLeg [B]
forthe A-Base.
Assembly Instructions:
A-Base end [A] Left Leg [B]
Position the Left Leg [B] onto the A-Base, lining up holes.
Secure with [2] Long Wood Screws. Tighten. See below for
properassembly.
LongWood
Screws [GG]
Repeatwith otherside.
Now,you shouldhave [2]complete A-BaseAssemblies.
STEP 2] Attaching A-Base Supports
Take one assembled A-Base end and attach [1] support bar
(withLogoreading upincorrect position)andplace intonotch
and secure with [1] long wood screw [GG]. See below for
properassembly.
Properassemblyof
A-Base & support.
STEP3] Attaching Channelled Side
TakeA-Baseendthathasthetwosupportsattachedandplace
on flat surface. Position Channelled Side Support [D] into
middle section of A-Base. Making sure channel is on bottom
end.As shownbelow.
Repeatwith othersupport.
Attach as shown to right.
B
A
D
C
C
C
C
C
STEP 4] Adding Lower Support & Rod
With above assembly still laying flat on surface, insert one
endof Channeled CrossMember withThreaded Rod[F] into
ChannelledSideSupport[D]makingsurerodendgoesthrough
otherend of A-baseassembly.Secure withWasher[EE]and
FemaleKnob [CC]
A-Base Cross Supports [C]
A-Base Assembly After securing with washer [EE] and Female Knob [CC],
turn assembly up onto base as shown below.
C
F
F
C
D
D
Washer [EE]
andFemale
Knob[CC]
STEP 5] Securing Lower Support & Rod
Repeatwith other A-Baseassembly on otherside.
FirstbyslidingChannelled SideSupport[D]down intoA-Base
assembly, then continue by inserting Lower Support & Rod
[F] into Channel in Side Support [D] making sure threaded
rod goes all the way through A-Base assembly, this time
securing with large washer [BB] and Lever [AA]. See photos
below.
Assembly Instructions continued:
C
FD
Close-upphotoof
Leverandlarge
Washer.
STEP 6] Attaching Upper Cross Support
Take Upper Cross Support [E] and insert one end into small
slotin upper portionof theChannelled Side Support[D].
Securewith1-3/4”Bolt[HH]. TightenwithPhillips Screwdriver.
Insert other end into other side of Channelled Side Support
[D]. Secure with other 1-3/4” Bolt [HH]. PLEASE NOTE: You
mayhave to loosen Leverto allow SideSupport to pullaway
enough to allow end of Upper Cross Support [E] to be in-
sertedinto slot. RetightenLever oncecompleting Step 6.
D
FC
E
E
D
D
F
C
After Steps 1 - 6.
Base should look like
photo to right.
STEP 7] Inserting Pin into Side Support
Take the [2] Large Pins with Hole [EE] and insert each one
into the hole which is below cross support bolt. Insert pin
through inside of base and through other side as shown be-
low. Secure pin [EE] with “C” Washer by sliding “C” washer
over and onto Pin slot which is located right where Pin and
Side Support meet. PLEASE NOTE: This is difficult to
accomplish.Youmustuseaflatscrewdrivertopush“C”washer
into slot.
Close-upphotoof
1-3/4”Bolt attachment.
STEP8]AttachingTiltAdjustmentRods
Take [1] of the Metal Tilt Adjustment Rods [JJ] and insert it
into the hole in the Pin [EE]. Secure with Metal Pin End Cap
[KK]. Repeat with other side.
KK
JJ
STEP9]Securing TiltAdjustment Rods
Take [1] Male Knob [DD] and attach to Pin end. Screw in to
tighten.Repeat withother AdjustmentRod.
EE
DD
Assembly Instructions continued:
STEP 10] Attaching Top Braces
When attaching the [2] Drawing Top Braces [G], position the
drawingboard bracein theposition shownhere:
PLEASENOTE:
Correct attachment of Drawing Top Braces will have
large holes on Drawing Top Brace facing downward.
STEP 11] Turning Base over
PLEASE NOTE: BEFORE TURNING BASE OVER
ONTO DRAWING BOARD: MAKE SURE DRAWING
BOARD BRACES ARE IN A HORIZONTAL
POSITION AND KNOBS ARE TIGHTENED.
Before securing base of table to 30” x 42” Drawing Board top, you
must center the base to the top.
Front Edge of Top
Rear Edge of Top
Center base by measuring 7” in [Measurement Y] from outside
edges of Drawing Board to outside edge of Base Braces and
5-1/8” in from front edge of drawing board to front edge of Base
Brace and 5-1/8” in from rear edge of drawing board to rear
edge of base Brace. See illustration below. Secure using [4]
Long Wood Screws [GG] per Base brace. This top is 30” x 42”.
Y = 7”
Y = 7”
X = 5-1/8”
X = 5-1/8”
STEP13] AttachingTiltAdjustment Rods
toDrawing Board
Usetwopeoplewiththisnextstep.Lay top on carpeted flat surface.
Carefully turn completed base assembly up and over and place
on top of bottom side of drawing board.
PLEASE NOTE: Both sides of Drawing board can be the bottom
side. Choose best looking for Top Side.
STEP 12] Attaching Base to Drawing Top
Base should look and be positioned to Drawing Board as
pictured below.
Attach to the inside of the Side Support [D] using the [2]
remaining knobs, washers and bolts [F]. Insert bolt through
hole on inside of Drawing top Brace, making sure bolt goes
throughside support[D].Finish byattachingwasher andthen
femaleknob.
To make your table top tilt: Loosen the [2] black knobs (with
tiltrods through them),proceed by holdingonto the front
edge of the top. Tilt top until desired position is reached.
Tighten [2] black plastic knobs.


STEP 14] Table Top TiltAdjustments
Attach metal tilting brackets to top using [2] each small wood
screws [II] per bracket as shown above. PLEASE NOTE: Break
Table Top Surface by making a small hole in top surface where
screw will go in with hammer and a nail.
To adjust the height of your table, loosen the lever slightly.
PLEASE NOTE: When loosening the lever, the table
will want to lower because of the weight of the top.
Carefully, loosen lever and support table top with
hands and lower or raise until desired height. Re-
tighten Lever to secure. This adjustment is safest with
another adult helping.


STEP15]TableHeightAdjustment
4444 Lawton Avenue, Detroit, MI 48208 USA • Tel:(313)895-0700/Fax:(313)895-0709
Email: [email protected] • visit us at www.MartinUniversalDesign.com
D
G
F
Attach
Bracket on
Tilt
Adjustment
Rods into
Top
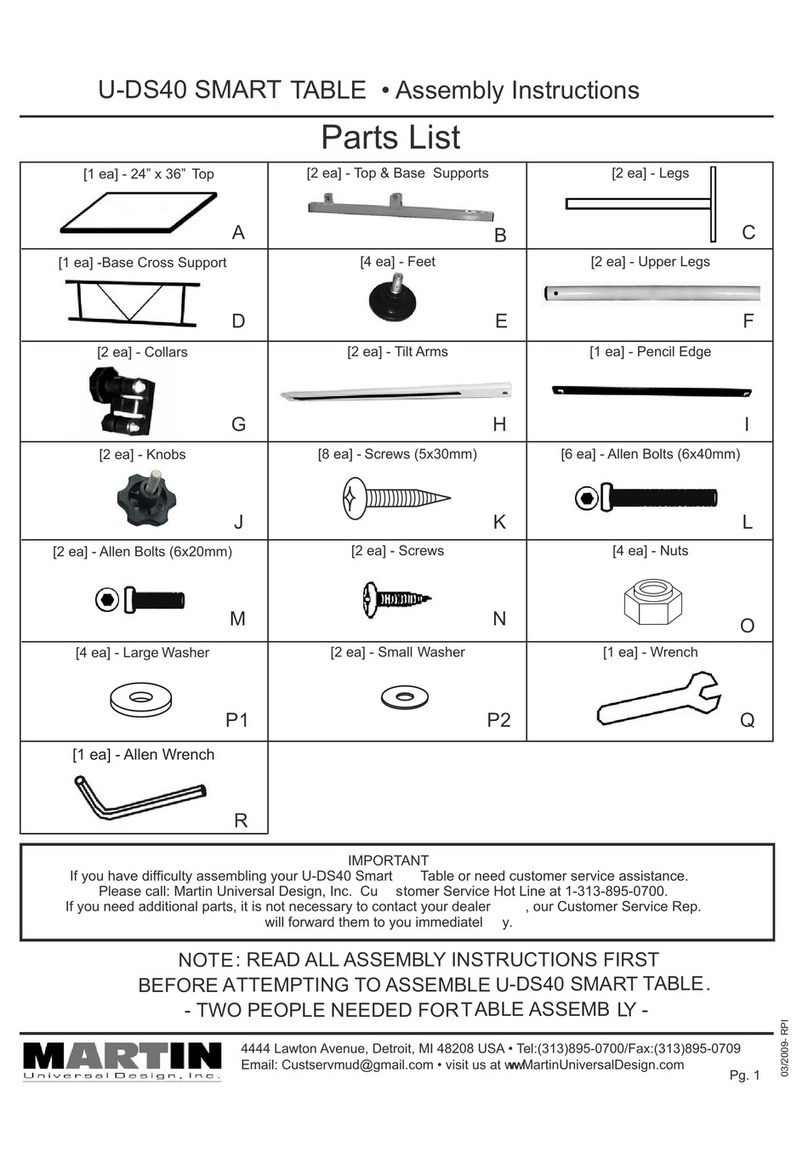
Other Martin Indoor Furnishing manuals

Martin U-DS40 User manual

Martin

Martin U-DS40 User manual

Martin U-DS90W User manual

Martin

Martin U-DS90W User manual

Martin Comfort Mesh 91-02406115 User manual

Martin

Martin Comfort Mesh 91-02406115 User manual

Martin INDIGO User manual

Martin

Martin INDIGO User manual

Martin U-DS1922W User manual

Martin

Martin U-DS1922W User manual

Martin FENG SHUI 91-7706 User manual

Martin

Martin FENG SHUI 91-7706 User manual

Martin 384EB User manual

Martin

Martin 384EB User manual

Martin U-DS92ST User manual

Martin

Martin U-DS92ST User manual

Martin GRANDEUR 91-02606115 Operation instructions

Martin

Martin GRANDEUR 91-02606115 Operation instructions

Martin U-DS31W User manual

Martin

Martin U-DS31W User manual

Popular Indoor Furnishing manuals by other brands

Napoleon IM-UTC Assembly instructions

Napoleon

Napoleon IM-UTC Assembly instructions

Core Products DK210 Assembly instructions

Core Products

Core Products DK210 Assembly instructions

Click & Grow Wall Farm Assembly manual

Click & Grow

Click & Grow Wall Farm Assembly manual

Next 868422 Assembly instructions

Next

Next 868422 Assembly instructions

AFi HB-CYN Assembly instructions

AFi

AFi HB-CYN Assembly instructions

Reer Basic instructions

Reer

Reer Basic instructions

Acme Furniture Kloris 59210 Assembly instruction

Acme Furniture

Acme Furniture Kloris 59210 Assembly instruction

CABINETS TO GO Findley & Myers CBD36 Assembly instructions

CABINETS TO GO

CABINETS TO GO Findley & Myers CBD36 Assembly instructions

Safavieh Furniture ACC3500 quick start guide

Safavieh Furniture

Safavieh Furniture ACC3500 quick start guide

LAZBOY Power Ease Recliner operating instructions

LAZBOY

LAZBOY Power Ease Recliner operating instructions

Johanson STROLL 46 WITH WEELS manual

Johanson

Johanson STROLL 46 WITH WEELS manual

RTA Techni Mobili RTA-8407 Assembly instructions

RTA

RTA Techni Mobili RTA-8407 Assembly instructions

AM.PM Arambol GGO091 manual

AM.PM

AM.PM Arambol GGO091 manual

BROSA Tallinn Bedside Table Assembly guide

BROSA

BROSA Tallinn Bedside Table Assembly guide

siena GARDEN Geneva D99453 Assembly instruction

siena GARDEN

siena GARDEN Geneva D99453 Assembly instruction

Bolton Furniture AWTR2927 Assembly instructions

Bolton Furniture

Bolton Furniture AWTR2927 Assembly instructions

Neltronics NESA NSR-73AHD user manual

Neltronics

Neltronics NESA NSR-73AHD user manual

Costway OP70295 user manual

Costway

Costway OP70295 user manual

manuals.online logo
manuals.online logoBrands
  • About & Mission
  • Contact us
  • Privacy Policy
  • Terms and Conditions

Copyright 2025 Manuals.Online. All Rights Reserved.