manuals.online logo
Brands
  1. Home
  2. •
  3. Brands
  4. •
  5. MARTINDALE
  6. •
  7. Measuring Instrument
  8. •
  9. MARTINDALE FD500 User manual

MARTINDALE FD500 User manual

The job of locating electrical circuits (AC circuits of 230V ± 10%) is now made
quick and easy. No more guessing or trial and error when it comes to locating the
correct circuit breaker or fuse supplying electrical power to a socket or lighting
fixture (FD600 only).
WARNING
Always check that the Fuse Finder units are operating properly before
proceeding.
These instructions contain both information and warnings that are necessary
for the safe operation and maintenance of the unit. It is recommended that
you read the instructions carefully and ensure that the contents are fully
understood. Failure to understand this leaflet and to comply with the
warnings and instructions contained herein can result in serious injury or
damage.
The units must only be used under the conditions and for the purposes for
which it has been constructed. Particular attention should be paid to the
safety instructions, the technical specifications and the use of the units in
dry surroundings.
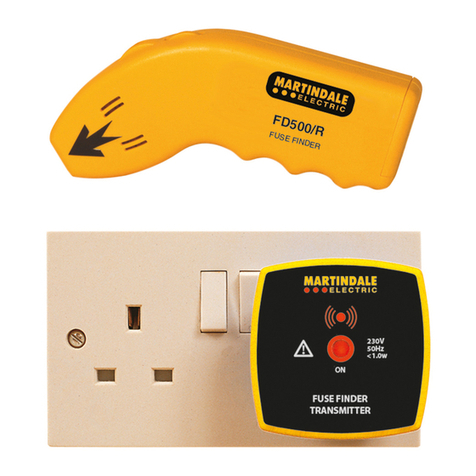
The FD500 has a 13A plug-like transmitter unit. The FD600 is provided with two
alternative means of connecting the transmitter unit to the mains.
1. A 13A adaptor.
2. A two way fused lead set - TL83.
For tracing circuits with 13A sockets, use the 13A adaptor to connect the
transmitter unit to the socket.
For use at bare wires and light fittings, use the TL83 lead set to connect the circuit
red to live, black to neutral. Switch off the supply if possible or take appropriate
precautions while connecting to live unshielded contacts.
TECHNICAL SPECIFICATION
Transmitter
Voltage rating: 230V
Frequency range: 30 - 70Hz
Switching frequency: Approx. 5Hz
Transmission pulse width: approx. 1.7µS
Transmission pulse amptitude: 20A max.
Temperature range: -10°C to 40°C at max 60% RH
Dimensions: Approx: 65 x 65 x 46mm
Weight: 60g (FD500/T) 65g (FD600/T)
Earth Leakage: Nil
Power supply: From mains
Power consumption: Approx. 1W
Overvoltage category: Cat III/300V
Pollution degree: 2
Protection Class: IP20
Receiver
Tracing depth for fuse assignment: approx. 0 - 10cm, depending on local conditions.
Sensitivity setting: via on/off potentiometer
Temperature range: -10°C to 40°C at max 60% RH
Dimensions: 160 x 55 x 30mm
Weight: approx. 135g (including battery)
Protection class: IP20
Power supply: 9V battery, MN1604/PP3, IEC 6LA61 (alkaline only) (included).
Units are EMC compliant.
There are no user serviceable parts in the transmitter or receiver.
Warranty and Limitation of Liability
This Martindale product is warranted to be free from defects in material and workmanship under normal
use and service. The warranty period is 2 years and begins on the date of receipt by the end user.
This warranty extends only to the original buyer or end-user customer, and does not apply to fuses,
disposable batteries, test leads or to any product which, in Martindale’s reasonable opinion, has been
misused, altered, neglected, contaminated, or damaged by accident or abnormal conditions of operation,
handling or storage. Martindale authorised resellers shall extend this warranty on new and unused
products to end-user customers only but have no authority to extend a greater or different warranty
on behalf of Martindale. Martindale’s warranty obligation is limited, at Martindale’s option, to refund of the
purchase price, free of charge repair, or replacement of a defective product which is returned to Martindale
within the warranty period. This warranty is the buyer’s sole and exclusive remedy and is in lieu of all other
warranties, expressed or implied, including but not limited to any implied warranty of merchantability
or fitness for a particular purpose. Martindale shall not be liable for any special, indirect, incidental or
consequential damages or losses, including loss of data, arising from any cause or theory. Since some
jurisdictions do not allow limitation of the term of an implied warranty, or exclusion or limitation of incidental
or consequential damages, the limitations and exclusions of this warranty may not apply to every buyer.
If any part of any provision of this warranty is held invalid or unenforceable by a court or other decision-
maker of competent jurisdiction, such holding will not affect the validity or enforceability of any other
provision or other part of that provision. Nothing in this statement reduces your statutory rights.
Fuse Finder Instructions
FD500 & FD600
Martindale Electric Company Limited
Metrohm House, Imperial Park, Imperial Way, Watford, WD24 4PP, UK
Tel: +44(0)1923 441717 Fax: +44 (0)1923 446900
E-mail: [email protected]
Website: www.martindale-electric.co.uk
© Martindale Electric Company Ltd. 2018 Registered in England No. 3387451. Rev 5
PREPARING TO USE THE FUSE FINDER
Battery Installation
1. Remove battery cover of receiver.
2. Connect 9V battery (not supplied) and insert into compartment.
3. Re-install battery cover.
Unit Test (Always carry out before use)
1. Plug the FD500/T transmitter into an electrical wall outlet or for the FD600 by using the
13A adaptor or the TL83 lead set and turn the power on.
2. Turn receiver on just until a click is heard and the LED lights. This is the maximum
sensitivity.
3. Place receiver near transmitter. If receiver is working and the wall outlet’s power is on,
the receiver will produce a distinctive beep and the LED will flash.
USING THE FUSE FINDER
Locating the Fuse or Circuit Breaker controlling a wall socket.
1. Plug the FD500/T transmitter into an electrical wall outlet or for the FD600 by using the
13A adaptor or the TL83 lead set and turn the power on.
2. Check unit as in “Unit Test” section.
3. Go to fuse box (consumer unit) and place flat surface of receiver at a right angle to and
directly on the fuse or circuit breaker (Fig. 1).
4. Slowly move the receiver along the row or rows of fuses while continually lowering the
receiver’s sensitivity by rotating the wheel away from the arrow until only one fuse causes
the receiver to beep.
5. Ensure that all fuses/breakers are scanned by
the receiver. Do not assume that the first signal
is the only signal. (Note: In certain instances an
adjacent fuse may also beep due to the routing of
the wires in the panel. If this occurs or if an area
of the panel is sensitive, remove the panel cover
(observing normal safety precautions) and hold the
Fuse Finder against the wires leading to the fuses.
This should eliminate any crossover signals and
allow unique identification of the fuse).
6. After you have located the right breaker or
fuse, you can turn off the circuit and the receiver
will stop beeping.
7. Check that the red light on the transmitter is off
to confirm you have turned off the correct fuse.
Sockets controlled by a wall switch
Your Fuse Finder is the easiest way to determine if a wall socket is controlled by a switch.
1. Carry out the unit test and ensure it works.
2. Turn the wall switch OFF.
3. Plug the transmitter into the outlet being tested.
4. Repeat the Unit Test.
5. If the receiver does not beep, that outlet is controlled by the wall switch.
Locating more than one socket/location on the same circuit
1. Plug the transmitter into a socket with the power on and verify that the receiver is working
as explained in the “Unit Test” section.
2. Take the receiver to the other location in question, hold the receiver against the socket
or wiring in the same manner as you would with a fuse. Due to variations in the wiring of
sockets you may need to vary the angle of presentation of the receiver unit.
3. If this socket is on the same circuit as the outlet where the transmitter is plugged in, the
receiver will beep.
CAUTION: Use extreme care when you work around electrical circuits. A severe shock
hazard exists. Your Fuse Finder is not intended to replace good electrical practices, but to
assist you in knowing established wiring layouts.
WARNING
In order to avoid the danger of electrical shock, it is important that proper safety
measures are taken when working with voltages exceeding 30V AC rms, 42V peak
or 60V DC.
Cleaning
Disconnect the instrument from all circuits. Moisten a cloth slightly with diluted washing up
liquid and wipe the instrument surface by applying light pressure. Allow a recovery time of 6
hours after cleaning before operating the instrument to ensure it is perfectly dry.
Fig. 1: Correct
The receiver
must be held at
this angle to best
receive the signal.
3
Fig. 2: Wrong
7

This manual suits for next models

1

Other MARTINDALE Measuring Instrument manuals

MARTINDALE CO190 User manual

MARTINDALE

MARTINDALE CO190 User manual

MARTINDALE CB12 User manual

MARTINDALE

MARTINDALE CB12 User manual

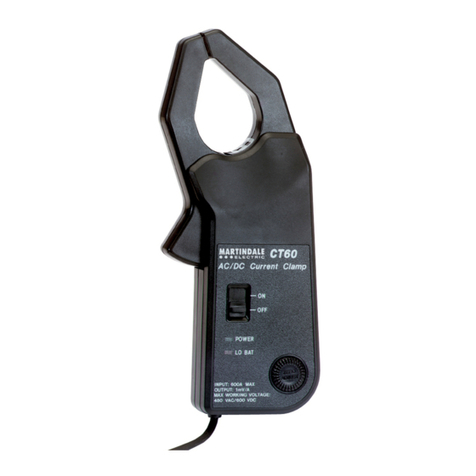
MARTINDALE CT60 User manual

MARTINDALE

MARTINDALE CT60 User manual

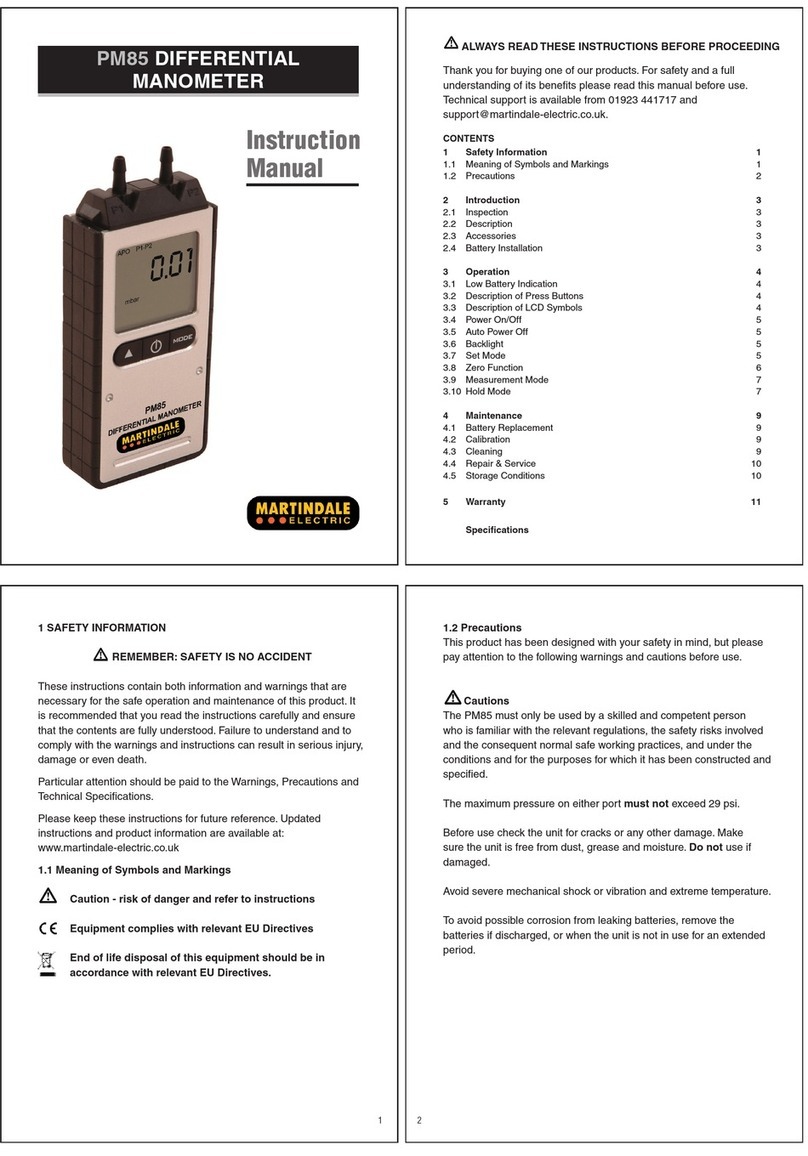
MARTINDALE PM85 User manual

MARTINDALE

MARTINDALE PM85 User manual

MARTINDALE TEK100 User manual

MARTINDALE

MARTINDALE TEK100 User manual

MARTINDALE LM192 User manual

MARTINDALE

MARTINDALE LM192 User manual

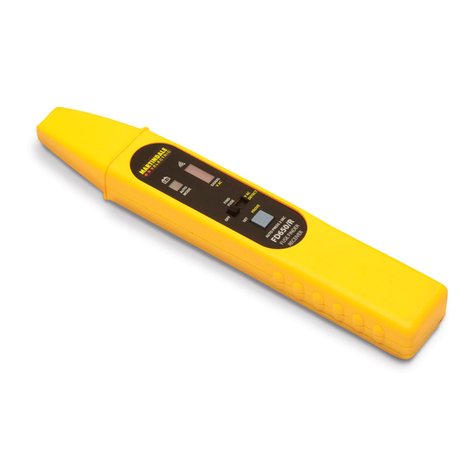
MARTINDALE FD500 User manual

MARTINDALE

MARTINDALE FD500 User manual

MARTINDALE VIPD138 User manual

MARTINDALE

MARTINDALE VIPD138 User manual

MARTINDALE CMi210 User manual

MARTINDALE

MARTINDALE CMi210 User manual

MARTINDALE RT80 User manual

MARTINDALE

MARTINDALE RT80 User manual

MARTINDALE SP75 User manual

MARTINDALE

MARTINDALE SP75 User manual

MARTINDALE LM195 User manual

MARTINDALE

MARTINDALE LM195 User manual

MARTINDALE CM58 User manual

MARTINDALE

MARTINDALE CM58 User manual

MARTINDALE CM87 User manual

MARTINDALE

MARTINDALE CM87 User manual

MARTINDALE VI13800 User manual

MARTINDALE

MARTINDALE VI13800 User manual

MARTINDALE CM76 User manual

MARTINDALE

MARTINDALE CM76 User manual

MARTINDALE DC50 User manual

MARTINDALE

MARTINDALE DC50 User manual

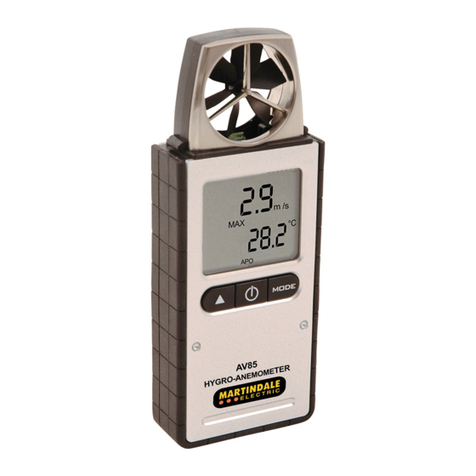
MARTINDALE AV85 User manual

MARTINDALE

MARTINDALE AV85 User manual

MARTINDALE PSI4000 User manual

MARTINDALE

MARTINDALE PSI4000 User manual

MARTINDALE VI13700G User manual

MARTINDALE

MARTINDALE VI13700G User manual

MARTINDALE VR2230 Operator's manual

MARTINDALE

MARTINDALE VR2230 Operator's manual

MARTINDALE AV90 User manual

MARTINDALE

MARTINDALE AV90 User manual

MARTINDALE SP79 User manual

MARTINDALE

MARTINDALE SP79 User manual

MARTINDALE VR2250 Operator's manual

MARTINDALE

MARTINDALE VR2250 Operator's manual

Popular Measuring Instrument manuals by other brands

Applied Physics Systems 113D user manual

Applied Physics Systems

Applied Physics Systems 113D user manual

Eurotron UniCal mA instruction manual

Eurotron

Eurotron UniCal mA instruction manual

ZHYQ CZ15 instruction manual

ZHYQ

ZHYQ CZ15 instruction manual

SIGLENT SVA1075X user manual

SIGLENT

SIGLENT SVA1075X user manual

EYC FUMD Operation manual

EYC

EYC FUMD Operation manual

Meriam Instrument M2 Series user manual

Meriam Instrument

Meriam Instrument M2 Series user manual

Roche CoaguChek XS System user manual

Roche

Roche CoaguChek XS System user manual

Stanley FATMAX FMHT77596 manual

Stanley

Stanley FATMAX FMHT77596 manual

Milwaukee MW500 user manual

Milwaukee

Milwaukee MW500 user manual

Airmodus A11 user manual

Airmodus

Airmodus A11 user manual

METREL MI 3295 instruction manual

METREL

METREL MI 3295 instruction manual

EKM 15IDS installation instructions

EKM

EKM 15IDS installation instructions

Huvitz HRK-8000A Service manual

Huvitz

Huvitz HRK-8000A Service manual

Escort Thermo Check for Windows 1.6 user manual

Escort

Escort Thermo Check for Windows 1.6 user manual

ETTI E055 user manual

ETTI

ETTI E055 user manual

Schumacher PST-1000 owner's manual

Schumacher

Schumacher PST-1000 owner's manual

wtw Cond 3210 operating manual

wtw

wtw Cond 3210 operating manual

Pilot Communications PMAC202 user manual

Pilot Communications

Pilot Communications PMAC202 user manual

manuals.online logo
manuals.online logoBrands
  • About & Mission
  • Contact us
  • Privacy Policy
  • Terms and Conditions

Copyright 2025 Manuals.Online. All Rights Reserved.