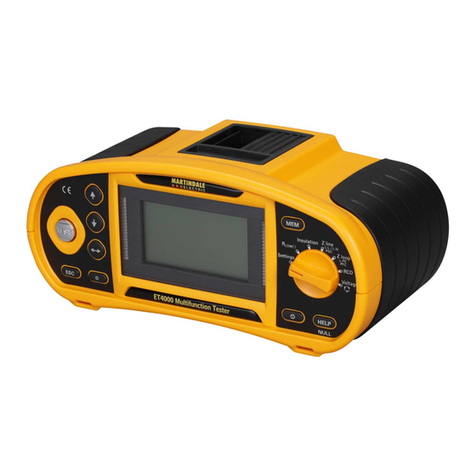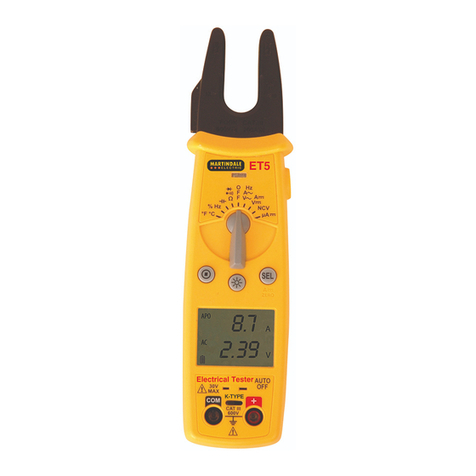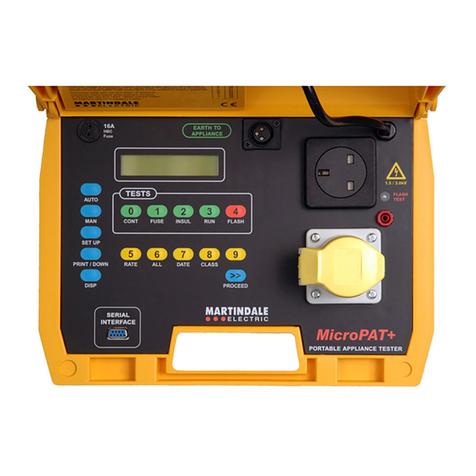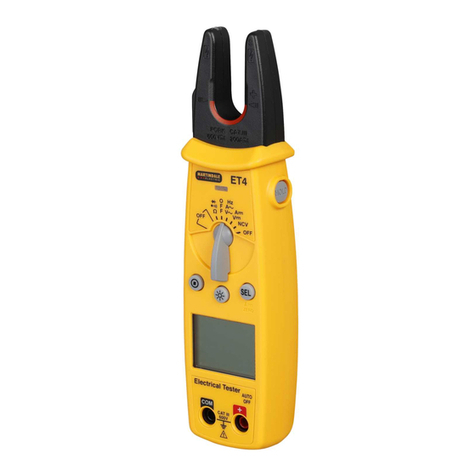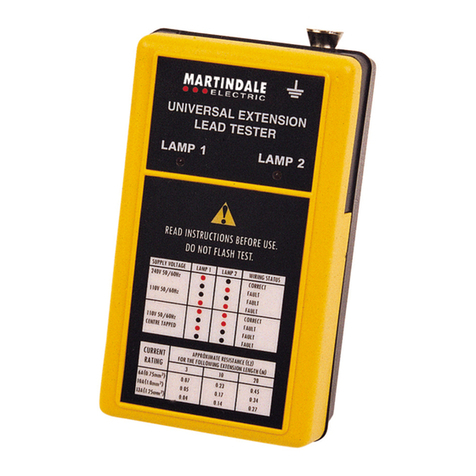
the tester.
RESISTANCE MEASUREMENT WITH BUZZER
Ensure circuit is not live by taking a voltage measurement
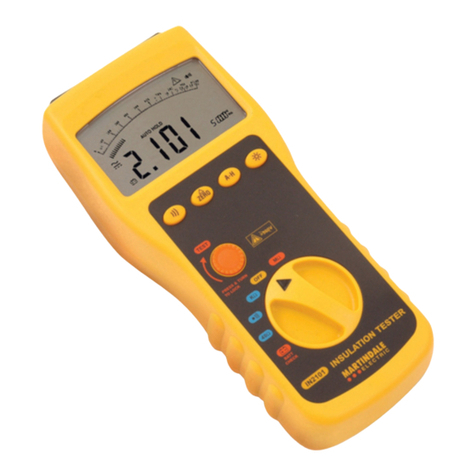
Set rotary switch to
))) range. Insert red test lead in VΩand
black lead in COM. Connect the red and black leads to the circuit
to be measured and press the TEST button. The measured
resistance will be displayed, and if the resistance is below 30Ω, the
buzzer will sound. If OL is displayed this indicates the resistance
being measured is greater than the resistance range of the tester.
The buzzer can be toggled off and on by pressing the ))) key.
RESISTANCE MEASUREMENT
Ensure circuit is not live by taking a voltage measurement
Set rotary switch to KΩrange. Insert red test lead in VΩ, and black
lead in COM.Connect the red and black leads to the circuit to be
measured and press the TEST button. The measured resistance
will be displayed. If OL is displayed this means the resistance
being measured is greater than the resistance range of the tester.
INSULATION RESISTANCE MEASUREMENT (MΩ)
For safety reasons, please adhere to the following procedure for
Insulation Resistance Measurement: Ensure that the TEST button
is unlatched and is released. Turn the rotary switch to select the
voltage to be applied - 500V DC (IN2101) or 250V, 500V or 1000V
DC (IN2102). Insert red test lead in VΩ, and black lead in COM.
Connect the black and red test leads to the circuit to be measured.
Note: If a voltage higher than 30V is present on the circuit under
test, the buzzer sounds and the high voltage indicator ( ) blinks
in the upper-right corner of the display. In this event, remove the
test leads from the circuit under test and proceed with caution to
investigate the source of the voltage on the circuit under test.
6
Press the TEST button to apply the test voltage. This button can
be turned clockwise while pressed to latch it. Allow several
seconds for the reading to stabilise. The test voltage is shown in
the lower-right corner of the display.
Note: On completion of an insulation test the TEST button, if
latched, has to be manually released to discharge the circuit under
test. In the interest of safety the user should be aware of this.
If OL is displayed this means that the resistance being measured
is greater than the measuring range of the tester.
When a low resistance is measured, the test voltage drops; if it
drops to lower than 80V, a blinking indication of 0000 is displayed.
The buzzer can be toggled off and on by pressing the ))) key.
BATT CHECK
Set rotary switch to BATT CHECK range. Press the TEST button,
the display shows the battery voltage as a % and as a voltage.
When the battery voltage is lower than 6.6V, the symbol " "
appears and the batteries should be replaced (see 3.1 page 4).
A-H (Auto-Hold) key
Press the A-H key to enable or disable the auto-hold function
whilst performing a test. When enabled, AUTO HOLD is shown in
the middle of the display with HOLD blinking. With auto-hold
enabled the HOLD stops blinking and the buzzer sounds when a
stable measurement occurs. After the TEST button is released the
measured value is displayed and HOLD resumes blinking. Press
the A-H key to delete the value held on the display.
7
APO (Auto Power Off)
Press and hold the ))) key for >2 seconds to enable/disable the
Auto Power Off function. The APO will turn the tester off after 5
mintues.
Back Light key
Press this key to turn the back light on or off.
8
4. MAINTENANCE
4.1 Calibration
To maintain the integrity of measurements made using your
instrument, Martindale Electric recommends that it is returned at
least once a year to an approved Calibration Laboratory for
recalibration and certification.
Martindale Electric is pleased to offer you this service. Please
contact our Service Department for details.
E: service@martindale-electric.co.uk
T: 01923 650660
4.2 Cleaning
The unit may be cleaned using a soft dry cloth. Do not use
moisture, abrasives, solvents, or detergents, which can be
conductive.
4.3 Repair & Service
There are no user serviceable parts in this unit other than those
that may be described in section 3. Return to Martindale Electric if
faulty. Our service department will quote promptly to repair any
fault that occurs outside the guarantee period.
Before the unit is returned, please ensure that you have checked the:
- batteries
- fuses
- leads
9
