Requires 2 AAA alkaline batteries, not included. Dispose of batteries safely.
Colours and decorations may vary from those shown.
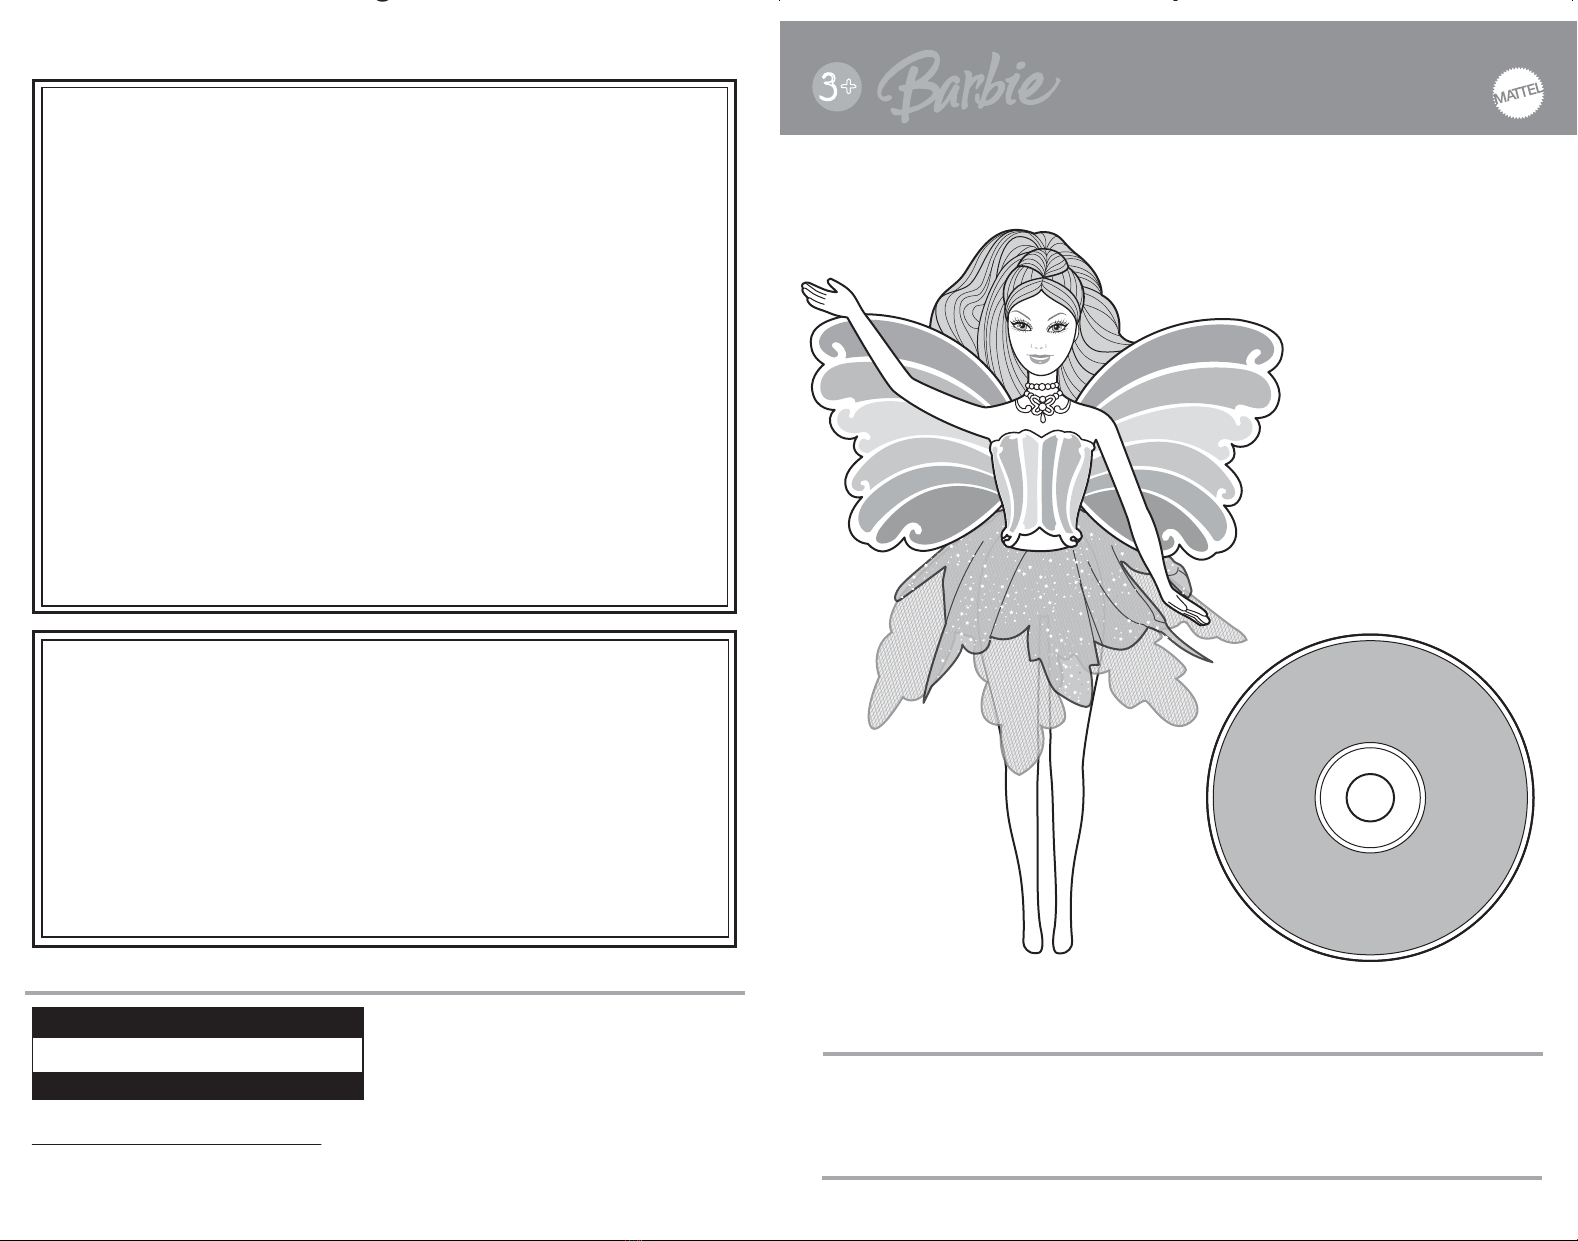
CONTENTS: Please remove everything from the package and compare to the contents shown here.
Keep these instructions for future reference as they contain important information.
If anything is missing, contact your local Mattel facility.
©2006 Mattel, Inc., El Segundo, CA 90245. All Rights Reserved.
DVD REMOTE CONTROL: Remote control is shown for reference only.
Remote controller layouts and symbols may vary from brand to brand.
1) Insert DVD.
2) Doll must be directed TOWARD DVD player;
3) Move doll left to select LEFT path;
4) Move doll right to select RIGHT path.
Collect the jewels to save the Crystal Palace!
PLAY TIME!
STEP 1: Program ENTER Button:
(A) Hold the doll in one hand and your DVD remote control in
your other hand. Point the DVD REMOTE IR towards the upper
Clear "Jewel" on the necklace. The distance between your
DVD remote control and the doll’s necklace should be 1 inch.
Make the Wings Flutter:
Press Pink WINGS Button on doll’s
back. Wings will flutter for several
seconds. Wings cannot be activated
in “PROGRAM MODE”. If wings do
not work or flutter out of control, use
a pen or paperclip (not included) to
press the RESET Button on the
back of the doll as shown.
K8130-0920G1
®
®
INSTRUCTIONS
3+
Mattel Canada Inc., Mississauga, Ontario L5R 3W2. You may call us free at 1-800-524-8697.
Mattel U.K. Ltd., Vanwall Business Park, Maidenhead SL6 4UB. Helpline 01628500303
Mattel Australia Pty., Ltd., Richmond, Victoria. 3121.Consumer Advisory Service - 1300 135 312.
Mattel East Asia Ltd., Room 1106, South Tower, World Finance Centre, Harbour City, Tsimshatsui, HK, China.
Diimport & Diedarkan Oleh: Mattel SEA Ptd Ltd.(993532-P) Lot 13.5, 13th Floor, Menara Lien Hoe, Persiaran Tropicana Golf Country
Resort, 47410 PJ. Tel:03-78803817, Fax:03-78803867.
Mattel, Inc., 333 Continental Blvd., El Segundo, CA 90245 U.S.A. Consumer Affairs 1 (800) 524-8697.
CONSUMER INFORMATION
SERVICE.MATTEL.COM
Need Assistance? Visit service.mattel.com or call 1-866-965-3661
(US and Canada only), M-F 9AM - 7PM & SAT 11AM - 5PM, Eastern.
PROGRAM YOUR DOLL
There are 3 STEPS on the following page to program your doll so she can work as your remote
control for the game. We recommend that you watch the instructional section from start to finish
and then re-start the instructional segment and follow along to program the doll. When you program
the doll, you should be at least 10 feet away from the TV/DVD player. If you are interrupted for more
than five minutes while programming, you will need to start again.
If you make a mistake while programming the doll, you simply need to press the White PROGRAM
Button ONCE to turn off the Red LED Light and then press the White PROGRAM Button AGAIN to
turn it back on to start over.
NOTE: If your remote control is a Universal or "Combo" Remote, please be sure that it is in DVD mode.
Now that the “ENTER”, “LEFT” and “RIGHT” Buttons are programmed into the doll, the
necklace’s Red LED Light should disappear. Remember, if you made a mistake, you just need
to press the White PROGRAM Button ONCE to turn off the Red LED Light and then press the
White PROGRAM Button AGAIN to turn it back on to start over. In the event that you misplace
your doll, you can also play the game with your DVD remote. Simply press the RIGHT or LEFT
Buttons to choose those directions and use DVD ENTER Button instead of the doll’s Blue
ENTER Button.
Operation is subject to the following two conditions:
(1) This device may not cause harmful interference and (2) this device must accept any interference
received, including interference that may cause undesired operation of the device.
This equipment has been tested and found to comply with the limits for a Class B digital device, pursuant
to part 15 of the FCC rules. These limits are designed to provide reasonable protection against harmful
interference in a residential installation. This equipment generates, uses and can radiate radio frequency
energy and, if not installed and used in accordance with the instructions, may cause harmful interference
to radio communications. However, there is no guarantee that interference will not occur in a particular
installation. If this equipment does cause harmful interference to radio or television reception, which can
be determined by turning the equipment off and on, the user is encouraged to try to correct the
interference by one or more of the following measures:
Reorient or relocate the receiving antenna.
Increase the separation between the equipment and receiver.
Connect the equipment into an outlet on a circuit different from that to which the receiver is connected.
Consult the dealer or an experienced radio/TV technician for help.
Mattel, Inc.
Consumer Relations
636 Girard Ave
East Aurora, NY
(800) 524-8697
NOTE: Changes or modifications not expressively approved by the manufacturer responsible for
compliance could void the user’s authority to operate the equipment.
THIS CLASS B DIGITAL APPARATUS COMPLIES WITH CANADIAN ICES-003.
CET APPAREIL NUMÉRIQUE DE LA CLASSE B EST CONFORME À LA NORME NMB-003 DU CANADA.
(VALID FOR CANADA ONLY • VALABLE AU CANADA SEULEMENT)
Operation is subject to the following two conditions :
(1) this device may not cause interference, and (2) this device must accept any interference, including
interference that may cause undesired operation of the device.
L’utilisation de ce dispositif est autorisée seulement aux conditions suivantes :
(1) Il ne doit pas produire de brouillage et (2) il doit pouvoir tolérer tout brouillage radioélectrique reçu, même
si ce brouillage est susceptible de compromettre son fonctionnement.
For product sold in USA
For product sold in Canada • Pour les produits vendus au Canada
INSTRUCTION SHEET
SPECIFICATIONS
Toy:
Toy No.:
Part No.:
Trim Size:
Folded Size:
Type of Fold:
# colors:
Colors:
Paper Stock:
Paper Weight:
EDM No.:
Elina
K8130
0920G1
11" W x 17" H
5.5 " W x 8.5" H
2 fold
One
Black
White Offset
70 lb.
18
32 76
54
INSTALL / REPLACE
BATTERIES
BATTERY REPLACEMENT: Use a Phillips head
screwdriver (not included) to open battery doors. Insert 2
AAA alkaline batteries as shown (1 battery in each leg).
Replace battery covers and screw closed. For longer life
use only alkaline batteries. Replace batteries when the
product does not respond or slows down or the light
dims.
For better performance, replace batteries in your DVD
remote control.
(C) While continuing to press the Blue ENTER Button, use your other
hand to press the DVD ENTER Button once. The Red LED Light will
begin to flash and then it will shine. Release the Blue ENTER Button
and proceed to the next step.
You are finished programming the ENTER Button.
When you program any of the commands, the Red LED Light will
flash 3 times if successful. If not successful, Red LED Light will
flash once.
CC
AA
STEP 2: Program LEFT Button:
REPEAT (A) and (B) FROM “Program ENTER Button”
(C) While continuing to press the Blue ENTER Button, use your other
hand to press the LEFT Button once on your DVD remote control. The
Red LED Light will begin to flash and then it will shine. Release the
Blue ENTER Button, and proceed to next step.
You are finished programming the LEFT Button.
CC
STEP 3: Program RIGHT Button:
REPEAT (A) and (B) FROM “Program ENTER Button”
(C) While continuing to press the Blue ENTER Button, use your other
hand to press the RIGHT Button once on your DVD remote control. The
Red LED Light will begin to flash and then it will disappear.
You are finished programming your doll.
CC
22
33 44
11
MENU Button
REMOTE IR
PAUSE/PLAY
Buttons
LEFT/RIGHT Buttons
(Also called PREVIOUS/NEXT,
SKIP FORWARD/SKIP BACK
Buttons)
NUMBER Buttons
BATTERY SAFETY INFORMATION
In exceptional circumstances batteries may leak fluids that can cause a chemical burn injury or ruin
your product. To avoid battery leakage:
• Non-rechargeable batteries are not to be recharged.
• Rechargeable batteries are to be removed from the product before being charged (if designed to
be removable).
• Rechargeable batteries are only to be charged under adult supervision (if designed to be
removable).
• Do not mix alkaline, standard (carbon-zinc), or rechargeable (nickel-cadmium) batteries.
• Do not mix old and new batteries.
• Only batteries of the same or equivalent type as recommended are to be used.
• Batteries are to be inserted with the correct polarity.
• Exhausted batteries are to be removed from the product.
• The supply terminals are not to be short-circuited.
• Dispose of battery(ies) safely.
• Do not dispose of this product in a fire. The batteries inside may explode or leak.
Protect the environment by not disposing of this product with
household waste (2002/96/EC). Check your local authority for
recycling advice and facilities.
(B) Press the Blue ENTER Button on the back of the doll and
continue pressing it while you keep your DVD remote control facing
the necklace. While pressing the Blue ENTER Button, the Red LED
Light will disappear.
BB
CONTROLS
BACK OF DOLL:
1. RESET Button
2. Blue ENTER Button
3. White PROGRAM Button
4. Pink WINGS Button
2
1
3
4
DVD ENTER Button
TO START:
(A) Press the White PROGRAM Button ONCE and the
doll’s Red LED Light will shine (B).
AA
BB
Clear “Jewel”
Red LED Light
Clear “Jewel”
Red LED Light


