MEC –Energietechnik GmbH INSTRUCTION MANUAL AdapTask-150
Version 1.1 12-2011 Page 3 of 4 GLN: 9008390331330
5. How to select the charge modes
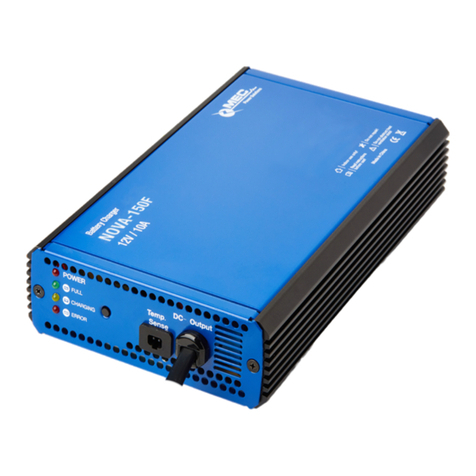
Make sure that the charger is disconnected from the mains supply and from the battery. Press and hold the mode but-
ton(5) in the front panel, then connect the charger with the mains supply (AC). Following the yellow-, green- and red-LED
(Error) will blinking for about 4 seconds and then change to light continuously - at this moment, release the mode button.
After that, the yellow- and two red LED are on continuously, it indicates that the mode-selection can be started.
Press the mode button briefly, following the yellow-, green- and red LED will light on simultaneously, and the blinking
times of LED indicates the selected mode, i.e. blinking 3 times means mode 3 is selected. Pressing the mode button
again, it will change to mode 4.
After selecting the mode you need, press and hold the mode button for more than 2 second, all the three LED will be light
off and it indicates the selected-mode is fixed and turns to be ready for charging.
6. Operation
I. Connect the charger to the battery:
First make sure that the charger is disconnected from the mains supply.
Variant a - battery is built in the vehicle:
The battery terminal which is not connected to the chassis has to be connected first (Red +). The other connection is
to be made to the chassis (Black -), at a save distance (>30cm) from the battery and fuel line.
Variant b - battery is not built in the vehicle:
First connect the positive terminal (+) of the battery with the red clamp of the charging cable (+).
After that, connect the negative terminal (-) of the battery with the clamp of the black charging cable (-).
Connect the charger to the mains supply; make sure that the charger is only plugged into an earthed socket outlet.
II. Start charging:
The charging process starts automatically and runs through the following three charging phases:
1. charging phase: bulk phase (CC)
This charging step is indicated by constant lighting of the yellow Charging LED (3).
During the constant current phase, the battery is being charged to ~80% of its capacity.
2. charging phase: absorption phase (CV)
This charging step is indicated by blinking of the yellow Charging LED (3).
During the constant voltage phase the battery is being charged to its maximum capacity.
3. charging phase: trickle charge (CV)
This charging step is indicated by constant lighting of the green Full LED (2).
As soon as the battery has reached its full capacity, the charger switches into trickle charge. The charger can now be
disconnected from the battery or remain at the battery in trickle charge mode. This guarantees a full battery at any time
and therefore an immediate readiness for use.
III. Disconnect the charger from the battery:
After charging, disconnect the battery charger from the supply mains. Then remove the chassis connection (Black -) and
following the battery connection (Red +).
7. Errors and Troubleshooting
Red Power-LED does not light:
- Check if the mains plug is correctly plugged in
- Check if mains cable is defective
Constant lightning of red Error-LED:
- Check the polarity of the battery
- Check the voltage of the battery
- Check if a defect or deep discharged battery is connected

