5
01 INTRODUCTION
01.2 DESCRIPTION OF THE DEVICE
01.3 RESPONSIBILITY WAIVER
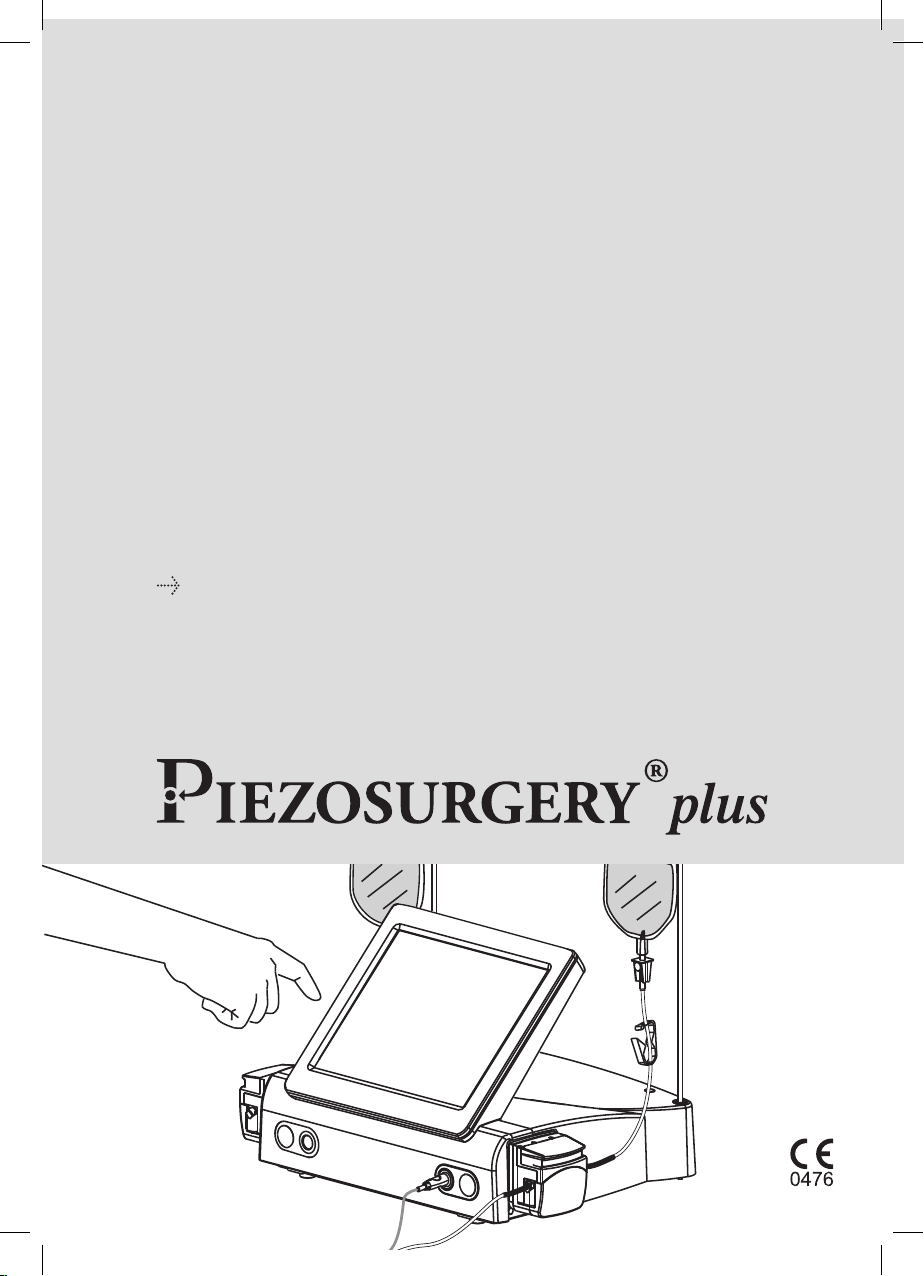
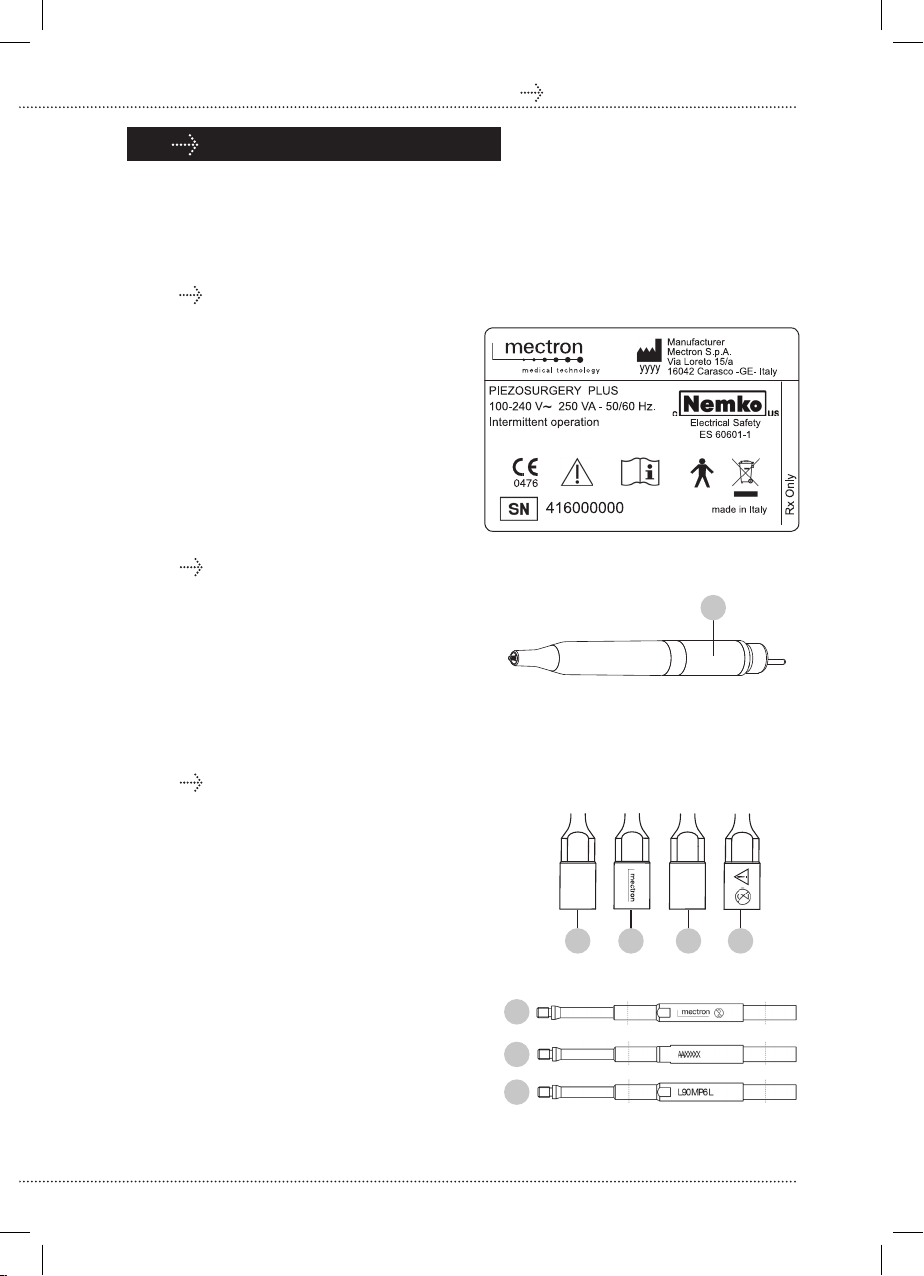
The PIEZOSURGERY®plus device uses
piezoelectric ultrasound technology to
generate mechanical micro vibrations that
can cut through mineralised structures
causing minimal damage to soft tissues.
The PIEZOSURGERY®plus has two
piezoelectric channels of different power
types and with independent electronics.
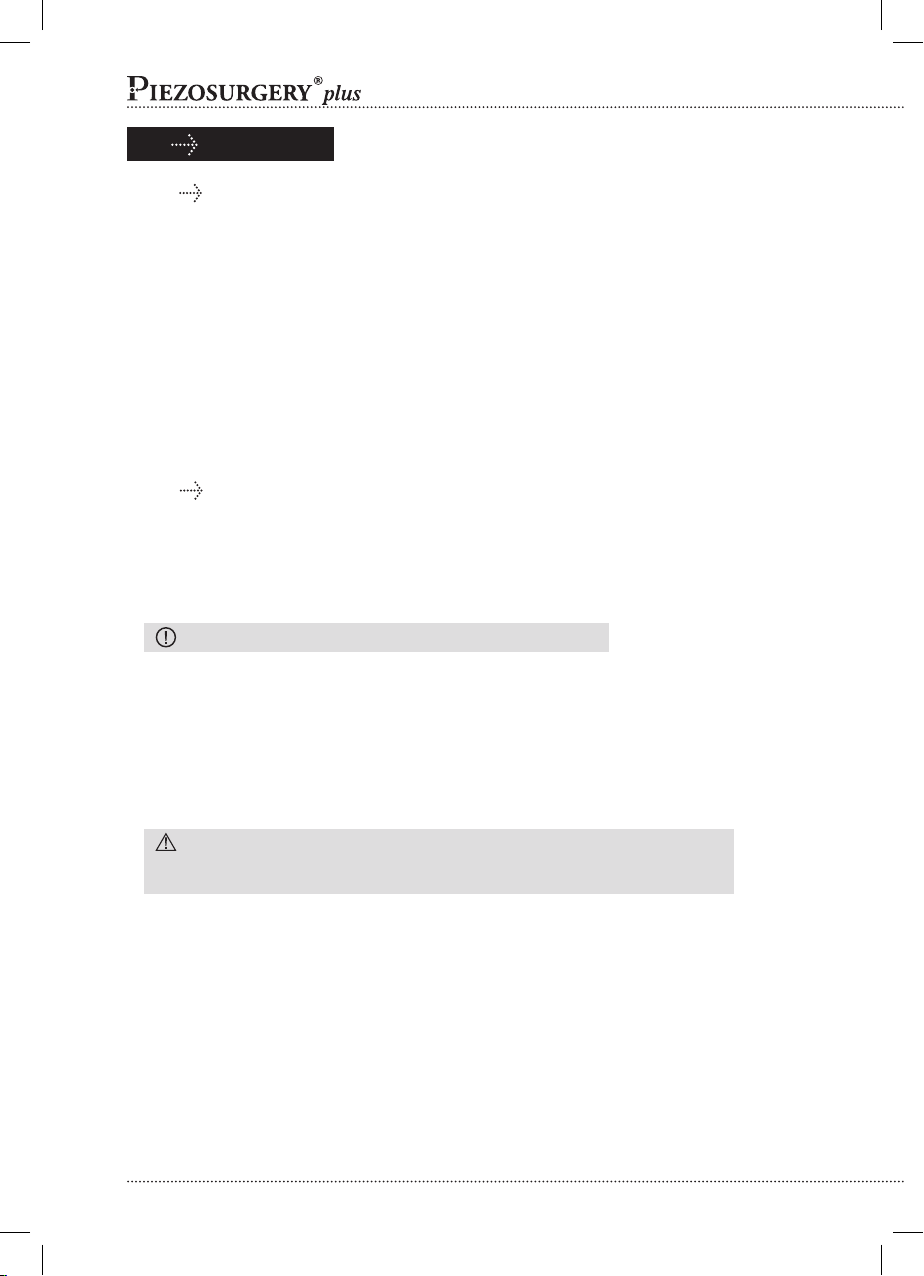
Channel 1 enables the PIEZOSURGERY®
medical handpiece to be used, to which the
sterile, single-use PIEZOSURGERY®medical
inserts can be connected.
Channel 2 enables the PIEZOSURGERY®
medical+ handpiece to be used, to which the
sterile, single-use PIEZOSURGERY®medical+
inserts can be connected.
WARNING: All handpieces can be
used in the applications specied in
the intended use. The PIEZOSURGERY®
medical+ handpiece is especially
recommended in the case of highly
mineralised bone.
The touch screen makes all functions
immediately available; they are activated by
simply pressing the nger against the screen
at the chosen buttons. The user can use
the graphic interface to select the chosen
insert and set the power type and irrigation
values within a range pre-established by the
manufacturer Mectron.
WARNING: To prevent the treated
parts from overheating, we recommend
increasing irrigation levels as power type
increases.
The manufacturer Mectron and the
distributor, Piezosurgery Inc. disclaim any
liability, expressed or implied, and shall have
no responsibility for any direct, indirect or
other damages and personal injury arising
out in connection with any errors in the
use of the device and its accessories. The
manufacturer Mectron and the importer
Piezosurgery Inc. shall be under no liability,
expressed or implied, with respect to any
damages (personal injury and/or damage to
property) which might arise or be caused,
whether by the customer or by any of the
users of the product and its accessories, as
result of:
1Use in procedures other than those
specied in the product’s intended use;
2The environmental conditions in which the
device is kept and stored do not comply
with the requirements indicated in chapter
07 - TECHNICAL DATA;
3The device is not used in accordance
with the instructions and requirements
described in this manual;
4The wiring systems in the room where
the device is used do not comply with
the applicable standards and relevant
requirements;
5Device assembly, extension, regulation,
update or repair has been carried out by
personnel not authorised by Piezosurgery
Inc.; all assistance services must be
provided by qualied personnel only.
CAUTION: The back-up battery
must be replaced with a CR2032 type
identical battery, by Piezosurgery Inc.’s
Service.
6Improper use, damage and/or incorrect
interventions;
7All attempted tampering or changes to
the device in any circumstances;
8Use of non-original Mectron inserts,
which denitively damages the handpiece
thread, affecting correct function and
risking injury to the patient;
9 Use of non-original Piezosurgery/Mectron
inserts, used in accordance to designed
and tested settings of Piezosurgery/
Mectron original inserts. The correct use
of the settings is guaranteed only with
original Piezosurgery/Mectron inserts;
10 Lack of spare materials (handpiece, inserts,
wrenches) to be used in the event of
failure or problem.