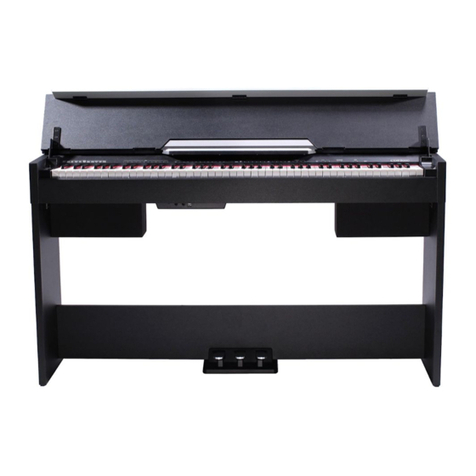
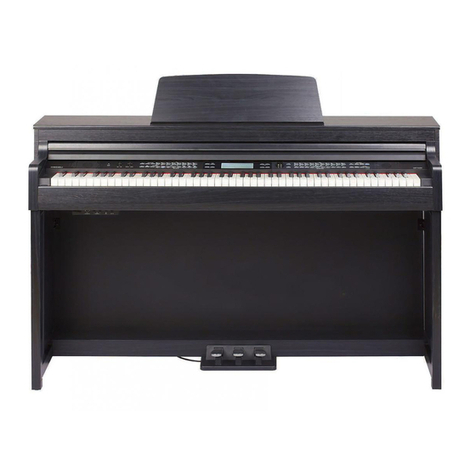
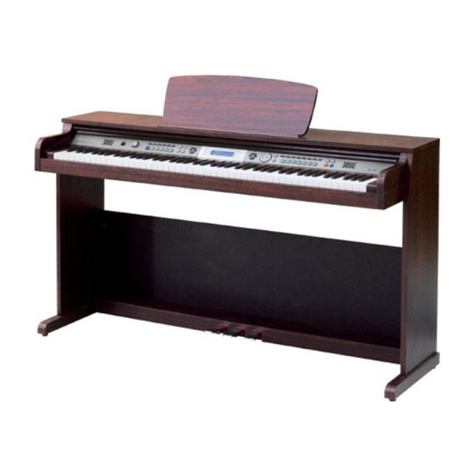
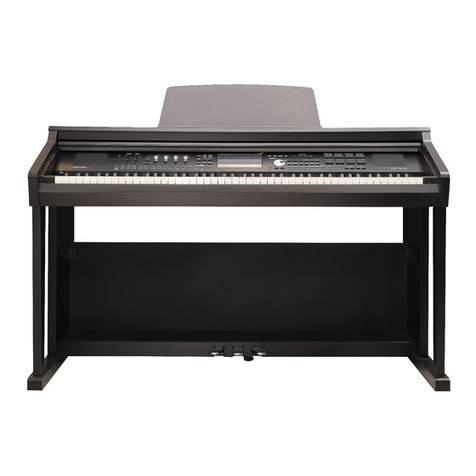
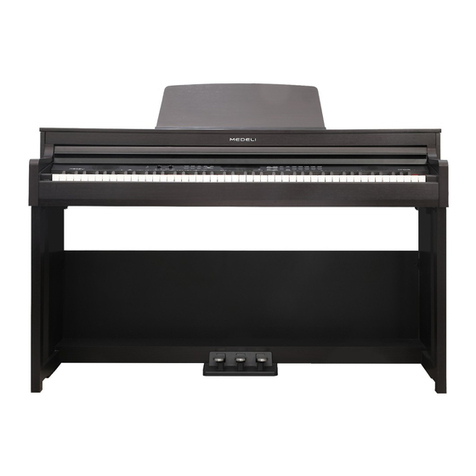
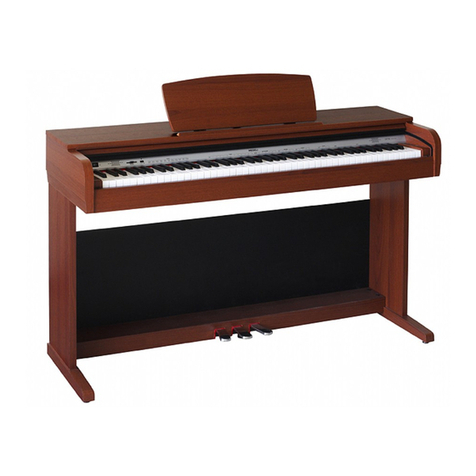
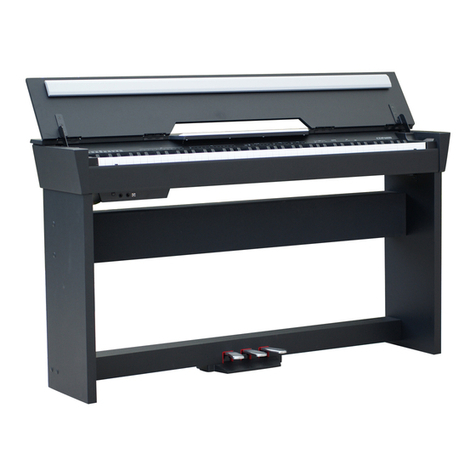
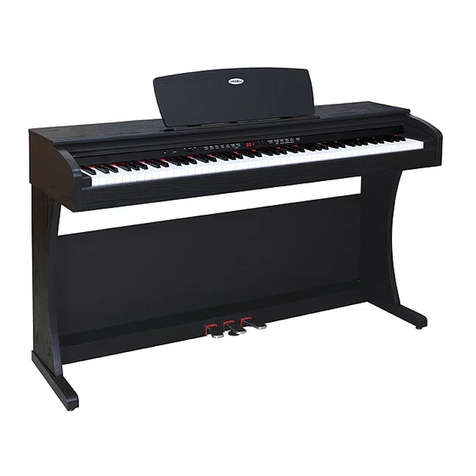
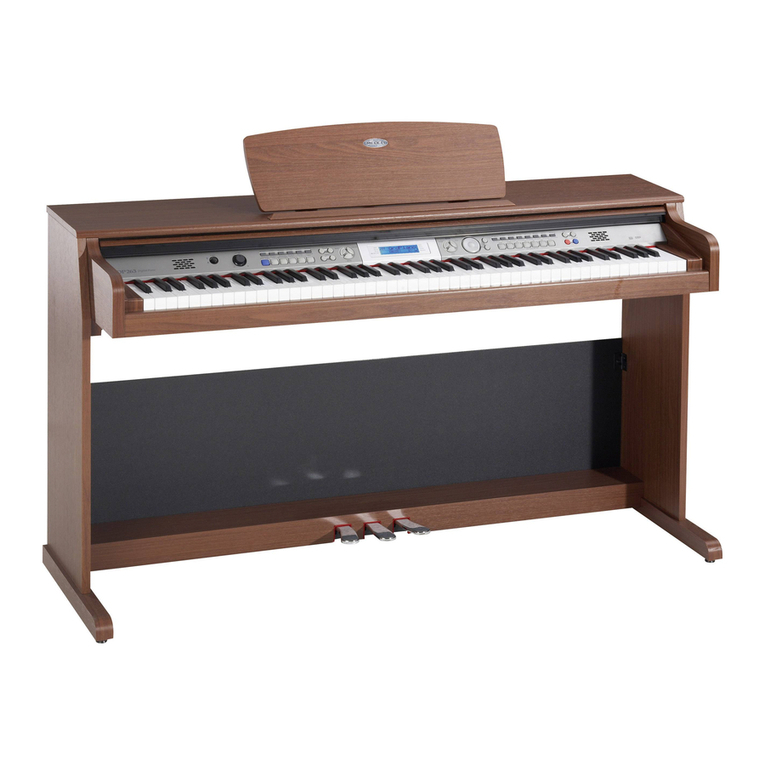
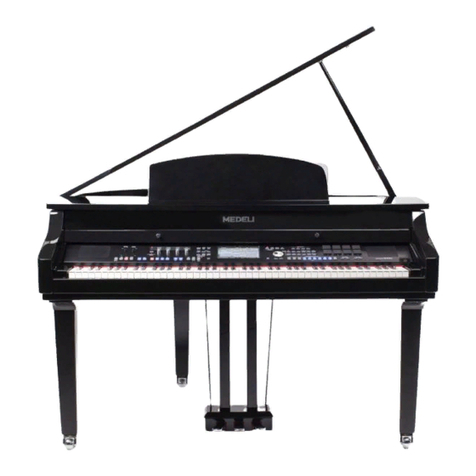
Medeli DP660 User manual


Welcome...
Thank you for purchasing our Digital Piano. The use of high technology and the most advanced sampling
technique brings you high quality sound and enjoyment. The combination of digital piano and electronic
keyboard features let you perform perfectly. We hope this digital piano will be able to explore your creativity,
and brings you unlimited happiness and music enjoyment.
Before you use the piano, we recommend you to read through this manual. Please keep this instruction
manual for future reference.
Precautions!
Please read the following carefully before use:
Do not expose the piano to high temperature, direct sunlight and excessively dusty places.
Do not place the piano too close to other electrical appliances such as television and radio.
It may cause interference.
Do not place the piano to excessive humid area. Avoid putting container with liquid on top of
the piano for preventing the damage of the internal parts of the piano by flowing liquid.
Always unplug cables by gripping the plug firmly, but not pulling on the cable.
Do not apply excessive force to the switches and buttons.
When the piano is not in use or in the time of thunderstorm, please remember disconnect the power supply.
Avoid adjusting the volume level to the maximum or to the levels that you feel uncomfortable, we
recommend you to limit the volume level to two-third of the max for preventing the damage of audiory
sense.
Unplug the power cable before cleaning the piano,and do not connect or disconnect the power cable
with a wet hand.
Check and clean the power plug periodically.
To avoid damage to the piano and other devices to which it is connected, turn the power
switches of all related device off prior to connecting or disconnecting cables.
Clean the piano with a dry soft cloth or a slightly damp cloth to remove dirt as well.
Never use cleaners such as thinner or alcohol. To prevent damage the surface of the LCD display,
please use lens cleaning tissue to clean the display.
If the piano cable is damaged, please do not use the piano. Otherwise it may cause fire or electrical
hazard.
In the case of malfunction due to improper handling the piano, please switch off and on again
after 30 seconds.
Do not attempt to disassemble or repair the internal parts of the piano by yourself.
If the piano does not work properly, please contact the approved repairer.
During the process of ESD test, if the piano does not work properly, please restart it for normal mode.
NOTE:
Contents
1
Set-up Guide
General Guide
The Connectors
1. Using the AC power jack
2.Using headphones
3.Using the AUX.OUT jack
4. Using the foot pedals
5.Using the MIDI IN/OUT jacks
Basic Operation
Power switch & volume
Voice and Effects
1.Voice selecting
2.Dual voice
3.Lower voice
4.Split point
5.Piano
Keyboard Function
1.ABC on
2.Naming
3.Portamento & Modulation
4.Sustain
Auto Accompaniment
1.Play the style(only drum)
2.Play the style(all tracks)
3.The accompaniment section
4.Accompaniment operation
Chord Recognize
Volume Control
Accomp volume control
Keyboard volume
Tempo
Metronome
One Touch Setting
Memory
Demonstration
Album
Song
Function
1.Transpose
2.Tune
3.Octave
4.Beat
5.Touch
6.Split point
7.Key select
8.Portamento time
9.PAD assign
10.DSP on/off
11.Reverb type
12.Reverb level
13.Chorus type
14.Chorus level
15.Local on/off
16.Receive channel
17.Transmit channel
18.Default parameters
Disk
1.Using floppy disks
2.Disk utility
3.Disk save
Record
1.Start recording
2.Playback recording
MIDI
1.What is MIDI
2.MIDI connection
3.MIDI application
Specifications
Appendix 1-Voice List
Appendix 2-Style List
Appendix 3-Demo List
Appendix 4-Song List
Appendix 5-Album List
Appendix 6-Chord Chart
Appendix 7-MIDI Chart
3-5
6-7
8-9
8
8
8
9
9
9
9
10-11
10
10
11
11
11
12-13
12
12
12
13
13-15
13
13-14
14
14-15
16
17
17
17
18
18
18-19
19
19-20
20
20
21-24
21
21
21
21
21
22
22
22
22-23
23
23
23
23
23
24
24
24
24
25-30
25-26
26-29
29-30
30-31
30-31
31
32
32
32
32
33
34
35
36
36
37
38
39

Main Features
2
88 graded Hammer key.
Multi-functional LCD which can display the staff.
Use the +/- key or dial to select voice, style or song.
Function features that include transpose, tune, octave, split point, pedal select, touch, DSP, midi etc.
142 high quality voices at all, including 128 GM Voices.
100 auto accompaniment styles, from 001 to 100.
8 demos of different style.
60 songs that have melody off mode.
100 albums that offer you some good classic music setting.
8 banks with 6 memories each .
Both Single finger detect and fingers detect.
Each record song has 5 tracks--1 accomp track and 4 melody tracks.
Portamento and Modulation, 4 level portamento sensitivity.
Mixer function including the volume adjustment of Voice R1, Voice R2, Voice L, Drum, Bass,
Chord1,Chord2,Chord3,Accomp.
Pedal selection function including sustain, soft, accomp start, tempo tap, and memory select.
DSP function that can set the level of Reverb and Chorus .
MIDI IN and MIDI OUT function, and you can select which channel to receive or transmit midi
message.
Dual, Lower voice, Sustain, Piano, O.T.S etc.
Floppy disk driver. You can play standard midi music files(format 0,format 1),and save midi files
from recorded data.

Set-up Guide
3
Open the package, and check whether the following parts are available:
1. Piano body
2. Music stand
3. Right leg component
4. Left leg component
5. Center supporting board
6. Foot pedal unit
7. Hand screw (4 pcs.)
8. Screws (8 pcs.)
9. Screw caps (8 pcs.)
10. Power cable stabling hook (2 purchase.)
11.Floppy drive
1
11

4
2Follow the illustration below and finish off the set-up procedures.
Caution: When setting up the piano, please use the screws supplied and avoid using the
unspecified screws which may damage the piano body and cause the lost of
stability.
Parts required in this
step:
7. Hand screws x 4
8. Screws x 8
9. Screw caps x 8
Put the foot pedal unit(6) in between the left and right legs components (3&4).Use 4 pieces of screws
(2 on each side) to stable the legs onto the foot pedal unit.
(Make sure the direction of the placement is correct before screwing)
A

5
B
C
D
Use 4 pieces of screws (2 on each side) to stable the center supporting board (5) onto the
assembly finished in Part A on the previous page.
Put the piano body(1) on the top of the assembly finished in part B, and use 4 pieces of hand
screws to stable afterward.
After the initial set-up, stick the cable stabling hook(10) on the internal side of the leg
component (see the below illustration for reference).
Cable stabling hook

6
General Guide
Top View
Rear View
Front View
Control Panel
Pedal Jack
MIDI IN/OUT Jack
AUX. OUT Jack
AC Power Jack
Headphones Jack
Soft Pedal
Sustenoto Pedal
Sustain Pedal
Music Stand
Piano Keyboard
1
2
3
4
5
6
7
8
9
10
11

STYLES
OFF
ON
ACCOMPANIMENT CONTROL
01 8 Beat 1 07 16 Beat 1 15 Ballad 1 34 BigBand
23 SlowRock 1
73 March 1 79 Waltz 1 92 XinJiang 94 NeiMengGu 85 Pianist
52 Pop Bossa 57 Samba 1 66 Beguine
46 CountryShuf 63 Pop Reggae
06 8 Beat Pop 08 16 Beat 2 29 Disco 1 38 Swing 1
22 Rock'N'R
51 Bluegrass 55 Rhumba 1 64 Tango 69 Bounce
61 PopChaCha
76 Polka 93 YunNan 95 JiangNan 00 Custom80 SlowWaltz
SEQUENCER
START / STOP SYNC FILL-IN A FILL-IN B INTRO / ENDING
PLAY / STOP
ACCOMP /
CLEAR MELODY 1 MELODY 2 MELODY 3 MELODY 4
O.T.S.
FUNCTION+
/NEXT
FUNCTION-
/BACK
TEMPO TEMPO
RECORD
PORTAMENTO
SPLIT / LOW VOICE
MIXER
SUSTAIN
A.B.C./
MELODY OFF
ALBUM/SONG/
STYLE
DUAL
VOICE
DEMO
VOICES
49 StringEns 1
01 GrandPno 05 E.Piano 1 09 Celesta 22 Accordion 25 Nylon Gtr 37 SlapBass 117 DrawOrgan
69 Oboe 129 Pipa 134 Erhu 138 Qudi
74 Flute 141 C. Percus
55 SynVoice
63 SynBrass 146 Pizz. Str 58 Trombone
51 Syn. Strs 1 61 FrenchHorn
72 Clarinet 132 Guzheng 136 Hi-Suona 139 Bangdi76 PanFlute 142 Percus
07 Harpsi. 13 Marimba 23 Harmonica 27 Jazz Gtr 41 Violin04 Honky-Tonk 20 Ch-Organ
57 Trumpet 62 BrassSect 67 TenorSax
47 Harp 53 ChoirAah50 StringEns 2 60 MuteTrump
ONE TOUCH CONTROL
/ NO / YES
M 1 M 2 M 3 M 4 M 5 M 6
BANK
STORE PIANO METRONOME DISK SAVE UTILTY
VOLUME
MAXMIN
POWER
MODULATION
6
1
18
19
2
232220 24
26
25
17
18
19
16
10
11
12
13
14
7
8
20
1
2
3
4
15
A.B.C
SPLIT
PORTAMENTO
MODULATION
TEMPO/MEASURE/BEAT
DUAL
TOUCH
MELODY OFF
SUSTAIN
CHORD
M1/M2/M3/M4/M5/M6/O.T.S
DISK/DSP
VOICE LR12/STYLE/SONG
TREBLE CLEF
BASS CLEF
RECORD
PLAY/STOP
ACCOMP/CLEAR
MELODY 1/2/3/4
16
17
18
10
11
7
8
9
1
2
3
415
19
12
13
14
7
16
MODULATION
19
Front panel
POWER SWITCH
MASTER VOLUME
ACCOMP/CLEAR
ACCOMPANIMENT CONTROL
-START/STOP
-SYNC
-FILL-IN A
-FILL-IN B
-INTRO/ENDING
SEQUENCER
-MELODY 1
-MELODY 2
-MELODY 3
-MELODY 4
RECORD
PLAY/STOP
OTS
FUNCTION
TEMPO
PORTAMENTO/MODULATION
A.B.C/MELODY OFF
SPLIT
MIXER
SUSTAIN
DEMO
DUAL
VOICE
ALBUM/SONG/STYLE
PIANO
22
23
24
21
26
25
METRONOME
DISK
SAVE
UTILITY
ONE TOUCH CONTROL
-BANK
-STORE
-M1-M6
DIAL/[+/YES]/[-/NO]
LCD display

The Connectors
Turn the volume switch anti-clockwise to reach
the minimum volume level.
Plug the power cable into an AC power outlet.
If you have done the above procedures you are
now safe to turn on the piano.
When the piano is not in use or in the time of
thunderstorm, please disconnect the power for
safety sake.
An optional set of stereo headphones can be
connected to the headphones jack located on the
left underside of the piano body. When a pair of
headphones is connected to the jack,the internal
speakers will switch off automatically.
Never use the headphone with high volume, as
it may hurt your ears.
To prevent the damage of the speakers, ensure
that the volume is set to the minimum level before
connecting the power and other devices.
Connect the rear-panel AUX.OUT jack to amplified
speakers, amplifiers or domestic hi-fi-units for
external amplification.
Connect both left(L) and right(R) channels for
the stereo result. If you only connect either one
of the channels, the connected channel will only
take effect.
2
4
5
8
Using headphones
Using the AUX.OUT jack
Using the AC power jack
1Ensure the piano is turned off when connecting
and disconnecting the power.
Connect the power cable to the AC power jack
on the underside of the piano body.
3
CAUTIONS!
CAUTIONS!
NOTE:
POWER
OFF ON

9
Using the foot pedals
MIDI stand for Musical Instrument Digital Interface.
MIDI is a world wide standard that makes it
possible for various electronic musical instruments
and other devices.
Data transmitted from other MIDI
instrument via MIDI is received at
this terminal.
Data produced by the Digital Piano
is transmitted to other MIDI
instruments via MIDI from this
terminal.
Using the MIDI IN/OUT jacks
Connect the plug of the foot pedal unit to the pedal
jack on the rear panel.
You will experience the sustain effect.
MIDI IN:
MIDI OUT:
Basic Operation
Power switch & volume
Turn the [POWER] switch on.The LCD display lights up.
Use the volume control switch to adjust the volume to
your desired level.
1
2
If the LCD display does not light up after you turned
on the piano, please check the power supply.
If the piano is silent, the volume may be adjusted to
its minimum level.
NOTE:
POWER
OFF ON

Vocies and Effects
10
Voice selecting
Voice numeber
142 voice at all (Appendix 1), including 128 GM
voice, 12 Chinese voices, and 2 percussion voices.
Voice setting
Press [VOICE] button to select three separate
voice modes: VOICE R1,VOICE R2,VOICE L.
The default VOICE R1 is No.001; LCD displays
"VOICE R1"and the voice name.
Press [+/YES]/[-/NO] button or use dial to
select the voice wanted.
Use 20 voice direct select keys to select the voice
with direct voices in each botton (upper & nether)
When change the voice, pay attention to the rules.
If press the same button, the voice will be
changed between upper and nether.
If one direct button is the upper (nether) voice,
the voice is also the upper(nether) when pressing
other direct bottons.
/ NO / YES
VOICE
1
2
NOTE:
DUAL
Dual voice
1
2
3
4
Press [DUAL] button to turn on the DUAL VOICE.
When VOICE R1 is lightened off , VOICE R2
and dual flag are both lightened. The dual voice
name is also displayed on the LCD.
Press [+/YES]/[-/NO] button or the dial to select
the dual voice number. The default dual voice
number is No. 50: Strings2.
Press [DUAL] button again to turn off the DUAL
VOICE.
Select the dual voice with the Direct Voice keys.

PIANO
Lower voice
Split point
Piano
You can split the keyboard to right and left area
in this function.
Press [SPLIT/LOW VOICE] button to turn on the
lower voice. LCD lights the lower voice flag and
displays "VOICE L" and the lower voice name.
Press [+/YES]/[-/NO] button or the dial to select
the lower voice number. The default lower voice
number is No. 50: Strings2.
Press [SPLIT/LOW VOICE] button again to turn
off the lower voice.
1
1
1
2
2
2
3
3
4
4
11
Split point(#F)
VOICE L VOICE R1/R2
11
SPLIT / LOW VOICE
Select the lower voice with the Direct Voice buttons.
In the Split Voice mode, you can assign two
different Voices to opposite sections of the
keyboard, and play one Voice with your left hand
while your right hand plays another voice.
#F3 is the default split point. Each key on the
keyboard can be set as the split point, and be
stored in the memory.
Press [PIANO] to the piano mode. The LCD
displays PIANO, and the voice is changed to
piano immediately. At that time, ABC, DUAL, and
LOWER are all OFF.
Press [PIANO] again or press any of keys as
follows :[DEMO]/[VOICE]/[ALBUM/SONG/
STYLE]/[DISK]/[SAVE]/[UTILITY]/[PLAY/STOP]/
[ALBUM/SONG/STYLE]/[BANK] and the memory
keys will exit the PIANO mode.
The voice will no longer retain as the piano voice.
You can select the style number with the [+/YES]/
[-/NO] key, or the wheel at the PIANO mode.
Press the [START/STOP] key to play the style (Only
drum) .
The MIXER and FUNCTION menu can be functioned.

Keyboard Function
ABC on
Naming
Portamento
Modulation
SPLIT POINT(#F3)
VOICRE R1/R2ACCOMP
The keyboard not only plays three voices at the
same time, but also has other necessary functions.
Turn ABC on. The left area of keyboard is chord
area. When you play the chord, both the bass
and the chord voice will phonate.
11
If you want to save a midi file or memory file,you can
name this file with the keyboard.
11
SHIFT
DELETE
B D E G I K L N P Q S U W X Z 1 2 4 6 8 9 # % & ( @ {
A C F H J M O R T V Y 0 3 57 1 $)
11
While holding down the [PORTAMENTO] button,
you can play the keyboard. The note will have
portamento effect.(See the chart)
This keyboard has four kinds of portamento time
(0-3). The default is 2. (you can modify the
portamento time with function menu)
You can set [PORTAMENTO] button to modulation
function.(See FUNCTION MENU) LCD will display
the portamento icon.While holding down the
[PORTAMENTO] button you can play the
keyboard. The note will have modulation effect.
12

13
1
2
Sustain
Press the [SUSTAIN] button to turn the SUSTAIN
effect on. The sustain icon will appear next to
"sustain" on the LCD. All notes played on the
keyboard will have a longer sustain effect.
When the Sustain feature is ON, press the
[SUSTAIN] button to turn the SUSTAIN effect OFF.
SUSTAIN
Auto Accompaniment
Press the [ALBUM/SONG/STYLE] button, or the
direct style button.
Select a style.
Select the desired style number with dial,[+/YES],
[-/NO],or direct style keys. (See Style Chart)
Press the [START/STOP] button to start/stop
playing the style (only drum).
Play the style(only drum)
Play the style (all tracks)
1
1
2
2
3
3
/ NO / YES
ALBUM / SONG
STYLE
A.B.C/
MELODY OFF
ACCOMPANIMENT CONTROL
START / STOP SYNC FILL-IN A FILL-IN B INTRO / ENDING
Press the [ALBUM/SONG/STYLE] button, or the
direct style button.
Select the desired style number with dial,[+/YES],
[-/NO] or direct style buttons.
Press the[ABC/MELODY OFF]button.The A.B.C
icon will appear next to "A.B.C" on the LCD.
This keyboard automatically plays bass and chord
parts in accordance with the chords you finger.
The relevant chord name will be shown above
"CHORD" on the LCD.

4
1
1
5
2
2
6
3
3
4
4
Sync start
Press the [SYNC] button. The Beat display will flash at
the current tempo when the synchronized start mode
has been selected.
The keyboard will start to play the accompaniment by
pressing "recognized" chord.
Play another chord.
Press the [START/STOP] button to stop playing the
style.
START / STOP
SYNC
ACCOMPANIMENT CONTROL
START / STOP SYNC FILL-IN A FILL-IN B INTRO / ENDING
ACCOMPANIMENT CONTROL
START / STOP SYNC FILL-IN A FILL-IN B INTRO / ENDING
ACCOMPANIMENT CONTROL
START / STOP SYNC FILL-IN A FILL-IN B INTRO / ENDING
ACCOMPANIMENT CONTROL
START / STOP SYNC FILL-IN A FILL-IN B INTRO / ENDING
flash
The accompaniment section
Accompaniment operation
Accompaniment consists of Intro, normal, variation, fill
(a-a, a-b, b-a, b-b), ending. Using different sections
based on the structure of songs enables you to
enhance musical performance.
INTRO
Press the [INTRO] button to insert an intro section
before you start to play . The main section will be
followed by the Intro section.
NORMAL and VARIATION
There are two main sections: normal and variation.
It has its own two or four-measure section.
FILL
While the accompaniment is playing, you can fill in
the rhythm/accompaniment by pressing the [FILL A]
button or the [FILL B] button. This will automatically
insert a fill section.
ENDING
When you press the [INTRO/ENDING] button, it brings
rhythm accompaniment and your performance to the
end.
Press the [ALBUM/SONG/STYLE] or direct style button.
Select a style.
Select the desired style number with dial,[+/YES],[-/NO],
or direct style buttons.
Start accompaniment.
Start immediately Press the [START/STOP] button to
start playing the rhythm without bass and chord
accompaniment.
Sync Start Press the [SYNC] button.The beat display
will flash at the current tempo. To start the main
section and accompaniment, play any key on the
keyboard. (When A.B.C is On, play a key or chord in
the auto accompaniment section of the keyboard).
Play the INTRO section
This digital piano let you insert a short intro a rhythm
pattern to make intro more smoother and more natural.
Beats on LCD flash simultaneously in current tempo
when pressing [SYNC] button.
Press [INTRO/ENDING] button to insert INTRO.
LCD lightens the intro flag.
The INTRO plays automatically when the keyboard
at the same time.
14

Play the Main(A/B) section.
Choose the desired style and press the [START/STOP]
button.
Press the [FILL A] button.The fill a-a or fill b-a will begin
immediately and smoothly lead into the normal.
LCD displays :"MAIN A".
Press the [FILL B] button.The fill a-b or fill b-b will begin
immediately and smoothly lead into the VARIATION.
LCD displays:"MAIN B".
Play the ENGING section
To play the ENDING section, press [INTRO/ENDING].
LCD display :"ENDING".
5
6
7
FILL-IN A
FILL-IN B
INTRO / ENDING
NOTE:
If holding down the [FILL A] or [FILL B] button, the
keyboard will play the fill section all along.
If pressing the [FILL A] or [FILL B] button at the last
beat of the current measure, the fill will begin from
the first beat of the next measure.
Stop playing the style.
The accompaniment can be stopped at any time by
pressing the [START/STOP] button.
Press the [INTRO/ENDING] button if you want to go to
the ending section and then stop. The ending section
will begin from the top of the next measure.
SYNC STOP press the [SYNC] button to stop playing,
and the synchronized start mode has been selected.
ACCOMPANIMENT CONTROL
START / STOP SYNC FILL-IN A FILL-IN B INTRO / ENDING
ACCOMPANIMENT CONTROL
START / STOP SYNC FILL-IN A FILL-IN B INTRO / ENDING
ACCOMPANIMENT CONTROL
START / STOP SYNC FILL-IN A FILL-IN B INTRO / ENDING
15

Chord Recognize
Press the [A.B.C/MELODY OFF] button to turn on the
A.B.C. mode. The A.B.C icon will appear next to "A.B.C"
on the LCD.
In this mode, play the chords the chord section below
the split point.
You can change the chords of the accompaniment by
playing keys in the auto accompaniment section of the
keyboard using either the "Single Finger" or "Fingered"
method.
A.B.C/
MELODY OFF
1
2
3
4
5
Single Finger detect
CCm
C7 Cm7
Major[M] Minor[m]
Seventh[7] Minor Seventh[m7]
Choose the desired style.(See appendix 2)
Press the [START/STOP] button to start to play back
the style.
Play the chords by following the Single Finger Chord
table.
The examples of Single Finger Chord C, Cm, C7 and
Cm7 are shown as follows:
C Major [M]:To play a major chord: Press the root note
of the chord.
Cm Minor[m]:To play a minor chord: press the root note
together with any black key to the left of it.
C7:To play a seventh chord: Press the root note
together with any white key to the left of it.
Cm7:To play a minor seventh chord: Press the note
together with any white and black keys to the left of it.
(Three keys altogether.)
Fingered detect
Play the Fingered Chord on the keys below the Spilt
point.
Choose your desired style.
Press the [START/STOP] button to start to playback
the style.
Play the desired chords by following the Chord Chart
(See appendix 6).
A total of 32 chords are provided as well as follows:
NOTE:
When A.B.C is ON, press the keys on the left of the
split point. The chord will be recognized as fingered
chords.
Cmadd9
C C
Cm9
Cm11 Cm
Cm
Madd9 M9 M7
7
14
21
8
15
22
9
16
23
10
17
24
11
18
25
12
19
26
13
20
27
16

Volume Control
Accomp volume control
Accomp track adjust
Keyboard volume
To adjust accomp volume control, please [MIXER]
button. LCD displays :"100 Accomp V".
You can adjust the volume values of ACCOMP with
dial, [+/YES], [-/NO]. Parameter range: 000-127.
Press [+] and [-] at the same time will set the ACCOMP
volume to 0. LCD displays:" OFF ACCOMP". Press
them again to resume the original ACCOMP volume.
TRACK CHANNEL PARAMETER DEFAULT
ACCOMP CH1, CH3, CH5,
CH7, CH10
0127 109
CHORD 1 CH1 0127
CHORD 2 CH3 0127 82
CHORD 3 CH5 0127 73
92
DRUM CH10 0127 70
BASS CH7 0127 85
MIXER
MIXER
1
1
1
2
2
2
3
3
3
4
4
6
6
7
5
5
/ NO
/ NO
/ YES
/ YES
FUNCTION-
/BACK
FUNCTION-
/BACK
FUNCTION+
/NEXT
FUNCTION+
/NEXT
TEMPO
TEMPO
TEMPO
TEMPO
This digital piano has 3 keyboard tracks: VOICE 1,
VOICE 2, LOWER.
Track
Channel
Parameter Range
Default
VOICE 1
CH12 0127 110
VOICE 2
CH13 0127 70
LOWER
CH14 0127 45
How to adjust:
Press the [MIXER] button. LCD displays:"100
ACCOMP V".
Press the [FUNCTION+/NEXT] or [FUNCTION-/BACK]
button to select track that you want to adjust.
Order: VOICE 1, VOICE 2,LOWER.
If you adjust the track voice 1, LCD displays:"112
VOICE1".
You can adjust the volume values of voice1 with dial,
[+/YES],[-/NO].Parameter range :000-127.
Press [+] and [-] at the same time will set the volume
voice1 to 0. LCD displays OFF VOICE 1; Press [+] and
[-] simultaneously again to resume the original
ACCOMP volume.
The volume adjustment of other track is the same as
the track:Voice 1
Press the [MIXER] button to exit this mixer menu.
17
There are 5 accompaniment tracks for you to adjust:
CHORD 1, CHOARD 2, CHORD 3, BASS and BASS
DRUM.
Select a style to adjust track volume.
Press [MIXER] button. LCD displays:"100 ACCOMP V".
Press the [FUNCTION+/NEXT] or the [FUNCTION-/
BACK] button to select the track that you want to adjust.
You can adjust the accomp track volume values with
dial, [+/YES], [-/NO]. Parameter range: 000-127.
For example, CHORD1. LCD displays: "094 CHORD1 V".
Press [+] and [-] at the same time will set the accomp
track volume to 0. LCD displays:"OFF CHORD1 V".
Press them again to resume the original volume.
Press [MIXER] button to exit the mixer menu.

Tempo
Metronome
One Touch Setting
Press the [TEMPO+] or [TEMPO-] button. The tempo
value will be flashing. At that time, the tempo can be
adjusted in the range of 30-280.
Hold down the [TEMPO+] or [TEMPO-] button and
adjust the tempo continuously.
Press [TEMPO+] and [TEMPO-] simultaneously to set
the tempo value back to the default one.
FUNCTION-
/BACK
FUNCTION+
/NEXT
TEMPO TEMPO
1
1
1
2
2
2
3
3
3
NOTE:
NOTE:
When the style stops while select the style, the tempo
will change with the style automatically to the default
tempo. When style is playing, the tempo will not
change with the style.
The time signature changes automatically as soon
as a style is selected.
In the FUNCTION menu, you can adjust the beat with
dial,[+/YES],[-/NO].The range 0,2~9.(SEE FUNCTION
OPERATION).
Press the [METRONOME] key to turn on the
metronome and the metronome sound will be played .
Press the [METRONOME] key again to turn it off.
METRONOME
One Touch Setting is powerful and convenient Style
mode function that let you instantly reconfigure
virtually all setting of the instrument. You can save the
following setting.
Voice R1 number and volume
Dual function.
Voice R2 number and volume
REVERB and CHORUS type and level
OCTAVE
How to recall a one touch setting
Select a style.
Each style has four desired settings.
Press the [O.T.S] button. LCD displays O.T.S and turns
A.B.C ON automatically.
Press the [M1~M4] button. LCD displays O.T.S 1~4.
corresponding to the desired setting.
O.T.S.
ONE TOUCH CONTROL
M 1 M 2 M 3 M 4 M 5 M 6
18
Table of contents
Other Medeli Musical Instrument manuals

Medeli
Medeli SP-40 Series User manual

Medeli
Medeli CDP5200 User manual

Medeli
Medeli DP740K User manual

Medeli
Medeli KURTZMAN K700 User manual

Medeli
Medeli DP268 User manual

Medeli
Medeli SP5500 User manual

Medeli
Medeli SP4200 User manual

Medeli
Medeli CDP6000 User manual

Medeli
Medeli DP 100 User manual

Medeli
Medeli Grand 510 User manual

Medeli
Medeli UP81 User manual

Medeli
Medeli CDP5200-BK User manual

Medeli
Medeli SP4200 User manual

Medeli
Medeli DP70EU User manual

Medeli
Medeli Grand 1000 User manual

Medeli
Medeli DP263 Operating instructions

Medeli
Medeli DP10 User manual

Medeli
Medeli CDP5000 User manual

Medeli
Medeli St430 User manual

Medeli
Medeli Cdp5000w User manual