Medion MD 18559 User manual

CAR BATTERY CHARGER
CARGADOR DE BATERÍA DE VEHÍCULO
English ...... 02
Español ..... 31
User Manual
Manual
del usuario

Dok./Rev.-Nr. 18559 ML ALDI USA MSN 5005 9507 Cover final
Contents
Overview ................................................................3
Use...........................................................................3
Appliance parts ......................................................4
About these operating instructions......................6
Proper use ..............................................................8
IMPORTANT SAFETY INSTRUCTIONS.........................9
FURTHER INSTRUCTIONS........................................ 14
PACKAGE CONTENTS .............................................. 17
WALL ASSEMBLY..................................................... 17
OPERATING INSTRUCTIONS .................................... 18
Description of the charging cycle........................ 22
Reverse polarity protection.................................24
Overheating protection.......................................25
Switching off ........................................................25
CLEANING AND MAINTENANCE...............................26
STORAGE/TRANSPORT...........................................26
TECHNICAL SPECIFICATIONS................................... 27
Disposal.................................................................28
FCC Compliance Statement...................................28
Service information .............................................29
Legal Notice ..........................................................30

3
C
A
10
9
87
1112
1314
15
B
red/rojo black/negro
1. 2.
1 2
3
45
63

4
Appliance parts
1MODE button
2Display
3Mounting holes
4Power cord with power plug
5Positive polarity terminal (red) with connecting cord
6Negative polarity terminal (black) with connecting cord
7Standard charging mode 12 V / 0.8 A active
8Rapid charging mode 12 V / 3.8 A active
9Rapid charging mode 12 V / 3.8 A COLD active
10 Standard charging mode 6 V / 0.8 A active
11 Charging display
12 Fault display (no battery connected)
13 Fault display (battery faulty)
14 Fault display (terminals incorrectly connected)
15 Display of the current battery voltage

C
ontents
5
Contents
Overview...............................................................................................................3
Use.........................................................................................................................3
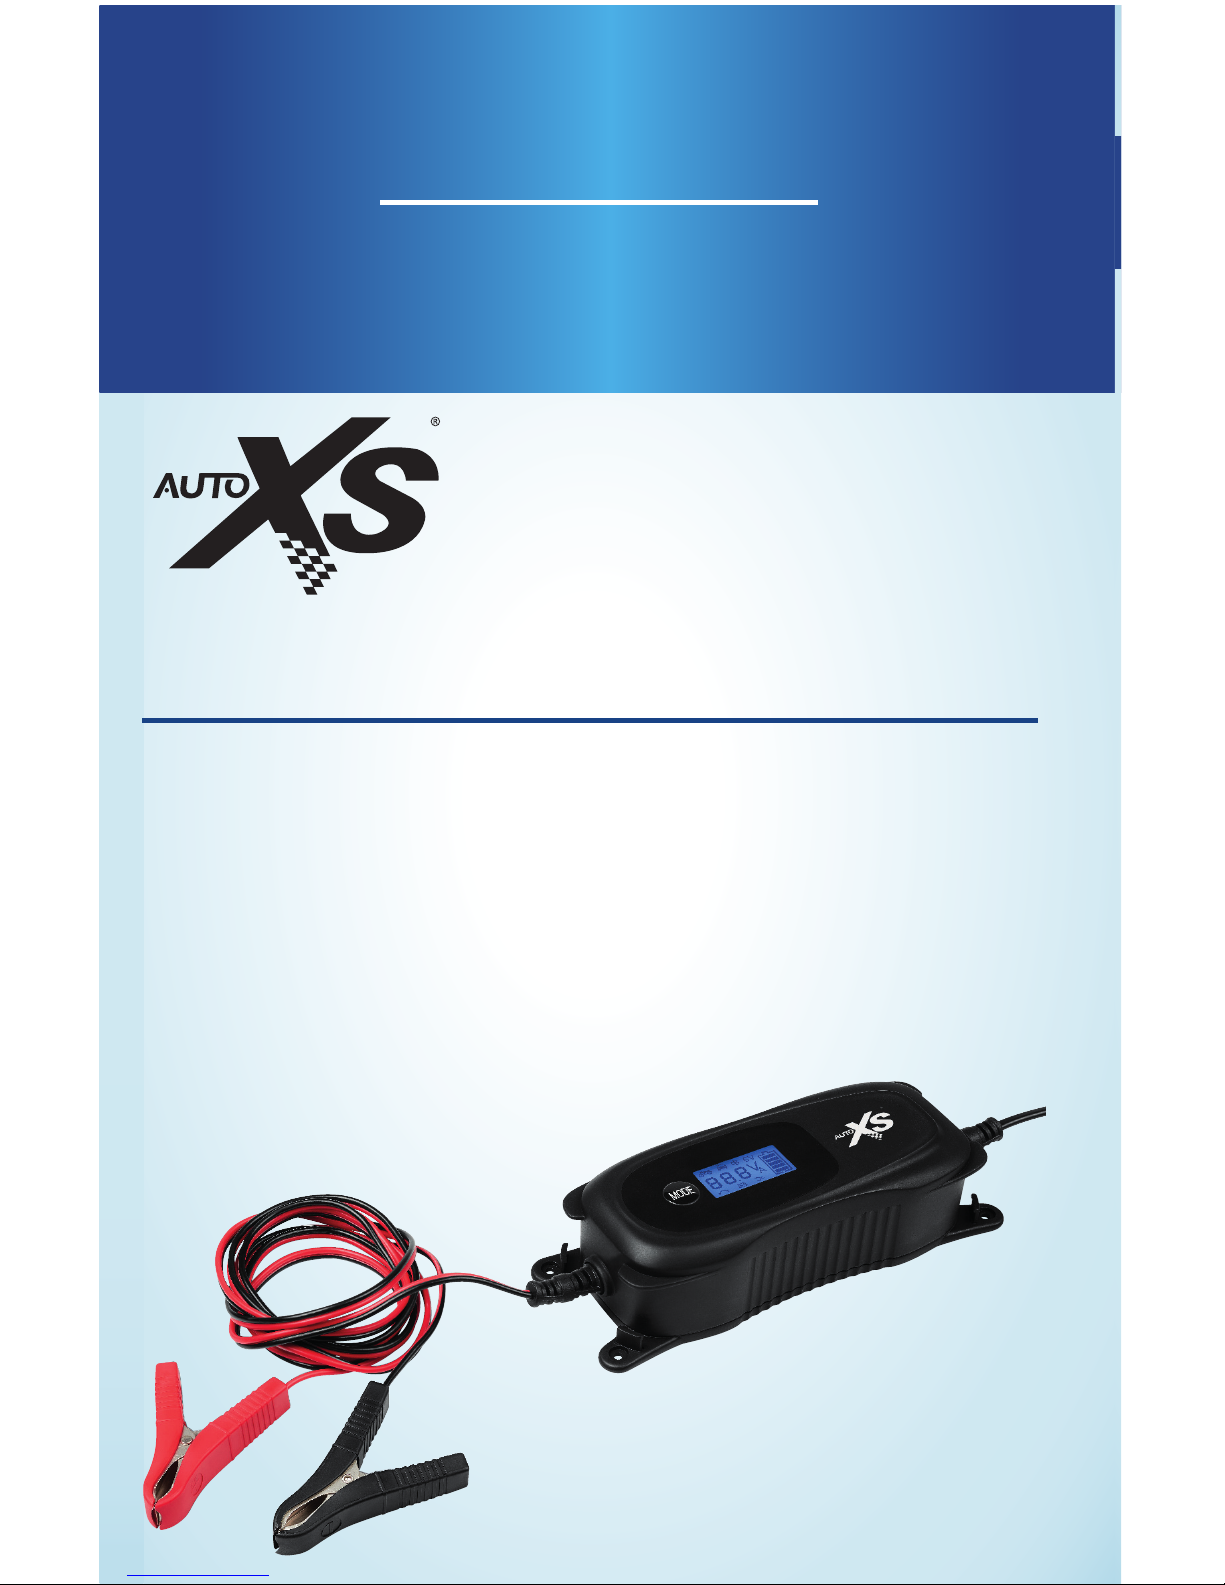
Appliance parts.................................................................................................... 4
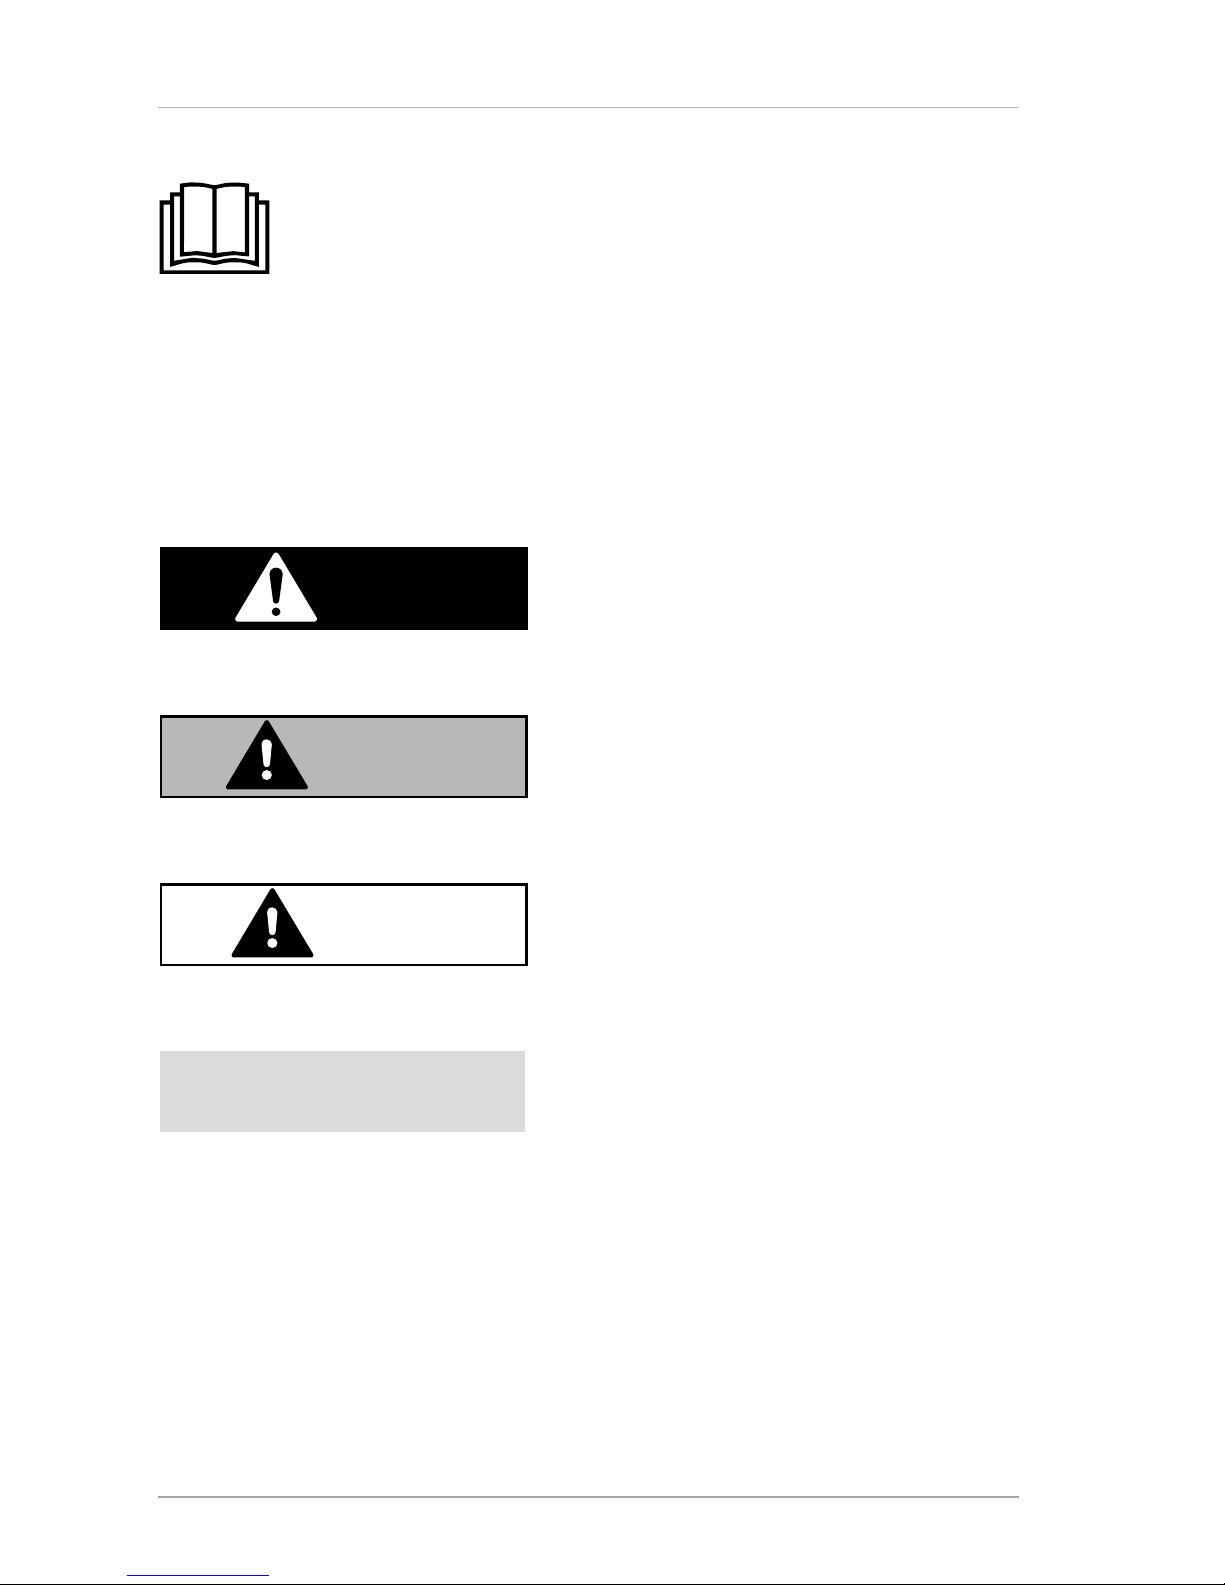
About these operating instructions.................................................................... 6
Explanation of symbols..........................................................................................6
Proper use............................................................................................................ 8
IMPORTANT SAFETY INSTRUCTIONS....................................................................... 9
FURTHER INSTRUCTIONS.......................................................................................14
General ....................................................................................................................14
Precautions to avoid explosions......................................................................... 15
Important information with regard to children................................................ 16
PACKAGE CONTENTS............................................................................................. 17
WALL ASSEMBLY ................................................................................................... 17
OPERATING INSTRUCTIONS...................................................................................18
Connecting the charger to the battery .............................................................. 18
Selecting the charging mode.............................................................................. 18
Status displays....................................................................................................... 19
6 V / 0.8 A charging mode (6 V batteries up to max. 14Ah).............................20
12 V / 0.8 A charging mode (12 V batteries up to max. 120Ah) ........................20
12 V / 3.8 A charging mode (rapid charging operation for 12 V batteries
from 1.2Ah to max. 120Ah)....................................................................................21
12 V / 3.8 A Cold charging mode (rapid charging operation for 12V
batteries from 1.2Ah to max. 120Ah at low temperature)................................21
Regenerating/charging deep-discharged 12V batteries (revive mode)......22
Description of the charging cycle.......................................................................22
Reverse polarity protection ...............................................................................24
Overheating protection......................................................................................25
Disconnecting the battery ...................................................................................25
Switching off.......................................................................................................25
CLEANING AND MAINTENANCE .............................................................................26
STORAGE/TRANSPORT..........................................................................................26
TECHNICAL SPECIFICATIONS..................................................................................27
Disposal...............................................................................................................28
FCC Compliance Statement .................................................................................28
Service information............................................................................................29
Legal Notice ....................................................................................................... 30

About these operat
i
n
g
i
nstruct
i
ons
6
About these operating instructions
Thank you for choosing our product. We hope you enjoy using it.
Read the safety instructions carefully before using the appliance for the first
time. Note the warnings on the appliance and in the operating instructions.
Always keep the operating instructions close to hand. If you sell the
appliance or give it away, please ensure that you also pass on these
operating instructions. They are an essential component of the product.
Explanation of symbols
If a block of text is marked with one of the warning symbols listed below, the hazard
described in that text must be avoided to prevent the potential consequences described
there from occurring.
DANGER!
This signal word indicates a hazard with a high level of risk which, if not avoided, will
result in death or serious injury.
WARNING!
This signal word indicates a hazard with a medium level of risk which, if not avoided,
could result in death or serious injury.
CAUTION!
This signal word indicates a hazard with a low level of risk which, if not avoided, could
result in minor or moderate injury.
NOTICE!
This signal word warns of possible damage to property.

A
bout these operat
i
n
g
i
nstruct
i
ons
7
Warning: danger due to explosive substances!
Warning: danger due to chemical burns!
This symbol gives you useful additional information on assembly or
operation.
operation.
Please follow the notes in the operating instructions!
The Federal Communications Commission (FCC) requires all commercial
electronic appliances to comply to this norm (see section ‘Declaration of
conformity’).
conformity’).
Products marked with this symbol meet the safety requirements for
electric and electronic components, materials, tools and appliances in
accordance with U.S. testing procedures.
Chargers marked with this symbol meet the requirements for energy
efficiency of the CEC directive and may be sold in California.
UL develops standards and test procedures for products, materials,
components, assemblies, tools and equipment, chiefly dealing with
product safety.
product safety.
Battery symbol
Battery symbol
Information following this symbol defines the maximum and minimum
current of the battery to be charged.
Symbol for direct current
+Positive polarity
Positive polarity
–Negative polarity
Negative polarity

Pro
p
er us
e
8
Proper use
This appliance is a charger switched on the primary side
with pulsed trickle charging. It is suitable for charging or
trickle charging of rechargeable 6 V or 12 V lead batteries with
electrolyte solution or gel as well as AGM batteries.
−6V: Capacity from 1.2 Ah to 14 Ah;
−12V: Capacity from 1.2 Ah to 120 Ah;
In addition, you can regenerate deep-discharged 12V
batteries (revive mode).
The appliance is not intended for charging lithium batteries.
Use the charger only for charging the battery types specified
in these instructions. Other batteries must not be charged
with this charger.
If other battery types are used, the charger could become
damaged and there is a risk of injury!
The charger charges batteries in multiple stages and
recharges them up to roughly 100% of their capacity.
You also can leave a battery that is not being used for a long
period or time connected to the charger to retain its charged
state.
This appliance is intended for personal household use only
and not for industrial/commercial use.
− Please note that the manufacturer accepts no liability in
cases of improper use.
Please note that improper use may void the warranty.
− Do not modify the appliance without manufacturer’s
consent and do not use any auxiliary equipment that has
not approved or supplied by the manufacturer.
− Do not use any replacement parts or accessories that have
not been supplied or approved by the manufacturer.
− Read all instructions before using the Car Battery Charger.
Any other use is considered improper and can cause
personal injury and/or property damage.

IMP
O
RTANT
S
AFETY IN
S
TRU
C
TI
O
N
S
9
− Comply with all information in these operating
instructions, especially concerning safety.
IMPORTANT SAFETY INSTRUCTIONS
1. SAVE THESE INSTRUCTIONS–
This manual contains important safety and operating
instructions for battery charger Model MD 18559.
2. Do not expose charger to rain or snow.
3. Use of an attachment not recommended or sold by the
battery charger manufacturer may result in a risk of fire,
electric shock, or injury to persons.
4. To reduce risk of damage to electric plug and cord, pull by
plug rather than cord when disconnecting charger.
5. An extension cord should not be used unless absolutely
necessary. Use of improper extension cord could result in a
risk of fire and electric shock. If an extension cord must be
used, make sure:
a. That pins on plug of extension cord are the same
number, size, and shape as those of plug on charger;
b. That extension cord is properly wired and in good
electrical condition; and
c. That wire size is large enough for ac ampere rating of
charger as 18 AWG min.; 30,5m max..
6. Do not operate charger with damaged cord or plug –
replace the cord or plug immediately.
7. Do not operate charger if it has received a sharp blow,
been dropped, or otherwise damaged in any way; take it
to a qualified serviceman.
8. Do not disassemble charger; take it to a qualified
serviceman when service or repair is required. Incorrect
reassembly may result in a risk of electric shock or fire.

IMP
O
RTANT
S
AFETY IN
S
TRU
C
TI
O
N
S
10
9. To reduce risk of electric shock, unplug charger from outlet
before attempting any maintenance or cleaning. Turning
off controls will not reduce this risk.
10. WARNING – RISK OF EXPLOSIVE GASES.
a. WORKING IN VICINITY OF A LEAD-ACID BATTERY IS
DANGEROUS. BATTERIES GENERATE EXPLOSIVE GASES
DURING NORMAL BATTERY OPERATION. FOR THIS REASON,
IT IS OF UTMOST IMPORTANCE THAT YOU FOLLOW THE
INSTRUCTIONS EACH TIME YOU USE THE CHARGER.
b. To reduce risk of battery explosion, follow these
instructions and those published by battery
manufacturer and manufacturer of any equipment you
intend to use in vicinity of battery. Review cautionary
marking on these products and on engine.
c. Always ensure that there is adequate ventilation.
11. PERSONAL PRECAUTIONS
a. Consider having someone close enough by to come to
your aid when you work near a lead-acid battery.
b. Have plenty of fresh water and soap nearby in case
battery acid contacts skin, clothing, or eyes.
c. Wear complete eye protection and clothing protection.
Avoid touching eyes while working near battery.
d. If battery acid contacts skin or clothing, wash
immediately with soap and water. If acid enters
eye, immediately flood eye with running cold water
for at least 10 minutes and get medical attention
immediately.
e. NEVER smoke or allow a spark or flame in vicinity of
battery or engine.
f. Be extra cautious to reduce risk of dropping a metal tool
onto battery. It might spark or short-circuit battery or
other electrical part that may cause explosion.
g. Remove personal metal items such as rings, bracelets,
necklaces, and watches when working with a lead-acid

IMP
O
RTANT
S
AFETY IN
S
TR
UC
TI
O
N
S
11
battery. A lead-acid battery can produce a short-circuit
current high enough to weld a ring or the like to metal,
causing a severe burn.
h. Use charger for charging a LEAD-ACID battery only. It is
not intended to supply power to a low voltage electrical
system other than in a starter-motor application. Do
not use battery charger for charging dry-cell batteries
that are commonly used with home appliances. These
batteries may burst and cause injury to persons and
damage to property.
i. NEVER charge a frozen battery.
12.PREPARING TO CHARGE
a. If necessary to remove battery from vehicle to charge,
always remove grounded terminal from battery first.
Make sure all accessories in the vehicle are off, so as not
to cause an arc.
b. Be sure area around battery is well ventilated while
battery is being charged.
c. Clean battery terminals. Be careful to keep corrosion
from coming in contact with eyes.
d. Add distilled water in each cell until battery acid
reaches level specified by battery manufacturer. Do not
overfill. For a battery without removable cell caps, such
as valve regulated lead acid batteries, carefully follow
manufacturer’s recharging instructions.
e. Study all battery manufacturer’s specific precautions
while charging and recommended rates of charge.
f. Determine voltage of battery by referring to car owner’s
manual and make sure that output voltage selector
switch is set at correct voltage. If charger has adjustable
charge rate, charge battery initially at lowest rate.

IMP
O
RTANT
S
AFETY IN
S
TR
UC
TI
O
N
S
12
13. CHARGER LOCATION
a. Locate charger as far away from battery as dc cables
permit.
b. Never place charger directly above battery being
charged; gases from battery will corrode and damage
charger.
c. Never allow battery acid to drip on charger when
reading electrolyte specific gravity or filling battery.
d. Do not operate charger in a closed-in area or restrict
ventilation in any way.
e. Do not set a battery on top of charger.
14. DC CONNECTION PRECAUTIONS
a. Connect and disconnect dc output clips only after
setting any charger switches to “off” position and
removing ac cord from electric outlet. Never allow clips
to touch each other.
b. Attach clips to battery and chassis as indicated in 15(e),
15(f), and 16(b) through 16(d).
15. FOLLOW THESE STEPS WHEN BATTERY IS INSTALLED IN
VEHICLE. A SPARK NEAR BATTERY MAY CAUSE BATTERY
EXPLOSION. TO REDUCE RISK OF A SPARK NEAR BATTERY:
a. Position ac and dc cords to reduce risk of damage by
hood, door, or moving engine part.
b. Stay clear of fan blades, belts, pulleys, and other parts
that can cause injury to persons.
c. Check polarity of battery posts. POSITIVE (POS, P, +)
battery post usually has larger diameter than NEGATIVE
(NEG, N) post.
d. Determine which post of battery is grounded
(connected) to the chassis. If negative post is grounded
to chassis (as in most vehicles), see (e). If positive post is
grounded to the chassis, see (f).

IMP
O
RTANT
S
AFETY IN
S
TRU
C
TI
O
N
S
13
e. For negative-grounded vehicle, connect POSITIVE
(RED) clip from battery charger to POSITIVE (POS, P, +)
ungrounded post of battery. Connect NEGATIVE (BLACK)
clip to vehicle chassis or engine block away from
battery. Do not connect clip to carburetor, fuel lines, or
sheet-metal body parts. Connect to a heavy gage metal
part of the frame or engine block.
f. For positive-grounded vehicle, connect NEGATIVE
(BLACK) clip from battery charger to NEGATIVE (NEG,
N, –) ungrounded post of battery. Connect POSITIVE
(RED) clip to vehicle chassis or engine block away from
battery. Do not connect clip to carburetor, fuel lines, or
sheet-metal body parts. Connect to a heavy gage metal
part of the frame or engine block.
g. When disconnecting charger, turn switches to off,
disconnect AC cord, remove clip from vehicle chassis,
and then remove clip from battery terminal.
h. See operating instructions for length of charge
information.
16. FOLLOW THESE STEPS WHEN BATTERY IS OUTSIDE VEHICLE. A
SPARK NEAR THE BATTERY MAY CAUSE BATTERY EXPLOSION.
TO REDUCE RISK OF A SPARK NEAR BATTERY:
a. Check polarity of battery posts. POSITIVE (POS, P,
+) battery post usually has a larger diameter than
NEGATIVE (NEG, N, –) post.
b. Attach at least a 24-inch-long 6-gauge (AWG) insulated
battery cable to NEGATIVE (NEG, N, –) battery post.
c. Connect POSITIVE (RED) charger clip to POSITIVE (POS, P,
+) post of battery.
d. Position yourself and free end of cable as far away from
battery as possible – then connect NEGATIVE (BLACK)
charger clip to free end of cable.

F
U
RTHER IN
S
TR
UC
TI
O
N
S
14
e. Do not face battery when making final connection.
f. When disconnecting charger, always do so in reverse
sequence of connecting procedure and break first
connection while as far away from battery as practical.
g. A marine (boat) battery must be removed and charged
on shore. To charge it on board requires equipment
specially designed for marine use.
SAVE THESE INSTRUCTIONS
FURTHER INSTRUCTIONS
General
− Do not use the charger for charging and trickle charging
non-rechargeable batteries.
− Do not use rechargeable batteries that are damaged or
corroded.
− Never dismantle, open or cut up rechargeable cells or
batteries.
− Never expose cells or batteries to extreme heat or fire.
Avoid storage in direct sunlight.
− Never short-circuit cells or batteries.
− Store cells and batteries out of the reach of children.
− Use the charger only for rechargeable 6 V or 12 V lead-acid
batteries with electrolyte solution or gel and AGM batteries.
− Do not use this charger with lithium batteries.
− Place the charger on a stable, level surface.
− Do not place the charger on the edge of a table; it could tip
and fall.
− Make sure that the power cord does not become a
stumbling hazard.

FURTHER IN
S
TRU
C
TI
O
N
S
15
− Use the charger only at an ambient temperature of 32°F to
104°F (0°C to 40°C).
− The charger must not be exposed to direct, intense
sunlight for long periods of time.
− Do not expose the charger to heat and long-term
temperatures above 113°F (45°C). At higher temperatures,
the output power of the charger automatically decreases.
Precautions to avoid explosions
WARNING!
RISK OF EXPLOSIVE GASES!
Improper handling of the charger can initiate a
spark and trigger an explosion.
Hydrogen gas can escape from the battery during
charging and trickle charge processes. In the event
of contact with open flames, a highly explosive
hydrogen-oxygen reaction will result!
− Always ensure that there is adequate ventilation.
− Also make sure that during charging and trickle charging,
no open flames or sparks are present.
− Make sure that explosive or flammable materials, such
as gasoline or solvents are not in close proximity to the
charger.
− Make sure that neither spark formation nor electrostatic
discharges occur whenever cords and electric appliances
are used.
− Prevent spark formation with connecting and
disconnecting the charger.
−Prevent electric short circuits when connecting the
charger to the battery. Connect the negative charger
connection cord to the negative pole of the battery.

PA
C
KA
G
E
CO
NTENT
S
16
Connect the positive charger connection cord only to
the positive pole of the battery.
−Connect the connection cord away from the battery and
any fuel lines of any kind.
−Disconnect the charger from power before connecting
the connection terminals to the battery and before
disconnecting them from the battery.
−Remove personal metal items such as rings, bracelets,
necklaces, and watches when working with a lead-acid
battery. A lead-acid battery can produce a short-circuit
current high enough to weld a ring or the like to metal,
causing a severe burn.
− See operating instructions for the length of charge
information.
Important information with regard to children
− Keep out of reach of children.
DANGER!
Risk of injury!
Risk of choking and suffocation from swallowing or inhaling
small parts or plastic wrap.
− Do not store any packaging materials used (bags,
polystyrene parts, etc.) within the reach of children.
− Do not let children play with the packaging material.
PACKAGE CONTENTS
− Please check your delivery to ensure that all items are included. If anything is
missing, please contact us within 14 days of purchase.
The following items are supplied with your product:
• Car battery charger
• Operating instructions and warranty card

WALL A
SS
EMBL
Y
17
WALL ASSEMBLY
DANGER!
Risk of electric shock!
There is a risk of electric shock due to live electrical appliance
parts.
− Always pull the power plug out of the outlet before
assembly and maintenance as well as before cleaning.
There is a risk of electric shock due to electrically live lines!
− Do not drill into hidden areas in which electric, gas or water
lines may be located! Use suitable detection devices to
detect such lines.
The appliance features attachment holes so that you can mount it on a wall.
− Select a suitable location on the wall. Sufficient ventilation must be ensured.
− Select four anchors and screws suitable for the wall and for the size of the mounting
holes.
− Mark the locations for the holes to be drilled on the wall.
− Drill the four holes and insert the drywall anchors.
− Screw the appliance to the wall.

O
PERATIN
G
IN
S
TRU
C
TI
O
N
S
18
OPERATING INSTRUCTIONS
− Take the product from the packaging and remove all packaging material.
Connecting the charger to the battery
The charger automatically identifies the connected battery type – 6 V or 12 V.
DANGER!
Risk of electric shock!
There is a risk of electric shock due to live electrical parts.
− Always remove the power plug before attaching the
charger connection cable clamps to the battery and before
disconnecting them from the battery.
Before disconnecting a motor vehicle or motorcycle battery, first consult the
vehicle’s owner’s manual of the vehicle to obtain information on possible
consequences of disconnecting.
− If the battery you want to charge is connected to the vehicle, first disconnect the
vehicle's negative battery terminal cable (black) from the negative pole of the
battery before the charging or trickle charging process. As a rule, the negative pole
of the battery is connected to the vehicle body (see Fig. C).
− After that, disconnect the vehicle's positive battery terminal cable (red) from the
positive pole of the battery.
− Then, connect the charger's positive polarity clamp (red) to the positive pole of the
battery and only then connect the negative polarity clamp (black) to the negative
pole of the battery.
− Plug the charger power cord into an electrical outlet.
Selecting the charging mode
Select a charging mode depending on battery type and ambient temperature. You can
even recharge a completely discharged (deep discharged) battery (Page 22).
The electronics of the charger do not start the charging operation immediately after
connecting the battery but only after a charging mode has been selected. In this way,
sparks, which often occur during the connection procedure, are prevented.
− To select a charging mode, press the MODE multiple times. The symbol of the
respective mode is shown in the display.

O
PERATIN
G
IN
S
TRU
C
TI
O
N
S
19
− The charger identifies the modes matching the battery type. Therefore, not every
mode can be selected for each battery.
− Once a mode has been selected, it will begin charging. If a battery remains
connected to the charger after it has been completely recharged, the charger
automatically switches to trickle charging. The battery continues to be trickle
charged even if a different mode is selected.
Status displays
• If the charger has been switched on, the background illumination is blue.
• During the charging operation, the selected charging mode, the current battery
voltage and the charging status of the battery are displayed.
• In case of faulty operation (e.g. resulting from overheating or electric short circuit),
fault symbols are displayed, and the appliance switches to stand-by mode if
necessary.
LED Mode
6 V / 0.8 A standard charging mode:
Charging operation for 6 V battery
Recommended battery capacity 1.2 to 14 Ah, charging current 0.8 A and 3.8
A
12 V / 0.8 A standard charging mode:
Charging operation for 12V motorcycle battery or 12V motor vehicle battery
Recommended battery capacity 1.2 to 120Ah, 0.8A charging current
12 V / 3.8 A rapid charging mode:
Rapid charging operation for 12V motor vehicle battery
Recommended battery capacity 1.2 to 120Ah, 3.8A charging current
12 V / 3.8 A COLD rapid charging mode: Rapid charging operation
at low ambient temperature only for 12V battery
Recommended battery capacity 1.2 to 120Ah, 3.8 A charging current
/
Charging status: Battery symbol outline flashing, 1 to 5 bars are displayed:
Charging operation active
Charging status: 5 bars are displayed, frame is illuminated continuously:
The battery is fully charged.
Trickle charging with fully charged battery.
Fault: Battery faulty
Fault: incorrectly connected terminals
Fault: no battery connected, short circuit

O
PERATIN
G
IN
S
TRU
C
TI
O
N
S
20
6 V / 0.8 A charging mode (6 V batteries up to max. 14Ah)
Refer to the nameplate on your battery for the battery type.
Usually, the charger identifies the mode matching the 6 V battery type. If the battery is
not be identified, proceed as follows:
− Set this mode for charging 6 V lead acid batteries with a capacity of less than 14 Ah.
− Press the MODE button multiple times to select 6 V / 0.8 A.
The symbol is shown in the display.
If you do not set any other mode, it will automatically begin charging at a current of
approx. 0.8 A.
Once the battery has been charged completely, the battery symbol outline stops flashing,
and the entire battery symbol is illuminated permanently. In this state, trickle charging
takes place.
12 V / 0.8 A charging mode (12 V batteries up to max.
120Ah)
Refer to the nameplate of your battery for the battery type.
Usually, the charger identifies the mode matching the 12 V battery type. If the battery is
not identified, proceed as follows:
− Set this mode for charging batteries with a capacity of less than 120 Ah.
− Press the MODE button multiple times to select 12 V / 0.8 A.
The symbol is shown in the display.
If you do not set any other mode, it will automatically begin charging at a charging
current of approx. 0.8 A.
Once the battery has been charged completely, the frame of the battery symbol stops
flashing, and the entire battery symbol is illuminated permanently. In this state, trickle
charging takes place.
Table of contents
Languages:
Other Medion Batteries Charger manuals

Medion
Medion MD 15526 User manual

Medion
Medion LIFE E69071 User manual

Medion
Medion AutoXS MD 19161 User manual

Medion
Medion micromaxx MD 15442 User manual

Medion
Medion Activ Energy MD 17242 User manual

Medion
Medion AutoXS MD 18559 User manual

Medion
Medion Life MD 83053 User manual

Medion
Medion MD 11954 User manual

Medion
Medion Battery Charger User manual