Megmeet MC200E Series Manual

1
MC200E Series PLC Main Module
Quick Start User Manual
Thank you for using Megmeet programmable logic controller (PLC).
Before using the MC200E series PLC product, please carefully read
this booklet so as to better understand it, fully use it, and ensure safety.
This quick start manual is to offer you a quick guide to the design,
installation, connection and maintenance of MC200E series PLC,
convenient for on-site reference.
This manual MC200E series for the following members: MC200E-
1616BTA
Version V1.0
Revision date July 26, 2010
BOM R33010006
For detailed product information, please refer to our MC200E Series
PLC User Manual, ControlStar Programming Software User Manual,
and MC100 /MC200 Series PLC Programming Manual. For ordering
the above user manuals, contact your Megmeet distributor or sales
office.
1. Appearance And Part Names
2.Module Description
MC
2
00
E -
16
16
B
T A
Special functions added
Start from 1 by time
sequence, like 1, 2, 3 and so on. When
empty, it implies no special function.
Power input mode (A: 220ac input; D:
24Vdc input); N: no external power
input.
Output mode. R: relay output; T:
transistor output; N: no output
Module type.
B: Basic module.
E: Extension module
Output points. In this example,16.
Input points. In this example,16.
Sub-version number, indicating functional
or structural change, changing by the order
of A, B, C
…
Z. When empty, it indicates
no sub-version change.
Version number.
Series number. 10: mini; 20: small;
30: mid; 40: large.
Megmeet Controller module
3.Installatin Location
3.1 Environmental Tempetature
PLC use ambient temperature range: -5℃~55℃. Ambient
temperature for a long time when over 55 ℃,Should choose a
well-ventilated place.
3.2 Installation Site
◆Non-corrosive, flammable gases and liquids place.
◆Strong vibration-free place.
◆This PLC for the installation environment design II standards,
pollution level 2 applications.
3.3 Installation Position
Mount the PLC onto the cabinet backboard horizontally. You must
provide a clearance of at least 20cm, both above and below the unit, for
proper cooling. Never mount them to the floor or ceiling of an enclosure
or other directions. See the following figure. No heat generating
equipment should be around the PLC.
3.4 Installation Methord
DIN rail mounting
Generally you can mount the PLC onto a 35mm-wide rail (DIN), Open
the module at the bottom of the DIN card buckled,The bottom of the
module onto the DIN rail;
Rotating module close to the DIN guide rail, Close the DIN card clasp;
Double-check the module and DIN rail snap on DIN is closely fixed, as
the following figure
Screw fixing
Fixing the PLC with screws can stand greater shock than DIN rail
mounting. Use M3 screws through the mounting holes on PLC
enclosure to fix the PLC onto the backboard of the electric cabinet, as
the following figure.
Main Module Size
3.5 Cable Connection And Specifications
Cable specifications
When wiring a PLC, use multi-strand copper wire and ready-made
insulated terminals to ensure the quality. The recommended model and
the cross-sectional area of the cable are shown in the following table.
Cable
Recommended Wire NO.
Conductor Cross-Section
AC power line(L、N)
AWG12、18
1.0~2.0mm²
Ground wire( )
AWG12
2.0mm²
Input signal wire(X)
AWG18、20
0.8~1.0mm²
Outout signal wire(Y)
AWG18、20
0.8~1.0mm²
Fix the prepared cable head onto the PLC terminals with screws.
Fastening torque: 0.5~0.8Nm.
◆In order to safety (to prevent electric shocks and fire accident) and
reduce noise, PLC grounding terminals should be in strict accordance
with the national electrical code requirements grounding, grounding
resistance should be less than 100 Ω. Multiple PLC ground, should be
single-point grounding, ground loops can not form. As below:

2
ERRO
RIGHT
4.Power Estination
MC200E main modules have an internal power supply module, give
priority to itself, the expansion module and other electric equipment
with power. The power performance index is as follows:
Project
Unit
Min
Rated
Max
Note
Input Voltage
Range
Vac
90
220
264
Normal operating range
and start machine
Input Current
A
/
/
1.5
90Vac Input ,Loaded
with output
MC200E Lord module provides 5 V dc logic power supply (5 V/GND)
and 24 V dc logic power supply (24 V/GND) for self and all extension
module. At the same time MC200E Lord module can also provide 24 V
dc power supply (24 V/COM), the 24 VDC can input point or other
equipment for power supply, MC200E series provide active I/O
extension module, the 5 V/GND, 24 V/GND, 24 V/COM output can be
used as the subsequent passive extension module of power supply.
Model
5V/GND
To provide the
maximum capacity
expansion module
24V/GND
To provide the
maximum capacity
expansion module
24V/COM
Offer capacity
to foreign
MC200E-1616BTA
525 mA
600mA
460 mA
*5 V/GND (24 V/GND) for the maximum capacity is refers to, When 24
V/GND (5 V/GND) no load, which can provide the maximum output
capacity.
5. Connect the power cord and grounding lines
MC200E communication power input module and auxiliary power
connection examples below:
COM
+24V
N
L
POWER
S/S
Y0
COM0
Y1
COM1
Y2
Y3
Y4
Y5
Y6
Y7
COM2
Y10
Y11
COM5
X0
X1
X2
X3
X4
X16
X17
MC280-1616BTA
X0
X1
X7
+24V
Y0
Y1
COM0
Y2
MC200-0808ER
AC - L
AC - N
+24V
+5V
GND
传感器
编码器
+24V
VGND
COM3
The AC power and auxiliary power connection examples
6.The User Terminals Introduction
MC200E-1616BTA Terminal definition
Pins
Identification
Fuction Declaration
L/N
220V AC power input,respectively firewire,zero line
Ground wire terminals PG
Pins
Identification
Fuction Declaration
+24V
Auxiliary DC power for users’ external equipment, work with
COM
COM
Negative pole of +24V auxiliary power
S/S
Input mode selection: sink mode when connected with +24V,
or source mode when connected with COM
●
Null, for isolation. Leave it suspended
X0~X17
Switching signal inputs, work with COM to generate input
signal
Y0、Y1、COM0
Control output
terminals, group 0
The COMx of different output
groups are isolated from each
other
Y2、Y3、COM1
Control output
terminals, group 1
Y4、Y5、COM2
Control output
terminals, group 2
Y6、Y7、COM3
Control output
terminals, group 3
Y10~Y13、
COM4
Control output
terminals, group 4
Y14~Y17、
COM5
Control output
terminals, group 5
7. Switch input and output characteristics
7.1 The switch quantity input X port specifications
Project
Specification
Signal Input Metherd
Source type/leak type way, the user can
choose through the S/S terminal.
Electrical
Specificatio
n
Detaction
Voltage
24Vdc
Input
Impedance
X0~X7 terminal:3.3kΩ。Other port 4.3kΩ
Input is
ON
External loop resistance is less than 400 Ω
Input is
OFF
External loop resistance is more than 24 kΩ
Filter
function
digital
filtering
X0 ~ X7 have digital filter function, filtering
time can be set by the user program
Hardwar
e filter
Input terminals other than X0 ~ X7 are
hardware filters. Filtering time is about 10ms
High-speed function
X0~X7: high-speed counting, interrupt, and
pulse catching .X0 ~X7 terminals are up to
10kHz Max.
Public terminal
S/S terminal,a public terminal
MC200E series PLC to provide a port "S/S", Used to select the input
signal is input source type way or leak type input methods.
The S/S terminals and + 24 V terminal connected, that is set to leak
type input methods, can connect NPN type sensor. Sink input
equivalent circuit of the internal and external wiring is shown below
Internal logic circuit work power
24
V
/
5
V
/
GND
24
V dc
auxiliary power
Sensor
+
24
V
COM
24V
+
24V
-
Logic
Control
Circuit
PLC
AC equivalent circuit inside the main module
S
/
S
X
0
X
1
X
2
Xn
Users can also input by source type to connect,
In this case, only the external switching power supply, you can connect
PNP sensors. Source-type input of the internal equivalent circuit and
external wiring as shown:

3
24
V
/
5
V
/
GND
Logic
Control
Circuit
PLC
AC equivalent circuit
inside the main module
S
/
S
X
0
X
2
Xn
24
Vdc
r
+
24
V
COM
24V
+
Sensor
External provide
24
Vdc
Power
24V
-
The I/O extension module internal equivalent sources and the input
signal wiring are shown below.
7.2 output characteristics and signal specifications
Output port specifications
Project
Transistor output port
External Power
5~24Vdc
Circuit isolation
PhotoCoupler
Operation indication
LED is on when optical coupler is driven
Leakage current of
open circuit
Less than 0.1mA/30Vdc
Minimum load
5mA(5~24Vdc)
Max.
output
current
Resistive
load
Y0~Y7:0.3A/1 point;Others:0.3A/1 point;0.8A/4
point;1.2A/6 point;1.6A/8 point
Inductive
load
7.2W/24VDC
Lamp
load
Y0~Y7:0.9W/24Vdc
Others:1.5W/24Vdc
Response
time
ON→OFF
Y0~Y7:Less than 5 us(Load current above 10 mA)
Others:Less than 0.5ms(Load current above 100 mA)
OFF→ON
Max output frequency
Y0~Y3:Each channel:200kHz;Y4~Y7:Each
channel:100kHz
Output common
terminal
Y0,Y1,COM0;Y2,Y3,COM1;Y4,Y5,COM2;
Y6,Y7,COM3;
Y10~Y13,COM4;Y14~Y17,COM5
Fuse protection
NO
8. Power operation and routine maintenance
8.1 Power operation
After the connection, item by item, check to ensure that no foreign
connections fall into the cabinet inside,heat flow
1.Switch on the POWER of the controller, POWER light should be light;
2.Start the PC software programming, Download the user program
will be programmed into the controller;
3.Download program calibration finished.
8.2 Routine Maintenance
Routine maintenance checking should pay attention to the following:
1.Ensure working environment clean and tidy, controller, avoid foreign
body in dust into machine;User equipment
2.To maintain good ventilation controller;
3.All wiring connections and terminals, fixed tightly in good condition
4. Observe the indicator light controller, observe LCD display screen
and state information.
9. The common problems and solutions
When the controller can not work normally, please check in turn:
1. Power line connection and protection of electrical switches and
related conditions, ensure controller has been reliable power supply;
2. The connection of user terminals is strong;
3. Refer to the fault record. If the above checks are done and when
confirmed controller still unable to work, Can refer to the table and
working status of the controller for analysis
Phenomenon
Possible cause
Solution
Power lights and other
lights are not bright
Power supply pressure loss
or voltage is too low
Check the power supply condition,
be ruled out
Disconnect the power
switch or fuse blown
Check the switch, wires or fuse
condition, be ruled out
Power wiring abnormal
Power board damage
Replace controller
POWER Lights
flashing
Power lines contact
undesirable
Check and make sure:1.24VL、24
VN terminal voltage whether
between the normal range; 2.
P24V and COM between
terminals whether short circuit or
load is too large
P24V/COM auxiliary
power output is circuit,
leading to the current limit
RUN indicator and
ALARM indicater are
not bright
Programme error
Confirm the power under normal
operation of the menu in controller
test
LCD can't display
properly
Power wiring undesirable,
or P24V/COM a short
circuit
Confirm the power under normal
operation of the menu in controller
test
Output cannot close
(OFF)
External connection is bad
Re-wiring,make sure the eiring is
correct.
Relay contacts damage
Frequency movement of relay port
can be swapped with the port idle.
Can't download,
upload, monitoring
Programme cable connect
bad
Use the special programming
cable of Megmeet controller
A serial port can't
control the other
equipment
Cable connection bad, or
connection error, such as
the signal attribute TXD
and RXD confusion
Will signal lines connected
correctly
Communication master
and slave feature is
inconsistent,such as baud
rate,parity,data
bits,address.
The communation parameter is set
to the same.
Communication protocol is
inconsistent with the
master and slave
Set the same communation
protocal.
Notice
1. The warranty range is confined to the PLC only.
2. Warranty period is 18 months, within which period Megmeet
Network Power conducts free maintenance and repairing to the PLC
that has any fault or damage under the normal operation conditions.
3. The start time of warranty period is the delivery date of the
product, of which the product SN is the sole basis of judgment. PLC
without a product SN shall be regarded as out of warranty.
4. Even within 18 months, maintenance will also be charged in the
following situations:
Damages incurred to the PLC due to mis-operations, which are
not in compliance with the User Manual;
Damages incurred to the PLC due to fire, flood, abnormal voltage,
etc;
Damages incurred to the PLC due to the improper use of PLC
functions.
5. The service fee will be charged according to the actual costs. If there
is any contract, the contract prevails.

4
6. Please keep this paper and show this paper to the maintenance unit
when the product needs to be repaired.
7. If you have any question, please contact the distributor or our
company directly.
Shenzhen Megmeet Control Technology Co.,Ltd
Address: 5th Floor,Block B,Ziguang Information Harbor, Langshan Rd,
Science& Technology Park, Nahshan District, Shenzhen
Homepage: www.megmeet.com
Copyright © 2011 by Shenzhen Megmeet Control Technology Co.,Ltd
All rights reserved. The contents in this document are subject to change
without notice.
This manual suits for next models
1
Other Megmeet Controllers manuals
Megmeet
Megmeet L6 Series User manual
Megmeet
Megmeet MC5000 Series User manual
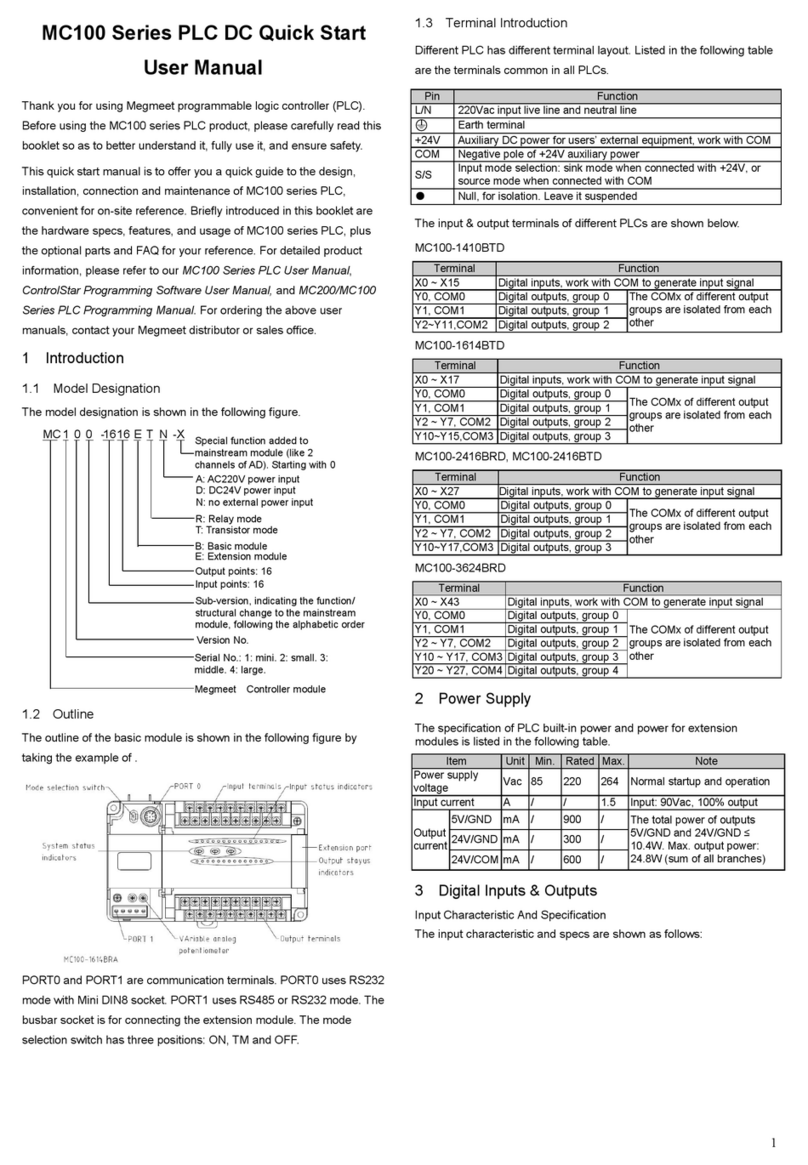
Megmeet
Megmeet MC100 Series User manual
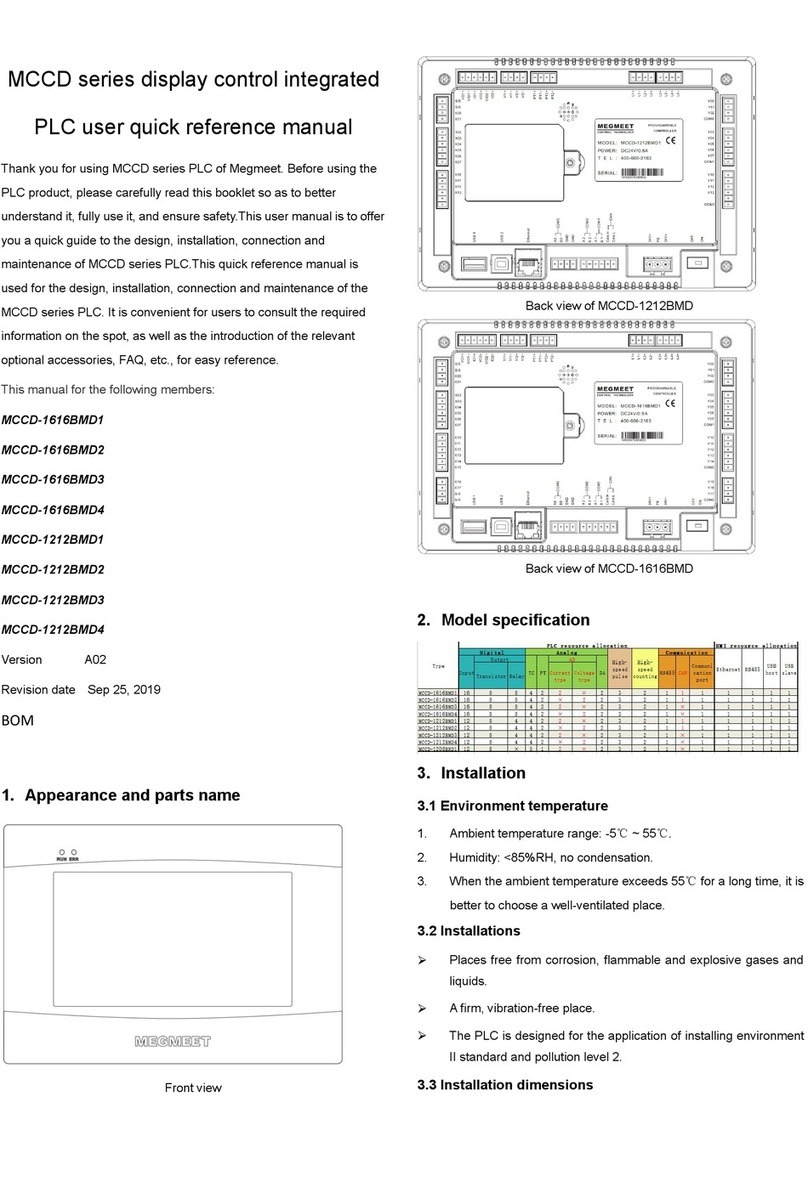
Megmeet
Megmeet MCCD Series Service manual
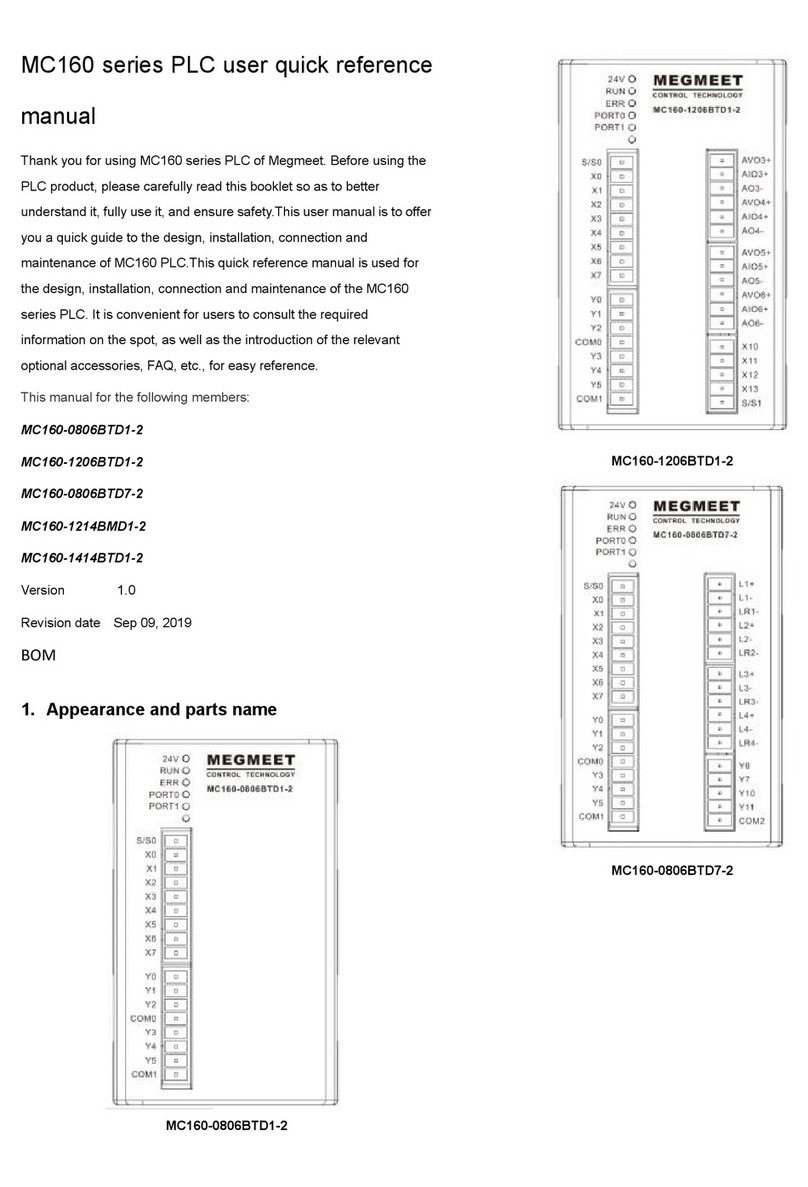
Megmeet
Megmeet MC160 PLC Series User manual
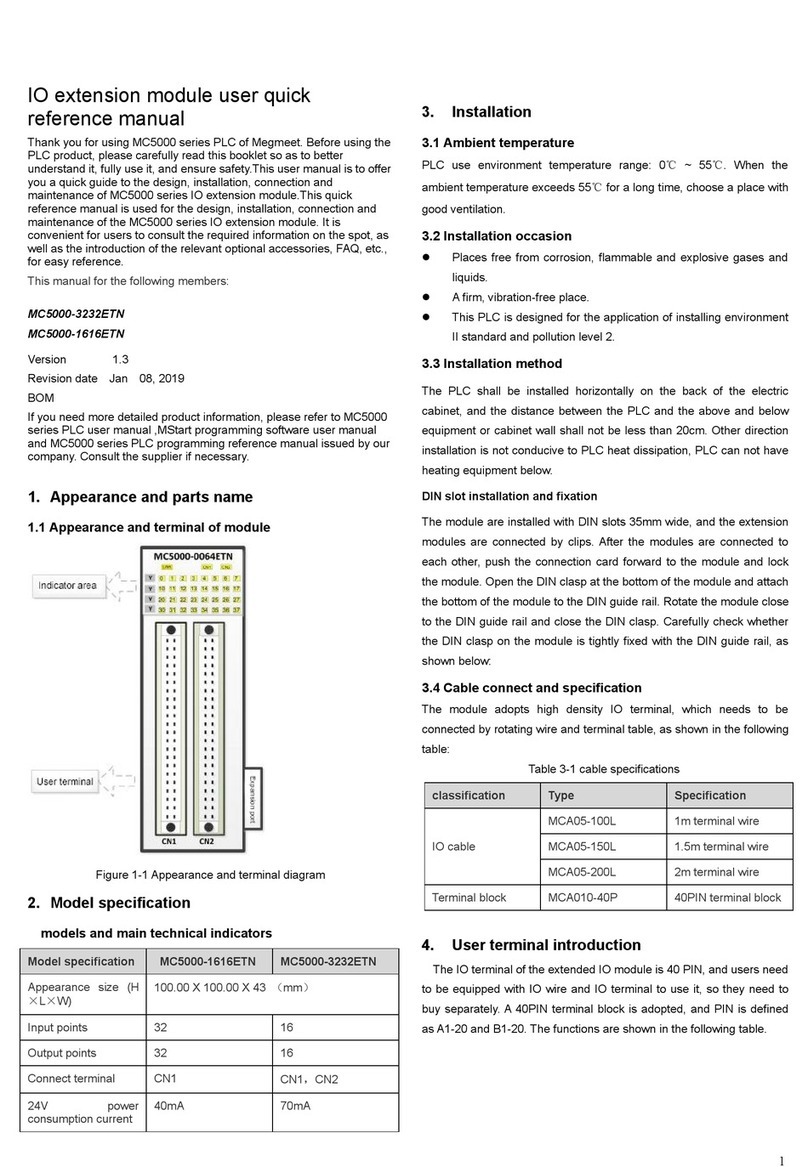
Megmeet
Megmeet MC5000 Series User manual

Megmeet
Megmeet MV820 User manual

Megmeet
Megmeet MC5000 Series User manual
Popular Controllers manuals by other brands
Remote Control
Remote Control RCEL005X instructions
Samson
Samson TROVIS 5177 Mounting and operating instructions
Brightlink
Brightlink BL-VW22-4K60-GUI user manual
Xantrex
Xantrex SOLAR CHARGE CONTROLLER 30 owner's guide
Edgewater Networks
Edgewater Networks EdgeMarc 250W Hardware installation guide
Omron
Omron SmartVision MX user guide

