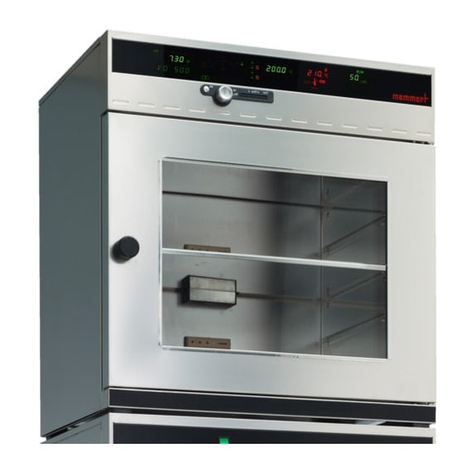
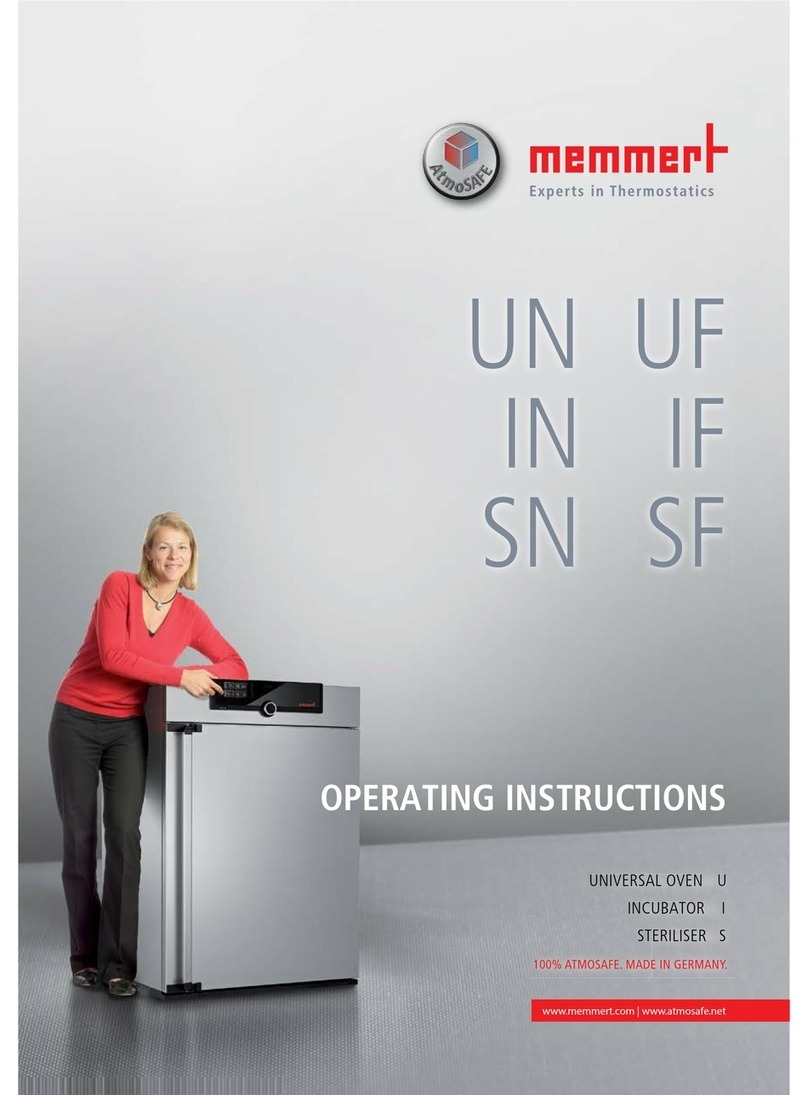
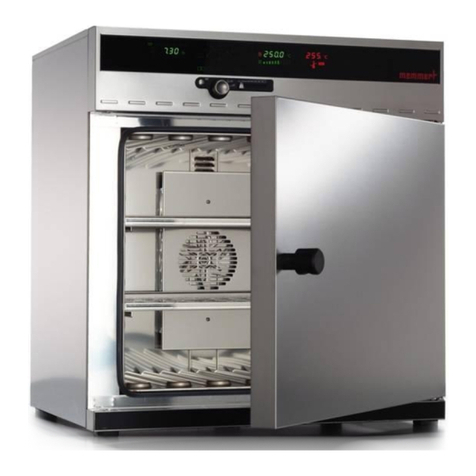
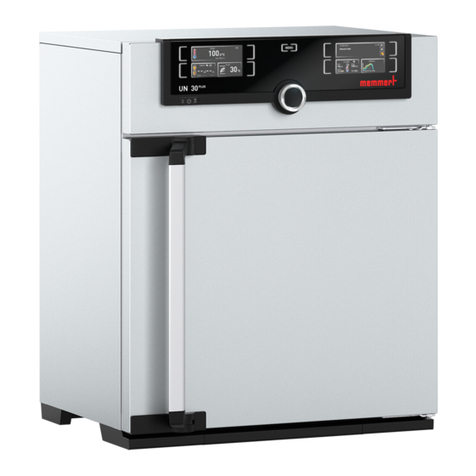
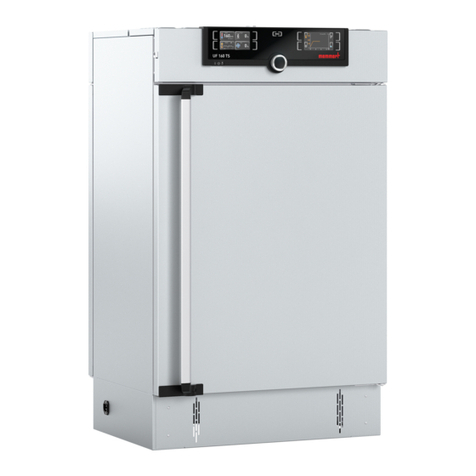
Memmert UE 200 User manual


Congratulations
on
your
choice
of
a
MEMMERT
Oven!
Manufactured
in
Germany
using
the
latest
production
techniques
and
_
finest
materials
available,
you
now
posses
a
technically
superior
and
fully
developed
product.
Your
oven
has
already
been
under
extensive
testing
in
our
factory.
For
correct
operation
of
the
equipment
it
is
essential
to
observe
the
operating
and
maintenance
instructions
below.
This
will
ensure
that
your
equipment
will
give
many
years’
satisfactory
service.
Explanation
of
signs!
These
signs
refer
to
a
hazard
and
indicate:
Note
the
Operating
Instructions!
Generai
safety
instructions.
The
physical
and
chemical
properties
of
your
load
(e.g.
inflammation
temp.
etc.)
have
strictiy
to
be
observed,
as
otherwise
considerable
damages
(load,
oven,
surroundings
of
apparatus)
can
appear..
__
Please
note
that the
Memmert
ovens
described
here
are
not
explosion-proof
(they
do
not
conform
to
Occupational
Association
Regulation
VBG
24).
They
are
therefore
unsuitable
for
drying,
evaporating
or
burning-in
of
enamels
or
similar
substances
whose
solvent
may
form
an
inflammable
mixture
together
with
air.
There
must
be
no
possibility
for
inflammable
or
explosive
gas/air
mixtures
to
form
either
inside
the
cabinet
or
in
the
immediate
neighbourhood
of
the
equipment.
Severe
dust
formation
in
the
interior
and/or
in
the
surroundings
of
the
cabinet
may
lead
to
deposits
of
fine
dust
inside
the
equipment
which
can
result
in
short-circuits.
Adequate
precautions
should
be
taken
against
excessive
dust
formation.
| |
Transport:
ME
Always
usegloves!
0
- |
If
the
units
have
to
be
carried,
at
least
2
persons
are
required
for
this
mode
of
transport
depending
on
size
(Model
200
to
500)
or
at
least
4
persons
(Model
600
and
700).
UE/BE
200
-
800/ULE 400-800

Technicai
data
summary
Ambient
conditions
-
Setting
tem-
perature
range
Working
tem-
perature
range
Overheat
safety
device
MEMMERT
appliances
Series
UE,
BE,
ULE
are
electrically
heated.
The
temperature
in
the
interior
is
continuously
controlled
by
a
microprocessor-controller
with
pulse
package
control.
The
power
module
is
separated
from
the
controller
electronics
by
an
optocoupler
to
ensure
safe
electrical
isolation
according
to
VDE
regulations
(not
explosion-proof,
see
"Loading").
The
temperature
is
measured
using
a
PT
100
(4-wires
measuring).
The
temperature-set-accuracy
is
0,1°C
for
BE
types
and
1°C
for
UE
and
ULE
types.
Ovens
Series
UE,
BE
have
natural
air
circulation.
Series
ULE
ovens
have
circulation
assisted
by
a
fan.
The
door
is
opened
by
pulling
the
door
knob.
Ambient
temperature
5°C
-
40
C,
rH
80%
for
temperatures
up
to
31°C
decreasing
linearly
to
50%
at
40°C.
Overvoltage
Category:
Contamination
degree:
2
according
to
IEC
664
20°C
to
nominal
temperature
(See
rating plate)
From
5°C
above
ambient
to
nominal
temperature
=
maximum
temperature
(see
rating plate)
Serial
double
adjustable
overheat
control
in
compliance
with
DIN
12880
Class
3.1
and
additional
mechanical
temperature
limiting
device
Class
1.
Class
2
protection
(adjustable
temperature
limiter)
available
on
reguest.
Electrical
50
or
60
Hz..
Adequate
insulated
supply
which
incorporates
earth
supply
conductor
to
EN
61010,
Protection
IP
20,
no
humidity
protection
to
ー
DIN
40
050.
Interference
suppression
Grade
N
to
VDE
0875.
Before
current-connection
please
compare
label
on
the
oven
and
instructions
of
your
local
current
supplier.
model
volume
|
current
consum.
power
voltage
weight
UE
200
32
|
4,78
A
1100
W
230
V~
28
kg
UE
300
39
|
522A
|
1200W
230 V-
30.kg
UE/ULE
400
531
o
6,09A
1400
W
230
V~
_
35
kg
UE/ULE
500
108
|
8,70
A
2000
W
230
V-
50
kg
UE/ULE
600
|
256!
10,43
А
2400
W
230
V~
87
kg
UE/ULE
700
416
|
5,80
A
4000
W
|
400
V
3N-
121
κα
--
UE/ULE
800
749
|
6,96
A
4800
W
|400V3N-|
164kg
|
model
volume
| current
consum.
power
voltage
weight
BE
200
32
|
1,91
А
440
W
230 V~
28
kg
BE
300
391
2,17
A
500
W
230 V~
30
kg
BE
400
53
|
3,48
A
800
W
230
V-
35
kg
BE
500
108
|
3,91
A
900
W
230 V-
50
kg
BE
600
256
|
6,96
A
1600
W
230
V~
87
kg
BE
700
416
|
7,83
À
1800
W
230 V~
121
kg
BE 800
749
|
8,70
A
2000
W
230 V~
164
kg
Quality
of
material
Memmert
is
using
stainless
steel
(Spec.
1.4301)
for
the
external
casing
as
well
as
for
the
interior,
outstanding
because
of
its
high
stability,
optimum
hygienic
features
and
corrosion
resistance
against
many
(not
all!)
chemical
combinations
(Attention
e.g.
at
chlorine
combinations!).
Class
Aim
of
Scope
of
Safety
Safety
protection
protection
device
measures
Protection
No
risk
liable
to
ori-
TB
1
of
the
oven
ginate
from
the
oven
|
(temperature
limiting
device)
in
the
event
of
a
fault
|
Special
-TWB
safety
No
risk
originating
(adjustable
temperaure
limiter)
|
measures
re-
2
Protection
of
|
either
from
the
oven
|
automatically
shuts
off
the
quired
de-
the
oven,
the
|
or
its
contents
in
the
|
oven
if
the
user
selected
pending
on
environment
|
event
of
a
fault
temperature
limit
is
exceeded.
|
the
purpose
and
the
for
which
the
contents
of
| |
The
contents
of
the
TWW
oven
is
used
3
the
oven
oven
are
protected
(adjustable
overheat
against
overheating
controller)
takes
over
control
of
oven
if
temperature
is
exceeded.
UE/BE
200-800/ULE
400-800
UE/BE
200
-
800/ULE
400-800

Installation
options
Wall
mounting
except
model
800
Stacking
device
exepi
model
800
The
units
can
be
set
up
on
the
floor
or
on
a
table
(bench),
model
500
-
700
on
a
subframe
(accessory,
see
Fig.
c).
Ensure
at
least
150
mm
clearance
between
back
of
oven
and
wall.
The
distance
between
ceiling
and
oven
should
not
be
less
than
200
mm.
After
the
cabinet
has
been
set
horizontally
the
door
can
be
adjusted
if
reguired
(see
MAINTENANCE).
The
model
800
is
movable.
The
front
castors
are
lockable
by
means
of
a
fixation.
In
order
to
grant
the
stability
the
front
castors
must
always
be
adjusted
to
the
front
for
locking.
Up
to
model
700
for
all
ovens
metal
mounting
brackets
(see
Fig.
a)
are
available.
Mounting
bracket
is
delivered
with
incombustible
plate.
Dimensions
of
fixing
screws
depend
on
the
total
weight
(equipment
and
loading)
of
the
charge
and
the
quality
of
the
wall.
Where
the
requirement
is
for
two
ovens
of
the
same
size
to
be
placed
one
on
top
of
the
other,
the
oven
with
the
lower
working
temperature
should
be
placed
at
the
bottom
(Fig.
b)
Remove
the
front
feet
of
the
top
oven
and
replace
them
with
the
ones
supplied
with
the
stacking
device
(only
if
the
ovens
are
not
originally
supplied
with
the
stacking
device).
Remove
the
top
of
the
bottom
oven
and
turning
it
upside
down
place
the
drilling
jig
into
the
back
corner.
Mark
out
the
hole
position
and
drill
a
4,2
mm
diameter
hole.
With
the
screws
provided
fix
the
centering
cylinders
into
position
and
re-fix
top
cover.
Model
700
can
only
be
stacked
with
an
intermediate
frame.
UE/BE
200-800/ULE
400-800
INSTALLATION
OPTIONS
Pitches
of
holes
for
wall
fixation
(wall
bracket)
Model
¡
A
mm
inch
B
mm
inch
C
mm
|
inch
200
489
19,25
770
130,32
300
569
22,4
770
33.32
400
489
19,25
850
33.47
500
649
25,55
|
930 |
36,61
600
889
35,00
|
1090
|
42,91
540
21,26
700
1129
|
44,45
|
1250
|
49,21
416
16,14
.
fig.
:
model
700
model
600
e
nb
VA
€
|
4º
β
=
il
レン
ン
WARNINGI
Before
removing
top
cover
-
pull
out
plug!
Attention!
Take
special
care
when
working
at
high
temperature!
Outside
case
temperature may
be
hot!
UE/BE
200
-
800/ULE
400-800

PUTTING
INTO
OPERATION
Attention!
Extremely
strong
shocks
during
transport
can
cause
a
displacement
of
the
temperature
sensors
in
the
holding
clips
inside
the
working
space.
Take
care
before
the
first
putting
into
operation
that
the
temperature
sensors
are
checked
on
their
correct
position
and
if
necessary
slided
cautiously
into
the
holding
clip
resp.
pulled
out
of
the
holding
clip
(see
Fig.
d).
.
ceiling
of
working
space
glass
sensor
ceramics
sensor
temperature
sensor
18/
back
panel
of
working
space
Attention!
When
the
oven
-
unload
-
is
started
up
for
the
first
time
it
should
be
run
under supervision
until
steady
conditions
are
reached.
BE
200-800/ULE
400-800
Temperature
setting
and
overheat
safety
devices.
6
Y
10
12
9
Units
with
adjustable
overheat
con-
trolier
TWW
class
3.1
1.
fig.
e
Set
mains
supply
switch,
rotary
switch
No.
2
to
position
|.
Green
pilot
lamp
No.
3
shows:
"unit
ready
for
use".
After
switching
on
the
former
setpoint
is
indicated
for
a
short
while.
The
yellow
pilot
lamp
No.
4
indicates:
"heating
on".
To
select
the
desired
temperature
with
knob
1 it
is
necessary
to
operate
key
6.
While
the
key
is
depressed
the
digital
temperature
indication
7
switches
to
setpoint
selection
resp.
nominal
value
indication,
indicated
by
a
blinking
point
in
the
display.
The
setpoint
indicated
can
only
be
changed
with
knob
1
when
key
6
is
pressed.
If
knob
1
is
moved
quickly,
the
setpoint
is
adjusting
in
large
steps
while
it
changes
in
single
steps
upon
slow
operation.
After
releasing
of
key
6
the
setpoint
adjusted
is
still
shown
for
a
short
time
(blinking
point).
Thereafter
it
switches
automatically
on
the
actual
value.
The
scale
can
be
locked
with
the
screw
fa
to
prevent
unintentional
changes.
When
key
6
has
not
been
operated
the
digital
display
7
always
indicates
the
actual
temperature
inside
the
chamber.
Operating
the
key
displays
the
selected
temperature
setting
(blinking
point).
UE/BE
200
-
800/ULE
400-800

Malfunction
Units
with
adjustable
overheat
cut-out
but
manual
reset
TWB
class
2
3.
Set
the
adjustable
overheat
controller
TWW
with
knob
9
above
the
selected
working
temperature
by
an
appropriate
amount
(e.g.
5°C).
This
scale
can
also
be
locked
by
turning
screw
9a.
The
selected
setpoint
of
the
overheat
controller
TWW
can
always
be
read
on
the
temperature
display
12.
Steady
conditions
have
been
reached
when
the
desired
tempera-
.
ture
can
be
read
on
the
built-in
digital
temperature
display
7
for
several
times.
od.
in
order
to
provide
optimum
protection
of
thermal-sensitive
İoads
better
against
overtemperatures
in
case
of
failure
of
the
thermostat
it
is
advisable
to
reset
the
adjustable
overheat
controller
TWW
(rotary
button
No.
9)
-
after
building-up
and
steady
temperature
conditions
have
been
reached
-
so
far
that
it
is
just
not
operating.
This
setpoint-reduction
should
be
effected
very
slowly
step
by
step
.
for
one
digit
(resp.
one
rest)
slightly
above
the
actual
steady
temperature
(approx.
3°C
resp.
at
incubators
approx.
0.5°C).
If
the
selected
operating
temperature
is
exceeded
due
to
a
fault
in
the
temperature
control
circuit,
the
temperature
control
is
taken
over
by
the
overtemperature
controller
as
soon
as
the
temperature
set
with
knob
9
and
displayed
on
display
12
has
been
reached.
This
is
indicated
by
flashing
of
the
red
signal
lamp
5.
The
unit
must
be
checked
immediately
by
a
qualified
electrician.
Putting
the
oven
into
operation
as
well
as
setting
temperatures
have
to
be
done
as
described
under
"adjustable
overheat
controller
TWW
-
item
1
-
3"
|
Malfunction:
lf
the
adjustable
temperature
limiter
TWB
is
activated
due
to
a
fault,
the
TWB
switches
off
the
heating
on
all
poles
when
the
temperature
set
with
knob
9
and
indicated
on
display
12
has
been
reached.
The
adjustable
temperature
limiter
can
be
reset
by
switching
the
knob
2
briefly
off
and
then
on
again
after
the
temperature
has
dropped
below
the
temperature
reading
of
display
12.
The
unit
must
be
checked
immediately
by
a
qualified
electrician.
Temperature
This
Memmert
oven
is
equipped
with an
electronic
adjustable
limiting
device
mechanical
overheat
controller
(Class
3.1
in
compliance
with
DIN
12
880).
An
adjustable
temperature
limiter
(Class
2
in
compliance
with
DIN
12880)
can
be
specified
in
place
of
the
electronic
adjustable
overheat
controller.
In
addition,
either
variant
is
equipped
with
a
temperature
limiting
device
(Class
1
in
compliance
with
DIN
12880)
which
automatically
shuts
of
the
oven
if
it
exceeds
the
maximum
termperature
by
more
than
10°C.
UE/BE
200-800/ULE
400-800
8
Malfunction:
In
case
the
adjustable
overheat
controller
or
the
adjustable
temperature
limiter
malfunction,
and
the
oven
exceeds
its
maximum
temperature
rating
by
10°C,
the
temperature
limiting
device
will
automatically
shut
off
the
heater.
In
this
case
the
temperature
dispiay
of
the
working
controller
and
the
yellow
control
lights
will
turn
off.
The
green
and
red
control
light,
as
well
as
the
display
of
the
overheat
controller,
will
remain
on.
In
ovens
with
forced
convection,
the
air
turbine
will
continue
to
run.
in
case
of
a
malfunction
-
overheat
condition-
the
unit
has
to
be
checked
by
a
qualified
service
engineer!
If
the
oven
is
exposed
to
freezing
temperatures
for
an
extended
period,
the
temperatur
limiting
device
turns
on.
In
this
case,
reset
the
device
by
following
the
procedure
for
resetting
the
temperature
limiting
device,
steps
2-5.
WARNING!
=
Before
removing
top
cover
-
Procedure
for
resetting
the
temperature
limiting
device
Function
control
for
the
adjustable
overheat
controller
(class
3.1)
and
the ad-
justable
tem-
perature
limi-
ting
device
(class
2)
pull
out
plug
1.
Let
the
oven
cool
down
before
attempting
to
service
it.
2.
Remove
screws
along
the
top
edge
of
the
backside
of
the
cover.
3.
Slightly
raise
the
top
cover
of
the
oven
and
siowly
slide
the
cover
backwards.
4.
Press
the
red
reset
button
on
the
temperature
limiting
device.
The
oven
will
emit
an
audible
click
when
the
temperature
limiting
device
is
reset.
5.
Reassemble
the
oven.
Make
sure
to
use
washers
when
fastening
the
Screws.
The
safety
devices
(Class
3.1
and
Class
2)
should
be
checked
on
a
daily
basis
once
the
oven
has
stabilized
at
the
desired
temperature.
To
perform
this
safety
check,
begin
by
loosening
screw
9a.
Reduce
the
setting
of
the
protection
device
until
red
control
light
5
turns
on.
At
this
point
temperature
display
12
and
temperature
display
7
should
show
the
same
temperature
(+0,5°C
for
incubators,
+1°C
for
other
ovens).
Now
set
the
protection
device
as
described
in
the
paragraph
“Adjustable
overheat
controller"
-
point
3.
The
red
control
light
will
turn
off.
UE/BE
200
-
800/ULE 400-800

Operation
with
timer
Operation
with
pro-
gramme
timer
(special
equipment)
UE/BE
200-800/ULE
400-800
Put
main
supply
switch
rotary
knob
No.2
in
position
.
Set
temperature
as
described
under
“Units
with
adjustable
overheat
controller
class
3.1;
-
item
1
-
4º.
Set
the
required
time
period
with
the
rotary
knob
No.10.
Running
time
50
Hz
=
24
hours.
Running
time
60
Hz
=
20
hours.
Unit
is
automatically
turned
off
when
the
elapsed
time
has
run
down.
Timers
are
available
for
fitting
by
the
user
after
delivery
and
full
instructions
are
supplied
with the
timers
to
be
retrofitted.
The
installation
has
to
be
made
by
a
service
engineer.
1.
Adjust
programme
timer
22
22
(which
is
not
running
when
main
switch,
rotary
knob
No.
2,
is
in
O-position)
to
daytime
(actual
time).
fig
e-1
Operation
time
of
temperature
regulator
is
adjusted
by
pro-
gramme
timer
22
by
pushing
single
switch
buttons
(red
section
is
visibie).
If
switch
buttons
are
not
pushed
(black
section
is
visible)
the
temperature
regulator
is
out
of
service
and
the
heating
elements
are
cut
off.
Set
the
main
switch,
rotary
knob
No.
2,
to
position
©.
The
green
pilot
lamp
No.
3
shows
that
the
oven
is
ready
for
operation.
The
yellow
pilot
lamp
No.
4
indicates
the
state
of
the
heating.
Set
temperature
as
described
under
"Units
with
adjustable
overheat
controller
class
3.1;
item
1
-
4".
The
heating
and
cooling
times
depend
on the
load
inside
the
oven
and
on
the
ambient
temperature
and
must
be
taken
into
account
when
setting
the
timer
riders.
The
programme
runs
continually.
Switching
off
by
hand
with
main
switch
No.
2
to
position
0.
10
An
example
for
a
programme
timer
(24
h)
is
shown
in
the
illustration
below:
red
area
fig
e-2
Actual
time
10.00
o'clock.
Heat-
ing/control
was
operating
from
8.00
till
9.30
and
then
switched
off
(cooling
-
period).
At
11.15
heating/control
is
switched
on
again
and
runs
till
13.30.
Afterwards
a
cooling
-
period
is
starting
again.
An
example
for
a
7-day
programme
timer
is
shown
in
the
illustration
below:
red
area
fig
e-3
Operation
with
programme-
timer
with
timer
for final
switching
off
(special
equipment
from
mod.
500)
Actual
time:
Tuesday
12
o'clock.
Hea-
ting/control
was
operating
on
Monday
from
8.00
till
16.00.
It
was
automatically
switched
off
at
the
end
of
the
switching-
on
period.
On
Tuesday
at
3.00
hea-
ting/control
was
switched
on
again
and
is
operating
till
Wednesday
8.00.
After-
wards
a
inactive
period
is
starting
again.
Select
the
temperature
as
described
under
"Operation
with
pro-
22
19
gramme-timer”.
|
Timer
19
has
to
be
used
for
final
switching
off
the
oven
and
has
to
be
set
as
described
under
“Operation
with
timer”.
The
oven
switches
off
when
the
set
time
has
elapsed.
fig.
e-4
UE/BE
200
-
800/ULE
400-800
11

Adjustable
The
speed
of
the
air
turbine
can
be
12
air
turbine
continuously
varied
with
rotary
button
{special
No.
12.
equipment)
fig
e-5
Discon-
The
air
turbine
can
be
disconnected
15
nectable
air
by
switch
13.
turbine
(special
equipment)
fig
e-6
Fresh
air
The
amount
of
fresh
air
entry
can
be
adjusted
by
the
slide
control
ventilation
knob
No.
8.
The
flap
is
closed
in
position
0;
there
is
virtually
no
through
ventilation.
By
opening
the
flap
the
air
in
the
working
내
space
can
be
renewed
to
a
limited
extent.
The
maximum
fresh
air
entry
possible
is
obtained
at
position
6
although
this
does
not
signify
a
complete
change
of
air
within
the
chamber.
Intermediate
position
on
the
scale
vary
the
degree
of
ventilation
accordingly.
important
for
loading!
Units
described
in
this
instruction
manual
must
not
be
used
for
drying
or
warming
substances
which
generate
ignitable
vapours
when
mixed
with
air.
The
units
described
here
must
never
be
operated
in
areas
with
an
explosive
atmosphere.
UE/BE
200-800/ULE
400-800
|
12
For
correct
operation
and
uniform
temperature
distribution
it
is
essential
to
maintain
free
air
circulation
throughout
the
oven.
The
contents
of
the
oven
should
therefore
not
be
packed
tightly
nor
should
they
be
placed
directly
against
any
of
the
heating
ribs
either
to
the
sides,
top
or
bottom
of
the
oven.
(Note
the
loading
diagrams
on
ihe
ovens).
When
putting
the
shelves
into
the
apparatus
please
bear
in
mind
that
there
is
a
little
air
gap
between
the
rear
of
the
working
chamber
and
the
shelf
in
order
to
permit
better
air
circulation.
For
the
maximum
number
of
shelves
possible
together
with
the
permissible
loads
see
schedule.
in
certain
situations
where,
for
example,
the
load
is
packed
tightly
and
the
ventilation
slide
is
fully
open
it
is
possible
that
the
unit
will
control
at
a
temperature
below
that
set
on
the
thermostat.
In
order
to
compensate
it
may
be
necessary
to
increase
the
thermostat
setting
until
the
desired
temperature
is
shown
on
the
digital
display
7.
The
following
schedule
gives
recommended
loading
levels
which
will
ensure
homogeneous
temperature
distribution
within
the
working
chamber.
Model
Max.
Load
each
shelf
Total
load
number
of
shelves
max.
k
k
200
3
15
30
300
12
30
400
15
40
500
15
50
600
30 80
700
30
800
30
UE/BE
200
-
800/ULE 400-800
13

MAINTENANCE
General
information
Memmert
appliances
require minimal
servicing.
İt
is
recommended,
that
the
moving
parts
on
the
doors
(hinges
and
door
lock)
should
be
lubricated
with
a
thin
silicone
grease
once
a
year
(with
continuous
use
4
times
a
year).
In
case
of
a
malfunction
which
makes
the
opening
of
the
unit
©
necessary
this
work
has
to
be
performed
by
a
gualified
service
engineer.
A
tightly
closing
door
is
an
essential
requirement
on
ovens.
MEMMERT-ovens
ensure
perfectly
tight
closing
of
the
door
through
a
seal
on
the
oven
casing.
The
door
seal
presses
accurately
against
the
casing
seal.
in
continuous
operation
the
-
flexible
seal
material
may
acquire
a
permanent
set.
For
proper
ciosing
of
the
door
it
may
be
necessary
to
adjust
the
hinge
or
the
locking
plate.
Readjusting
the
door
After
releasing
the
screw
No.12
(ATTENTION!
Screw
No.
12
is
securéd
with
glue.
Loosen
jerky
with
inner
hexagon
key
wrench
2
mm)
the
door
can
be
adjusted
by
turning
the
eccentric
13
in
the
direction
of
the
arrow
(using
a
screwdriver).
Tighten
screw
No.
12
again.
In
addition
the
upper
part
No.14
of
the
door
hinge
can
be
moved
slightly
in
the
direction
of
the
arrow
after
releasing
the
2
screws
at
the
top
or
bottom
of
the
door.
The
locking
plate
can
also
be
readjusted
in
the
direction
of
the
arrow
after
releasing
the
screw
No.15.
Ensure
that
the
cover
is
again
screwed
down'tightly.
UE/BE
200-800/ULE
400-800
14
fig.
g
Cleaning
By
regular
cleaning
of
the
easy
to
clean
interior,
residues
are
avoided
which
at
continuous
influence
can
impair
the
outfit
and
function
of
the
oven.
The
unit
can
be
cleaned
with
commercial
stainless
steel
cleaning
agent.
Please
note
that
objects
liable
to
rust
must
not
be
placed
into
the
interior.
Rust
sediments
lead
to
contamination
of
the
interior
or
external
casing.
If
rust
stains
caused
by
contamination
occur
on
the
interior
surface,
the
affected
areas
must
be
cleaned
and
polished
immediately.
|
UE/BE
200
-
800/ULE 400-800
15

Check
list
for
rectifying
faults
-
This
can
only
be
done
by
a
service
engineer.
Fault
Cause
Knob
2
in
position
|,
green
lamp
3
not
on
Equipment
not
connected
Lamp
faulty
No
temperature
indication
on
the
display
Microfuse
defective
T32mA
250
V~on
printed
wiring
board
55121.x
No
temperature
indication
on
the
display
Red
lamp
5
on
Temperature
Limiting
Device
turned
on
Press
the
red
reset
button
(see
procedures
for
resetting
the
temperature
limiting
device).
Yellow
lamp
4
not
on
Ambient
temperature
too
high,
working
tempera-
ture
in
oven
higher
than
the
working
temperatu-
re
set
with
knob
1
(set
point).
Lamp
faulty
Display:
"E-1"
+
Circuit
element
TRIAC
defective,
send
printed
wiring
board
back
to
Memmert
for
exchange.
Display
"E-2"
«
Possibility
1.
Heating
defective,
the
oven
does
not
heat
anymore
Check
current
passage
at
the
heating
terminals
according
to
wiring
diagram;
Possibility
2
Circuit
element
TRIAC
defective;
Send
printed
wiring
board
back
to
Memmert
for
exchange.
Display
"E-3"
+
PT100
defective
Display
"E-4"
*
Internal
Configuration
Error.
Turn
off
the
oven,
then
turn
it
back
"on".
*
In
case
of
a
malfunction-
Display
E1
to
E4
-
„Please
inform
the
Memmert
service
department.
UE/BE
200-800/ULE
400-800
16
The
details
in
these
Operation
Instructions
must
be
carefully
observed
in
order
to
ensure
satisfactory
operation.
Warranty
and
claims
for
damage
are
excluded
if
these
instructions
are
disregarded.
We
reserve
the
right
to
make
changes
in
technical
specifications.
Dimensions
subject
to
confirmation.
Our
Address
MEMMERT
GmbH
+
Co.KG
P.0.Box 91107
Schwabach
Federal
Republic
of
Germany
Phone:
09122/925-0*.
Tx
624973
mems
Fax
09122/14585
©
by
MEMMERT
GmbH+Co.KG
ab
06/94
D
06563
UE/BE
200
-
800/ULE
400-800
17
Other manuals for UE 200
1
This manual suits for next models
18
Table of contents
Other Memmert Oven manuals

Memmert
Memmert UN PLUS User manual

Memmert
Memmert UN PLUS Series User manual

Memmert
Memmert SE 200 User manual

Memmert
Memmert UFTS User manual

Memmert
Memmert UF450plus User manual

Memmert
Memmert UN Series User manual

Memmert
Memmert BASIC Operating instructions

Memmert
Memmert VO200 User manual

Memmert
Memmert UN User manual
Memmert
Memmert UNE 200 User manual