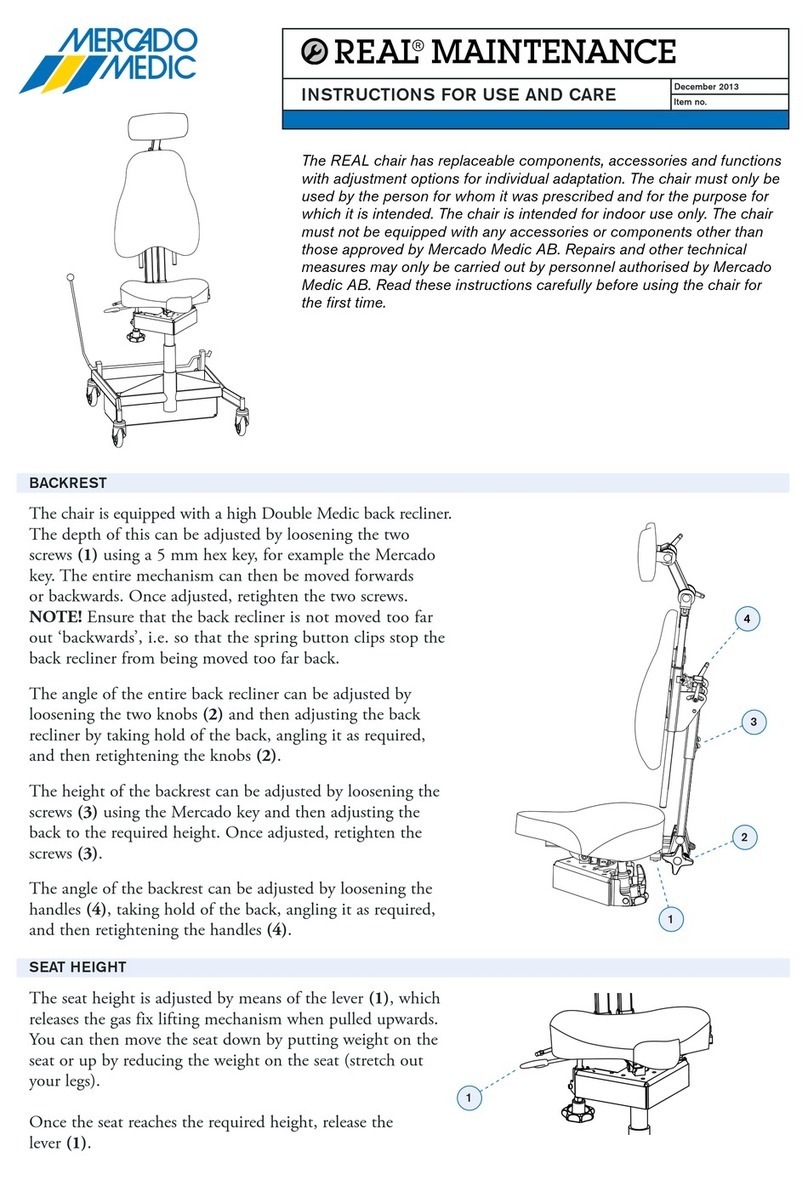
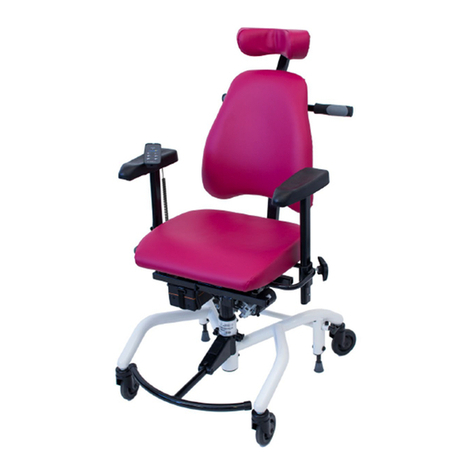
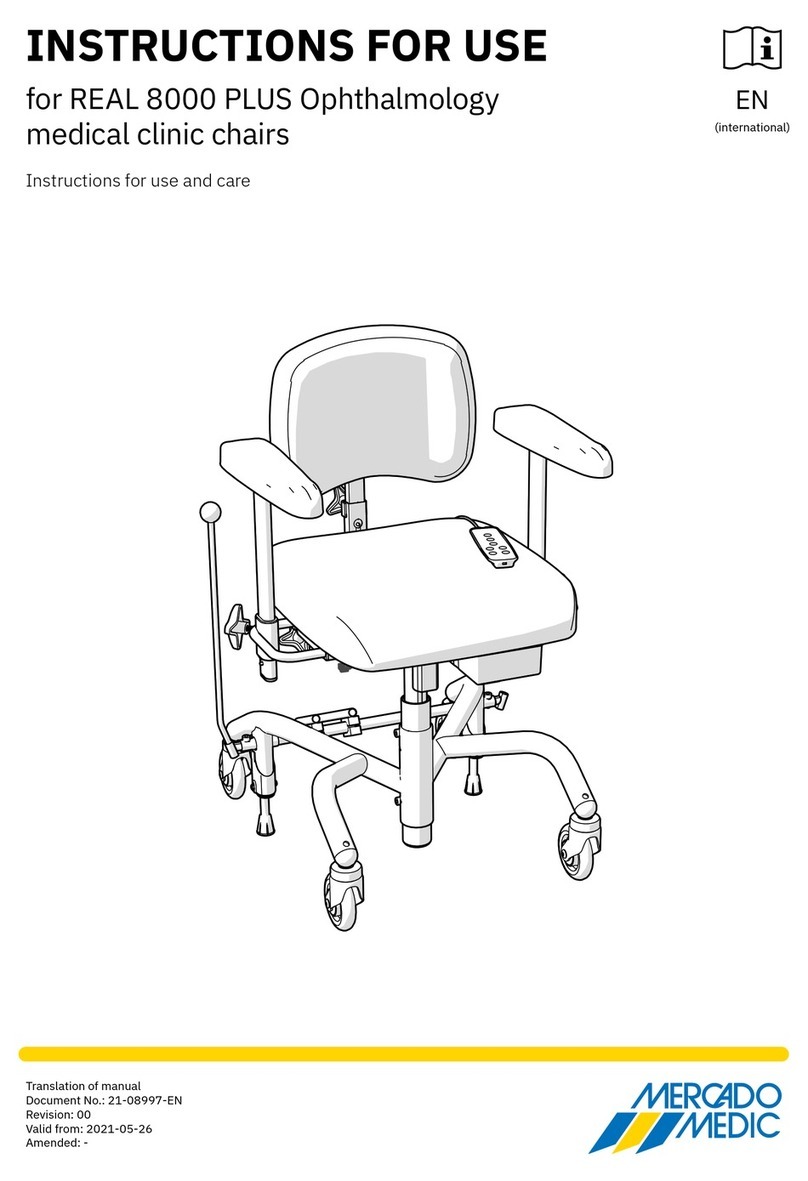
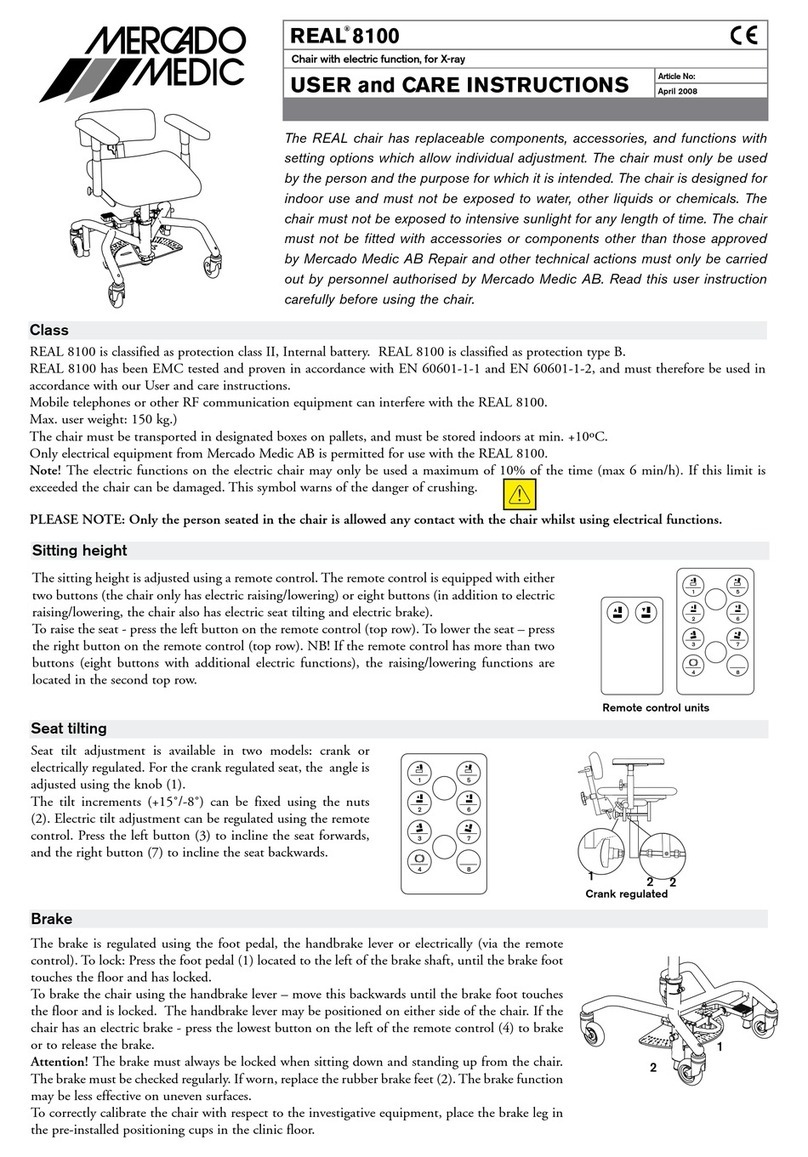
Mercado Medic REAL 8100 PLUS EL Assembly instructions

Translation of manual
Item number: 21-08993-UK
Revision: 00
Valid from: 2021-05-26
Amended: -
INSTRUCTIONS FOR USE
for REAL 8100 PLUS X-ray medical clinic chairs
Instructions for use and care
UK

[Space for device label with
serial number]

Table of contents
User information
1. Introduction ....................4
1.1. Contact details ....................5
1.2. Warranty ..........................5
2. Getting started ..................6
2.1. Before use ........................6
2.2. How to operate the
device functions ...................9
2.3. Charging ........................ 10
3. Caring for the device ........... 11
3.1. Padded parts .................... 11
3.2. Castors and brake feet ............ 11
3.3. Other parts ...................... 11
3.4. Transport and storage ............ 12
Device information
4. intended use .................. 13
4.1. Operating environment ........... 13
5. Configurations and settings ..... 14
5.1. Required level of competence
forsetting and adjusting........... 14
5.2. Basic design..................... 15
5.3. Electrical functions ............... 16
5.4. Seat ............................ 17
5.5. Manual seat tilt .................. 18
5.6. Backrest mechanism and
back support .................... 18
5.7. Armrest panel ................... 21
5.8. Armrest mechanism .............. 22
5.9. Base ........................... 22
5.10. Manual brake................... 23
5.11. Leg support .................... 24
5.12. Individual adaptation ............ 26
6. Important safety information.... 27
6.1. Standards met and classification ... 27
6.2. Warnings........................ 28
6.3. Expected service life.............. 29
6.4. Reporting of adverse events
andincidents .................... 30
Service manual
7. Technical information .......... 31
7.1. Symbols ........................ 33
8. Servicing & reconditioning ...... 35
8.1. Troubleshooting guide ............ 36
8.2. Battery replacement.............. 38
8.3. Reconditioning and periodic
maintenance .................... 39
9. Instructions for destruction ..... 45
9.1. Recycling ....................... 45
Instructions for use for REAL 8100 PLUS X-ray medical clinic chairs
21-08993-UK-00

4
Instructions for use for REAL 8100 PLUS X-ray medical clinic chairs Introduction
21-08993-UK-00
1. Introduction
Thank you for choosing Mercado Medic as the supplier of this device. By choosing
a REAL chair, you get to learn about a 50-year history of developing medical
devices with high function, safety, quality and flexibility. We manufacture all our
different medical chairs under our own management in Sweden.
Mercado Medic is certified to ISO 13485, ISO 9001 and ISO 14001, and complies with
applicable labour and environmental legislation.
We reserve the right to make changes to this manual and its contents.
Sufficient competence in the safe use of this device is achieved by carefully reading through
these instructions for use before using the device for the first time.
PDF versions of our instructions for use with zoom options are always
available in their most current version on our website www.mercado.se.

5
Instructions for use for REAL 8100 PLUS X-ray medical clinic chairs Introduction
21-08993-UK-00
1.2. Warranty
All components of Mercado Medic's devices
are covered by warranty, under the time
periods and general terms and conditions
set out below, unless other specific periods
and conditions are agreed in writing between
Mercado Medic and the contracting customer
in connection with major procurements.
As the operator, you must contact your
distributor if you experience problems
with the device. Distributors in turn should
contact Mercado Medic using the contact
details available under Section 1.1. Contact
details.
Warranty periods
• Metal structures: 3 years.
• Electric lifting mechanism: 2 years.
• Other components (e.g. wheels, batteries,
padded parts): 1 year.
General terms and conditions
The warranty does not cover:
• Damage or condition considered to be
normal wear and tear.
• Damage caused by negligence or misuse.
• Spare parts, components or accessories
not sold by Mercado Medic.
• Adjustments to the device made by
unauthorised service technicians.
• Components previously fitted to devices
other than the item in question.
• Bleaching or natural colour variations in
the faux leather.
1.1. Contact details
Manufacturer
Street address: Mercado Medic AB,
Tryffelslingan 14, SE-181 57 Lidingö, Sweden
Postal address: Mercado Medic AB,
Box 1074, SE-181 22 Lidingö, Sweden
Telephone: +46 (0)8 555 143 00
Email: info@mercado.se
Website: www.mercado.se
Servicing and technical support
Telephone: +46 (0)8 555 143 08
Email: service@mercado.se
To report warranty claims, adverse events
and incidents or other feedback please use
the form at www.mercado.se/en/support.
Distributor
Responsible person: Henrik Sellberg
Mercado UK Ltd
Repton House, Bretby Business Park,
AshbyRoad
DE15 0YZ Burton on Trent
United kingdom
+44 (0)3330 033666
www.mercado-medic.co.uk
Space for additional distributor contact
details:

6
Instructions for use for REAL 8100 PLUS X-ray medical clinic chairs Getting started
21-08993-UK-00
2. Getting started
This section is primarily aimed at you, the operator of the device. It describes how to prepare
it for use, how to use its functions, and how to charge it. For care instructions, see 3. Caring for
the device.
If you have any questions about the device or if something unexpected has happened, please
contact your distributor first. You can find up-to-date contact details in Section 1.1. Contact
details. You are also welcome to contact us at Mercado Medic.
2.1. Before use
All devices come with a seat, back support,
armrests, brake and electric height
adjustment. When delivered from Mercado
Medic, the backrest and brake lever are not
yet fitted. These should always be fitted
before the device is first used.
Backrest mechanism
Place the back rest support post in the back
rest mechanism (B) and set the desired
height level, see Figure 2.1. Tighten all
levers (A). The picture shows one of the two
standard back supports that come with the
device. For adjusting back supports and
backrest mechanisms, see 5.6. Backrest
mechanism and back support.
Brake lever
If you intend to use the foot brake, it is
advisable not to mount the brake lever. If you
intend to use the handbrake function, mount
the brake lever as follows: Insert the brake
lever into the brake lever bracket (B) (see
Figure 2.1). The brake lever can be placed on
the right or left side.
Armrests
Loosen the armrest controls (C) and set the
desired height and width levels, see Figure
2.1. Tighten all controls (C). Make sure the
knob (D) clicks into the locking position when
the armrest is lowered. If the knob does not
click in position, rotate the knob until it clicks
firmly.
Battery
The battery must be activated and locked
before it is used for the first time. This is
done by connecting the battery charger to
the device's charging socket and to a wall
outlet (E), see Figure 2.1. The charging
socket can be placed in different places on
the device. The device usually comes with
the charging socket mounted in the rear edge
under the seat.
Wait until the battery is fully charged before
using the device. This normally takes 2 to 5
hours. When the battery is fully charged, the
LED on the charger lights up green. For other
charging instructions, see 2.3. Charging.

7
Instructions for use for REAL 8100 PLUS X-ray medical clinic chairs Getting started
21-08993-UK-00
Figure 2.1. Preparations before the device is put into use.
Armrests
Backrest mechanism
Brake lever
Battery
B
A
Consider the following before and during
use of the device
• Tighten all adjustment controls before
putting the device into use.
• The device must not be used without
fitting the backrest.
• The device must not be used without
fitting the armrests.
• Always engage the device’s brake before
the patient sits down or stands up.
• The braking capacity of the device may be
impaired on heavily sloping floors.
• The braking capacity of the device may be
impaired on uneven floors.
• The device must be operated with care.
• The optional foot support ring is designed
to rest your feet on, not to stand on.
• Charge the device according to these
instructions for use, see Charging.
• The electrical functions cannot be used
when the device is charging.
• If the device is equipped with leg support,
the patient’s feet must always be in
contact with the footplate before you use
the electrical functions.
• Make sure the patient’s feet do not
touch the floor before releasing the seat
rotation. If the patient cannot lift his/her
feet during rotation, the device must be
equipped with a foot ring or leg support.
D
C
E

8
Instructions for use for REAL 8100 PLUS X-ray medical clinic chairs Getting started
21-08993-UK-00
• Never adjust the seat to a height where it
is unsafe for the patient to get up from the
device.
• The device must not be moved when the
seat is in the raised position.
• Emergency stop for remote control:
If, for whatever reason, the system
does not interrupt a movement after
the corresponding control button has
been released, the movement can be
interrupted by pressing any of the other
buttons on the hand-held controller.
• Button lock on remote control: To enable
or disable the button lock for a function,
press and hold both of the directional
buttons of the relevant function for at
least three seconds. The button lock locks
only the current function. To lock multiple
functions, each function must be locked
separately.
Warning! As a user, you must
contact your distributor if the
device exhibits impaired or changed
performance. A device showing a
loss of or change in performance
must immediately be taken out of
use in order to avoid an accident.
The device must not be used again
until an authorised technician has
examined the device.
Warning! You are not permitted
to modify the device yourself.
If individual customisation is
preferred, contact your distributor.
If the device is modified, the CE
marking no longer applies and
Mercado Medic may no longer have
full device liability. Modifications
may affect the safety of the device
and lead to accidents.
Warning! The device may be
equipped with long cables or
wires that cannot be secured in
order for the device to function
properly. Cables and wires can
pose strangulation risks to small
children, for example. Do not leave
the device unattended with small
children nearby.
Warning! The device is equipped
with small parts such as screws
that can come loose. Small parts
that have come loose can pose a
potential choking risk for children.
Warning! Metal surfaces may
become very hot if they are
exposed to direct sunlight. Skin
contact with hot surfaces can lead
to burns. Avoid exposing metal
surfaces to direct sunlight.
Warning! Always make sure to
brake the device and lock the seat
rotation before the patient sits
down or stands up. If the device
is not braked or rotation is not
locked, there is a risk of the device
rolling or rotating away from the
patient when he/she stands up or
sits down, which could cause fall
injuries.
Warning! Make sure the patient’s
feet are not touching the floor
before you unlock the seat rotation.
If the patient’s feet are touching
the floor, he/she risks falling out
of the device as it rotates, which
could cause fall injuries. If the
patient cannot lift his/her feet
during rotation, the device must
be equipped with a foot ring or leg
support.

9
Instructions for use for REAL 8100 PLUS X-ray medical clinic chairs Getting started
21-08993-UK-00
2.2. How to operate the device functions
The device is equipped with electric height
adjustment controlled by wireless remote
control. The device is equipped with electric
or manual height adjustment, depending
on the model. Seat tilt is manually adjusted
using the crank handle under the seat (A)
(see Figure 2.2). Seat tilt (B) is electrically
controlled using the wireless remote control
(see Figure 2.3). The device is equipped with
an electric or manual brake, depending on
the model. The manual brake is activated
and deactivated with a pedal (C) (see Figure
2.2). The electric brake (D) is controlled by
wireless remote control (see Figure 2.3).
The device is equipped with lockable seat
rotation which is adjusted using the control
(E) on the back of the base (see Figure 2.2).
Press down on the control with your foot
to unlock the seat rotation, rotate the seat
to the desired graduation and release the
control to lock the mechanism in a fixed
position. See 5. Configurations and settings
for detailed information about all the
features and controls of the device.
Figure 2.3. Controls for REAL 8100 PLUS 24V Comfort
B
D
Figure 2.2. Controls for Real 8100 PLUS 24V Standard
A
C
E

10
Instructions for use for REAL 8100 PLUS X-ray medical clinic chairs Getting started
21-08993-UK-00
How to charge the device
1. Inset the plug into the charging outlet
(see Figure 2.4). The charging outlet is
usually placed in the rear edge under the
seat.
2. Connect the charger plug into the wall
socket. The LED on the charger will
indicate that charging is underway.
3. The battery is fully charged when the
LED on the charger changes colour from
red to green. This is shown by the three
green battery LEDs on the remote control
flashing at the same time.
If the electrical functions have not been
used for 7 days, the battery switches off
automatically. To reconnect the battery,
connect the battery charger to the charging
socket and the wall outlet and wait at least
5 seconds before unplugging the charger. It
is recommended to charge the battery fully
after the battery has been disconnected.
If no electrical functions are working, try
charging the battery. If electrical functions
still do not work, contact your distributor,
see1.1. Contact details.
Figure 2.4. Connecting the plug to the charging
outlet under the seat.
2.3. Charging
The battery should be charged once every 24
hours. Fully charging the battery on a daily
basis will take 2 to 5 hours. It is important that
the battery is never completely discharged,
as this helps to prolong the life of the battery.
Daily battery charging is particularly important
for electric brake and seat tilt configurations.
The device emits a low battery level warning
sound, for both low and critical. Low battery
is indicated by a short signal. Critical battery
level is indicated by a short signal that
ends with a loud beep. The device must be
charged in a safe manner. The electrical
functions cannot be used when the device is
charging. For this reason, choose an easily
accessible wall socket to plug the charger
into. The charger cable to the wall socket is
1 metre long and must not be extended. In
case of emergency, disconnect the device
from the mains by unplugging the charger
from the wall socket.

3. Caring for the device
Clean the device according to the instructions in this section to maintain its functions and
service life. If needs arise that cannot be met with the resources available, please contact your
distributor for reconditioning.
PLEASE NOTE! Do not wash the device with water or other liquids and chemicals.
3.1. Padded parts
The device upholstery must be cleaned after
each use to prevent contamination.
Synthetic leather padded parts
Use soap and water or surface disinfectant
to clean synthetic leather padded parts.
Start by removing any loose debris. Then
use a cloth to clean the upholstery with soap
and water or surface disinfectant. If the
upholstery is cleaned using soap and water,
finish by wiping with a clean, damp cloth.
3.2. Castors and brake feet
Regular cleaning of castors and brake feet
is required to maintain the operation of the
device. Wipe castors and brake feet with
a damp cloth. Remove any hair from the
castors using a thin crochet needle or similar
implement.
3.3. Other parts
Do not wash or clean the device’s lifting
mechanism or other actuators (found by the
electric seat tilt and brake, see Figure 3.1).
This is because there is a risk that the grease
required for these mechanisms to function as
intended might be removed during cleaning.
If necessary, a dry cloth can be used to
remove dust from any electronic parts of
the device. Clean the other non-electronic
parts of the device once a week or when
necessary. Use a clean, damp cloth with mild
detergent (pH 7-12), surface disinfectant or
use a steam cleaner (max. 8 bar).
11
Instructions for use for REAL 8100 PLUS X-ray medical clinic chairs Caring for the device
21-08993-UK-00
Figure 3.1. device’s lifting mechanism and other actuators.

12
Instructions for use for REAL 8100 PLUS X-ray medical clinic chairs Caring for the device
21-08993-UK-00
3.4. Transport and storage
When transporting and storing the device,
keep the following in mind:
• The device moves by rolling on a flat
surface.
• The device should be lifted by two people.
Suitable grip points are at the front, rear,
right and left sides of the seat, see Figure
3.2.
• The device is intended to be transported
and stored at between -25°C to +60°C
and up to 90% non-condensing relative
humidity.
• The device must be transported in the
intended cardboard box on a pallet.
If the device is transported by car, it
must be strapped in place using straps
over both the base and the seat, and it
should be set to the lowest possible seat
height. To reduce the size of the device
during transport, the backrest can be
removed and the armrests lowered. Be
sure to select the settings so that they
can be easily reset. Tape or similar easily
removable marking is recommended.
• The device must not be used as a seat
when transported in a car or aircraft, for
example.
• In the case of air transport, the device
must be stored in the hold. Original
Mercado Medic batteries are approved for
air transport. For information on battery
type, see 7. Technical information.
Figure 3.2. Suitable grips when lifting.

The REAL 8000 product series comprises
modular patient seats designed to be used
together with primary clinical examination
equipment, such as X-ray machines. The
device is intended to be used in conjunction
with other medical devices in environments
and situations that may require adjustable
seat positions for different patients to make
it possible to conduct the examination
efficiently and with satisfactory results.
Applicable situations include, but are not
limited to, mammography and other X-ray
examinations, as well as various kinds of
ophthalmological examinations. REAL 8000
is designed to be used wherever a good
seated position is required, such as the
following situations:
• the patient has to withstand a full
examination;
• the patient needs support to remain
sufficiently motionless in order for the
examination method to give satisfactory
results;
• the patient needs support to remain
sufficiently motionless during a biopsy,
forexample;
• being able to carry out a more efficient
examination in order to reduce the
time during which the patient needs
to endure an emotional strain, as can
be experienced in mammography,
forexample.
The REAL 8000 product series is designed to
be operated by a professional who ensures
an appropriate adjustment in relation to both
the patient and the primary examination
equipment.
Contraindications
There are no known contraindications for
using the REAL 8000 product series.
4.1. Operating environment
• The device is intended for indoor use only
and must not be used outdoors.
• The device is intended to be used at
between -5°C to +40°C and 15-90%
non-condensing relative humidity. If
the device is stored in an environment
outside these limits, the device must be
acclimatised for up to 4 hours to achieve
an approved temperature before use.
• The device must not be used at altitudes
greater than 2000 m above sea level.
• The device must not be exposed to
extreme cold or heat, prolonged sunlight
or other radiation.
• The device must not be exposed to water,
liquids or chemicals to any extent other
than that specified in the care information
in Section 3. Caring for the device.
4. intended use
13
Instructions for use for REAL 8100 PLUS X-ray medical clinic chairs intended use
21-08993-UK-00

5. Configurations and settings
It describes the device's models, options
when configuring the device, and information
about setting and adjusting the device's
functions. For dimensions and performance,
see 7. Technical information.
The device is available in two configurable
models. The basic design of each model is
described below, see 5.2. Basic design. In
addition to the basic model, there are a wide
variety of options for adapting the device.
For available options, see the description
for each function in this section. For further
customisation and guidance, please contact
Mercado Medic Customer Service (see 1.1
Contact details). It is also possible to further
customise the models both within and
outside CE marking, see 5.12. Individual
adaptation.
The ErgoMedic seat system is to be used
with the device. The seat system comprises
seats, back supports and armrests. The
padded parts can be combined as needed for
support, relief and stability when sitting. For
more information about the seating systems
and other padded parts, please visit our
website www.mercado.se. For an overview
of available upholstered details, read the
document 'Seat systems'.
Data sheets and order forms are found on
www.mercado.se. There are also instructions
for use and device information for all
Mercado Medic devices.
5.1. Required level of competence for
setting and adjusting
To attain the best position for correct X-rays,
the device’s seat height, seat tilt, back
support and backrest mechanism should
be adjusted for each patient. Settings and
adjustments must only be done by the
operator.
14
Instructions for use for REAL 8100 PLUS X-ray medical clinic chairs Configurations and settings
21-08993-UK-00

5.2. Basic design
All devices come with a seat, two types of back support, folding armrests, a base with four
castors (standard: 100mm), brake, seat tilt and lockable seat rotation. The device comes in
two models: Standard and Comfort.
PLEASE NOTE! The device’s basic model may vary depending on the agreement between
Mercado Medic and the customer.
REAL 8100 PLUS EL 24V
Standard
REAL 8100 PLUS EL 24V
Comfort
Width1480 mm 480 mm
Length 550 mm 550 mm
Height adjustment Electric height adjustment with
wireless remote control
Electric height adjustment with
wireless remote control
Seat height 440–720 mm 440–720 mm
Lockable seat rotation Yes Yes
Seat tilt Crank-operated Electric
Seat tilt range2-15°/+8° -15°/+8°
Brake Manual foot brake Electric brake
Castors Ø100 mm Ø100 mm
Backrest ErgoMedic 330 x 160 mm ErgoMedic 330 x 160 mm
Back support with
headrest
High Backrest with adjustable
cushion and headrest in Makrolon
High Backrest with adjustable
cushion and headrest in Makrolon
Seat ErgoMedic 440 x 480 mm ErgoMedic 440 x 480 mm
Armrests Foldable armrests
(standard: 350 mm)
Foldable armrests
(standard: 350 mm)
Fabrics Faux leather (standard: black) Faux leather (standard: black)
1 Depending on the seat width and the adjustment of the armrests, the device may become wider.
2 Negative angle (-) refers to forward tilt and positive angle (+) refers to backward tilt.
15
Instructions for use for REAL 8100 PLUS X-ray medical clinic chairs Configurations and settings
21-08993-UK-00

5.3. Electrical functions
The device can be equipped with up to three electrical functions: height adjustment, brake
(standard on the REAL 8100 PLUS EL 24V Comfort model) and seat tilt (standard on the
REAL8100 PLUS EL 24V Comfort model). These are adjusted using the wireless remote control
or wired hand control (optional).
Remote control
Remote control comes in models with 1 or 4 functions. The 1-function is intended to only
control raising and lowering. The 4-function model can control multiple functions. The remote
control also has a button lock function (see Figure 5.4). The corresponding models and
functionalities are also available for wired hand controls.
Seat height
Buttons on the top left-hand keypad (see Figure 5.1).
Adjustment:
1. Press up for upward movement.
2. Press down for downward movement.
Figure 5.1. Button for adjusting seat height.
Brake
Button in the centre at the bottom (see Figure 5.2).
Activation and deactivation of brake:
1. A short press activates the brake.
2. A short press on the same button deactivates the
brake.
Figure 5.2. Button for activation and
deactivation of brake.
Seat tilt
Buttons on the upper right-hand keypad (see Figure 5.3).
Adjustment:
1. Press up for forward seat tilt.
2. Press down for backward seat tilt.
Figure 5.3. Button for adjusting seat tilt.
16
Instructions for use for REAL 8100 PLUS X-ray medical clinic chairs Configurations and settings
21-08993-UK-00

Button lock
Activating and deactivating the button lock:
1. To activate the button lock, press and hold both of the
directional buttons of the relevant function for at least
three seconds.
2. To deactivate the button lock, press and hold both of
the directional buttons of the relevant function again
for at least three seconds.
PLEASE NOTE! The button lock only locks and unlocks
the function that has locked buttons. To lock multiple
functions, each function must be locked separately. Figure 5.4. Activation and deactivation of
button lock.
5.4. Seat
Seats are available in the ErgoMedic model.
Seat upholstery is available in two materials: faux leather and hygiene fabric (optional).
Upholstery in hygiene fabric is used to protect the seat from moisture. Further details about
upholstery and available colours are available on our website www.mercado.se.
ErgoMedic
ErgoMedic is a flat seat with seat indentation and
additional support under the thighs (see Figure 5.5).
Theseat is available in sizes from 290 x 320 mm to
480 x 530 mm.
Figure 5.5. ErgoMedic seat.
17
Instructions for use for REAL 8100 PLUS X-ray medical clinic chairs Configurations and settings
21-08993-UK-00
3s

5.5. Manual seat tilt
Manual seat tilt is available in the range of 15° forward to 8° backwards. The seat tilt is
manually adjusted with a crank handle. Height adjustment is also available as an electrical
function, see 5.3. Electrical functions.
Crank handle
The crank handle is placed under the rear edge of the seat
(see Figure 5.6).
Adjustment:
1. Turn the control to the right to move the seat tilt
forwards.
2. Turn it to the left to move the seat tilt backwards. Figure 5.6. Crank handle for adjusting seat tilt.
5.6. Backrest mechanism and back support
A backrest mechanism is available in the Standard X-ray model.
Back support is available in three versions: ErgoMedic; High Backrest with adjustable cushion
and headrest in Makrolon; and High Transparent Back Support (optional). ErgoMedic is a low
backrest that supports the pelvic region. The back support is suitable for taking X-rays of the
back, lungs, shoulders, etc. High Backrest with adjustable cushion and headrest in Makrolon
is a back support with a lumbar cushion and integrated headrest to support and fixate the
patient’s head. The height of the lumbar support cushion is adjustable and the angle of the
headrest is adjustable. The back support is primarily suitable for taking X-rays of the cervical
spine. High Transparent Back Support is a high back support that supports the patient’s lower
back, lumbar spine, thoracic spine, cervical spine and neck. The back support is suitable for
taking X-rays of the back, lungs, shoulders, etc., of patients who need support while seated
during the examination.
Back-support upholstery is available in faux leather. Further details about upholstery and
available colours are available on our website www.mercado.se.
18
Instructions for use for REAL 8100 PLUS X-ray medical clinic chairs Configurations and settings
21-08993-UK-00

Standard X-ray
Back support mounted on the Standard X-ray backrest
mechanism (see Figure 5.7).
Mounting the back support:
1. Insert the back-support pole into the backrest
mechanism.
2. Tighten the knob.
Removing the back support:
1. Loosen the wheel and pull out the back support’s
pole. Figure 5.7. Standard X-ray backrest
mechanism.
ErgoMedic
ErgoMedic is a lightly cupped back support. The back
support is available in sizes from 330x160mm. The
Standard X-ray backrest mechanism’s back support has
adjustable height (A), adjustable backrest mechanism
angle (B) and adjustable back support angle (C) (see
Figure 5.8). The back recliner can be adjusted in the
rangeof 15° forward to 30° backwards.
Adjusting the height of the back support:
1. Loosen the knob and select the desired height for
theback.
2. Tighten the knob.
Setting the angle of the back recliner:
1. Loosen the knob and adjust to the desired angle.
2. Tighten the knob securely.
Setting the angle of the backrest:
1. Loosen the handle and adjust to the desired angle.
2. Tighten the handle. Figure 5.8. ErgoMedic backrest.
A
C
B
19
Instructions for use for REAL 8100 PLUS X-ray medical clinic chairs Configurations and settings
21-08993-UK-00

High Backrest with an adjustable cushion and headrest
in Makrolon
The Standard X-ray backrest mechanism’s back support
is adjustable in terms of height (A) and the angle of the
backrest mechanism is adjustable (B). The back support
also has a height-adjustable lumbar support cushion (D)
and an angle-adjustable headrest (E) (see Figure 5.9).
To set the height and angle of the back support and
backrest mechanism, see ErgoMedic.
Adjusting the lumbar support:
1. Loosen the handle and adjust the lumbar support to
the desired height.
2. Tighten the handle.
Adjusting the headrest angle:
1. Loosen the knob, set the support at the desired angle.
2. Tighten the handle. Figure 5.9. High Backrest with adjustable
cushion and headrest in Makrolon.
High Transparent Back Support
The Standard X-ray backrest mechanism’s back support
is adjustable in terms of height (A) and the angle of the
backrest mechanism is adjustable (B). The back support
angle is also adjustable (F) (see Figure 5.10).
To set the height and angle of the back support and
backrest mechanism, see ErgoMedic.
Setting the angle of the backrest:
1. Loosen the handle and adjust to the desired angle.
2. Tighten the handle.
PLEASE NOTE! The back support must be adjusted as
lowand as close to the seat as possible. Figure 5.10. High Transparent Back Support.
20
Instructions for use for REAL 8100 PLUS X-ray medical clinic chairs Configurations and settings
21-08993-UK-00
A
B
D
E
A
B
F
Other manuals for REAL 8100 PLUS EL
1
This manual suits for next models
2
Table of contents
Other Mercado Medic Medical Equipment manuals

Mercado Medic
Mercado Medic REAL 6100 PLUS Use and care manual

Mercado Medic
Mercado Medic REAL 8000 PLUS User manual

Mercado Medic
Mercado Medic REAL 9500 Assembly instructions

Mercado Medic
Mercado Medic REAL 9200 TWIN Assembly instructions

Mercado Medic
Mercado Medic REAL Series Assembly instructions

Mercado Medic
Mercado Medic REAL 9000 PLUS Series User manual

Mercado Medic
Mercado Medic REAL 8100 Installation guide

Mercado Medic
Mercado Medic REAL 8200 PLUS EL 24V SCREENING User manual

Mercado Medic
Mercado Medic REAL 8200 PLUS EL 24V SCREENING User manual