manuals.online logo
Brands
  1. Home
  2. •
  3. Brands
  4. •
  5. Messoa
  6. •
  7. Security Camera
  8. •
  9. Messoa NDF831-HN5 User manual

Messoa NDF831-HN5 User manual

Please read this quick start guide thoroughly before use!
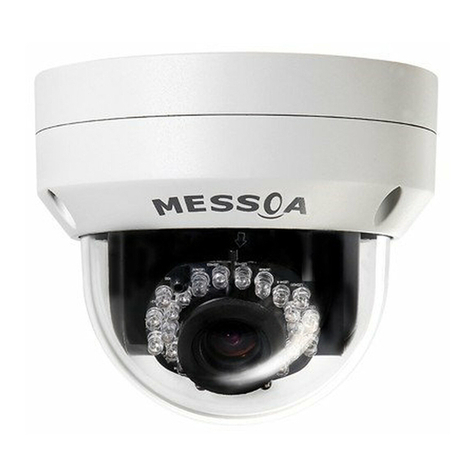
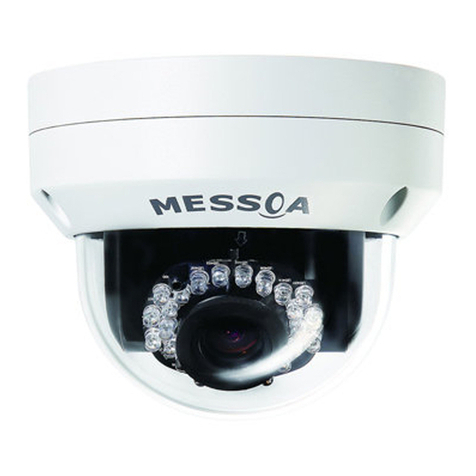
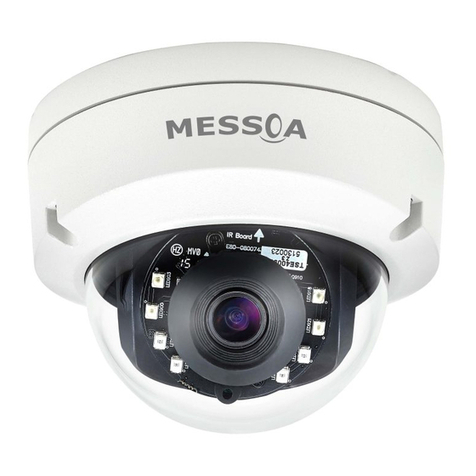
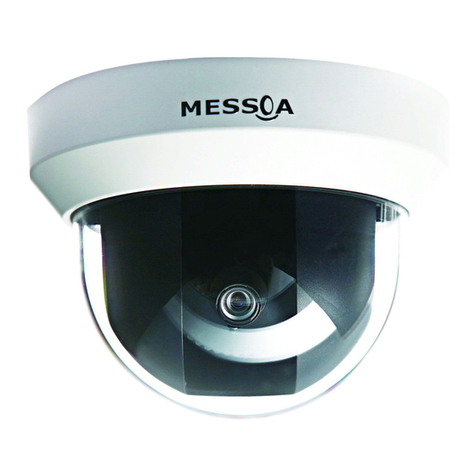
FIXED OUTDOOR DOME NETWORK CAMERA
P32-831020-000A 831 A2
Quick Start Guide
• SAFETY
1. This quick start guide is designed for users who have adequate
knowledge of network camera.
2. Do not touch the sensor imaging surface. Use soft cloth moistened
with alcohol to clean the surface if it is touched accidentally.
3. Ensure the supply voltage is correct as specied for the
particular variant of camera before operation.
4. Do not attempt to service this unit yourself unless you are
• PACKAGE CONTENTS
Network Dome Camera x1
Quick Start Guide x1
CD-ROM (User Manual & IP Finder) x1
Guide Pattern Sticker x1
RJ45 Female / Female Coupler x1
(1) Flat Head Screw (Tapping Type) x3
(2) Plastic Anchor x3
(3) Flat Head Screw (Machine Type) x3
• CONNECTION CONCEPT
• CONNECTORS AND FUNCTIONS
1. Power In (Red+/Black-): power connector, Non-heater model:
DC12V/AC24V, Heater model: DC24V/AC24V
2. RJ-45 Ethernet Connector: network connection. Support PoE (Power
over Ethernet) cable. (Note: Heater model does NOT support PoE)
3. BNC: video output
4. Audio Out (Green): audio output
5. Audio In (Red): audio input
6. Alarm Out (Orange): alarm signal output port
Reserved (Green)
RS485 (Yellow)
7. GND: ground (electricity) in electrical circuits
Alarm In 1 (Red): alarm signal input port
Alarm In 2 (Brown): alarm signal input port
• CAMERA INSTALLATION
Mounting the Camera- Ceiling Mount
1. Remove the dome cover and the inner liner.
2. Use the Guide Pattern Sticker to drill the mounting holes.
3. Connect the wiring and optionally insert the SD card.
4. Secure the camera base to the surface.
For cement surface: Insert the provided plastic anchors into the
three drilled holes. Then secure the camera base to the mounting
surface with the provided tapping type screws.
For metal plate surface: Do not use the plastic anchors. Just
secure the camera base to the mounting surface with the provided
machine type screws.
5. Adjust the camera position and focus.
6. Install the inner liner and then replace the dome cover.
authorised to do so. Opening the camera may expose you to
dangerous voltages or other hazards. Refer all servicing to qualied
personnel only.
5. For more detailed installation and operation, please refer to the full
operating instructions on CD.
1
2
3
4
5
6
7
Note: When the tilt angle is less than 75 degrees there is no distortion.
Lens Adjustment: Loosen the screws and adjust the zoom control
for desired image view and adjust the focus for optimum picture
sharpness.
Note: Focus using a service monitor or internet browser
•Accessing the Camera for the First Time
This camera is a network-based camera. The camera’s default IP
address is 192.168.1.30 and Subnet Mask address is 255.255.255.0.
1.Connect the network cable to the camera and your computer and
then turn on the camera’s power.
2. Set the computer’s IP address other than the camera's default
IP address, such as 192.168.1.100 and Subnet Mask address as
255.255.255.0.
3. To make sure you have already connected the camera to the
personal computer, ping the IP address of the camera. To do this,
rst open a Command Prompt (Windows: from the Start menu, select
Programs. Then select Accessories. Choose Command Prompt. Click
OK). Type ping x.x.x.x, where x.x.x.x is the IP address of the Network
Camera (default is 192.168.1.30). If the message of “Reply from…”
appears, it means the connection is done.
4.Open a browser and enter IP address: http://192.168.1.30. A
pop-out window will appear that requires you to login into the camera.
Enter the default user name: admin and password: 1234 to login.
• ADJUSTING THE CAMERA
Take off the screw and rotate the dome counter clockwise to unlock
and pull free of the housing. Remove the inner liner by gently pulling
it free of the two notches in the housing.
Caution: For heater model, the dome cover should NOT be removed
over 30 minutes during installation. Otherwise, the desiccant will
absorb too much moisture causing vapor when heater is on.
Adjust Pan & Tilt: Adjust the camera to your requirements.
QUICK START GUIDE Fixed Outdoor Dome Network Camera
Tilt Angle (max. 90°)
Pan Angle (max. 355°)
Horizontel Rotation (max. 355°)
24° Wide Angle (9mm)
75° Tilt Angle
Distortion
Area
68° Tele Angle (3mm)
Guide Pattern
Service Monitor
Output
Micro SD Card Slot
Tapping Type Screw
Plastic Anchor
Dome Cover
Inner liner
Near(N) & Far(∞) Tele (T) & Wide (W)

Other Messoa Security Camera manuals

Messoa A101RZ User manual

Messoa

Messoa A101RZ User manual

Messoa NDF821 User manual

Messoa

Messoa NDF821 User manual

Messoa NDR890-HN5 User manual

Messoa

Messoa NDR890-HN5 User manual

Messoa NDR890 User manual

Messoa

Messoa NDR890 User manual

Messoa NIC990 User manual

Messoa

Messoa NIC990 User manual

Messoa NCB750 User manual

Messoa

Messoa NCB750 User manual

Messoa NCR875-HN5 User manual

Messoa

Messoa NCR875-HN5 User manual

Messoa NOD316 User manual

Messoa

Messoa NOD316 User manual

Messoa SDF418 User manual

Messoa

Messoa SDF418 User manual

Messoa NID318 User manual

Messoa

Messoa NID318 User manual

Messoa SCR367 User manual
Messoa

Messoa SCR367 User manual

Messoa NCR870 User manual

Messoa

Messoa NCR870 User manual

Messoa SCR368-HN5 User manual

Messoa

Messoa SCR368-HN5 User manual

Messoa NDZ760 User manual

Messoa

Messoa NDZ760 User manual

Messoa NCC800 User manual

Messoa

Messoa NCC800 User manual

Messoa NCB752 User manual

Messoa

Messoa NCB752 User manual

Messoa LPR606 User manual

Messoa

Messoa LPR606 User manual

Messoa NCR375 User manual

Messoa

Messoa NCR375 User manual

Messoa NIC830-HN5 User manual

Messoa

Messoa NIC830-HN5 User manual

Messoa NDR891 User manual

Messoa

Messoa NDR891 User manual

Messoa ZEIM-4000604G A.1 User manual

Messoa

Messoa ZEIM-4000604G A.1 User manual

Messoa LPR610 User manual

Messoa

Messoa LPR610 User manual

Messoa NDF820 User manual

Messoa

Messoa NDF820 User manual

Messoa NCB855E User manual

Messoa

Messoa NCB855E User manual

Popular Security Camera manuals by other brands

Axis PTZ user guide

Axis

Axis PTZ user guide

Digital Watchdog Star-Light Plus DWC-VA553WTIR user manual

Digital Watchdog

Digital Watchdog Star-Light Plus DWC-VA553WTIR user manual

Samsung SCB-3000N Specifications

Samsung

Samsung SCB-3000N Specifications

Synology NUT-4202R instruction manual

Synology

Synology NUT-4202R instruction manual

Arec CI-T25H user manual

Arec

Arec CI-T25H user manual

Vitek VTC-THT5R3 user manual

Vitek

Vitek VTC-THT5R3 user manual

Monacor TVCCD-24M manual

Monacor

Monacor TVCCD-24M manual

Digital Watchdog MEGApix DWC-MV74Wi28 user manual

Digital Watchdog

Digital Watchdog MEGApix DWC-MV74Wi28 user manual

Sanyo VCB-3574IRP Service manual

Sanyo

Sanyo VCB-3574IRP Service manual

Axis P1311 installation manual

Axis

Axis P1311 installation manual

Uovision UV572 12MP HD user manual

Uovision

Uovision UV572 12MP HD user manual

LIBERTY AV SOLUTIONS DigitaLinx DL-USB-PTZ10-W quick guide

LIBERTY AV SOLUTIONS

LIBERTY AV SOLUTIONS DigitaLinx DL-USB-PTZ10-W quick guide

Panasonic CV-CFN203L user manual

Panasonic

Panasonic CV-CFN203L user manual

ALIBI ALI-TS1022VR Quick installation guide

ALIBI

ALIBI ALI-TS1022VR Quick installation guide

Moog Videolarm Moog OH081TL Installation and operation instructions

Moog Videolarm

Moog Videolarm Moog OH081TL Installation and operation instructions

ZMODO CM-Z2212GY user guide

ZMODO

ZMODO CM-Z2212GY user guide

Samsung SCP-3120 Specifications

Samsung

Samsung SCP-3120 Specifications

Burg Wächter BWNC-1242DFIF quick guide

Burg Wächter

Burg Wächter BWNC-1242DFIF quick guide

manuals.online logo
manuals.online logoBrands
  • About & Mission
  • Contact us
  • Privacy Policy
  • Terms and Conditions

Copyright 2025 Manuals.Online. All Rights Reserved.