66 N1 70 en
3 MOUNTING AND DEMOUNTING
3.1 Actuator gas supply
Dry compressed air, nitrogen or natural gas (sweet) can be
used as supply medium, no oil spraying is needed. The air
supply connections are presented in the dimensional draw-
ings in Chapter 9. The maximum supply pressure is depend-
ing the selected model.
3.2 Installation information
Before installation please take care of the safety precau-
tions mentioned in the Section 1.7.
Ensure that the actuator will not be exposed to pressure in
excess to the maximum rating as indicated on the actuator
nameplate or technical documents.
Ensure that throughout the installation that there are no
leaks of the supply media.
The maximum operating temperature for the actuator
depends on individual build of actuator. Refer nameplate
for operating temperature range.
Ensure that the maximum operating temperature as indi-
cated on the nameplate is not exceeded during operation,
transportation or storage of the actuator.
The environment and surrounding should not affect or limit
the operational safety of the product.
Ensure the product is protected against impact, vibration or
any kind of movement during operation, transportation
and storage.
Product should not be installed in hazardous area that is
not compatible with the gas group and temperate class
indicated on the nameplate.
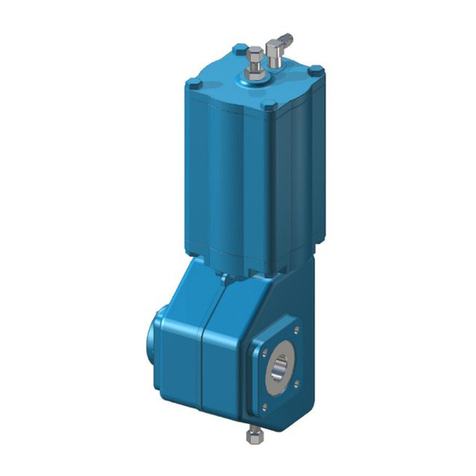
N1 series actuators can be mounted on valve in any desired
position. However it is recommended to align the center-
line of the pneumatic cylinder module along the pipeline.
Ensure proper tightening of fasteners and mounting acces-
sories to avoid loosening during operation.
All the tubing, fitting and actuation media should be free
from contamination and filtered to the desired level. Qual-
ity of media should be as per ISO 8573-1 [5:3:4]. For addi-
tional information consult Metso.
Ensure proper adjustments of the stopper bolt to desired
opening and closing of the valve.
Once proper installation is done, check for smooth continu-
ous operation. If undesired operation occurs, check for cor-
rect pressure and volume flow.
3.3 Mounting the actuator on the valve
Install the actuator so that the shaft of the valve or any
other device to be actuated goes into the shaft bore of the
actuator. If the bore is larger than the shaft diameter, use a
keyed shaft adapter, sleeve or bushing. There are two key
way slots in the shaft bore of the actuator at an angle of 90°.
These allow the installation position of the actuator to be
changed in relation to the valve. Metso valves have a bevel
at the end of their shafts to facilitate installation.
Fig. 6 Ways to install the actuator
The installation position can be selected freely, but Metso
recommends installation of spring return version with the
pneumatic cylinder pointing towards the ground. Double
acting version can be installed any position. The actuator is
thus best protected against damage due to supply air
impurities or water. When the installation position of the
actuator is altered, the arrow indicating the operating direc-
tion must be turned to correspond with the actual opera-
tion of the valve.
When necessary, lubricate the actuator bore and collar with
grease or anti-corrosive agent to prevent it from jamming
due to rust.
The actuator must not be allowed to come in contact with
the pipework, because the vibrations may damage it or
cause unsatisfactory operation.
In some cases, e.g. when using large actuators or with
extensive pipework vibrations, the actuator should be sup-
ported. Consult Metso for instructions.
If the actuator is used with devices other than Metso valves,
any additional parts attached to the actuator must be prop-
erly protected.
3.4 Operating directions
A sticker on the actuator cylinder indicates the spring
action direction.
NOTE:
Flow may be restricted by undersize tubing or fitting.
These may throttle the flow resulting in reduce pressure or
volume causing intermittent or undesired movement.
CAUTION:
Be aware of the cutting movement of the valve!
NOTE:
Separate instructions are available for adjusting the close
limit of metal-seated butterly valves. Refer to the installa-
tion, operating and maintenance instructions of the valve.


