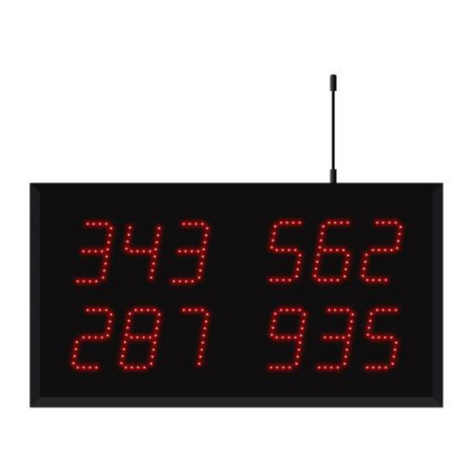
Microframe Corporation 450A Series User manual

D450A-7010
*D450A-7010*
SERIES 450A
Wi-Fi Visual-Pager® Alphanumeric Display
INSTALLATION and SPECIFICATION GUIDE
Microframe Corporation
604 South 12th Street
Broken Arrow, OK 74012
Local: 918-258-4839
Toll Free: 800-635-3811
Website: www.microframecorp.com
E-mail: support@microframecorp.com
Manual No. D450A-7010
Updated: 10/2019
Rev: 1.9

Microframe Corporation 2
604 South 12th Street
Broken Arrow, OK 74012
800-635-3811
www.microframecorp.com Series 450A
Limited Warranty Agreement
Your Microframe System is warranted against failure due to defects in workmanship or material for a period of one (1)
year from the date of purchase. Microframe Corporation will repair or replace any defective unit. Obvious abuse or
mishandling of the unit is NOT covered by this warranty.
Merchandise Return
If your Unit does not work satisfactorily, please give us a call. We may be able to clear up the problem by phone. If it
becomes necessary to return your Unit to the factory, please observe the following:
1. Call Microframe for an RMA number. This will authorize you to return the unit.
2. Place Unit in a sturdy box with sufficient packing material.
3. If requested, include the AC power adapter. It is not necessary to return the cable and connectors unless they are the
problem.
4. Return the system insured and prepaid. Microframe is not responsible for shipping damages and losses on returned
Units.
Warranty Service
For warranty service, please contact Microframe toll-free at 800-635-3811. One of our technicians will be glad to assist
you.
Assistance
For any product assistance or maintenance help, contact Microframe by either calling 800-635-3811 or e-mailing us at:
support@microframecorp.com.
Safety
Do not install substitute parts or perform any modification to the product without first contacting Microframe.
Disclaimer
We constantly strive to improve our products. Specifications are subject to change without notice.
Warning
All power adapters, line cords, and electrical equipment should be kept out of the reach of children and away from water.
(If you are installing cable in an air plenum area, such as a drop ceiling used for air return, you must use plenum-rated
cable. The cable supplied from Microframe is rated CL2 and is approved for indoor installation everywhere except plenum
areas.)
Life Support Policy
Microframe's products are not authorized for use as components in life support devices or systems without the express
written approval of the President of Microframe Corporation. As used herein:
1. Life support devices or systems are defined as systems which support or sustain life, and whose failure to perform
when properly used in accordance with instructions for use provided in the labeling, can be reasonably expected to result
in a significant injury to the user or any one depending on the system.
2. A critical component is any component of a life support device or system whose failure to perform can be reasonably
expected to cause the failure of the life support device or system, or to affect its safety or effectiveness.
FCC Notice (for wireless products only)
Note: This equipment has been tested and found to comply with the limits for a Class B digital device, pursuant to part 15
of the FCC Rules. These limits are designed to provide reasonable protection against harmful interference in a residential
installation. This equipment generates, uses, and can radiate radio frequency energy and, if not installed and used in
accordance with the instructions, may cause harmful interference to radio communications. However, there is no
guarantee that interference will not occur in a particular installation. If this equipment does cause harmful interference to
radio or television reception, which can be determined by turning the equipment off and on, the user is encouraged to try
to correct the interference by one or more of the following measures:
— Reorient or relocate the receiving antenna.
— Increase the separation between the equipment and receiver.
— Connect the equipment into an outlet on a circuit different from that to which the receiver is connected.
— Consult the dealer or an experienced radio/TV technician for help.
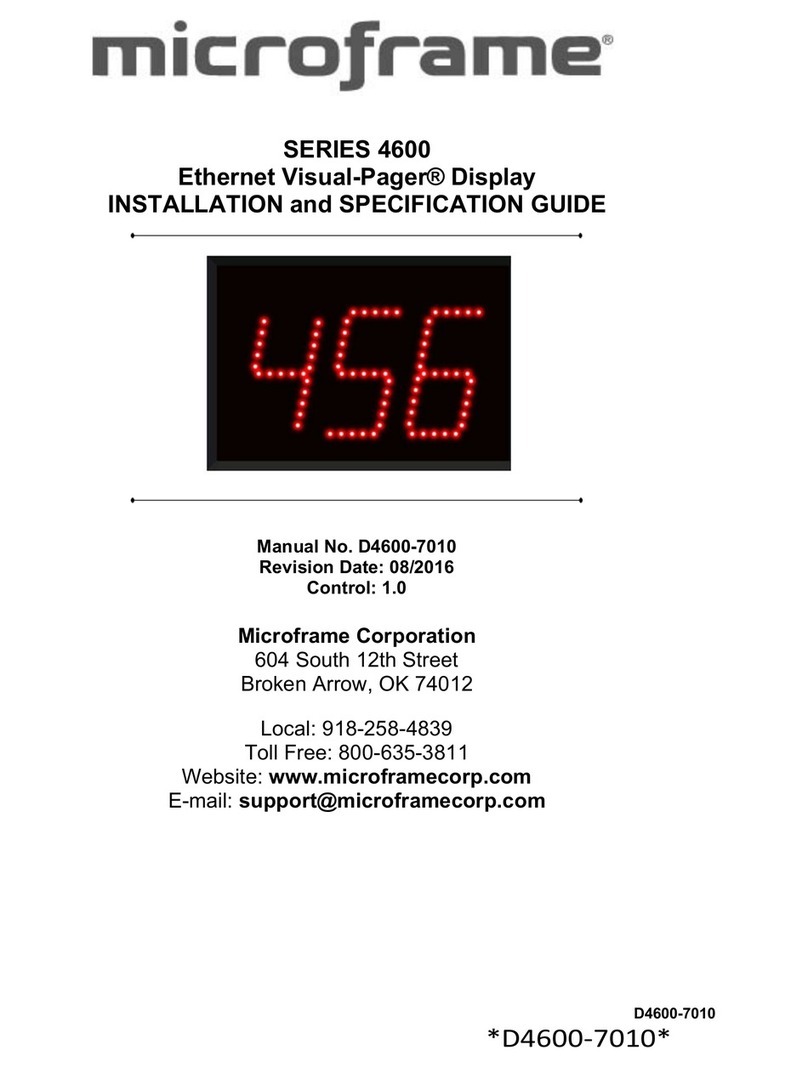
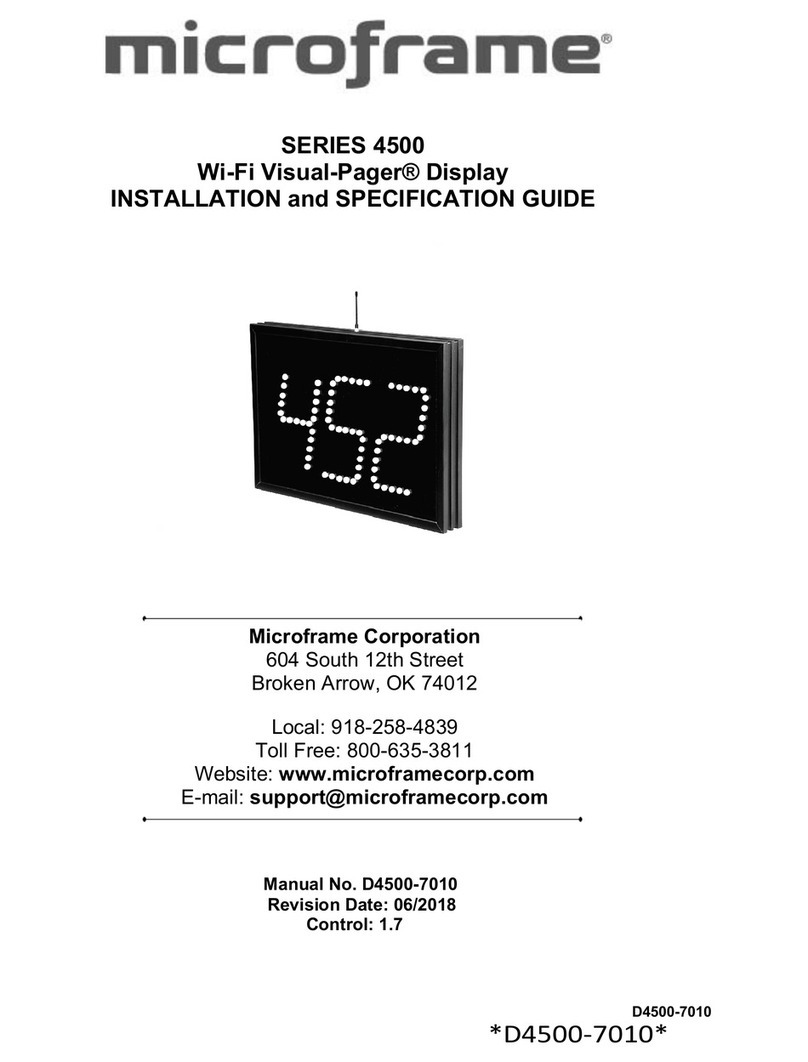
Microframe Corporation 3
604 South 12th Street
Broken Arrow, OK 74012
800-635-3811
www.microframecorp.com Series 450A
Series 450A
Wi-Fi Visual-Pager® Alphanumeric Display
Installation and Specification Guide
Table of Contents
1.1 Wi-Fi Display Overview 4
1.2 Quick Install 4
2.1 Wi-Fi Display Config Utility - Basic 5
2.2 Wi-Fi Display Config Utility - Advanced 6
3.1 Setting up the Display from the App 8
4.1 Installation / Operation / Options 9
5.1 Using the App 10
6.0 General Troubleshooting Chart 11
STOP
INSTALL THE FREE APP NOW

Microframe Corporation 4
604 South 12th Street
Broken Arrow, OK 74012
800-635-3811
www.microframecorp.com Series 450A
1.1 Overview
The Wi-Fi Visual-Pager® Alphanumeric Display is the most elegant and seamless wireless visual paging
system on the market today. Once the display has been configured, it will join your existing Wi-Fi network
allowing you to add and delete security codes from our Free Android and Apple iOS apps for smart phones
and tablets, or from any PC or MAC on the network. Easily add as many displays as you would like and
control them all at once, or on an individual basis.
Getting Started
The first step is to join your display to your Wi-Fi network. This can be done in two ways:
1) Configure the display from an Android/IOS app. [Section 3.1]
2) Configure the display from a computer. [Section 2.1]
Option 1: Quick Setup from app
Plug in the display. Ensure only one display is plugged in during setup. Turn on your mobile device and
connect to the Wi-Fi network "SoftAPxxxxxx". Open the Microframe app on your mobile device. Tap the icon
"Display Setup" in the top right corner of the screen. Select the name of your Wi-Fi network from the list, and
type in the password. Optionally, set the display name and pin number. Press [Save], then wait 30 seconds
for the display to connect.
Option 2: Quick Setup from computer
Plug in the display. Connect the USB cable between the display and your computer. Place the provided CD
into your computer. (If you cannot find your CD, the software can be downloaded from
www.microframecorp.com.) The install program should prompt you to run. Once open, select the name of
your Wi-Fi network from the list and type in the password. Optionally, set the display name and pin number.
Press [Save], then wait 30 seconds for the display to connect.
Mounting
Once the display is configured, simply hang it on the wall at your desired location and plug it into power.
Smart phone or device
The Wi-Fi Visual-Pager® Alphanumeric Display is unique in that it works with an iOS and Android app. From
within the app you can configure your displays individually, or add / delete security codes on all the displays
at the same time.
1.2 Quick Install

Microframe Corporation 5
604 South 12th Street
Broken Arrow, OK 74012
800-635-3811
www.microframecorp.com Series 450A
Setup
1. Connect display to computer
2. Open Config Utility
3. Select network from list
4. Type in network password
5. <Optional> Set Device Name
6. <Recommended> Set App Pin
7. Click [SAVE]. The button will turn
orange while connecting.
8. The button will turn red if failed,
or green if success.
9. You may now disconnect the
display from the computer and
mount it on a wall.
Summary
The Basic version of the Config Utility is intended to make it easy to setup a new display. For additional
options, click the [Advanced] button. In order for this mode to work properly, the display must be in setup
mode.
Details
The SSID and Password are used to connect to your network. If your network does not show up in the list,
you can type it in manually under "SSID". If a password is entered, the utility will assume WPA/WPA2 security.
If no password is entered, it will assume no security.
The Device Name is used in the app.
The App Pin must match the pin number set on your mobile app. It is strongly recommended that you change
this from the default of "0000" to prevent unauthorized users from accessing the display.
Re-enabling setup mode
To place the display back in setup mode, press and hold the mode button. The display will start counting down
"r5", r4", etc. When it gets to "RST", release the button. The display will reset to factory defaults and reboot
automatically.
2.1 Wi-Fi Display Config Utility - Basic2.2 Wi-Fi Display Config Utility - Advanced

Microframe Corporation 6
604 South 12th Street
Broken Arrow, OK 74012
800-635-3811
www.microframecorp.com Series 450A
Setup
1) Power Disp
2) Open Prog
3) Find
4) Read All
5) Scan
6) Select AP
7) Password
8) [Connect]
Summary
The Advanced
version of the Config Utility allows for configuration of all Wi-Fi settings. It can also be left running, and will
log messages printed from the display. These messages are useful for technical support.
Details
[Serial] – Shows the currently connected serial port.
[Connected/Disconnected] - Automatically scans for devices and prints results to the log. It will select the
device found last.
[Read All] - Reads back settings for all three panels of the utility. Optionally you can read/write individual
panels using the respective buttons.
[Scan] - In setup mode reads back the pre-scan list. If connected to an AP, will do a new scan each time the
button is clicked.
[SAVE] - Used to save settings if specific options are changed. Generally this will turn green if a save is
required.
[AP] - A list of access points (Wi-Fi networks) in range of the display. If blank try clicking the [Scan button].
Stronger signals are indicated by a higher RSSI number. Selecting an entry from this list will automatically
set [NETT], [SECM], [SSID], and [BSSID].
[NETT] - Network type. Generally set to Infrastructure.
[SECM] - Security mode. Options are "Open" and "WPA/WPA2". WEP is insecure and not supported. WPA-
Personal mode is supported, but WPA-Enterprise mode is not.
[SSID] - The name of your network.

Microframe Corporation 7
604 South 12th Street
Broken Arrow, OK 74012
800-635-3811
www.microframecorp.com Series 450A
[BSSID] - The identity of your AP, typically printed on the bottom of the router. Setting this and clicking the
BSSID checkbox will force the display to always connect to this AP. For campus installations this can result
in a more reliable connection, as the display will not roam between APs.
[PASS] - the password for your network.
[PSK] - This allows the user to directly specify the 64-byte key used during the connection process. Once
connected, the display will automatically convert the entered password into a PSK. This PSK can be read
back from the display and used to setup other displays. The display connects much faster with a PSK. Thus,
when setting up multiple displays, it speeds up the process to type in the password once, read back the PSK,
and then apply the PSK to additional displays.
[Connect] - Click this to apply the Wi-Fi Settings and connect to the new network. See the log to verify if the
connection was successful.
[DHCP] - To specify a static IP address for this display, uncheck this box.
[IPADD] - The static IP address for this display. When read back, the current IP address.
[NETM] - The netmask for this display. When read back, the current netmask.
[GATE] -The gateway for this display. When read back, the current gateway.
[NAME] - The name of the device. This is used in the app.
[PIN] - The PIN used by the app to connect to this display.
[Basic] - Switch back to basic mode.
[DIAG] - Diagnostics info, useful for technical support.
[Reboot] - Restarts the display. For setup mode, also causes a new pre-scan to be loaded.
[Clear Log] - Clears the log.
[Save Log] - Saves the log to a text file. Useful for technical support.
[PING] - Causes the display to PING a website or IP address. Useful to verify network connection issues.
Note the display has a built-in keep-alive service that pings the [GATE] address every minute.
2.2 Wi-Fi Display Config Utility – Advanced continued…

Microframe Corporation 8
604 South 12th Street
Broken Arrow, OK 74012
800-635-3811
www.microframecorp.com Series 450A
1. Plug in display – ensure only one display plugged in.
2. On mobile device, connect to Wi-Fi network "SoftAPxxxxxx"
3. Open App
4. Tap "Display Settings" button
5. Tap the display with the IP: 192.168.1.3
6. Tap “[Display Setup]”
7. Select network from list
8. Type in network password
9. <Optional> Set Device Name
10. <Recommended> Set App Pin
11. Click [SAVE]
12. Close app and reconnect to your Wi-Fi network
13. Open app and verify display now shows up under "Display
Settings"
[Scan] - retrieve a list of Wi-Fi networks from the display.
[Wi-Fi Networks] - a list of the Wi-Fi networks in range.
[Password] - the password for the network.
[Display Name] - this name is used to identify the display on the "Displays" page.
[Pin] - this must match the pin setting for this display. See the "Displays" page.
[Save] - Press here to apply changes to the display and cause it to connect to the new network.
3.1 Setting up the Display from the App

Microframe Corporation 9
604 South 12th Street
Broken Arrow, OK 74012
800-635-3811
www.microframecorp.com Series 450A
Mounting the Display
The Wi-Fi Visual-Pager® Alphanumeric Display is designed
with a keyhole in the back to hang on a wall like a picture
frame. To use the display, simply plug the 24-volt AC power
adapter wire into the back of the display and then plug the
adapter into the wall, hang the display on a nail and you are
done.
Operation
The Wi-Fi Visual-Pager® Alphanumeric Display’s primary
operation is to display security codes that are sent to it.
Sending Codes to Displays from the Smart Phone App
(also see Section 5.1):
•To send a code to a display from the app, simply type
the code that you want to display, i.e. “ABC” and then
tap [Add].
•To delete a code from a display from the app, tap the code to delete and tap [Delete].
•To clear all displays connected to the network tap [Clear All].
Programmable Configurations
Roll-Over Time Setting
The Roll-Over Time is the time each security codeisshown beforechanging to the next one. This time can be set
from 1 to 9 seconds.
Auto Delete Setting
The display can be set to automatically delete a security code from its memory after a preset time from 0 to
42 minutes. When set to 0 the display will not auto-delete.
Chime Volume Setting
The chime volume can be set from 0 to 9. Setting to 0 will turn off the chime, while 9 is the loudest setting.
Chime Cycle Setting
The chime can be set to Off, a Single Chime, or a Double Chime. Setting this option to 0 turns off the chime.
Setting this option to 1 will make the display chime once every time it receives a security code. Setting this
option to 2 will make the display chime twice every time it receives a new code.
Wi-Fi Display
4.1 Installation / Operation / Options

Microframe Corporation 10
604 South 12th Street
Broken Arrow, OK 74012
800-635-3811
www.microframecorp.com Series 450A
5.1 Using the App
Visual Paging Page
On this page you can add and delete security codes to all connected and active displays. To add a code, tap
the text box below "Code to Display". This will activate your device’s keyboard. Type the code you would like
to show on the display, and tap [ADD]. To delete codes from the display, tap on the code in the list and then
tap [Delete]. To clear all codes on all the displays across the network you can tap [Clear All].
Displays Page
This page contains a list of all the Wi-Fi Visual-Pager® Alphanumeric Displays that the app finds on the
network. This list shows the Name of the device and the IP address that is assigned to the display. To edit a
display, tap the display in the list that you wish to edit. The Display Settings page allows you to do the following:
Active: When a display is active it will receive from this app. If you wish to exclude a certain display you can
uncheck this box. The display will not receive updates from the app.
Pin: When setting up the display you should set a Pin number. To allow the app to communicate with the
display you will need to type in the correct Pin number here. The default is 0000.
Rollover: The Roll-Over time is the time each security code in the display memory is shown before changing
to the next code. This time can be set from 1 to 9 seconds.
Auto Delete: The display can be set to automatically delete a security code from its memory after a preset
time of from 0 to 42 minutes. When set to 0 the display will not auto-delete.
Chime Volume: This option can be set by dragging the volume bar.
Chime Cycle: The drop down will allow you to set how many times you would like the chime to sound when
displaying a new code. Chime off, Single Chime, or Double Chime.

Microframe Corporation 11
604 South 12th Street
Broken Arrow, OK 74012
800-635-3811
www.microframecorp.com Series 450A
7.1 Can’t access the display setup mode.
1. Reset display to factory defaults by pressing the button on the back of the display for 5
seconds.
2. Connect your device to the Wi-Fi network "SoftAPxxxxxx".
3. Ensure only one display is in setup mode. When configuring multiple displays, make
sure only one is plugged in at a time during setup.
7.2 Display will not connect to the Wi-Fi network.
1. Make sure the Wi-Fi password was entered correctly.
2. The Network security must be open or WPA/WPA2. The display doesn’t support WEP.
3. If there are multiple access points with the same name. Then you must use a computer
to set the BSSID.
7.3 No Displays found on the network.
1. Be sure that the device is connected to the same network as your displays.
2. The display has one solid light and one blinking light. (If both lights are blinking the
display is not connected to the network). Reset, then reconnect display.
7.4 Numbers are not showing on displays.
1. Pin number in the app must be the same as the pin number you used when setting up
the display.
2. Display is no longer on the network. Check that the display is not out of range of the
Wi-Fi network.
7.5 Display becomes unresponsive.
1. Display is no longer on the network. Check that the display is in range of the Wi-Fi
network.
2. Be sure that the device is connected to the same network as your displays.
3. Display has jumped access points. In some cases a network will have multiple access
points with the same name. If this is the case use a computer to configure the display
and lock the BSSID to the closest access point.
6.0 General Troubleshooting Chart

Microframe Corporation 12
604 South 12th Street
Broken Arrow, OK 74012
800-635-3811
www.microframecorp.com Series 450A
Features
Series 450A are Wi-Fi enabled alphanumeric display
s
intended for Visual-Paging® of security codes.
Each
display will store and rotate up to 20 security codes
at a
time. Codes
can be entered and deleted from the display
using
our Apple and Android apps, as well as from a
desktop app.
Box Contents
(1) D45xA Display, (1) 2.4Ghz Antenna
(1) 24VAC power adapter w/ 20ft of wire
(1) Manual, (1) Microframe Screwdriver
(1) Configuration CD, (1) USB A to B cable
Series 450A Specifications
Voltage Input Requirements……………………
14-24 VAC, 16-28VDC
Character Height…………………………………
5.5 inches
Character Viewing Distance…………………….
125 feet
Temperature Parameters……………………….
-20ºC to 40ºC (-4ºF to 158ºF)
Casing…………………………………………….
Aluminum extrusion
Color……………………………………………….
Black frame with dark red acrylic faceplate
Environment………………………………………
Indoor use (Outdoor case available)
Wi-Fi……………………………………………....
802.11g
Display Size
3-Digit
4-Digit
Power Requirements
8 watts
11 watts
Display Weight, w/o adapter
3.7 lbs
(1.7kg)
4.1lbs
(1.9kg)
Width "A" Dimension
16.8"
(42.7cm)
18.4”
(46.7cm)
Series 450A Specifications
Alphanumeric Display
Table of contents
Other Microframe Corporation Monitor manuals

Microframe Corporation
Microframe Corporation Visual-Pager 3600 Series User manual

Microframe Corporation
Microframe Corporation 4700 Series User manual

Microframe Corporation
Microframe Corporation Visual-Pager 4500 Series User manual

Microframe Corporation
Microframe Corporation Ethernet Visual-Pager 460A Series User manual

Microframe Corporation
Microframe Corporation Visual-Pager 4600 Series User manual

Microframe Corporation
Microframe Corporation D5340 User manual

Microframe Corporation
Microframe Corporation 6500 Series User manual