Microlit NERO is made of mechanically durable
and autoclavable materials. It does not contain
any hazardous material.
1. Set the delivery volume
using the push button on the
top of the micropipette.
To decrease the delivery
volume, turn it clockwise.
Variable Volume:
Fixed Volume:
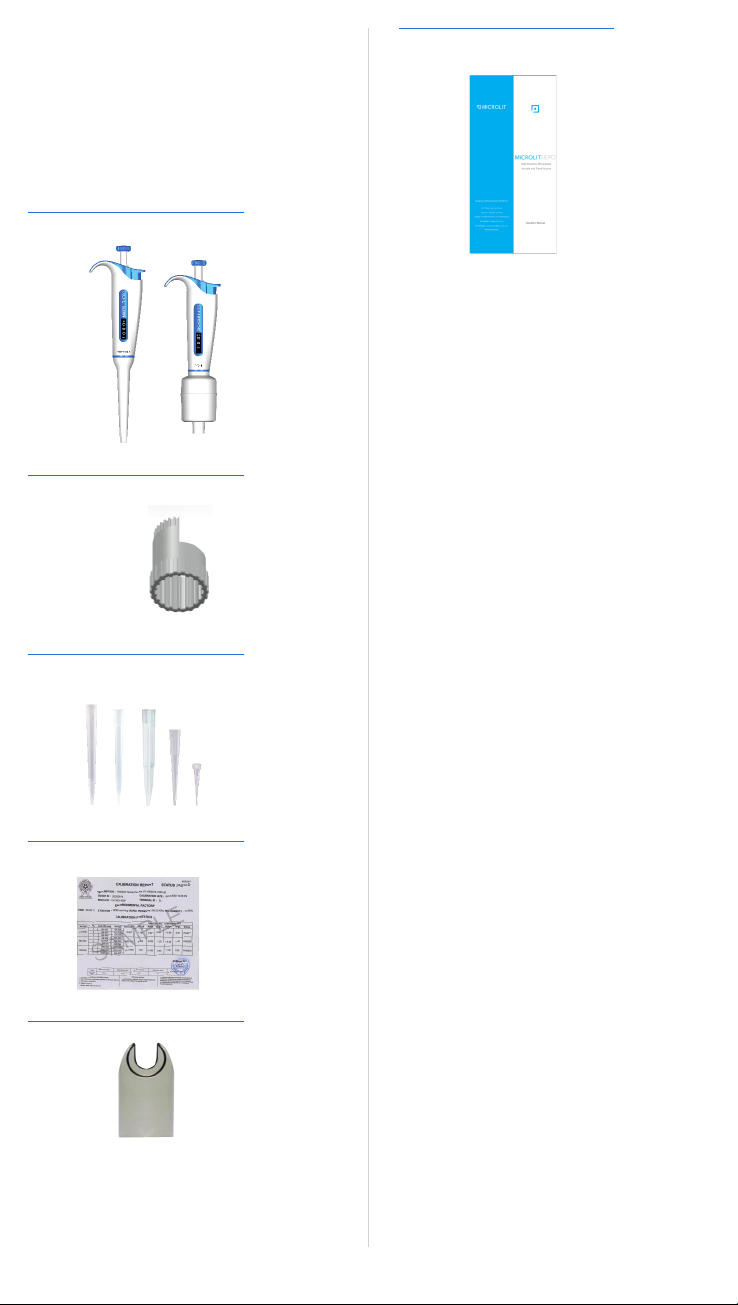
Raw Materials
Micropipette Operation
Easy tip ejection:
An in-built tip-ejector is designed
to eject tips with optimal force.
To increase the delivery
volume, turn the push button
counter-clockwise.
2. Make sure that the desired delivery volume
clicks into place.
3. Do not set a volume that lies
outside the micropipette’s
specified volume range.
There is no need to set the volume and the user
can directly operate the pipette as per the volume
required.
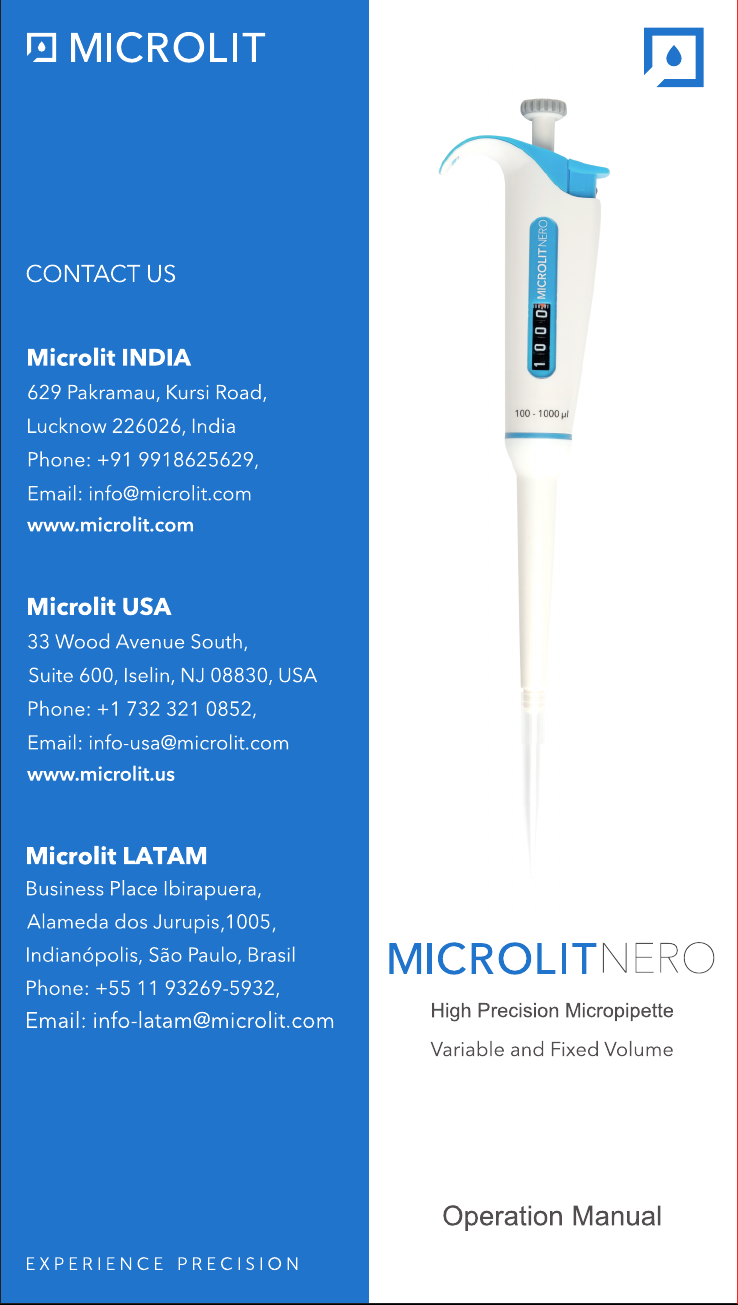
Product Description
MICROLIT NERO micropipettes are designed with
ergonomic and intuitive handling, ensuring high
precision with its µAir™ technology.
Built by our in-house team of product design
engineers, NERO Micropipettes are available in
Single Channel Fixed and Variable Volume ranges.
Product Features
Universal Tipcone:
Our tip-cone is designed to be compatible
with most internationally accepted tips,
which enhances the compatibility of the
instrument in the industry.
Microlit NERO offers sophisticated features
and it is designed to optimize the accuracy and
precision during operation.
µAir™ Technology:
The design of Microlit NERO
ensures minimum dead air
space between the piston and
the liquid in the tip, thereby,
reducing air compression and
ensuring high precision.
Tip Ejection
The pipette has a tip ejector
button which prevents
contamination. In order to
Minimum Dead Space
It is a unique calibration tool /
mechanism which allows quick
in-lab calibration in a single
operation Without disengaging
the digits from the plunger
mechanism.
Easy Volume Adjustment:
The easy rotation mechanism
of plunger drives the digital
system to set the volume of the
instrument comfortably.
Set the volume with perfection:
A soft click at every volume change
ensures perfect volume setting and
prevents any accidental volume
change.
A fixed volume micropipette
minimizes the random error as the
chances of accidental volume
change is nil. The fixed volume
allows the user to work at a faster pace.
eject the tip, point the micropipette at a suitable
waste receptacle and press the ejector button
with your thumb.
Note: Using excessive force to turn the push button
outside the range may jam the mechanism and
eventually damage the micropipette.
UniCal™ Technology (Patent Pending):
1 2