Page 4
Thank you for purchasing this air conditioner. This manual will provide you with information on how
to operate, maintain, and troubleshoot your air conditioner. Following the instructions will ensure the
proper function and extended lifespan of your unit.
Please pay attention to the following signs:
Safety Precautions 1
General
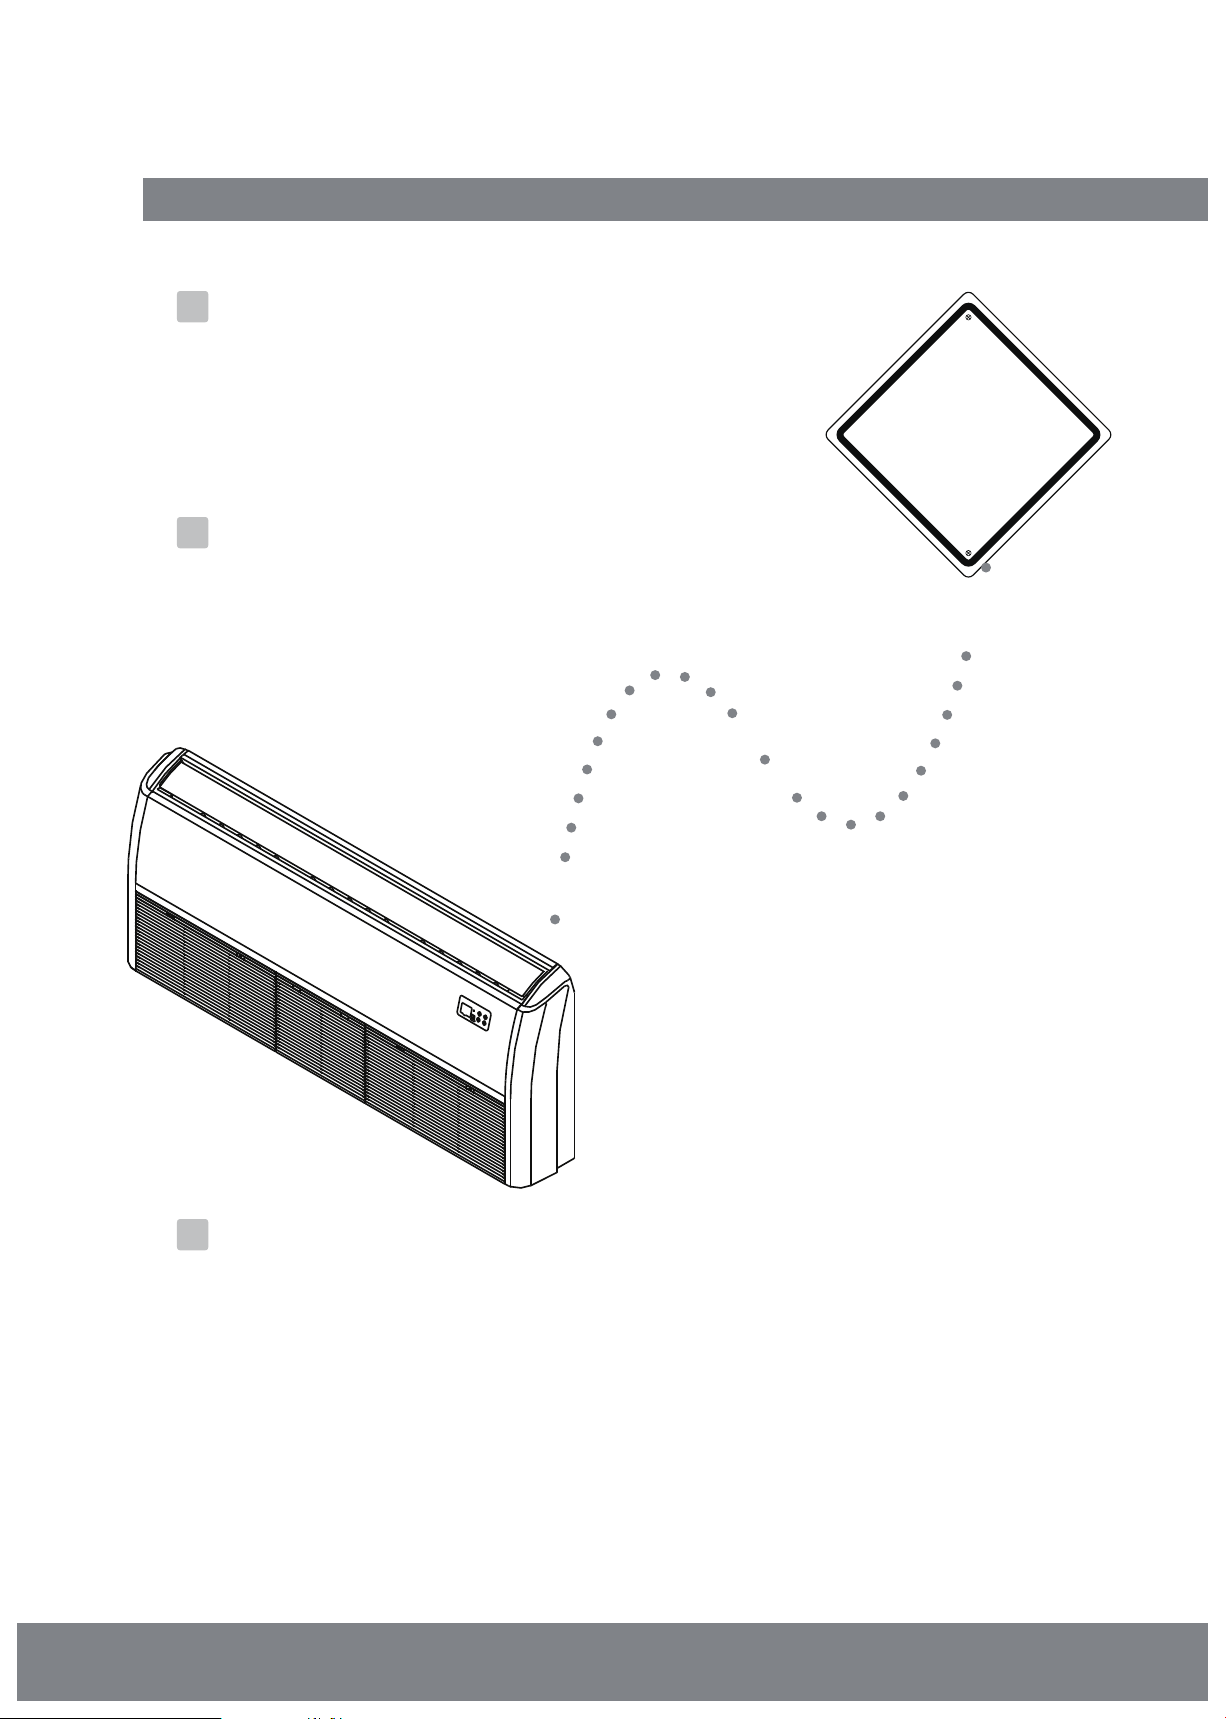
Introduction
Failure to observe a warning may result in death. The appliance must be
installed in accordance with national regulations.
.
Failure to observe a caution may result in injury or equipment damage.
WARNING
CAUTION
Safety
Precautions
WARNING
• Ask an authorized dealer to install this air
conditioner. Inappropriate installation may
cause water leakage, electric shock, or fire.
• The warranty will be voided if the unit is not
installed by professionals.
• If abnormal situation arises (like burning
smell), turn o the power supply and call
your dealer for instructions to avoid electric
shock, fire or injury.
• DO NOT
let the indoor unit or the remote
control get wet. It may cause electric shock
or fire.
• DO NOT
insert fingers, rods or other objects
into the air inlet or outlet. This may cause
injury, since the fan may be rotating at high
speeds.
• DO NOT
use a flammable spray such as hair
spray, lacquer or paint near the unit. This
may cause fire or combustion.
• Do not use means to accelerate the
defrosting process or to clean, other than
those recommended by the manufacturer.
• The appliance shall be stored in a room
without continuously operating ignition
sources (for example: open ames, an
operating gas appliance or an operating
electric heater).
• The appliance shall be stored so as to
prevent mechanical damage from occurring.
• Be aware that the refrigerants may not
contain an odour.
• Compliance with national gas regulations
shall be observed.
•
Keep ventilation openings clear of
obstruction.
• DO NOT
pierce or burn.
NOTE:
The following informations are required
for the units adopt R32/R290 Refrigerant.
•
A warning that the appliance shall be stored
in a well-ventilated area where the room size
corresponds to the room area as specied
for operation.
• Any person who is involved with working on
or breaking into a refrigerant circuit should
hold a current valid certicate from an
industry-accredited assessment authority,
which authorises their competence to handle
refrigerants safely in accordance with an
industry recognised assessment specication.
•
•
Servicing shall only be performed as
recommended by the equipment
manufacturer. Maintenance and repair
requiring the assistance of other skilled
personnel shall be carried out under the
supervision of the person competent in the
use of ammable refrigerants.
If the supply cord is damaged, it must be
replaced by the manufacturer, its service
agent or similarly qualied persons in order
to avoid a hazard.


 null")