manuals.online logo
Brands
  1. Home
  2. •
  3. Brands
  4. •
  5. Midea
  6. •
  7. Fan
  8. •
  9. Midea FT30-16JB User manual

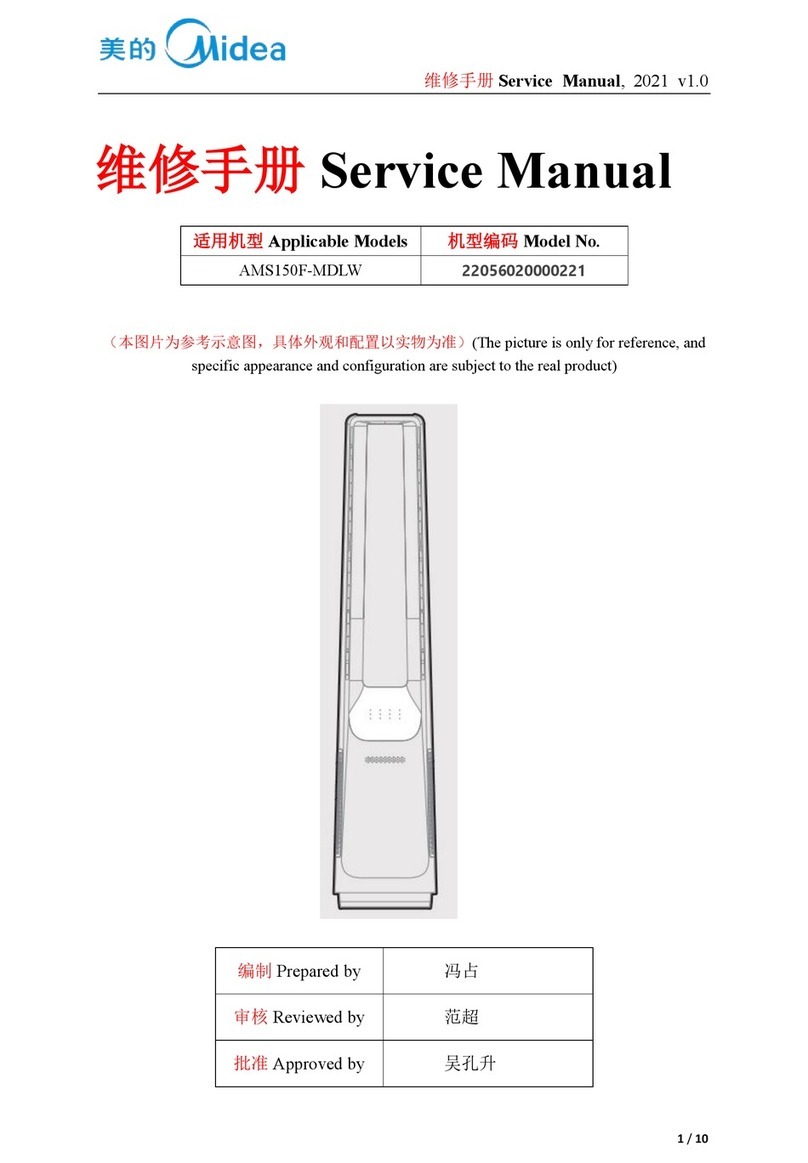
Midea FT30-16JB User manual

维修手册 Service Manual, 2017 v1.0
1/ 12
维修手册 Service Manual
适用机型 Applicable Models
FT30-16JB
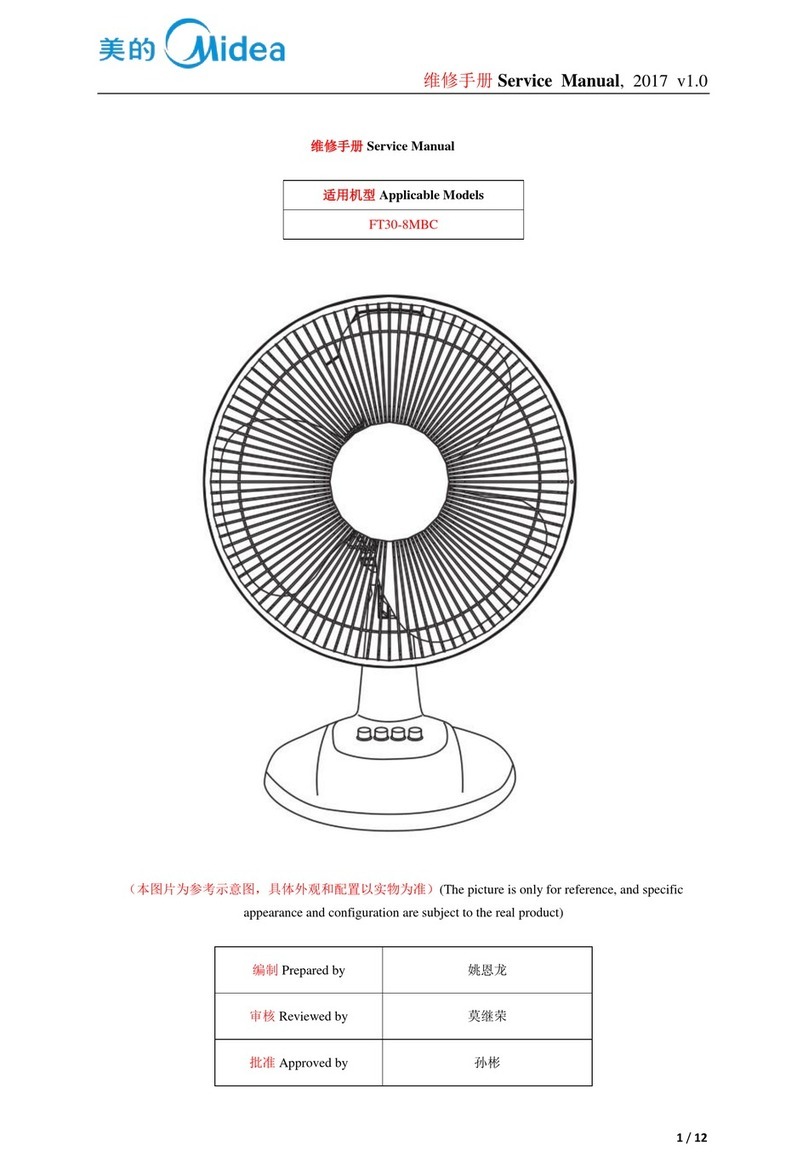
(本图片为参考示意图,具体外观和配置以实物为准)(The picture is only for reference, and specific
appearance and configuration are subject to the real product)
编制 Prepared by
刘启明
审核 Reviewed by
何洪启
批准 Approved by
孙彬
维修手册 Service Manual, 2017 v1.0
2/ 12
重要安全通知
本维修手册仅用于具有适当电气、电子和机械经验背景的维修人员使用。
任何修理主要装置的测试均可能导致人身伤害和财产损失。
制造商或经销商不对本资料的内容和解释负责。
美的环境电器
技术手册
版权@2017
保留全部版权。未经美的环境电器外销书面批准,不得以任何形式全部或部分复制本手册。
Important Safety Notice
The Maintenance Manual is only for the use of maintenance personnel with certain experience and background in
electrical, electronic and mechanical field.
Any attempt to repair main devices may lead to personal injury and property loss.
Manufacturers or distributors are not responsible for the content of the Manual and interpretation thereof.
Midea Environment Appliance
Technical Maintenance Manual
Copyright @2017
All rights reserved. Replication of all or part of the Manual in any forms shall not be allowed without written approval
by the Overseas Sales of Midea Environment Appliance.
维修手册 Service Manual, 2017 v1.0
3/ 12
1. 安全警示规范 Safety Warning Code
WARNING
1Read these instructions.
2Keep these instructions.
3Follow all instructions.
4Do not use this appliance near water. This appliance is intended to be used in household and
similar environments.
5Clean only with a damp cloth.
6Install in accordance with the manufacturer’s instructions.
7Do not defeat the safety purpose of the polarized or grounding-type plug. A polarized plug has two
blades with one wider than the other. A grounding type plug has two blades and a third grounding
prong. The wide blade or the third prong are provided for your safety. If the provided plug does not
fit into your outlet, consult an electrician for replacement of the obsolete outlet.
8Protect the power cord from being walked on or pinched, particularly at plugs, convenience
receptacles, and the point where the exit from the appliance.
9Do not attempt to modify or extend the power cord of this appliance.
10 Unplug this appliance during lightning storms or when it will not be used for long periods of time.
11 Make sure that the available AC power matches the voltage requirements of this appliance.
12 Do not handle the plug with wet hands. This could result in an electric shock.
13 Unplug the power cord by holding the plug, never by pulling the cord.
14 Do not turn the appliance on or off by plugging or unplugging the power cord.
15 Refer all servicing to qualified service personnel. Servicing is required when the appliance has been
damaged in any way, such as the power-supply cord or plug is damaged, liquid has been spilled or
objects have fallen into the appliance, the appliance has been exposed to rain or moisture, does
not operate normally, or has been dropped.
16 To reduce the risk of fire or electric shock, do not expose this appliance to rain, moisture, dripping,
or splashing.
17 This appliance is not intended for use by persons (including children) with reduced physical,
sensory or mental capabilities, or lack of experience and knowledge, unless they have been given
supervision or instruction concerning use of the appliance by a person responsible for their safety.
18 Children should be supervised to ensure that they do not play with the appliance.
19 If the supply cord is damaged, it must be replaced by the manufacturer, its service agent, or
similarly qualified person, in order to avoid a hazard.
维修手册 Service Manual, 2017 v1.0
4/ 12
2. 整机拆卸 Dismantling of appliance
2.1 前网罩拆卸
网罩要打开卡扣再拆下前网罩;
The grill should open the buckle and dismantle the
front grill.
2.2 风叶拆卸
顺时针拧出风叶索母,然后取下风叶;
Screw out the spinner of clockwise, then remove the
blade.
2.3 后网罩拆卸
逆时针拧出网罩索母,然后取下后网罩;
Unscrew the spinner of counterclockwise and
remove the rear grill.
维修手册 Service Manual, 2017 v1.0
5/ 12
2.4 抽钮拆卸
如果抽钮内无螺钉可直接向上用力拔出抽钮,有螺钉
的话使用螺丝刀将抽钮内部螺钉拧松,再取出抽钮;
If there is no screw in the knob, you can pull the knob
out directly and forcefully. If has a screw, use the
screwdriver to loosen the internal screw of the knob
and then take out the knob.
2.5 电机后壳的拆卸
用力向后方拍打电机后壳,直至电机后壳与电
机前壳分离,然后取下电机后壳
beat the rear enclosure with force until that is
separated from the front enclosure, and then
remove the rear enclosure.
2.6 电机前壳的拆卸
用螺丝刀拧松电机前壳的四颗或两颗螺钉,即
可取下电机前壳
Loosen four or two screws in the front
enclosure, he front enclosure can be removed
维修手册 Service Manual, 2017 v1.0
6/ 12
2.7 连接头的拆卸
取下底座柱的四颗螺钉,即可拆卸连接头
Remove the four screws from the base column to
remove the connector
2.10 电机的拆卸
使用螺丝刀将连接头前段的定位钉与摇头连杆的螺钉
去除即可拆卸电机
Remove screws of the oscillating arm and the
Neck,and then take off the motor.
2.12 底盘的拆卸
沿扣位方向拆开底盘和底板
Disassemble the chassis and bottom
plate along the locking direction
维修手册 Service Manual, 2017 v1.0
7/ 12
2. 整机的安装 Function and operation
3.1 连接头的安装 Operation panel
使用螺丝刀,安装摇头连杆和电机
Using a screwdriver, install the shaking link and
motor
3.2 电机的安装 Operation panel
将电机机头线穿过连接头,将电机中心轴插入连接
头定位套孔中,将定位钉拧紧在连接头上,并测试
电机是否已经固定在连接头上
Pass the motor head line through the neck, insert
the motor center shaft into the neck positioning
sleeve hole, tighten the locating scerw on the
neck, and check whether the motor has been
fixed on the neck
3.2 电机前壳安装 Button
将电机前壳穿过电机轴,放置在电机上,用螺钉
将电机前壳固定在电机上
The front enclosure is placed on the motor
through the motor shaft, and the front
enclosure is fixed on the motor with screws
维修手册 Service Manual, 2017 v1.0
8/ 12
3.3 电机后壳的安装 Display screen
将电机后壳对好位置后插入前壳中,扣位连接的需
要确保 4个扣位扣紧,螺钉连接的需要使用螺钉将
电机后壳固定
Insert the motor rear shell into the front enclosure
after it is in position. The fastener connection
needs to ensure 4 fasteners are tightened. The
screw connection needs to use screws to fix the
motor rear enclosure
3.10 后网罩的安装 Super cool
将后网罩穿过电机轴放置在电机前壳上并对好位,
使用网罩索母紧固,部分网罩在穿过电机轴后将网
罩从上往下安装,并顺时针拧动旋钮固定
Take the Spinner out from the bag, then remove
the plastic nut by turning it
counterclockwise.
Place the rear guard to the head unit make sure
the handle is upward.
Screw on the plastic nut (clockwise) securing the
fan guard on the head unit.
3.11 风叶的安装 Super cool
将扇叶穿过电机轴,使用风叶索母逆时针固定风叶
Install the fan blade onto the motor shaft. Make
sure the fan blade slot fits into
the retaining pin of the motor shaft.
Attach the spinner to the motor shaft by turning it
counterclockwise to secure the
fan blade.
3.12 前网罩的安装 Super cool
安装前面的网罩和后网罩一起使用网扣扣紧
Mount the front guard and join both guards
together using the Clips
维修手册 Service Manual, 2017 v1.0
9/ 12
4. 常见及解决方法 Fault code and solutions
故障代码
Fault
code
故 障 内 容
Fault content
代码可见
Code
visible
显示 Display
维修方法步骤 Steps for maintenance methods
不通电
No electricity
产品内部各部分故障:Failure of each part of the product:
1、线焊接不良 Bad welding
2、内部接线故障:内部线断;Internal wiring failure: internal
wire break;
3、电机故障:烧坏或热熔断器断路。电容故障。Motor fault :
burnout or open circuit of thermal fuse . Capacitance
failure .
摇头不顺
Shake one's
head
内部四连杆机构异常:The internal four-bar linkage
mechanism is abnormal:
1、不摇头:Do not shake head:
同步电机损坏,曲柄断。synchronous motor damage crank
break.
螺丝松脱。Screw loose.
螺丝压死连杆,连杆不能转动。Screw down the connecting
rod, the connecting rod can not be rotated.
2、疾步:To stride:
齿箱输出轴晃动,齿轮断齿。
连杆变形,
螺丝松动。The output shaft of the tooth box is sloshing and
the gear is broken.
The connecting rod is deformed and the screw is loose.
俯仰定位不
良Poor pitch
positioning
螺杆未打紧导致无法定位 The screw can't be located
because it's not tight.
维修手册 Service Manual, 2017 v1.0
10 / 12
5附录 Appendix:
5.1 爆炸图 EXPLORD
维修手册 Service Manual, 2017 v1.0
11 / 12
5.2 整机接线图 Electrical Schematic Diagram
5.3 风扇维修常用工具、设备和材料 refrigerator maintenance tooling and equipment and material
工具 Tooling
No.
名称 Name
图片 Photo
主要用途 Main Usage
1
十字螺丝刀 Phillips
screwdriver
拆卸螺钉 screw assemble and
disassemble
2
平口螺丝刀/小铲刀 slotted
screwdriver/scraper
拆卸螺钉和铆钉 screw and rivet
assemble and disassemble
3
套筒扳手 Socket spanner 5/16″
拆卸铰链、压缩机螺钉 hinge and
compressor screw assemble and
disassemble
维修手册 Service Manual, 2017 v1.0
12 / 12
4
尖嘴钳 Nipper pliers
辅助工具 assistive tool
5
电烙铁 Soldering iron
辅助工具 assistive tool
美的环境电器
如需获得厂家详细技术咨询,请联系:
[email protected]
环境电器事业部
外销
地址:中国广东省中山市东凤镇东阜路和穗工业园东区 28 号
Midea Environment Appliance
If you need to get detailed technical information from the manufacturer, please contact:
[email protected]
Environment Appliance Division
Overseas Sales
Address: Eastern 28th, Hesui industrial Park, Dongfu Road, Dongfeng Town, Zhongshan City, Guangdong
Province China

Other Midea Fan manuals

Midea MFC-150A15 User manual

Midea

Midea MFC-150A15 User manual

Midea FS40-15AR User manual

Midea

Midea FS40-15AR User manual

Midea FT45-14AP User manual

Midea

Midea FT45-14AP User manual

Midea FS40-11NR User manual

Midea

Midea FS40-11NR User manual

Midea FT30-8HC User manual

Midea

Midea FT30-8HC User manual

Midea MF-16FW6HR User manual

Midea

Midea MF-16FW6HR User manual

Midea FS40-23MT User manual

Midea

Midea FS40-23MT User manual

Midea MF-16FT17NB User manual

Midea

Midea MF-16FT17NB User manual

Midea FS40-14BU User manual

Midea

Midea FS40-14BU User manual

Midea MF-16FS12P User manual

Midea

Midea MF-16FS12P User manual

Midea MSVI-40 User manual

Midea

Midea MSVI-40 User manual

Midea NF15-23UR User manual

Midea

Midea NF15-23UR User manual

Midea NF15-18U User manual

Midea

Midea NF15-18U User manual

Midea FS40-16CR User manual

Midea

Midea FS40-16CR User manual

Midea FS45-23MRD User manual

Midea

Midea FS45-23MRD User manual

Midea FT30-14BU User manual

Midea

Midea FT30-14BU User manual

Midea MF-12FT16JC User manual

Midea

Midea MF-12FT16JC User manual

Midea MF-16FS18BR User manual

Midea

Midea MF-16FS18BR User manual

Midea MKT3H-800G70 User manual

Midea

Midea MKT3H-800G70 User manual

Midea FS40-18BR User manual

Midea

Midea FS40-18BR User manual

Midea FZ10-17KR User manual

Midea

Midea FZ10-17KR User manual

Midea FS40-10AR User manual

Midea

Midea FS40-10AR User manual

Midea FS40-15AR User manual

Midea

Midea FS40-15AR User manual

Midea NTH15-17BR User manual

Midea

Midea NTH15-17BR User manual

Popular Fan manuals by other brands

Fanimation KWARTET FPS8553 Series instructions

Fanimation

Fanimation KWARTET FPS8553 Series instructions

Hunter Lawndale installation manual

Hunter

Hunter Lawndale installation manual

Impecca FANFAIR FCF-1250 user guide

Impecca

Impecca FANFAIR FCF-1250 user guide

HiB Turbo Fixing instructions

HiB

HiB Turbo Fixing instructions

Vornado 133 user manual

Vornado

Vornado 133 user manual

Stirling FS1-40DC quick start guide

Stirling

Stirling FS1-40DC quick start guide

The Modern Fan Company Flow installation instructions

The Modern Fan Company

The Modern Fan Company Flow installation instructions

Progress Lighting AirPro P2560 installation manual

Progress Lighting

Progress Lighting AirPro P2560 installation manual

Vornado 530 owner's guide

Vornado

Vornado 530 owner's guide

Qazqa Wind Fan 42 Brass instruction manual

Qazqa

Qazqa Wind Fan 42 Brass instruction manual

HIRED-HAND MEGA FLOW Motor Replacement

HIRED-HAND

HIRED-HAND MEGA FLOW Motor Replacement

VARO POWERPLUS POWDP8015 manual

VARO

VARO POWERPLUS POWDP8015 manual

HKC 42997 owner's manual

HKC

HKC 42997 owner's manual

Tecnosystemi Apply.co PICO CLEAN 30 WI user manual

Tecnosystemi

Tecnosystemi Apply.co PICO CLEAN 30 WI user manual

MAXXFAN 5100 Service guide

MAXXFAN

MAXXFAN 5100 Service guide

Nicotra Gebhardt RDP operating manual

Nicotra Gebhardt

Nicotra Gebhardt RDP operating manual

NuTone 769RFT installation instructions

NuTone

NuTone 769RFT installation instructions

Parrot Uncle F4707Q110V Use and care guide

Parrot Uncle

Parrot Uncle F4707Q110V Use and care guide

manuals.online logo
manuals.online logoBrands
  • About & Mission
  • Contact us
  • Privacy Policy
  • Terms and Conditions

Copyright 2025 Manuals.Online. All Rights Reserved.