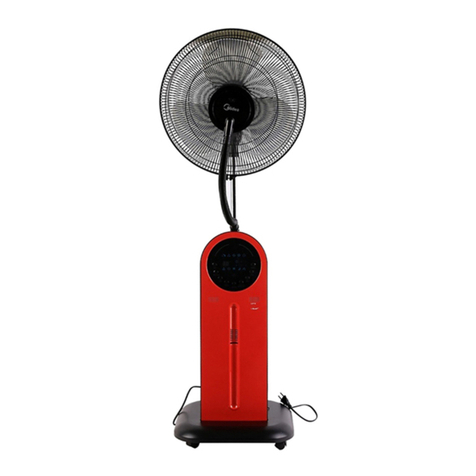
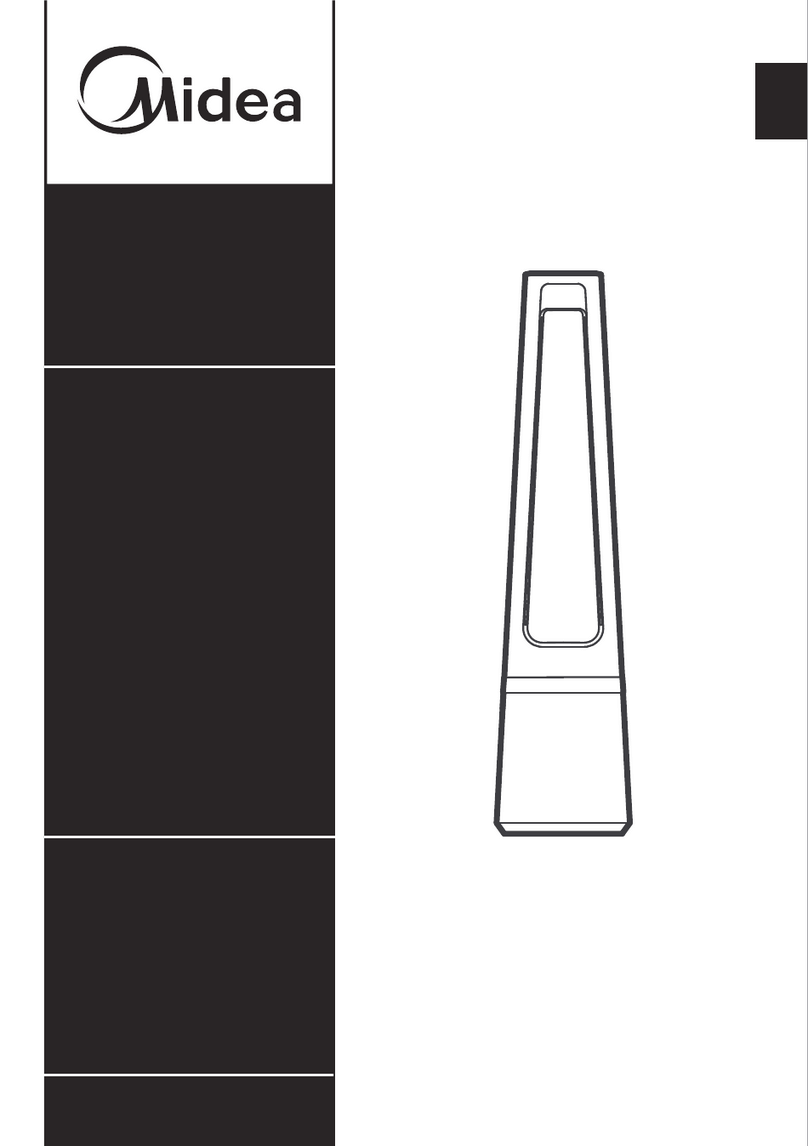
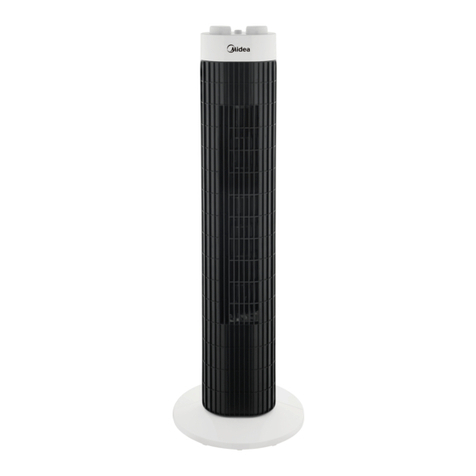
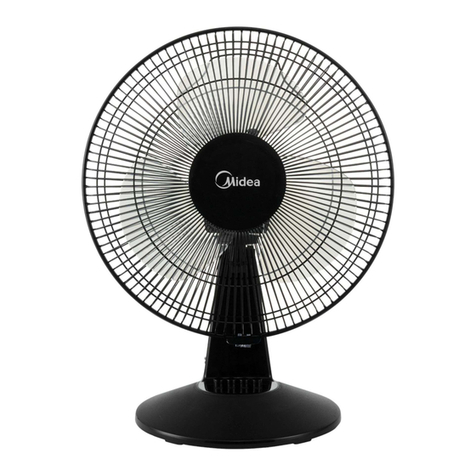
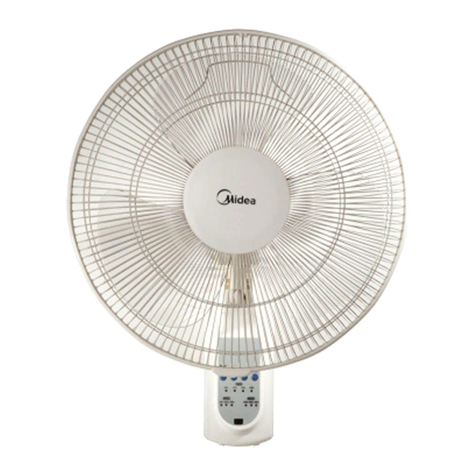
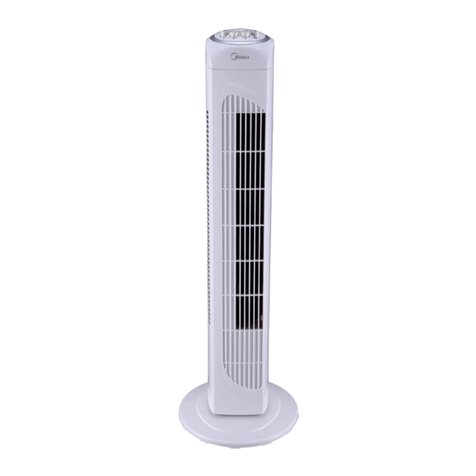
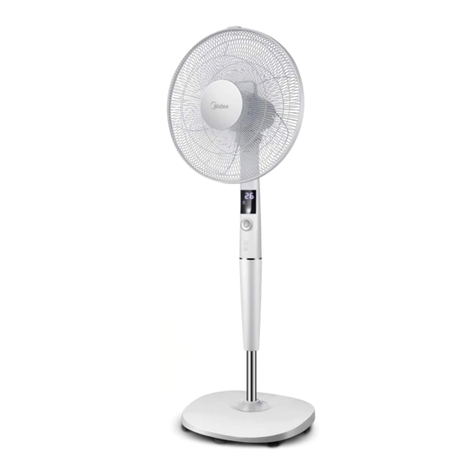
Midea FZ10-17HR User manual

Turmventilator
Midea Europe GmbH
Ludwig-Erhard-Straße 14, 65760 Eschborn, Deutschland
BEDIENUNGSANLEITUNG
Modell
FZ10-17HR
Achtung: Die Abbildungen dienen nur als Referenz.
LESEN SIE DIESE ANLEITUNG UND BEWAHREN
SIE SIE AUF.


INHALTSVERZEICHNIS
DE
1
2
4
6
6
7
SICHERHEITSHINWEISE & WARNUNGEN...............
INSTALLATIONSANLEITUNGEN................................
GEBRAUCHSANLEITUNGEN.....................................
WARTUNGSANLEITUNGEN.......................................
REINIGUNG.................................................................
GARANTIE / KUNDENDIENST....................................

VORSICHT
WARNING
WARNUNG
1
Lesen Sie die Anleitungen für einen sicheren Gebrauch sorgfältig
durch.
1. Ein beschädigtes Netzkabel muss vom Hersteller, von dessen
Kundendienst oder einer ähnlich qualifizierten Fachkraft ersetzt
werden, um Gefahrensituationen zu vermeiden.
2. Nur für den Gebrauch in Innenräumen.
3. Um Stromschläge zu vermeiden, dürfen das Gerät, das Kabel und
der Stecker nicht in Wasser oder andere Flüssigkeiten eingetaucht
werden.
4. Dieses Gerät ist geeignet für den Gebrauch durch Kinder ab 8
Jahren und Personen mit eingeschränkten körperlichen, sen-
sorischen oder geistigen Fähigkeiten bzw. ohne Erfahrung und
Wissen, sofern sie beaufsichtigt oder hinsichtlich der sicheren
Nutzung des Geräts angeleitet werden und die damit einhergehen-
den Gefahren verstehen.
Kinder dürfen nicht mit dem Gerät spielen. Reinigungsarbeiten und
Benutzerwartungen dürfen von Kindern nur unter Aufsicht durchge-
führt werden.
Kleinkinder müssen beaufsichtigt werden, um zu gewährleisten,
dass sie nicht mit dem Gerät spielen.
5. Ziehen Sie während des Nichtgebrauchs und vor der Reinigung
den Netzstecker aus der Steckdose.
6. Ordnungsgemäße Entsorgung des Produkts
Dieses Symbol weist darauf hin, dass das Produkt innerhalb der
EU nicht über den normalen Hausmüll entsorgt werden darf. Recy-
celn Sie das Produkt verantwortungsbewusst, um Umwelt- und
Gesundheitsschäden zu vermeiden und um die nachhaltige Wie-
derverwertung von Rohstoffen zu unterstützen. Bitte geben Sie das
Gerät an entsprechenden Rücknahme- oder Sammelstellen ab
oder bringen Sie es zu dem Händler, bei dem Sie es erworben
haben. Dort wird das Gerät für ein umweltgerechtes Recycling
entgegengenommen.

INSTALLATIONSANLEITUNGEN
Teileübersicht
Feststell-
mutter
Sockel
Gerätekörper
Bedienfeld
Display
2
Lösen Sie die Feststellmutter, um die Höhe
des Gerätekörpers zu verstellen. Ziehen Sie
die Mutter nach der Einstellung wieder fest.

[Deaktivierung der Displaybeleuchtung]
Wenn während des Betriebs des Geräts 30 Sekunden lang keine Funktion
ausgeführt wird, schaltet sich die Displaybeleuchtung automatisch aus und das
Betriebsicon leuchtet auf.
Drücken Sie eine Taste am Gerät, um die jeweilige Funktion auszuführen.
Beispiel:
• Wählen Sie mit den Tasten „+“ und „-“ eine der 12 Windgeschwindigkeiten
aus.
(Hinweis: In den Modi Schlafen, natürlicher Wind und Stumm kann die Windg-
eschwindigkeit nicht verstellt werden.)
• Drücken Sie die Taste „ “ und stellen Sie dann mit den Tasten „+“ und „-“
die Zeit ein:
- Drücken Sie, wenn der Ventilator eingeschaltet ist, die Taste „ “, um die
Dauer bis zur automatischen Abschaltung des Geräts mit einem Wert
zwischen 0,5 und 12 Stunden einzustellen.
- Im Standby-Modus können Sie die Dauer bis zur automatischen Einschal-
tung mit einem Wert zwischen 0,5 und 12 Stunden einstellen.
• Drücken Sie die Taste „ “, um zwischen den Modi Normal, Natürlich,
Schlafen und Stumm umzuschalten.
• Taste „ “: Drücken Sie diese Taste nach dem Einschalten des Ventilators,
um die Oszillationsfunktion zu aktivieren bzw. zu deaktivieren.
12
Anleitungen für den Gerätekörper
3
1. Nehmen Sie den Sockel aus der Verpackung und befestigen Sie ihn am Gerätekörper. Achten
Sie darauf, die Öffnungen im Sockel und im Gerätekörper miteinander auszurichten (1).
2. Drehen Sie die beiden Regler um 90° in Pfeilrichtung (2).
(Note: Sleeping winds , nautral winds and slience wind can not adjust the speeds

Stumm
Display
Timer
Normaler Wind Natürlicher Wind
Schlafen
OSZILLATION
MODUS
(Note: Sleeping winds , nautral winds and slience wind can not adjust the speeds
GEBRAUCHSANLEITUNGEN
4
GESCHWINDIGKEIT/TIMER
TIMER
EIN/AUS
Gebläse-Geschwindigkeit einstellen
Oszillationsmodus einstellen
Stummen Modus einstellen
EIN/AUS
Timer-Taste
Gebläse-Modus einstellen

b. BATTERIEN
(nicht im Lieferumfang enthalten)
c. BATTERIEWARNUNG
d. GEBRAUCH DER FERNBEDIENUNG
e. ÜBERHITZUNGSSCHUTZ DES MOTORS
AAA-Batterien
5
(1) Schieben Sie die Batteriefachabdeckung auf.
(2) Legen Sie die Batterien gemäß der Abbildung rechts in
das Batteriefach ein.
(3) Schließen Sie wieder die Batteriefachabdeckung.
HINWEIS:Verwenden Sie Mangan- oder Alkalibatterien des
Typs „AAA“. Verwenden Sie keine wiederaufladbaren
Batterien.
1. „Werfen Sie Batterien nicht ins Feuer; die Batterien
könnten auslaufen oder explodieren.“
2. -Verwenden Sie alte und neue Batterien nicht gemeins-
am.
3. -Verwenden Sie Alkalibatterien, herkömmliche Batterien
(Kohle-Zink) und wiederaufladbare Batterien (Nick-
el-Kadmium) nicht gemeinsam.
Fernbedienung
Batteriefachabdeckung
Richten Sie die Fernbedienung auf den Empfänger am Gerät und drücken Sie die
entsprechenden Tasten. Die Fernbedienung kann innerhalb einer Reichweite von
bis zu fünf Metern und eines Winkelbereichs von 30 Grad links und rechts vom
Empfänger verwendet werden.
Die Batterien müssen vor der Entsorgung des Geräts entfernt und dann umwelt-
gerecht entsorgt werden.
Der Motor verfügt über eine Thermosicherung. Falls der Motor überhitzt, brennt
diese Sicherung durch, das Gerät schaltet sich aus und die Temperatur des Motors
kann nicht weiter ansteigen, damit die Kunststoffteile des Geräts nicht verformen
oder anbrennen können.

REINIGUNG
:
WARTUNGSANLEITUNGEN
6
Das Gerät erfordert nur eine geringfügige Wartung. Versuchen Sie niemals, das
Gerät eigenständig zu reparieren. Lassen Sie Reparaturen bei Bedarf nur von
qualifizierten Wartungskräften durchführen.
1. Trennen Sie das Gerät vor der Reinigung und Installation vom Netzstrom.
2. Um eine ordnungsgemäße Belüftung des Motors zu gewährleisten, müssen die
Ventilationsöffnungen an der Rückseite des Motors immer sauber sein. Das
Gerät darf zum Zweck der Entfernung von Staub nicht demontiert werden.
3. Wischen Sie die äußeren Teile mit einem weichen Lappen, den Sie mit einem
milden Reiniger anfeuchten, ab.
4. Verwenden Sie keine Scheuer- oder Lösungsmittel; diese könnten die Ober-
fläche des Geräts zerkratzen.
Verwenden Sie keine der nachfolgenden Reinigungsmittel: Benzin, Verdünner,
Trennmittel.
5. Lassen Sie weder Wasser noch andere Flüssigkeiten in das Motorgehäuse oder
die inneren Komponenten des Geräts eindringen.
1. Trennen Sie das Gerät vor der Reinigung vom Netzstrom.
2. Reinigen Sie Kunststoffteile mit einem weichen Lappen, den Sie mit einem
milden Reinigungsmittel anfeuchten.
Entfernen Sie Reinigungsrückstände mit einem trockenen Lappen.
ENTSORGUNG: Entsorgen Sie elektrische Geräte nicht über den
normalen Hausmüll, sondern an entsprechenden Sammelstellen.
Informationen über Sammelstellen erhalten Sie auf Ihrer Behörde vor
Ort. Falls elektrische Geräte auf Müllhalden oder Deponien entsorgt
werden, können gefährliche Substanzen in das Grundwasser und
somit in die Nahrungskette gelangen, was wiederum negative
Auswirkungen auf die Gesundheit und das Wohlbefinden hat.

GARANTIE / KUNDENDIENST
7
Herzlichen Glückwunsch zu Ihrem neuen Produkt. Wir hoffen, Sie werden damit
viel Freude haben.
Für Reklamationen wenden Sie sich bitte an unseren Kundendienst:
Midea Europe GmbH
Ludwig-Erhard-Straße 14
65760 Eschborn
Telefon: 06196-90 20 - 0
Fax: 06196 90 20 120
Für die weitere Bearbeitung im Fall von Fehlfunktionen benötigen wir Ihre Adres-
se, Ihre Telefonnummer, die Nummer des Kaufvertrags, den Typ des Geräts, die
Seriennummer (siehe Typenschild des Geräts) und eine kurze Beschreibung des
Problems.
Garantiebedingungen
Dieses Gerät wurde gemäß aktuellsten Verfahren hergestellt und getestet.
Unabhängig von der gesetzlichen Garantie des Verkäufers/Händlers gewährt der
Hersteller eine Garantie auf Material- und Herstellungsfehler für einen Zeitraum
von 24 Monaten ab Kaufdatum.
Gewährleistungsansprüche werden bei Eingreifen durch den Verkäufer oder
Dritte nichtig.
Die Garantie erstreckt sich nicht auf Schäden aufgrund unsachgemäßer Hand-
habung oder Verwendung, inkorrekter Montage oder Lagerung, unsachgemäßer
Installation oder Verbindung, höherer Gewalt oder anderer externer Faktoren.
Im Fall eines Garantieanspruchs behalten wir uns das Recht vor, das betroffene
Teil zu reparieren bzw. zu ersetzen oder das gesamte Produkt zu ersetzen.
Ersetzte Teile bzw. Geräte gehen in unser Eigentum über.
Falls der vom Hersteller vorgesehene Zweck des Geräts durch Reparatur/Ersatz
des Geräts nicht wieder erreicht werden kann, kann der Käufer – nur dann und
innerhalb von 6 Monaten ab Kaufdatum – im Rahmen der Garantie eine Reduz-
ierung des Kaufpreises oder die Aufhebung des Kaufvertrags verlangen.
Die Haftung für Schäden, einschließlich Folgeschäden, ist ausgeschlossen,
sofern die Schäden nicht auf Vorsatz oder grobe Fahrlässigkeit zurückzuführen
sind.
Der Käufer muss einen Garantieanspruch durch Vorlage des Kaufbelegs nach-
weisen. Diese Garantie gilt innerhalb der Bundesrepublik Deutschland.

CONTENT
CAUTION & WARNING ..............................................
INSTALLATION INSTRUCTIONS ..............................
OPERATING INSTRUCTION.......................................
MAINTENANCE INSTRUCTION ................................
CLEANING .................................................................
WARRANTY / SERVICE .............................................
EN
1
2
4
6
6
7

Read Rules for Safe Operation and Instructions Carefully.
CAUTION
WARNING
1. If the supply cord is damaged, it must be replaced by manufacturer
or its service agent or a similarly qualified person in order to avoid
a hazard.
2. Indoor use only.
3. To protect against the risk of electrical shock, do not immerse the
unit, cord or plug in water or other liquid.
4. This appliance can be used by children aged from 8 years and
above and persons with reduced physical, sensory or mental
capabilities or lack of experience and knowledge if they have
been given supervision or instruction concerning use of the
appliance in a safe way and understand the hazards involved.
Children shall not play with the appliance. Cleaning and user
maintenance shall not be made by children without supervision.
Young children should be supervised to ensure that they do not
play with the appliance.
5. When the appliance is not in use and before cleaning, unplug the
appliance from the outlet.
6. Correct Disposal of this product
This marking indicates that this product should not be
disposed with other household wastes throughout the EU. To
prevent possible harm to the environment or human health from
uncontrolled waste disposal, recycle it responsibly to promote the
sustainable reuse of material resources. To return your used
device, please use the return and collection systems or contact
the retailer where the product was purchased. They can take this
product for environmental safe recycling.
WARNING
1

INSTALLATION INSTRUCTIONS
Name of components
Lock nut
Base
Body
Display window
Control panel
Loosen the lock nut to adjust the height
of the fan body and lock it after
adjustment.
2

1.Take out the fan base from the carton and install to the fan body. Be sure the hole
between base and body are aligning。(1)
2.Revolve the arrows of two rotary knobs about 90° (2)
12
Instructions for operation of body
Press a key on the unit to activate a corresponding function.
For instance:
●Press “+”、“-”Key to adjust 12 speeds of air flow.
(Note: Sleeping winds , nautral winds and slience wind can not adjust the speeds
of air flow.)
●Press “ ”Key, through the "+", "-" to adjust time:
-When the fan is on, press the “ ” key to time the fan to shut down
after 0.5-12 hours.
-In stand-by mode, you can pre-set the fan to start in 0.5-12 hours.
●Press “ ”Key to switch between Normal, Natural, Sleep and Silence
Functions.
●Press “ ”Key:Press this key after activating the fan to toggle the
operation between Swing and Fixed Direction.
[Light screen off function]
When the machine is on the working state, the screen automatically lights off and
operating mode icon retains up if without operation within 30 second.
3
Press a key on the unit to activate a corresponding function.
For instance:
●Press “+”、“-”Key to adjust 12 speeds of air flow.
(Note: Sleeping winds , nautral winds and slience wind can not adjust the speeds
of air flow.)
●Press “ ”Key, through the "+", "-" to adjust time:
-When the fan is on, press the “ ” key to time the fan to shut down
after 0.5-12 hours.
-In stand-by mode, you can pre-set the fan to start in 0.5-12 hours.
●Press “ ”Key to switch between Normal, Natural, Sleep and Silence
Functions.
●Press “ ”Key:Press this key after activating the fan to toggle the
operation between Swing and Fixed Direction.

Silence wind
Display window
Timer
Normal wind Natural wind
Sleep wind
ON/OFF
TIMER OSC
MODE
ON/OFF
Timer key
Set the fan mode
Set the oscillation mode
Set the fan speed
Set the silence mode
(Note: Sleeping winds , nautral winds and slience wind can not adjust the speeds
When the fan is on, press the “ ” key to time the fan to shut down
OPERATING INSTRUCTION
4

b. BATTERIES
(battery not included in the packing)
(1) Slide the battery compartment Cover.
(2) Insert the batteries, and make sure that the
batteries are placed as shown in the right.
(3) Slide back the battery cover.
NOTES:
Use manganese or alkaline batteries of
type "AAA". Do not use rechargeable batteries.
c. BATTERY WARNING AS BELOW
1. “Do not dispose of batteries in fire, batteries may
explode or leak.”
2. -Do not mix old and new batteries.
3. -Do not mix alkaline, standard (carbon-zinc) or
rechargeable (nickel-cadmium) batteries.
d. REMOTE CONTROLLER OPERATION
Point the remote controller at the receptor on body of the fan and press the desired
button. The remote controller will work at distances of up to roughly five meters and
the angle of 30 degree included between right and left from the receptor.
The batteries must be removed from the remote controller before it is scrapped and
that they are disposed of safely.
e. OVERHEAT PROTECTION OF THE MOTOR
The windings of the motor have a thermal-fuse that burns out and the fan switches
off and temperature of the motor is no longer going up so that plastic parts of the fan
don’t subject to deformation so far so to be burned by the overheat if the motor is
overheat for any unexpected reason.
AAA Battery, 1.5v
5

CLEANING
1. Be sure to unplug from the electrical supply source before cleaning.
2. Plastic parts should be cleaned with a soft cloth moisten with mild soap.
Thoroughly remove soap film with dry cloth.
DISPOSAL:Do not dispose of electrical appliances as unsorted
municipal waste, use separate collection facilities. Contact you
local government for information regarding the collection systems
available. If electrical appliances are disposed of in landfills or
dumps, hazardous substances can leak into the groundwater and get into the food
chain, damaging your health and well-being.
The fan requires little maintenance. Do not try to fix it by yourself. Refer it to
qualified service personnel if service is needed.
1. Before cleaning and assembling, fan must be unplugged.
2. To ensure adequate air circulation to the motor, keep vents at the rear of the
motor free of dust. Do not disassemble the fan to remove dust.
3. Please wipe the exterior parts with a soft cloth soaking a mild detergent.
4. Do not use any abrasive detergent or solvents to avoid scratching the surface.
Do not use any of the following as a cleaner: gasoline, thinner, bending.
5. Do not allow water or any other liquid into the motor housing or interior parts.
MAINTENANCE INSTRUCTION
6

WARRANTY / SERVICE
Congratilations to your new product. We hope that ou will enjoy it.
If you should have any reason for complaint, please contact our customer service
at:
Midea Europe GmbH
Ludwig-Erhard-Straße 14
65760 Eschborn
Phone: 06196-90 20 - 0
Fax: 06196 90 20 120
In case of malfunction, please provide your correct adress, phone number, number
of purchase agreement, type of divice, serial no. (on the rating plate of your prod-
uct), and a short description of the fault.
Warranty conditions
This device has been manufactured and tested according to the latest methods.
Regardless of any statutory warranty obligations of the seller/retailer, the manufac-
turer offers a warranty on material and workmanship for a period of 24 months,
starting from the day of purchase.
A warranty claim will be void in case of any intervention by the seller or third party.
The warranty does not cover damage caused by improper handling or use, incor-
rect assembly or storage, improper installation or connection, forca majeure, or any
other external factors.
In case of warranty claims, we resive the right to repair or replace any defect part or
to replace the whole product. Parts or divices replaced will become our property.
If the use intended by the manufacturer cannot be achived by repair/s or replace-
ment of a device, only then and within 6 months starting from the day of purchase
may the purchaser under warranty request a reduction oft he purchase price or
cancellation of the prchase agreement.
Any claims for damages, including consequential damages, are excluded, provided
they are not the result of intent or gross negligence.
The purchaser must proof a warranty claim by presenting the purchase receipt. This
warranty is applicable within the Federal Republic of Germany.
7

CONTENU
FR
1
2
4
6
6
7
ATTENTION & AVERTISSEMENT..............................
INSTRUCTIONS D'INSTALLATION............................
MODE D'EMPLOI.........................................................
INSTRUCTION D’ENTRETIEN....................................
NETTOYAGE...............................................................
GARANTIE / SERVICE................................................

PRECAUTION
WARNING
AVERTISSEMENT
1
Lisez attentivement les règles pour une utilisation en toute sécurité
ainsi que les instructions.
1. Si le cordon d'alimentation est endommagé, il doit être remplacé
par le fabricant, son agent de service ou une personne de même
qualification et ce afin d'éviter tout danger.
2. Utilisation à l’intérieur seulement.
3. Pour vous protéger de tout risque de choc électrique, n'immergez
pas l'appareil, le cordon ni la fiche dans l'eau ou tout autre liquide.
4. Cet appareil peut être utilisé par les enfants âgés de 8 ans et
plus et par des personnes ayant des capacités physiques, sensori-
elles ou mentales réduites ou un manque d'expérience et de con-
naissances si elles ont reçu une formation ou des instructions
concernant l'utilisation de l'appareil de manière sûre et si elles
comprennent les dangers encourus.
Les enfants ne doivent pas jouer avec cet appareil. Le nettoyage et
l’entretien par l'utilisateur ne doivent pas être effectués par des
enfants non surveillés.
Les jeunes enfants doivent être surveillés pour s'assurer qu'ils ne
jouent pas avec l'appareil.
5. Lorsque vous n'utilisez pas l'appareil et avant de le nettoyer,
débranchez-le de la prise.
6. Mise au rebut correcte de ce produit
Ce marquage indique que ce produit ne doit pas dans l’UE être
jeté avec les autres déchets ménagers. Pour éviter tout risque pour
l'environnement ou pour la santé humaine résultant d'une élimina-
tion incontrôlée des déchets, recyclez-le de manière responsable et
ce afin de promouvoir la réutilisation durable des ressources
matérielles. Pour retourner votre appareil usagé, veuillez utiliser les
systèmes de retour et de collecte ou contactez le revendeur auprès
duquel le produit a été acheté. Ils peuvent prendre soin ce produit
et le recycler sans danger pour l'environnement.
Table of contents
Languages:
Other Midea Fan manuals

Midea
Midea FS40-23MT User manual

Midea
Midea NF15-23UR User manual

Midea
Midea MTF-101K User manual

Midea
Midea FS40-15AR User manual

Midea
Midea FT40-21M User manual

Midea
Midea MFC-150A15 User manual

Midea
Midea FZ10-17KR User manual

Midea
Midea FG18-19ER User manual

Midea
Midea FS40-10AR User manual

Midea
Midea FS40-10DR User manual

Midea
Midea FS40-16JRG User manual

Midea
Midea NTH15-17BR User manual

Midea
Midea FZ10-17JRA User manual

Midea
Midea FT30-14BU User manual

Midea
Midea FT45-14AP User manual
Midea
Midea MKT3H-800G70 User manual

Midea
Midea FS40-14BU User manual

Midea
Midea FT30-8MB User manual

Midea
Midea FS40-16JA User manual

Midea
Midea AMS150-CJ User manual