manuals.online logo
Brands
  1. Home
  2. •
  3. Brands
  4. •
  5. Midea
  6. •
  7. Vacuum Cleaner
  8. •
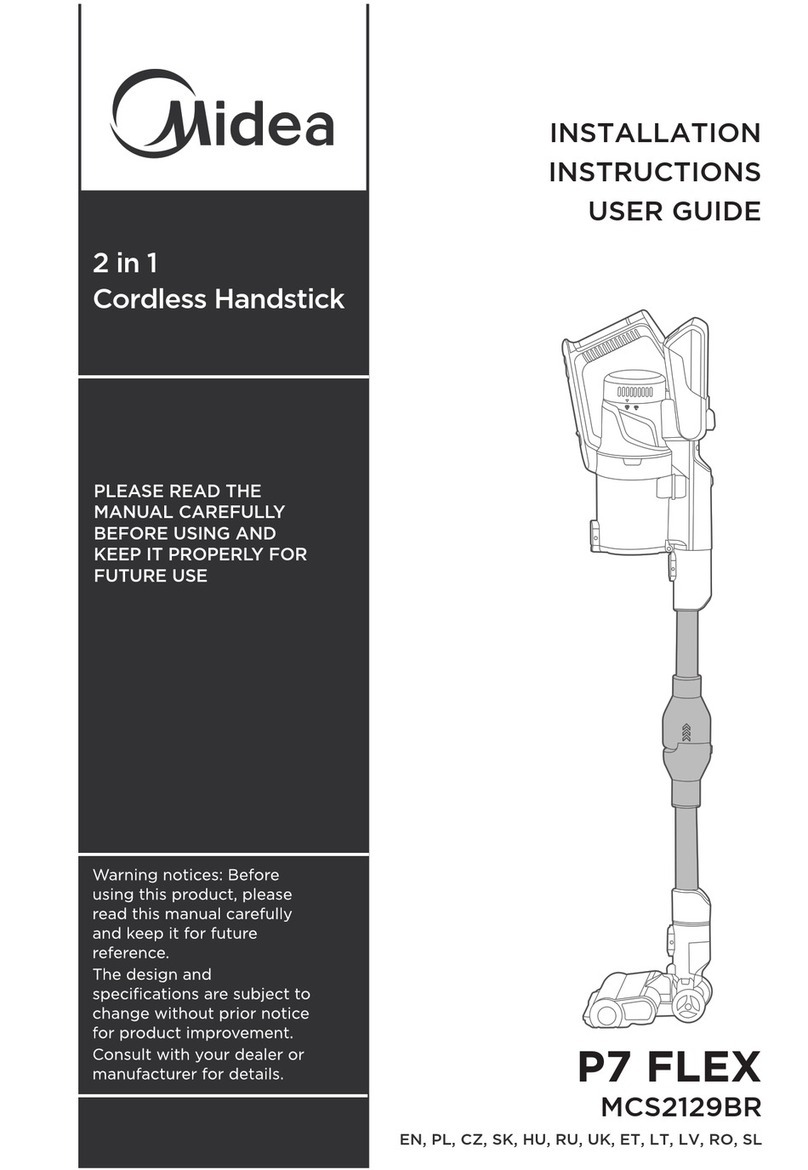
  9. Midea B5D User manual

Midea B5D User manual

Please read the Manual carefully before use, and keep it properly.
CORDLESS MATTRESS
VACUUM CLEANER
INSTRUCTION
MANUAL
Abnormalities Handling
If the product is found to be abnormal during use, please
refer to the table below.
- The battery power is low
- The charging socket plug is not plugged in
fully or the socket is not energized
- The switch button is not pressed
- The appliance is not charged properly as
indicated
- Too much dust in the dust cup
- The filter cotton of the dust cup is blocked
- The cyclone cone of the dust cup blocked
- Air duct of the suction port is blocked
- The filter cotton is not fully dried after
washing
- The appliance is too far from the objects to
be cleaned
- The appliance is placed upright
- The UV sensor light is covered with
contaminant
- The UV lamp tube is damaged
- Dust in the cup dust exceeds the maximum
scale line
- Air duct of the suction port is blocked
- Filter cotton is blocked by foreign body
- The appliance is not charged properly as
indicated
- The ambient temperature is too high or too
low in the case of charging
Abnormalities
The appliance doesn't
work
Weakened suction
UV light does not work
The appliance suddenly
stops
Cannot be charged
Possible causes
- Check whether the battery of the whole machine
is charged fully
- Check whether the plug is plugged in fully or the
socket is energized
- Press the switch button
- Place the appliance correctly and do charging as
required by the charging instructions
- The dust is cleaned up in time
- The filter cotton is cleaned
- The cyclone cone is cleaned
- The suction port is cleaned
After washed by water, the filter cotton is dried in
a cool place.
- Under normal circumstances, the appliance
automatically turns on the UV light when it is
within 5cm of the object to be cleaned.
- The tilt angle of the body is not more than 30°
- Clean up the contaminants with a dry cotton cloth
- Contact the after-sales department for replace-
ment of lamp tube
- Clean up the dust cup in time
- The suction port is cleaned
- The filter cotton is cleaned
- Place the appliance correctly and do
charging as required by the charging
instructions
- The appliance is charged at a suitable
temperature (5℃-40℃)
Treatment methods
Safety Instruction
Prompt
Do not place the vacuum cleaner nearby the heat source, radiation or
burning cigarettes. Do not collect the following objects:
1. All liquids like the water and solvents.
2. Construction dust and garbage like lime and cement ash, etc.
3. Hot objects like the unextinguished carbon head or a cigarette end.
4. Sharp fragments like glass, etc.
5. Flammable and explosive articles like gasoline or alcohol products.
Only authorized technicians are allowed to disassemble this product
and it is strictly forbidden to disassemble this product by oneself.
It is strictly forbidden to use this appliance by children, and people with
disabilities or lack of common sense and experience in household
appliances without the guidance of a special person!
This appliance is an indoor household product, please do not use it
outdoors.
Your vacuum cleaner is an electric appliance: It must be used in
accordance with normal conditions, and must not let the vacuum
cleaner operate alone without supervision.
Do not touch the power cord, socket or power adapter when your
hands are wet.
Please empty it before you use this product, when the dust box is filled
with dust.
The power must be turned off when the vacuum cleaner is cleaned,
repaired and temporarily not used.
1. Charging duration may be extended in the case of following circumstance a. The charging is made at room temperature above 30℃b. After the
appliance stops, it is charged immediately.
2. No matter how long it is used, please charge it after cleaning.
3. In the case of not charging, it is recommended to unplug the power plug in time.
4. If your appliance is not used for a long time (more than 2 months), please unplug the power cord, but to ensure the battery life, the battery is fully
charged every 2 months.
5. During the charging process, the body or the power adapter may be heated, which is normal. So please feel free to use it.
Do not immerse the vacuum cleaner; avoid exposure to heating appliance
or sunlight to avoid fire.
This appliance can only be used with the original power adapter installed
in the package. If other adapters are used, the appliance may be
damaged.
When taking out the battery, the appliance must be powered off; Do not
disassemble the main battery by yourself. If you need to replace it, please
contact the after-sales service personnel. Do not throw away it when the
battery is abandoned.
Do not touch the conductors of the pole pieces or the plug port to avoid
short circuit.
Cut off power: Do not pull the power cord. Hold the plastic part of the plug
by hand and unplug the plug.
The power cord of the vacuum cleaner should not pass through sharp
objects to avoid damaging the power cord.
Do not pull and drag the power cord to move the socket.
Check whether the supply voltage must match with the charging voltage
of the vacuum charger.
Avoid running for a long time where the suction port is blocked, to avoid
damage to the motor and heating or deformation of the vacuum cleaner.
Do not use the vacuum cleaner in the case of following circumstance, and
you promptly send it to the maintenance department as designated by the
company for repair:
1. The appliance falls off and there is significant damage or abnormal
operation.
2. The power cord is broken.
Product Introduction
Parts display
Function Operation
Battery status
Notes
Switch button
Charging
base
Plug
Dust cup assembly
Flap the vibration block
Suction port
UV sensor light
UV lamp
Power indicator
light
Please place it following the arrows on the illustration to ensure
proper charging.
State
In the charging
Charging completed
Power consumption
Insufficient remaining power
Indicator light for battery status
Flash once every second from left to right
The indicator light stays on for 10 minutes and then goes off
Decrease from right to left
The leftmost light flashes, which prompts charging
Function Operation
Sweeping
Cleaning and Maintenance
Dust cup cleaning
According to the area of the cleaned object, the user can adjust the
handle to two directions such as vertical and horizontal directions. Press
the switch button to push back and forth to achieve cleaning.
1. When the dust reaches the max scale line on the cup, the dust cup
is taken out along the direction of the arrow.
2. Above the trash can, take out the filter components and clean the
dust.
The handle can
be rotated 90°
Push back
and forth
Sofa, pillow
etc.
Cleaning and Maintenance
Before cleaning the UV lamp, be sure to turn off the switch of vacuum
cleaner and unplug the power cord to prevent the vacuum cleaner from
being wiped under running conditions.
A cross head driver is used to remove the UV lamp cover plate screws
and take down the UV lamp cover plate. Gently wipe the surface of the
UV lamp with a dry towel; After cleaning, assemble them in the reverse
order of the disassembly.
UV lamp cover
plate
UV lamp tube
Wipe with a
towel
UV lamp cleaning
Notes
Charging Cable Storage
Please keep the charger bottom dry. Pay attention not to be affected by
water or any dirt in case of lowing down the user experience, and also
pay attention not to press hard or step the charger on feet.
While not using the charger, please keep the charging cable storage as
the picture shown.
Caution
Cleaning and Maintenance
Prompt
Parts cleaning
1. Be sure to turn off the switch button before taking out the dust cup;
2. Please pay attention to sharp objects like glass to prevent the
machine from being scratched;
3. All parts need to be completely dry before they can be installed.
4. Do not wash or apply brute force to the filter cotton;
5. Be sure to check whether the filter cotton is installed in place during
assembly;
6. Do not continue to use it when the filter cotton of the dust filter is
damaged or the cleaning & maintenance cannot be restored.
After cleaned and dried thoroughly, all parts are assembled in the reverse
order of the disassembly to prevent ash from leaking in the next use.
It is recommended to perform the above cleaning work after each dust
has been poured: After the filter cotton has been used for 30-50 hours
accumulatively, if the suction drops seriously, the cleaning cannot be
resumed. Please go to the designated place to purchase and replace it.
Notes
Cleaning and Maintenance
3. Take down the filter cotton and the cyclone cone, as
shown by the arrows.
4. Clean the dust cup: Flap the filter cotton (remember that not
to flap in reverse direction).
Cyclone
cone
Filter
cotton
Model
Noise Capacity
UV Wave
Length
Rated
voltage Rated
power
Flapping Frequency
/MINUTE
Size(L/W/H)
Net
Weight
Specification

Other Midea Vacuum Cleaner manuals

Midea VSC02A861 User manual

Midea

Midea VSC02A861 User manual

Midea H3 Series User manual

Midea

Midea H3 Series User manual

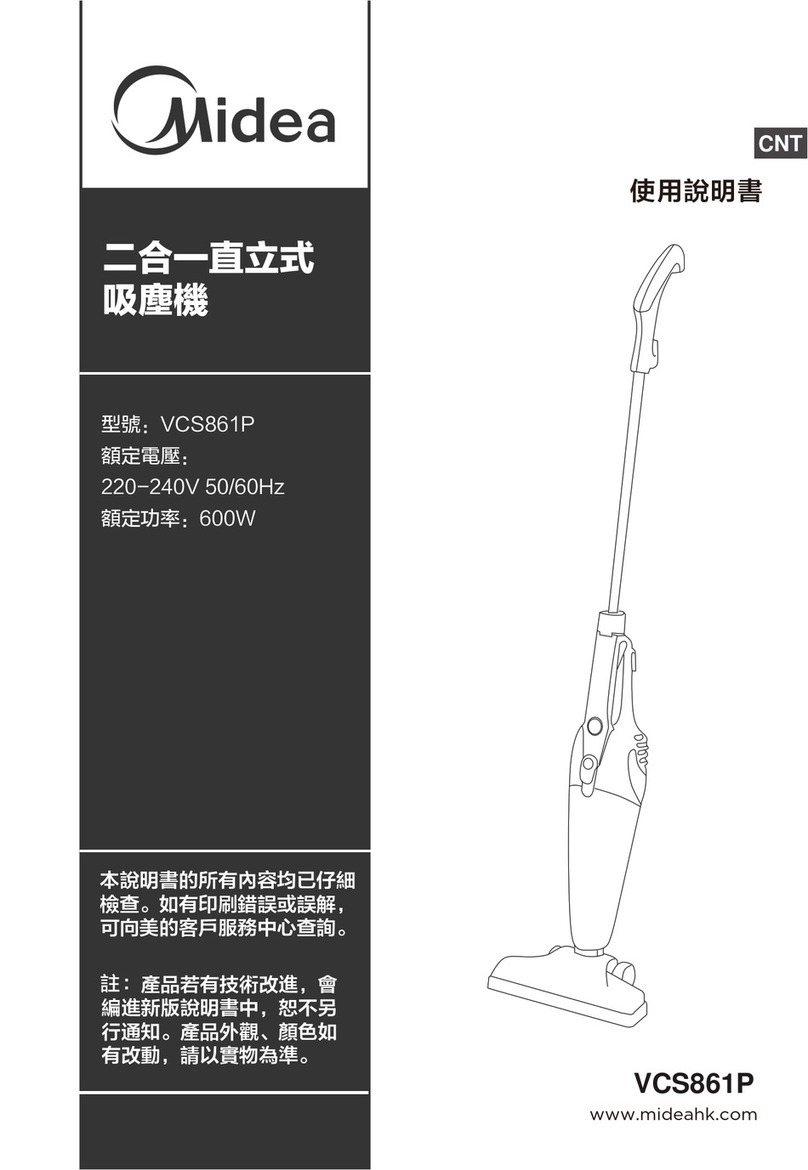
Midea VCS861P User manual

Midea

Midea VCS861P User manual

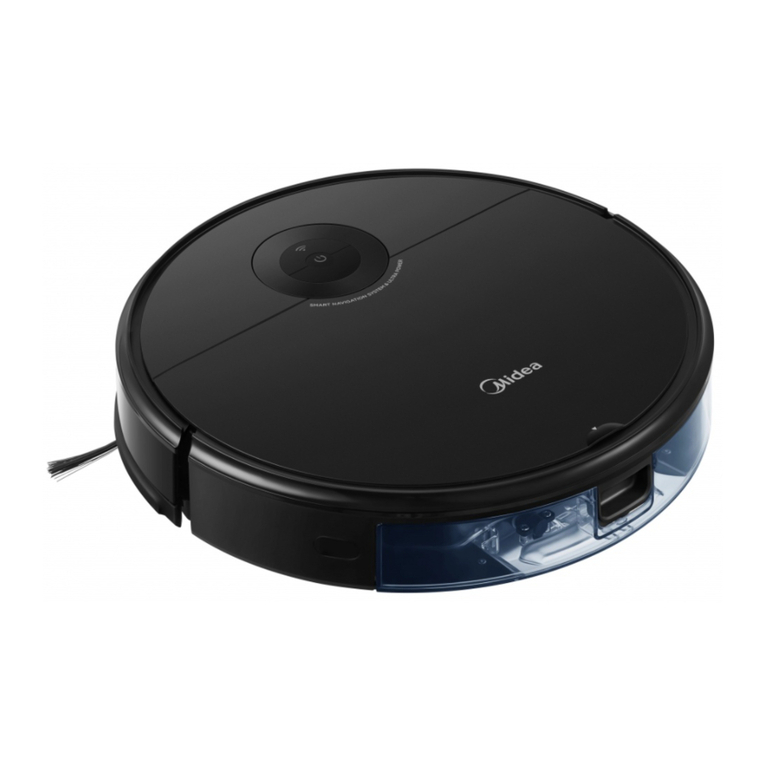
Midea S8+ User manual

Midea

Midea S8+ User manual

Midea VTW21A15T-140 User manual

Midea

Midea VTW21A15T-140 User manual

Midea VCB42A3670G User manual

Midea

Midea VCB42A3670G User manual

Midea Eureka I5C User manual

Midea

Midea Eureka I5C User manual

Midea MSB 5.700bs Administrator Guide

Midea

Midea MSB 5.700bs Administrator Guide

Midea 20Q0BW User manual

Midea

Midea 20Q0BW User manual

Midea MVC-V18K-BG User manual

Midea

Midea MVC-V18K-BG User manual

Midea V19P13A20Q0C User manual

Midea

Midea V19P13A20Q0C User manual

Midea MCS1825WB User manual

Midea

Midea MCS1825WB User manual

Midea VSS5800 User manual

Midea

Midea VSS5800 User manual

Midea VCM43B16H User manual

Midea

Midea VCM43B16H User manual

Midea P7 MAX Wiring diagram

Midea

Midea P7 MAX Wiring diagram

Midea MVC-16P-BG User manual

Midea

Midea MVC-16P-BG User manual

Midea M7 Pro User manual

Midea

Midea M7 Pro User manual

Midea MVC-V18P Wiring diagram

Midea

Midea MVC-V18P Wiring diagram

Midea MVC-P300 User manual

Midea

Midea MVC-P300 User manual

Midea M7 User manual

Midea

Midea M7 User manual

Midea MVC-SC861R User manual

Midea

Midea MVC-SC861R User manual

Midea P12 FLEX User manual

Midea

Midea P12 FLEX User manual

Midea VCR09B User manual

Midea

Midea VCR09B User manual

Midea VCS7P User manual

Midea

Midea VCS7P User manual

Popular Vacuum Cleaner manuals by other brands

Narwal YJCC012 user manual

Narwal

Narwal YJCC012 user manual

Bort BSS-1215 manual

Bort

Bort BSS-1215 manual

Hoover FH55000 Service instructions

Hoover

Hoover FH55000 Service instructions

MasterCraft 54-3672-4 owner's manual

MasterCraft

MasterCraft 54-3672-4 owner's manual

Makita DRC200Z instruction manual

Makita

Makita DRC200Z instruction manual

Hyundai HYVI 25 user manual

Hyundai

Hyundai HYVI 25 user manual

Sealey DFS31A.V2 instructions

Sealey

Sealey DFS31A.V2 instructions

Kärcher DE 4002 Original instructions

Kärcher

Kärcher DE 4002 Original instructions

Beko BKS 1320 O user manual

Beko

Beko BKS 1320 O user manual

LG VC906 Series owner's manual

LG

LG VC906 Series owner's manual

CTC Union CLATRONIC BS 1313 instruction manual

CTC Union

CTC Union CLATRONIC BS 1313 instruction manual

Sebo 370 comfort instruction manual

Sebo

Sebo 370 comfort instruction manual

Eureka 910 Series owner's guide

Eureka

Eureka 910 Series owner's guide

Kogan KAVACST296B user guide

Kogan

Kogan KAVACST296B user guide

Maxi Vac D4102 manual

Maxi Vac

Maxi Vac D4102 manual

LG VC49 Series owner's manual

LG

LG VC49 Series owner's manual

Eureka 8800 Series owner's guide

Eureka

Eureka 8800 Series owner's guide

Vax Zen user guide

Vax

Vax Zen user guide

manuals.online logo
manuals.online logoBrands
  • About & Mission
  • Contact us
  • Privacy Policy
  • Terms and Conditions

Copyright 2025 Manuals.Online. All Rights Reserved.