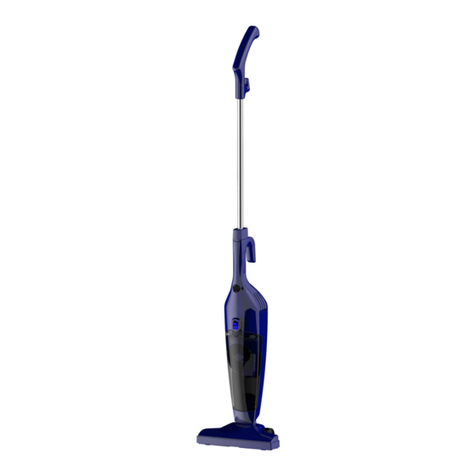
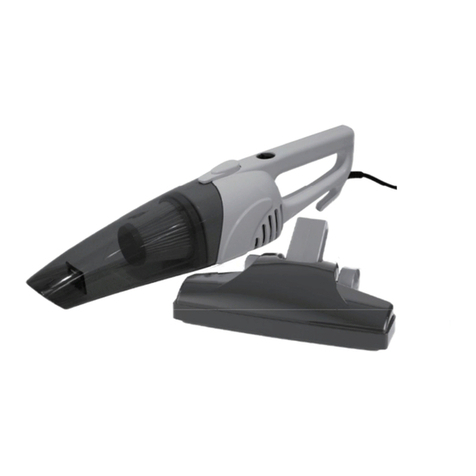
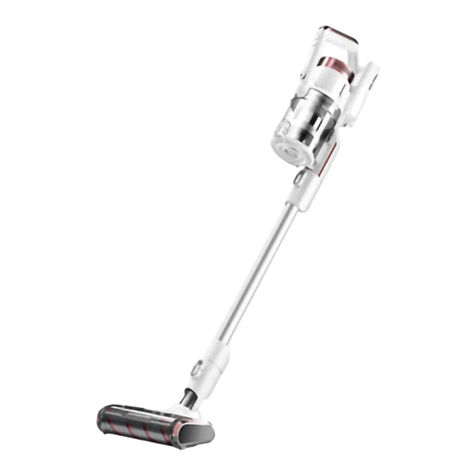
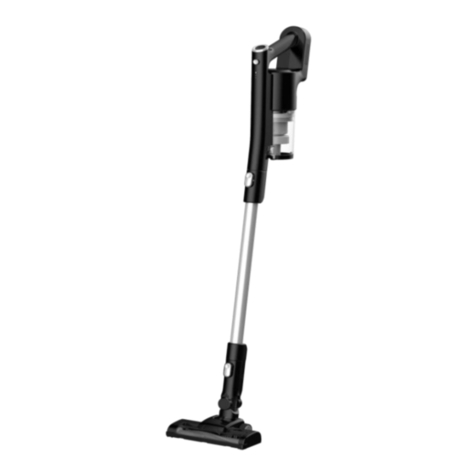
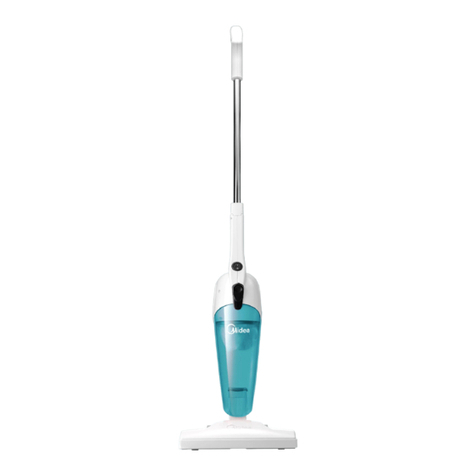
Midea VSC02A861 User manual

Vacuum Cleaner
2 IN 1
Model: VSC02A861
Instruction manual


DearCustomer,
Congratulationson your purchaseofa Handheld and FloorVacuum Cleaner!As a handheld
vacuum cleanerit is always ready waitingif you wantto remove a few crumbs orgive your
upholsterya clean.As a floor vacuum cleanerit can also easilycopewith large areas.The scope
of supplyalso includes a floornozzle attachmentand a crevice nozzle to cater for a widerange
vacuum cleanerit is always ready waitingif you wantto remove a few crumbs orgive your
of uses.We are sure that this appliancewill do sterlingservice formanyyears.
Before using thedevice for the first time,pleasereadtheinstructions throughcarefully
andstore them in a safeplace. If the device is given to someone else,itshould always
be accompanied bytheseinstructions.The manufacturerandimporterwillnotaccept
liabilityif the directions intheseinstructionsare notobserved!
We reserve the rightto modifythe product,packagingorencloseddocumentation at
any time inconjunctionwithour policyof continuous development.
Symbols used in the manual:
Warning abouthazards involving major risk.
Tips and recommendationsare markedwiththis symbol.
Safety information
Proper use
The applianceis usedtovacuum up the dustoccurringinany home.It is only designedfor
Warning about improper use
�Underno circumstancesshouldtheappliancebeusedonthefollowing:
–Liquids orwetmaterials (e.g. carpet shampoo when wet)
–Glowingash,cigaretteends,matches etc.
–Combustibleorinflammablesubstances
–Very fine dust(e. g. concrete dust)or toner
–Hard, pointedobjects such as large splinters ofglass
Risk to children
�Keepthe applianceoutof the reach ofchildren.Improperusemayresultininjuryor electric shock.
�Keep packaging awayfrom children (risk of suffocation).
�This applianceis notdesigned tobe used by people(includingchildren)withlimitedphysical,
sensoryormental capabilitiesorpeople withoutadequateexperienceand/orunderstanding
unless supervisedbysomeone responsiblefortheirsafety.
�Childrenmustbesupervised toensure thatthey do not play withthe appliance.
Risk of electrocution
�Never immerse the appliance in water or other liquids as there is a risk of electric shock.
�Never touch the appliance with wet hands. Do not use the appliance outside or in rooms with high
humidity levels.
�When using the appliance as a handheld vacuum cleaner to clean cars, make sure it is not exposed
to rain or moisture.
�Never vacuum up liquids.
�Only store the appliance indoors in a dry place.
�Immediately remove the power plug from the electrical outlet in the event of any damage or
malfunction.

�CAUTION: Acute danger to life from electrocution! Never try to repair an electrical appliance
yourself. For your own safety take or send it in to your nearest customer service centre / specialist
repair shop. This also applies to the power cable.
�Do not use the appliance if there is damage to the cable, plug or the vacuum cleaner itself.
�Never drag on the power cable or carry the appliance by the cable. Always handle the power cable
with care. Make sure the cable does not get caught in doors or dragged over sharp edges or
corners. Keep the cable away from hot surfaces.
�Before connecting the appliance to the electrical outlet, make sure the voltage matches the
specifications on the nameplate of the appliance.
�The appliance must be switched off when the power plug is removed or inserted in the wall outlet.
�Disconnect the plug from the wall outlet during storms.
�When removing the plug from the outlet, always pull on the plug and NOT the cable, Only touch
the plug with dry hands.
�The appliance should never be used outside.
Risk of injury
�Never hold the crevice nozzle close to the body or it may stick to the skin. If the nozzle does get
stuck, set the On/Off switch to immediately.
Caution when in use
�After rinsing,thedustfilter and motorprotection filter mustbecompletelydrybefore being
reinserted.
�Only use the applianceagainonceithas beenfully reassembledand both filters (dustfilter
and motor protection filter) have beenreinserted.
�For your own safety, check the appliancefor damagebefore use.If defective, the applianceshouldnotbe
used untilit has beenrepaired bya qualified technician.If the powercord is damaged,itshouldbe
replaced bya qualifiedtechnician toavoid risk.
�Once connected, the power cord should be placed so that no one can trip over them.
�Do not insertanything into the openings /nozzles of the applianceandmakesurethatthey
do not become blocked.
�Before changing nozzles,always switch the vacuum cleaneroff beforehand.
�Never leave the appliance unattendedwhenswitchedon.
�When interruptingwork and after useswitchthe appliance off andunplug.
�Only use genuine manufactureraccessories.
Caution with malfunctions
�Before checkingthe appliance forblockages ordealing withthem,switchthevacuum cleaner
off and removethe plug.
�Do not insertobjects inthe appliance:theymighttouch live parts.
�If liquids orforeignbodies getinsidethe appliance,unplugimmediately.Have the appliance
checked before reusing.
Damage to property / appliance
�Never placeheavy objects on the appliance.
�Protect the appliance from heat,naked flame,direct sunlightand shocks.Donotdrop the
appliance.
Caution when cleaning appliance
�Cleanthe filters regularly, especiallywhen you noticethe suction has weakened.The motor might
otherwise become overloaded.
�Always unplug the appliance from the wall outlet before cleaning.
�The dustfilter and motorfilter shouldnotbecleaned inthe washingmachine.
�Always allow filters to dry inthe air. Never usea hairdryer.
�Do not use causticorabrasive products to cleanthe housingoryou maydamagethe surface.
Warranty Terms
�The followingare excludedfrom the warranty: all defects causedbyimproperhandling,damage or
unauthorizedattempts to repair. The sameapplies fornormal wear.
�Length of Warranty: 90days from date of purchase.
�Within 90 days from dateof purchase,return productto placeof purchasealong withthe originalreceipt.
List of parts
1. Handle
2. Top cord holder
3. Detachable rod handle
4. Power cord
5. Air outlet openings
6. Dustcollector
7. Dustfilter (in dustcollector)
8. Unlocking button for dustcollector
9. On/Off switch
10. Adapter
11. Bottom cord holder
12. Crevice nozzle
13. Floor nozzle attachment
14. Suction opening
3
7
2
1
4
5
9
6
10
8
11
13
14
12

Assembly
Conversion from handheld to floor vacuum cleaner
Removeallparts from the packagingand placecarefullyon a flat area. If necessary,putprotective
sheeting underneath toavoid harm to easilydamagedsurfaces.Carefullyremove all packing
materials.Compare the contents with the listof parts.
Using as a handheld vacuum cleaner
The 2 in 1 Vacuum Cleaneris readyfor use as a handheldappliance
as soon as it has been unpacked.
Using asa floor vacuum cleaner
1. Open the little flapon the handleof the handheld vacuum cleaner.
2. Insert the rodhandle in the opening in the handle andpush in as
far as it willgo.
3. Press the flap againstthe adapter so that it snaps intoplace.
Removing rod handle
4. Open the flap.
5. Pull out the rodhandle.
6. Close the flap on the handleagain.
Accessories
Fitting and removing nozzles
CAUTION
�Before changingnozzles, always switchthe vacuum cleaneroff first.
●When fitting nozzles, insertin the suctionopening.
●To remove nozzles, pullout of the suctionopening.
Floor nozzle attachment
The floor nozzle attachmentis suitable forbothcarpets and smoothfloors.

Crevice nozzle
CAUTION
Riskof injury!Never holdthe crevice nozzle closeto the bodyor it maystickto the skin.If
the nozzle does getstuck, set the On/Off switchto immediately.
The crevice nozzle is designedforupholstery,cleaningthe interior
of cars and for gettinginto all corners andcracks thatare
inaccessible withthe floornozzle attachmentor withouta nozzle.
Preparing to use the appliance
CAUTION
�Only switchthe vacuum cleaneron onceyou have checked that all parts are fullyassembled
andall filters correctlyinserted.
�Underno circumstancesshouldthe appliancebe usedon the following:
–Liquids orwetmaterials (e.g. carpet shampoo when wet)
–Glowingash,cigaretteends,matches etc.
–Combustible or in flammablesubstances
–Very fine dust(e. g. concrete dust)or toner
–Hard, pointedobjects such as large splinters ofglass
1. Fit or removethe rod handledependingon whetheryouwant to use the vacuum cleaneras
a handheld ora floorappliance.
2. You can use the vacuum cleanereitherwithouta nozzle or fit
oneof the nozzles to the suctionopening.
3. To quickly unwind the cable from the floor vacuum cleaner, twist down the
cord holder on the top handle.
4. Insert the power plug in a wall outlet.
5. Set the On/Off switch to .
6. Move the suction opening or nozzle over the surface to be cleaned.
7. After finishing vacuuming, set the On/Off switch to and unplug.
8. After use, always empty the dust collector and clean the dust filter.

Cleaning
CAUTION
�Remove the power plug before cleaning and / or putting away.
�Do not use caustic or abrasive products to clean the housing or you may damage the surface.
�Never immerse the appliance in water.
Emptying dust collector and cleaning dust filter.
1. Hold down the unlocking button for the dust collector and carefully
remove.
2. Hold the dust collector over a dustbin, carefully remove the dust filter and
empty the dust collector.
3. Bang the dust filter gently.
4. Then wash the dust filter under cold running water.
CAUTION: Do not wash the dust filter in the washing machine.
5. Leave the dust filter to dry in the air for 24 hours until completely dry before reinserting.
CAUTION: Never usea hairdryer.
6. Press thedustfilter firmlyback intothe dustcollectorso it fits closelyall roundthe wall of the housing.
CAUTION: Never usethe vacuum cleanerwithout the dust filter inserted.
7. First insertthe dustfilter in the bottom ofthe applianceand
then close.Press the unlocking buttonfor the dustcollectorto
engage.The dustcollectormusthave securelyengaged atthe
top andbottom of the appliance.
Cleaning or replacing motor protection filter
Once you have removed the dustcollector, you will find a piece
of non-wovenmaterial on the open side of the appliance.This
is the motorprotection filter. It needs to be cleanedfrom time
to time.
1. Remove the motor protection filter from the applianceand bangoff the dust.
2. Rinse withlukewarm water.
3. Then give the motorprotection filter a good shake and leave to dry off completely.
CAUTION: Never insertthe motorprotection filter while stilldamp.
4. Check the motorprotection filter for damageandreplacewitha newoneif necessary.
5. Reinsertthe motor protection filter.
Cleaning housing
Cleanthe housingwithaslightlydamp,softcloth if necessary.

Storage • Once you have fitted the rod handle,you can windthe cord
aroundthe two cord holders before puttingaway.
• To quickly unwind the cable next time you use it, twist down the
cord holderonthe top handle.
• The vacuum cleaner should be stored indoors in acool, dry place.

Troubleshooting
If your appliancedoes notfunction,is damagedorrequires a sparepart,please donotmake anyrepairs
yourselffor your own safety.
The followingtablecontains tips onhowto dealwith minorproblems yourself:
Problem
Causes, Solutions, Tips
No suctionaction.
Checkthat the powerplugis inserted properlyinthe wall
socket.
The suctioncapacityis too
weak.
• Is the dust collector full?
Emptythe dustcollector.
• Is the dust filter heavily soiled?
Cleanthe filter andleave to dry for 24 hours.
• Is the suction opening or nozzle blocked?
Unplug and removethe blockage.
Dustescapes from theappliance
duringuse.
• Is the dust collector full?
Emptythe dustcollector.
• Has the dust filter not been inserted properly?
Press thedustfilter firmlyinto the dustcollectorso it
fits closelyall-round thewall of the housing.
Strangesmell
When the applianceis used forthe first time,it is normal
for it to smell new:this will disappearovertime.
Table of contents
Other Midea Vacuum Cleaner manuals

Midea
Midea C5 Administrator Guide

Midea
Midea D4 User manual

Midea
Midea MSB 5.700bs Administrator Guide

Midea
Midea M7 Pro User manual

Midea
Midea VSS5800 User manual

Midea
Midea VCS38A13L Administrator Guide

Midea
Midea MVC-12M-GR User manual

Midea
Midea VCP7 User manual

Midea
Midea M7 User manual

Midea
Midea VC-35A1Q3 User manual

Midea
Midea MCS1825GB Pro User manual

Midea
Midea MVC-13M-B User manual

Midea
Midea B8 Series User manual

Midea
Midea MVC-X10 User manual

Midea
Midea M6 User manual

Midea
Midea Eureka I5C User manual

Midea
Midea MVC-V18PR User manual

Midea
Midea VCM43B16H User manual

Midea
Midea VCS35B15KC User manual

Midea
Midea VCR09B User manual