MIMAKI OPT-J0529 User manual

MIMAKI ENGINEERING CO., LTD.
https://mimaki.com/
https://japan.mimaki.com/
English
Japanese
Foreword ........................................................................2
Safety Precautions ........................................................3
Warning labels ...............................................................5
Name of Each Part .........................................................6
Replace 10kg ink tank (when the supply pipe is
attached) .........................................................................7
About ink level correction ...........................................11
Maintenance .................................................................12
If abnormality occurs ..................................................14
はじめに ........................................................................16
安全にお使いいただくために ........................................17
警告ラベルについて ......................................................19
各部の名称 .....................................................................20
10kg インクタンクを交換する ( 供給パイプ装着時 ) ....21
インク残量補正について ...............................................25
メンテナンス .................................................................26
異常が発生したら ..........................................................28
D203605-10
OPT-J0529
10kg Ink unit
10kgインク供給ユニッ ト

2
Foreword
Congratulations on your purchase of the 10kg ink unit.
This operation manual
• This manual explains the operation of the 10kg ink unit.
• Read and fully understand this operation manual before using this machine. It is also necessary to keep this operation
manual on hand.
• Make arrangements to deliver this operation manual to the person in charge of the operation of the 10kg ink unit.
• Although this operation manual has been carefully prepared for your easy understanding, please do not hesitate to con-
tact your local distributor if you have any inquiry.
• The contents of this operation manual are subject to change for improvement without notice. Please note.
• If this manual should become illegible due to damage, or is destroyed due to fire or similar reason, purchase another copy
of the operation manual at our sales office.
CAUTION
THIS LIMITED WARRANTY OF MIMAKI SHALL BE THE SOLE AND EXCLUSIVE WARRANTY AND IS IN LIEU OF ALL
OTHER WARRANTIES, EXPRESS OR IMPLIED, INCLUDING, BUT NOT LIMITED TO, ANY IMPLIED WARRANTY OF MER-
CHANTABILITY OR FITNESS, AND MIMAKI NEITHER ASSUMES NOR AUTHORIZES DEALERS TO ASSUME FOR IT ANY
OTHER OBLIGATION OR LIABILITY, OR MAKE ANY OTHER WARRANTY, OR MAKE ANY OTHER WARRANTY IN CON-
NECTION WITH ANY PRODUCT WITHOUT MIMAKI'S PRIOR WRITTEN CONSENT.
IN NO EVENT SHALL MIMAKI BE LIABLE FOR SPECIAL, INCIDENTAL OR CONSEQUENTIAL DAMAGES, OR FOR LOSS
OF PROFITS OF DEALER OR CUSTOMERS OF ANY PRODUCT.
Reproduction of this manual is strictly prohibited.
© Mimaki Engineering Co., Ltd.
All Rights Reserved.Copyright
3
Safety Precautions
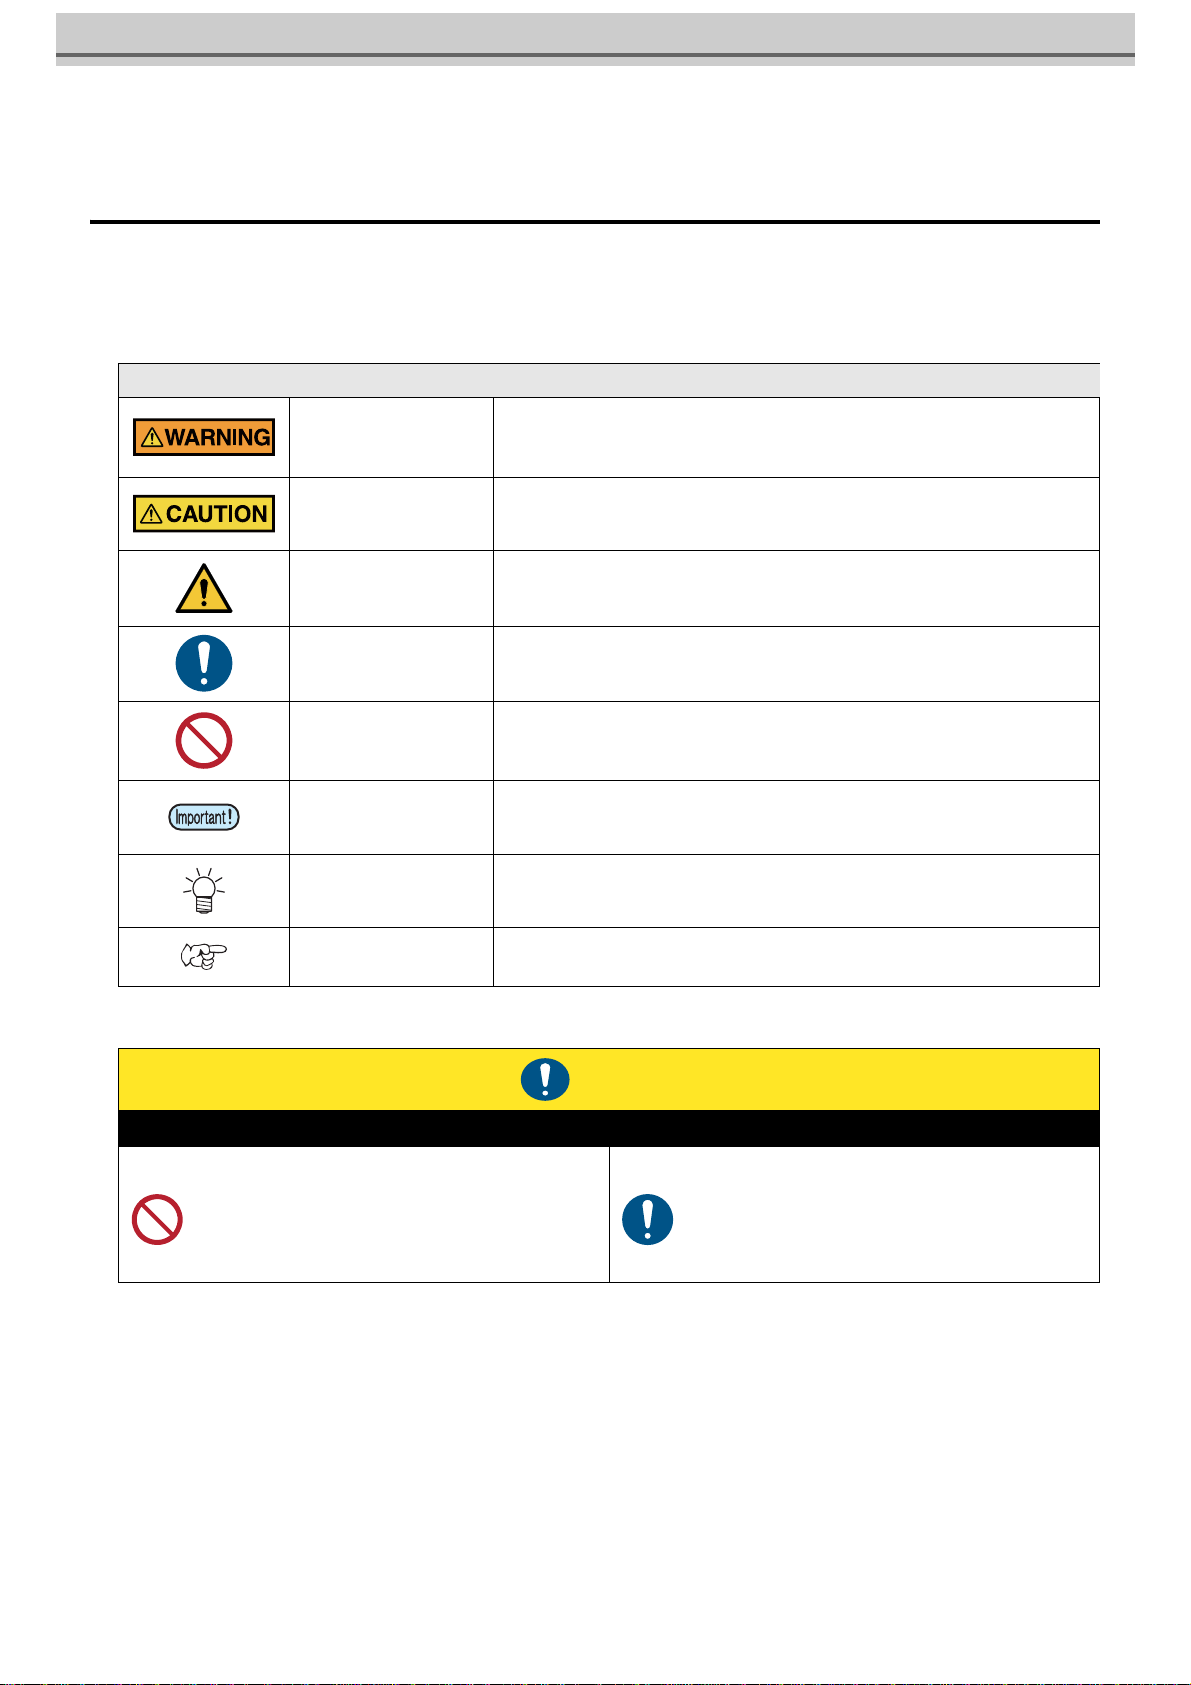
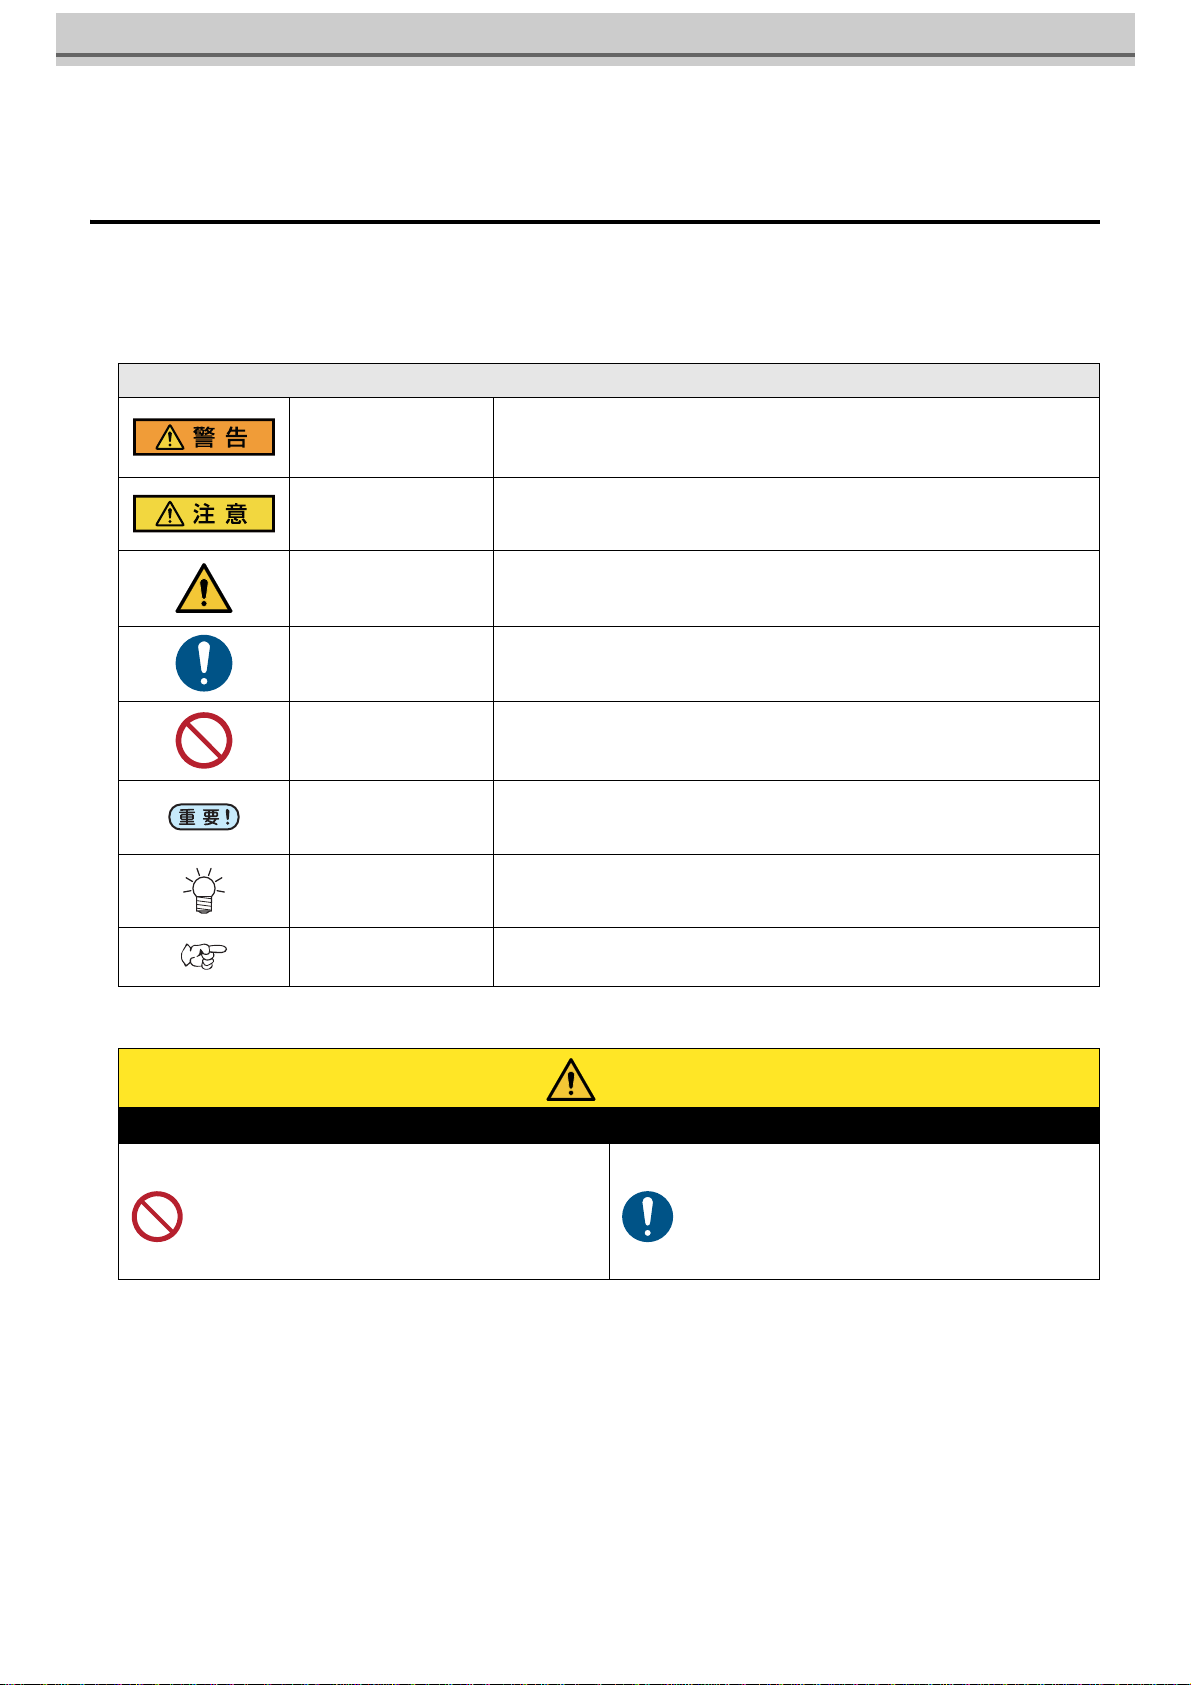
Symbols
In this document, symbols are used for explaining the contents of cautions on operation. The symbol to be displayed differs
depending on the caution content. Understand the meaning of each symbol and use this machine safely and correctly.
Examples of Symbols
Cautions on Installation
Meaning
WARNING Failure to observe the instructions given with this symbol can result in death or seri-
ous injuries to personnel. Be sure to read it carefully and use the printer properly.
CAUTION Failure to observe the instructions given with this symbol can result in minor or
medium injuries to personnel.
GENERAL WARNING This symbol indicates that the items shown need to be noted. Specific notes are
drawn in the figure.
GENERAL MANDATORY
ACTION This symbol indicates that the action shown must be executed. Specific instruction is
shown in the illustration.
GENERAL PROHIBITION This symbol indicates that the action shown is prohibited. Specific action that is pro-
hibited is shown in the illustration.
IMPORTANT Important notes for the use of this unit are given with this symbol. Refer to the oper-
ation.
HINT Useful information is given with this symbol. Refer to the operation.
REFERENCE This symbol indicates the reference page for related contents. Click the text to dis-
play the corresponding page.
Caution
Do not install in the following locations
• A location exposed to direct sunlight.
• On an inclined surface.
• A location that vibrates.
• A location exposed to a direct air flow from an air con-
ditioner, etc.
• Around a location where fire is used.
• A location where the temperature or humidity
changes significantly. (The recommended usage
environment differs depending on the connected
printer. Confirm by referring to the operation manual
of the printer)
4
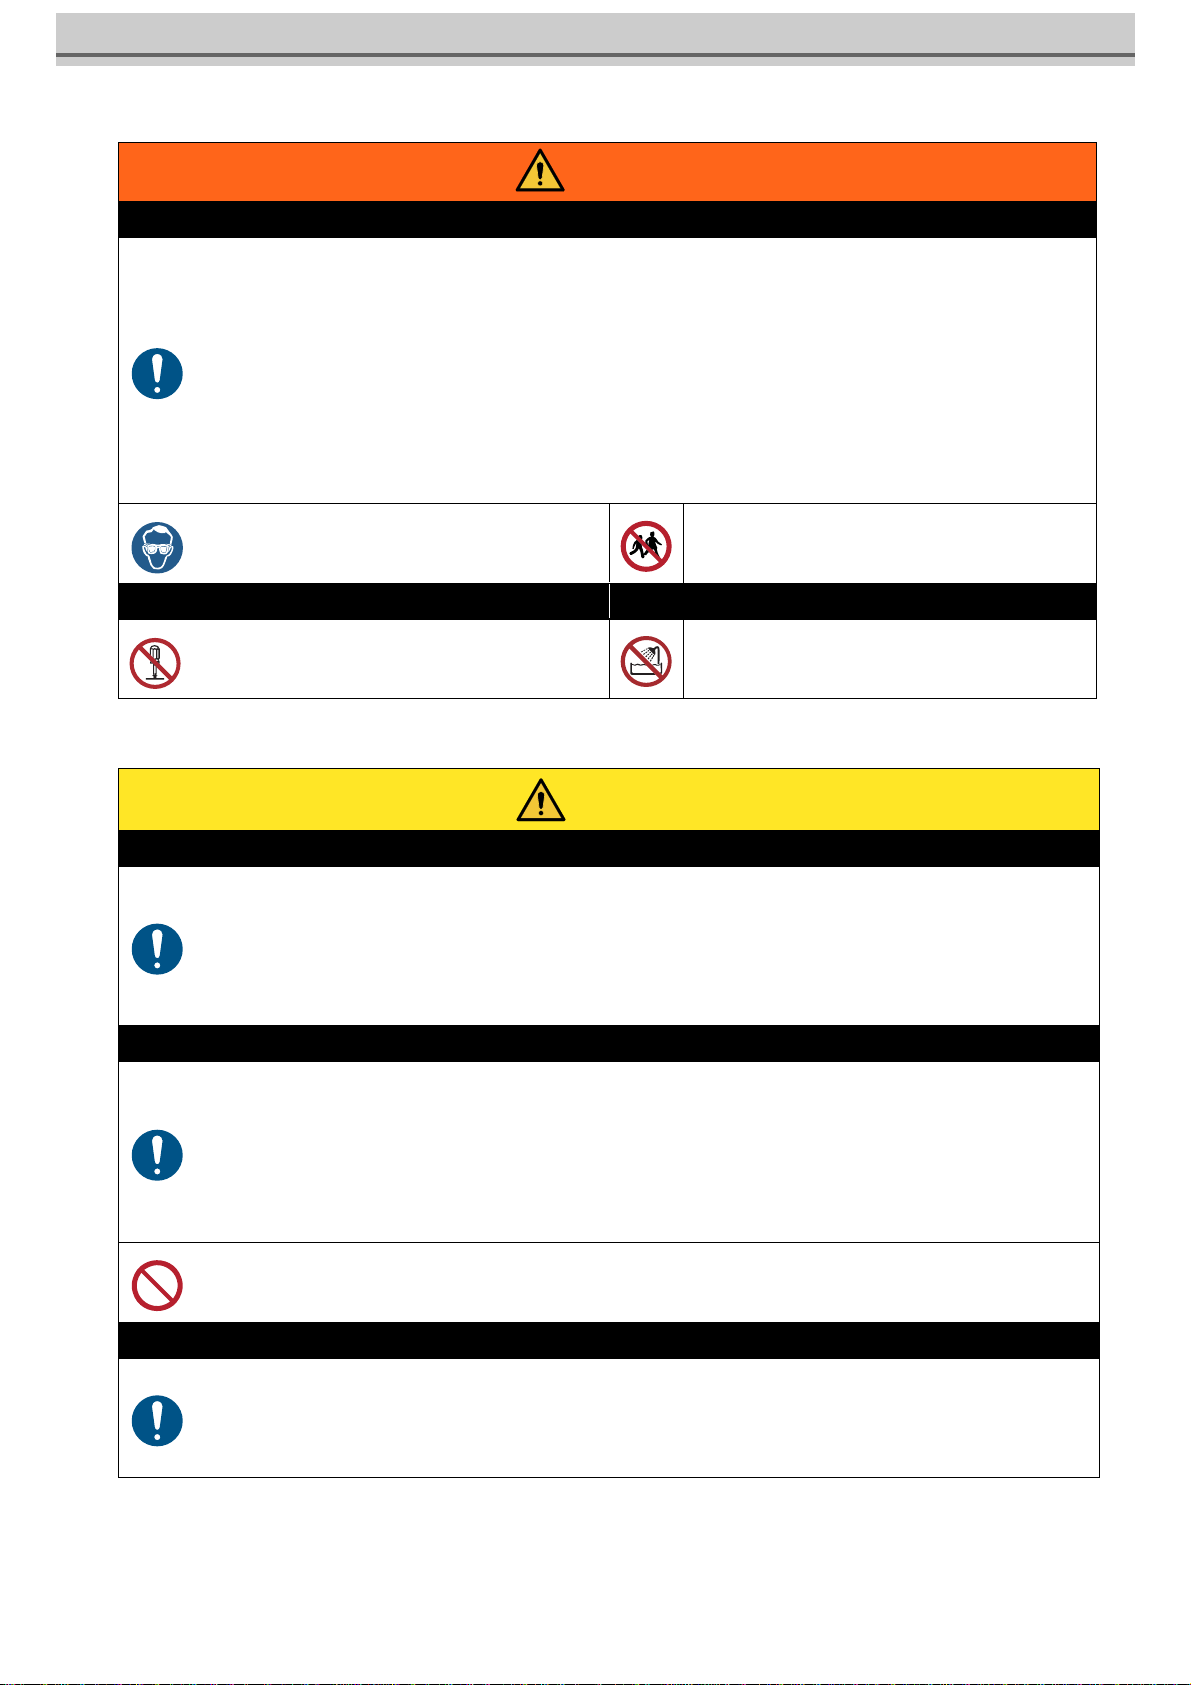
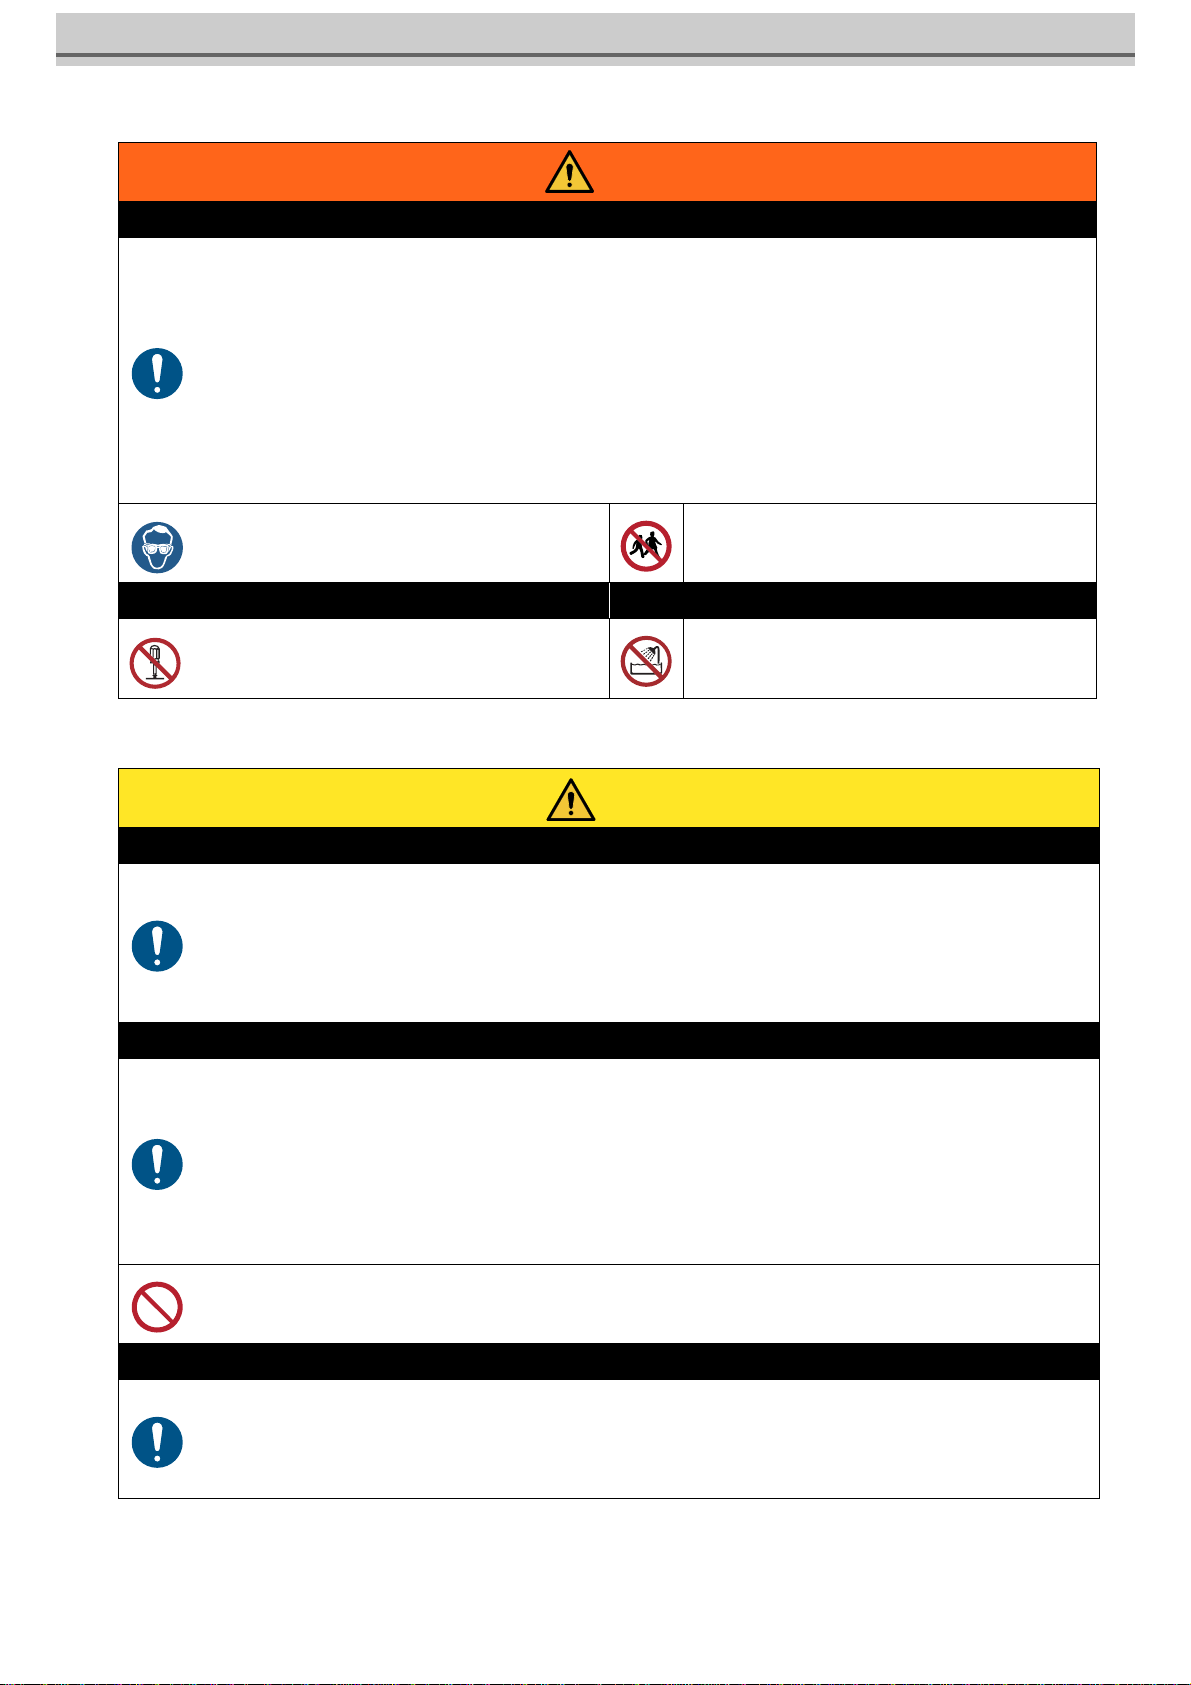
Warning for Use
Precautions
Warning
How to handle ink
• When operating it in poorly ventilated area or closed room, make sure to install ventilation system.
• If you swallow ink or maintenance cleaning solution mistakenly, rest and see a doctor to consult immediately. Never swal-
low the vomit.
• If you feel bad by inhaling a large amount of the steam, immediately move to the place with fresh air and rest with keeping
warm. In addition, consult a doctor immediately.
• If ink adheres to your skin and clothing, rinse immediately with soap water.
If ink enters your eyes, immediately rinse with plenty of clean running water for more than 15 minutes, rinse thoroughly
even the back of the eyelids. Consult a doctor immediately as soon as possible.
• Keep ink tanks and waste ink tanks away from children.
• Prevent ink from leaking and flowing to the natural water system and domestic wastewater.
• Dispose the waste ink according to the local regulations.
• Ask the industrial waste disposal company to dispose the emptied ink tanks and waste inks.
• Be sure to read the Safety Data Sheet (SDS) before handling ink.
• When handling the ink, pay close attention to ventila-
tion and be sure to wear the included safety glasses
and gloves. Ink may enter the eyes.
• Keep children away from this machine.
Prohibition of disassembly or modification Prohibition of use in a damp environment
• Never disassemble or modify this machine and ink
tank Doing so may result in electric shocks or product
breakdown.
• Avoid placing the product in a damp environment. Do
not splash water onto the product. Otherwise, fire,
electric shocks, or product breakdown may result.
Caution
Use dedicated ink
• Use dedicated ink Understand that if it is damaged due to use of non-dedicated ink, the repair is a burden to the customer.
• When the ink other than dedicated ink is used, the protective device does not work.
• The dedicated ink must not be used for other printers. The printer will be broken.
• Do not refill the tank with the ink except the ink specified by us. Please understand we cannot take responsibility to all about
the trouble caused by using refilled ink.
Ink tank
• Store the ink tank at 1 m and lower place. If you store it at 1 m and higher place, in case of ink tank falls, the cap may come
off and the ink may scatter.
• After moving the ink tank from a cold place to a warm place, leave it for 3 hours and more under the room temperature.
• Open the ink tank just before installation. If the ink tank is left for a long time after opening it, it may not print normally.
• Use up the ink tank within 3 months after opening it. After an extended period with opening it, the ink quality deteriorates.
• Store the ink tank in a cool dark place.
• Please use the dedicated ink tank for this machine. This machine recognizes the dedicated ink tank and operates. In case
of the failure by remodeling ink tank etc., even within the warranty period, it will not be covered by the warranty.
• Do not touch the PCB contact portion of the ink IC chip with hands or contaminate it. It may cause damage to the PCBs.
• Do not tap the ink tank strongly or shake violently. The Ink may leak from the tank.
Bending tube
• For the protruding tube, be careful not to bend it in the following situation.
When the tube bends, the replacement is required, Call dealer or our service office.
1. When moving to the back of the machine to do media setting, etc.
2. Replace ink tank
5
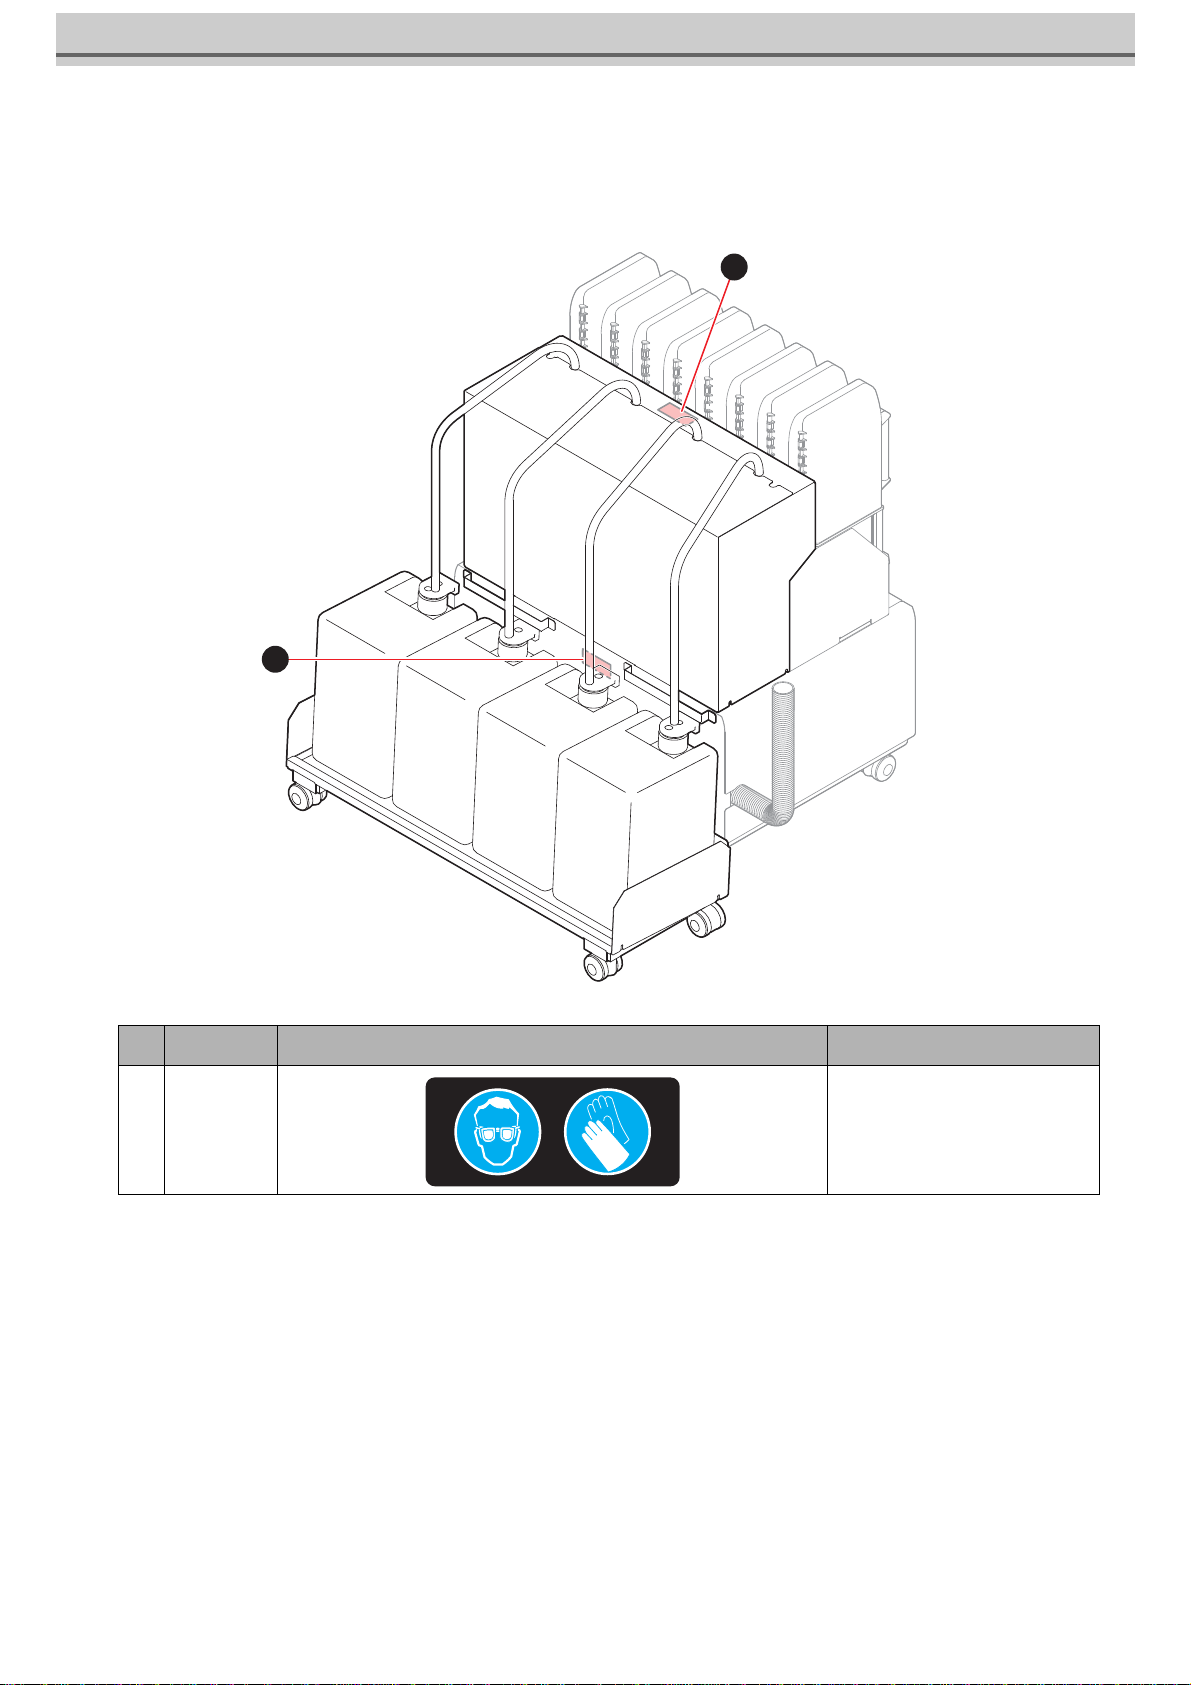
Warning labels
Warning labels are stuck on the machine. Be sure to fully understand the warning given on the labels.
If a warning label is illegible due to stains or has come off, purchase a new one from a distributor or our sales office.
No. Order No. Label Description
1 M903330 Be sure to wear the included
safety glasses and gloves.
1
1
6
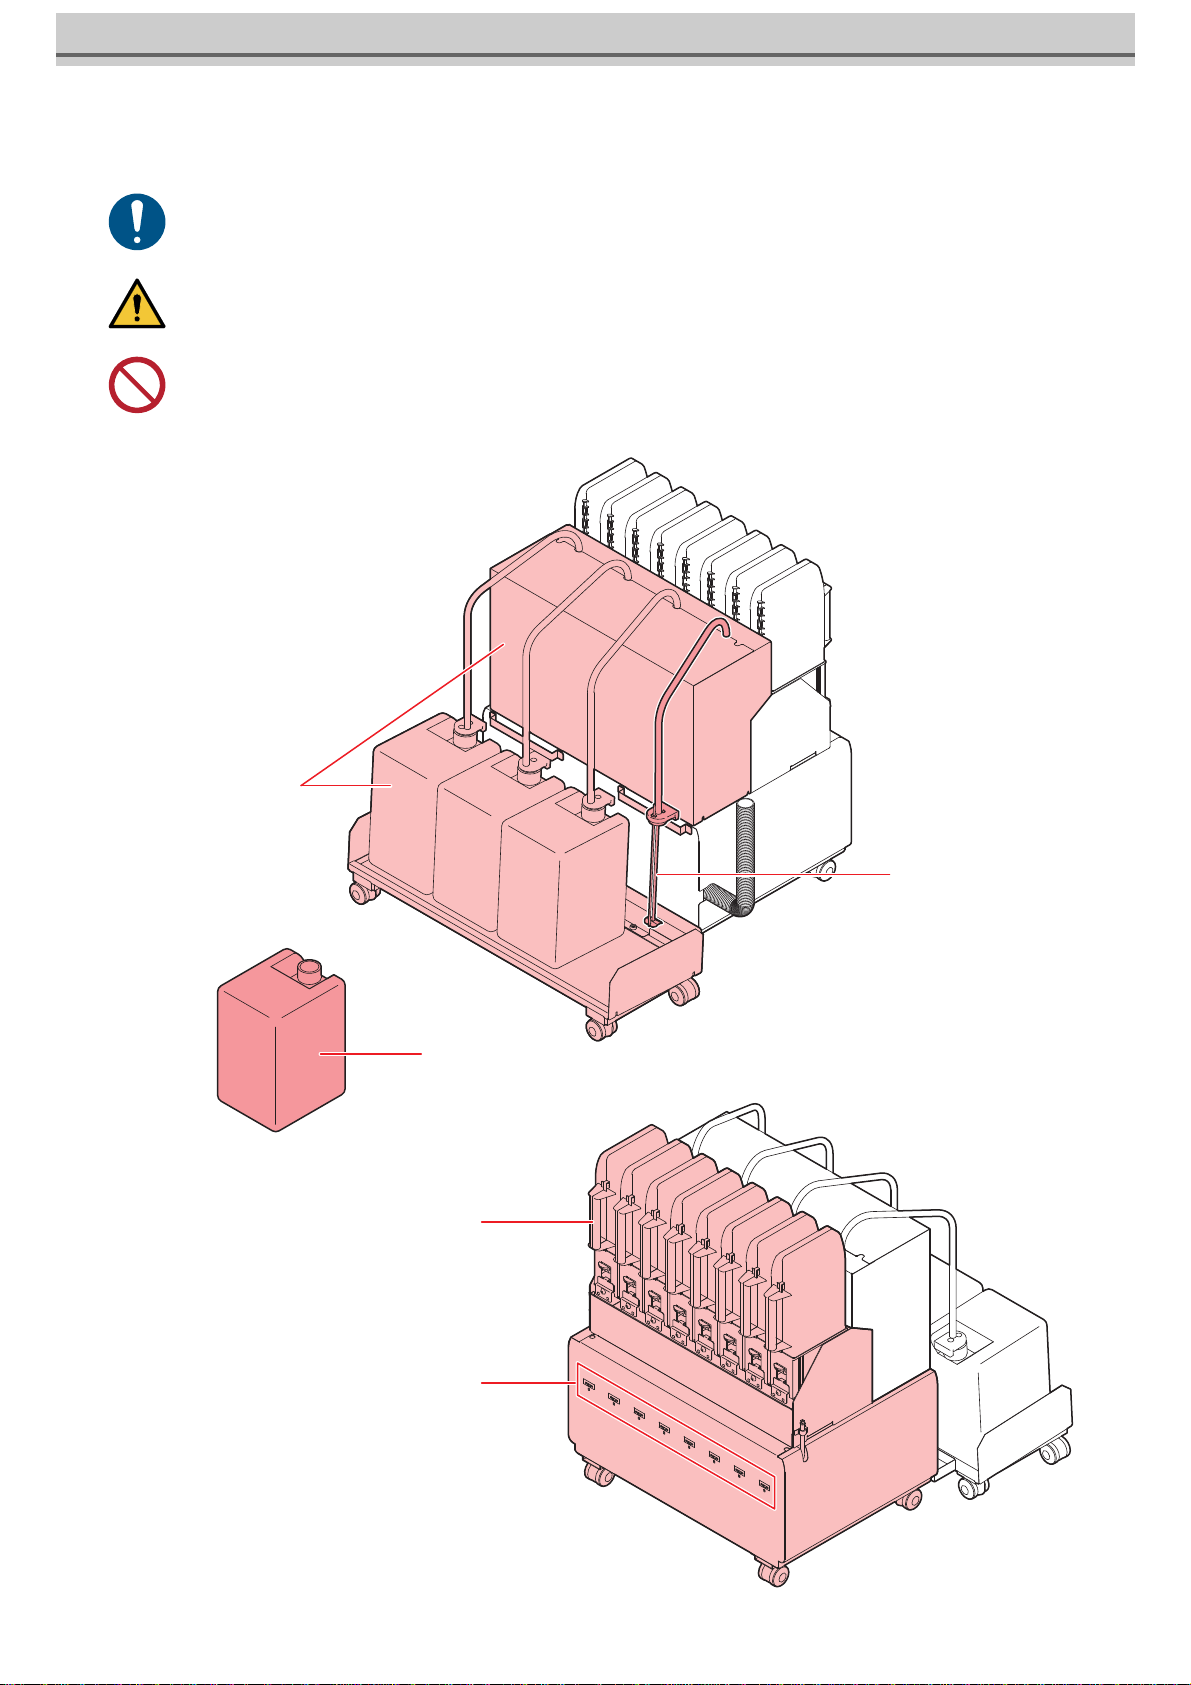
Name of Each Part
• Be sure to lock the casters of the 10kg ink unit before turning on the power.
• Your waist may get hurt by the weight of the ink tank, be careful enough when setting the tank.
• Do not move the 10kg ink unit with the ink tank on.
Supply pipe
10kg ink unit
10kg ink tank
IC slot
[Front side]
[Rear side]
2L ink unit

7
Replace 10kg ink tank (when the supply pipe is attached)
Do as follows when [INK END] or [INK NEAR END] is displayed on the sub-display.
When [INK END] is displayed
1Press the [ENTER] key to cancel the message dis-
play.
• A message prompting ink replacement will be displayed.
2Remove the supply pipe from the ink tank.
3Remove the used ink tank.
• Be sure to wear the included safety glasses and gloves as there is a danger of ink splashing.
• When exchanging the ink tank, perform it after curing the surroundings with a waste etc. The surroundings become dirty with
ink dripping from the supply pipe.
• Ink tank has an expiry date. It is usable until the second month after the expiry date stated in the ink tank, but it will be unus-
able after 3 months. Replace the ink tank as soon as possible.
• Hook the removed supply pipe on the handle of the supply unit.
• If you want to use up the ink remaining in the ink tank,
refer to "Remaining ink replenishment" on page 10, and
then proceed to the next process.
Information
Please exchange ink tank
and ink IC
After replacing the ink IC,
ink supply is started.
(Time: about 3 minutes)
OK
Supply pipe
handle
hook
10kg ink tank

8
4Set 10kg ink tank to the ink unit.
5Remove the lid of the ink tank.
6Remove the used Ink IC chip.
7Attach the ink IC chip.
• After the ink IC is inserted, the ink supply unit is automatically supplied.
• Never move the tank after setting the ink tank. It may cause ink
leakage.
• Replace the ink IC chip after setting a new 10kg ink tank.
• Automatic supply takes about 3 minutes at maximum. Other
supply operations and printing can not be performed while
automatic supply is in progress.
• The ink IC chip has information on the ink color, remaining amount of ink, expiration data, and similar items.
• To set the ink tank, insert the ink IC chip packed with the ink tank into the Ink IC socket.
• Be careful not to set an ink IC chip that is not the pair of the ink tank. Doing so can result in poor image quality or
similar problem.
• The symbol indicating color information is affixed on the ink IC chip.
10kg ink tank
Ink IC chip
Ink IC chip
Color of ink Indication mark
Black (K) (one black circle)
Blue (BL) (one blue circle)
Magenta (M) (one red circle)
Yellow (Y) (one yellow circle)
Light blue (Lbl) (two blue circles)
Light magenta (Lm) (two red circles)
Light black (Lk) (two black circle)
Fluorescent yellow (FY) (two yellow circles)
Fluorescent pink (FP) (two orange circles)
Ink IC chip
Location of the mark

9
Ink tank arrangement of each ink set, and ink IC chip arrangement
Eliminate INK END
If [INK (NEAR) END] occurs after ink tank replacement and automatic supply, do as follows.
1Refer to P.7 “Replace 10kg ink tank (when the supply pipe is attached)” and set
the ink tank and ink supply pipe.
2Select [TEST PRINT / CLEANING] > [Solve Ink
End] and press the [ENTER] key.
• Depending on the ink set, even-numbered route ink ICs may not be used.
Be careful not to insert it by mistake.
• In order to resolve [INK (NEAR) END], make sure that the ink
tank and ink supply pipe are set correctly.
1 2 3 4 5 6 7 8
7 5 3 1
2468
Front
1 2 3 4 5 6 7 8
MYKBL
MYKBL Lbl
Lm
MYK
BL
4-color
4-color,
⺯ග
MYK
BL Lbl FP
FY
FP
FY
Lm
MYK
BL Lbl
Lm Lk
6-color,
⺯ග
7-color
6-color
4-color,
fluorescent
6-color,
fluorescent
Solve Ink End
Start [ENT]

10
3Press the [ENTER] key on the 10kg ink supply
start screen to start supply.
When [INK NEAR END] is displayed
Very little ink remains in the bottle. Although the print operation can continue without replacing the ink bottle, the
ink may run out during the printing operation. We recommend that you replace the ink tank with a new one soon
after this is indicated.
If you press the key in local mode, you can check the replacement tank with the local guidance.
Remaining ink replenishment
1Open the new ink and set the funnel in the spout.
2Add the remaining ink.
3If the ink is not completely added, print it in a new tank for a while, and after the
ink is low, add it again.
• This function can eliminate only the route using the 10kg ink
tank.
• The ink that can be replenished is limited to the ink that has undergone "Maintenance" on page 12 on a regular basis.
• If maintenance is not performed properly, the color of the printed result may change due to the precipitation of ink
components.
• Cover the tank and shake it before adding.
• If ink leaks during replenishment, the floor may become dirty.
• Please be careful not to spill.
• If necessary, perform "About ink level correction" on
page 11.
Solve Ink End
Filling
Please wait

11
About ink level correction
If the difference between the ink level of IC and the actual ink level in the 10kg ink tank is large, correct it with [Ink Remaining
Corr.].
Perform the ink level correction
1Select [MENU] > [MAINTENANCE] > [Ink Remaining Corr.], and press the
[ENTER] key.
2Select the slot for which you want to correct the
remaining amount with the key,and
press the [ENTER] key.
3Change the remaining charge with the
key and press the [ENTER] key.
• The remaining ink level is corrected.
• Use the scale on the front of the tank as a guide for correcting the
correction value.
• There is no limit on the number of times and the number of
corrections for the ink level correction, but if the ink IC's ink
tank usage greatly exceeds the capacity, it will become
[Excess Ink Usage] and the ink IC will become unusable.
• Replace the ink IC chip if [Excess Ink Usage] occurs.
Ink Remaining Corr.
SLOT1
:
M 82%
SLOT2
:
M 82%
SLOT3
:
B 39%
SLOT4
:
B 50%
SLOT5
:
Y 90%
<< >>
Ink Remaining Corr.
SLOT1
:
M 82%
SLOT2
:
M 82%
SLOT3
:
B 50%
SLOT4
:
B 50%
SLOT5
:
Y 90%
<< >>

12
Maintenance
Maintenance of 10kg Ink Tank
Stir the ink in the tank once every three days to prevent the ink components from settling.
A message prompting to stir the ink tank will be displayed.
1Remove the supply pipe from the ink tank.
2Stir the ink with a supply pipe.
• Vigorously stir each tank about 5 times in the vertical direction.
• Be sure to wear the included safety glasses and gloves as there is a danger of ink splashing.
• Before stirring the ink, cure the surroundings with a waste etc. The surroundings become dirty with ink dripping from the sup-
ply pipe.
• When the ink component settles down, the color of the work may change.
In 10kg ink tank
Stir the ink.
Supply pipe
Supply pipe

13
3Set the supply pipe in the ink tank.
4Press the [FUNC2] key to cancel the message display.
Supply pipe

14
If abnormality occurs
If an abnormality occurs in the 10kg ink tank or 2L ink pack, a warning message will be displayed.
All operations related to ink discharge such as printing and cleaning can not be performed.
When an error occurs, please do as follows.
• Make sure that the ink IC chip is properly set in the IC slot.
• Promptly change to a new ink tank.
Display details of ink tank malfunction
The details of ink tank trouble can be confirmed by the following operation.
1Press the [ENTER] key in the local mode.
2Press the [ENTER] key.
• When multiple ink tank malfunctions occur, pressing the [ENTER] key will display them in order.
• Do not leave it for a long time while displaying the ink tank abnormality. Nozzle clogging prevention function will not work.
• If nozzle clogs, repair by service engineer is required.
• What is displayed here is a warning message about the ink unit. For other warning errors, refer to the operation manual of the
printer.
• For details on how to display warning error details, refer to the operation manual of the printer.
Display Cause Measures
NO INK IC The ink IC chip is not inserted in the
slot.
• Insert the ink IC chip into the slot where indicating a warning.
• Make sure that the ink IC chip is correctly inserted.
• If a warning remains even after the ink IC chip is inserted in the
slot, restart the machine.
• If displaying again, contact your local distributor, our sales office,
or service center.
INK IC ERROR Ink IC chip cannot be read correctly. • Reinsert the ink IC chip where indicating a warning.
• If the warning does not resolve, contact your local distributor, our
sales office, or service center.
Ink usage exceeded
Because the ink IC chip was not
exchanged along with pack replace-
ment, the amount of ink IC used
exceeded the specified amount.
• Replace the ink pack of the slot or the 10kg ink tank, in which the
warning occurs, and its ink IC.
Ink type The ink type of the ink IC differs from
the ink that has been refilled. • Check the ink type of the slot in which the warning is indicated.
Color of ink The ink color of the ink IC differs from
the ink that has been refilled. • Check the ink color of the slot in which the warning is indicated.
Ink near-end The ink in the ink pack or the 10kg ink
tank is slightly left. • Ink will soon run out. Be careful.
Ink end The ink in the ink pack or 10kg ink tank
has run out. • Replace the ink pack of the slot or the 10kg ink tank, in which the
warning occurs, and its ink IC.
Until the expiration ** days The ink has expired (less than 2
months from expiration). • Replace the ink pack of the slot or the 10kg ink tank, in which the
warning occurs, and its ink IC.
The expiration has been
exceeded.
The ink has expired (more than 2
months have passed since the expira-
tion).
• Replace the ink pack (or 10kg ink tank) of the slot, in which the
warning is occurring, and the ink IC.
Sub tank sensor Sub tank sensor value can not be
detected normally.
• Restart the machine.
• If displaying again, contact your local distributor, our sales office,
or service center.

15
Tank remaining amount H Even when ink is consumed, the
amount of ink in the sub tank is not
reduced.
・Failure occurs in ink suction.
・A lot of nozzle clogging has occurred.
• Restart the machine.
• If displaying again, contact your local distributor, our sales office,
or service center.
Tank remaining amount L

16
はじめに
この度は、10kg インク供給ユニットをお買いあげいただき、誠にありがとうございます。
取扱説明書について
•本書は、10kg インク供給ユニットの操作について説明いたします。
•本書をお読みになり、十分理解してからお使いください。また、本書をいつも手元に置いてお使いください。
•本書は、10kg インク供給ユニットをお使いになる担当者のお手元に確実に届くようお取りはからいください。
•本書は、内容について十分注意して作成していますが、万一不審な点がありましたら、販売店または弊社営業所までご
連絡ください。
•本書は、改良のため予告なく変更する場合があります。ご了承ください。
•本書が焼失/破損などの理由により読めなくなった場合は、新しい取扱説明書を弊社営業所にてお買い求めください。
ご注意
株式会社ミマキエンジニアリングの保証規定に定めるものを除き、本製品の使用または使用不能から生ずるいかなる損害(逸
失利益、間接損害、特別損害またはその他の金銭的損害を含み、これらに限定しない)に関して一切の責任を負わないものと
します。
また、株式会社ミマキエンジニアリングに損害の可能性について知らされていた場合も同様とします。
一例として、本製品を使用したメディア等の損失や、作成された物によって生じた間接的な損失等の責任負担もしないものと
します。
10kg インク供給ユニットを使用したことによる金銭上の損害および逸失利益、または第三者からのいかなる請求についても、
当社は一切その責任を負いかねますので、あらかじめご了承ください。
本書の内容を無断で転載することは禁止されています。
©株式会社ミマキエンジニアリング
All Rights Reserved.Copyright
17
安全にお使いいただくために
マーク表示について
本書では、マーク表示により操作上の注意内容を説明しています。注意内容により表示するマークは異なります。各マーク表
示の持つ意味を理解し、本機を安全に正しくお使いください。
マーク表示の例
設置上のご注意
内 容
警告 この指示を無視して誤った取り扱いをすると、死亡または重傷のおそれがある内容
を示しています。必ずよくお読みになり、正しくお使いください。
注意 この指示を無視して誤った取り扱いをすると、軽傷または中程度の負傷のおそれが
ある内容を示しています。
一般警告 注意しなければならない事項を示しています。具体的な注意事項は図の中に描かれ
ます。
一般強制指示 実行しなければならない事項を示しています。具体的な指示内容は図の中に描かれ
ます。
一般禁止 してはいけない事項を示しています。具体的な禁止内容は図の中に描かれます。
重要 「重要」マークは、本機をお使いいただく上で、知っておいていただきたい内容が書
かれています。操作の参考にしてください。
ヒント 「ヒント」マークは、知っておくと便利なことが書かれています。操作の参考にして
ください。
参照情報 関連する内容の参照ページを示しています。文字をクリックすると該当ページが表
示されます。
注意
次のような場所には設置しない
•直射日光が当たる場所
•水平でない場所
•振動が発生する場所
•エアコンなどの風が直接当たる場所
•火を使う場所
•温度や湿度の変化が激しい場所(推奨する使用環境
は、接続するプリンターによって異なります。プリン
ターの取扱説明書をご確認ください。)
18
警告事項
注意事項
警告
インクの取り扱い
•換気の悪い部屋、または密閉された部屋で使用する場合は、必ず換気装置を設けてください。
•誤ってインク、メンテナンス用洗浄液を飲み込んだ場合は、安静にして直ちに医師の診断を受けてください。嘔吐物は飲
み込まないください。その後、(財)日本中毒情報センター 中毒 110 番に連絡してください。
•蒸気を大量に吸い込んで気分が悪くなった場合は、直ちに空気の新鮮な場所に移り、暖かくして安静にしてください。ま
た、直ちに医師の診察を受けてください。
•インクが皮膚や衣服に付着した場合は、直ちに石けんや水で洗い流してください。
万一、インクが目に入った場合は、直ちに大量の清浄な流水で 15 分以上洗い流し、まぶたの裏まで完全に洗い流してく
ださい。できるだけ早く医師の診察を受けてください。
•インクタンクや廃インクタンクは、子供の手の届かない場所に保管してください。
•自然水系、生活排水への漏洩流出を防いでください。
•廃インクは、使用している地域の条例に従って処分してください。
•空になったインクタンク・廃インクは、産業廃棄物処理業者に処理を依頼してください。
•インクを取り扱う前に、必ず安全データシート(SDS)をお読みください。
•インクを取り扱うときは、換気に十分注意して、必ず
付属の保護メガネと手袋を着用してください。インク
が目に入る場合があります。
•本機に子供を近づけないでください。
分解・改造はしない 湿気の多い場所では使用しない
•本機やインクタンクの分解・改造は、絶対に行わない
でください。感電や故障の原因になります。 •湿気の多い場所での使用や、装置に水をかけないでく
ださい。火災や感電、故障の原因になります。
注意
専用インクを使う
•専用インクをお使いください。専用インク以外を使用して故障した場合の修理は、お客様の負担になりますのでご了承く
ださい。
•専用インク以外のインクを使用すると、装置保護のため、動作しません。
•専用のインクは、他のプリンターで使用しないでください。プリンターが壊れます。
•当社が指定しているインク以外は、タンク内のインクを詰め替えないでください。詰め替えたインクを使用して生じた不
具合について、弊社は一切の責任を負いかねます。
インクタンクについて
•インクタンクは 1m以下の場所で保管してください。1m以上の高所で保管していると、インクタンクが落下した際にキャッ
プが外れ、中のインクが飛散するおそれがあります。
•インクタンクを寒い所から暖かい所に移した場合は、3時間以上室温環境下に放置してから使用してください。
•インクタンクは、取り付け直前に開封してください。開封した状態で長時間放置しておくと、正常にプリントできない場
合があります。
•インクタンクは、開封してから 3 か月以内に使い切ってください。開封後、長時間経過したものは、プリント品質が低下
します。
•インクタンクは、冷暗所で保存してください。
•本機には専用のインクタンクをお使いください。本機は、専用のインクタンクを認識して動作します。インクタンク等の
改造により故障した場合は、保証期間内であっても保証の対象外になります。
•インク IC チップの基板接点部分は、手で触れたり、汚したりしないでください。基板の故障の原因になります。
•インクタンクを強くたたいたり、激しく振り回さないでください。タンクからインクが漏れる場合があります。
チューブの折れについて
•露出しているチューブは、以下の状況で折らないように注意してください。
チューブの折れが発生した場合、交換が必要になります。販売店または弊社営業所までサービスコールしてください。
1. メディアセットなどで本体背面へ移動する場合
2. インクタンクを交換する場合

19
警告ラベルについて
本機には、以下の警告ラベルが貼ってあります。警告ラベルの内容を十分理解してください。
なお、警告ラベルが汚れて読めなくなったり剥がれた場合は、新しい警告ラベルを販売店または弊社営業所にてお買い求めく
ださい。
No. 注文番号 ラベル 説明
1 M903330 インクに触れる作業の際は、必ず
付属の保護メガネと手袋を着用し
てください。
1
1

20
各部の名称
•電源を投入する前に、必ず 10kg インク供給ユニットのキャスターをロックしてください。
•インクタンクの重みで腰を痛める可能性がありますので、タンクのセット時は十分ご注意ください。
•インクタンクを載せたまま、10kg インク供給ユニットを移動させないでください。
供給パイプ
10kg インク供給ユニット
10kg インクタンク
IC スロット
【正面】
【背面】
2L インク供給ユニット
Table of contents
Other MIMAKI Printer Accessories manuals


Popular Printer Accessories manuals by other brands


Star Micronics
Star Micronics TSP800 Series install guide

Citizen
Citizen CBM-202PC Series user manual

Canon
Canon Color imageCLASS MF8170c installation instructions

Codonics
Codonics Virtua 1VCX-LR833 Technical brief

Roland
Roland DU2-64 Supplementary manual

TonerRefillKits
TonerRefillKits ReChargX RX126 instructions