manuals.online logo
Brands
  1. Home
  2. •
  3. Brands
  4. •
  5. Mindeo
  6. •
  7. Barcode Reader
  8. •
  9. Mindeo CS3290 User manual

Mindeo CS3290 User manual

Note: 1. See user manuals for more information. 2. For better readability, please print this document with laser printer. 3. Version: CS3290&CS3290-2D_QG_EN_1.4.
CS3290 & CS3290-2D Cordless Scanner Quick Guide
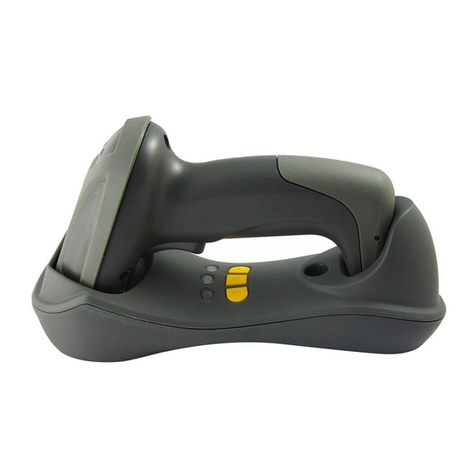
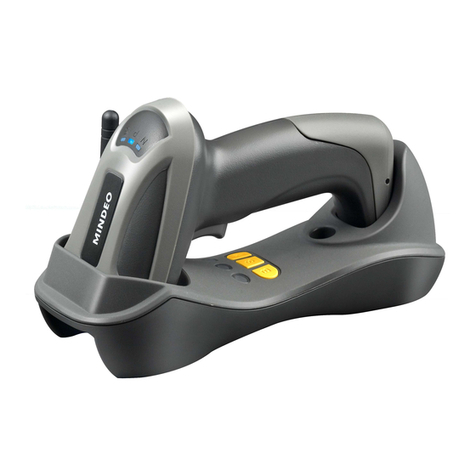
Parts of the handheld unit
①Exit window ②Trigger ③Red LED (Battery charging indicator)
④Communication/Charge socket ⑤Power button ⑥Sound hole
⑦Red LED (Not successful transmission); Blue LED (Power, flash when the power is low.);
Green LED (Setting)
Parts of the cradle
①B button (Reserved); S button (Upgrade / Reset); P
button (USB Enumeration)
②Red LED (Initiation failure); Blue LED (Power); Green
LED (Data In / Radio Frequency hopping indicator)
③Antenna
Power on handheld unit: Press the power button on the handheld unit for two seconds.
Power off handheld unit: Press the power button on the handheld unit for two seconds.
Installation of cradle
1. Switch off power of the host. Refer to the below pictures, connect the host with the scanner with
different cables firstly, and then connect the adaptor to the power socket.
2. Ensure that all connections are secure. Switch on the power of the host. After a few seconds, if
only the blue LED on the cradle is ON, it indicates the cradle is in normal working mode.
Otherwise, make a short press on the S button on the cradle to reset the cradle.
USB cable
RS232 cable
PS/2 keyboard cable
Charge battery
1. Please charge the battery before the first time of use. The
charge indicator on the handheld unit is turned on when the
charging is in process. When the charging process completes,
the charge indicator is turned off.
2. Charging time: 3.5 hours for fully charged.
3. You can charge the battery via a USB port on the device or an
optional 5V adapter.
Visual and audio indication of handheld unit for wireless data transmission
Successful Transmission
Audio (Beeper)
Red LED on handheld unit
Yes
None
Off
No
Three beeps
On
Programming instruction and example
Scan “SETUP”
Scan “Option barcode”
Scan “the 1st character of option”
Scan “the 2nd character of option”
Scan “END”
Example: to set Flow control to be XON/XOFF.
The radio frequency range in this document is 430.5~432.0MHz, 433.05~434.79MHz.
A standard kit contains: a handheld unit, a cradle, a USB cable, and a CD-ROM (containing
software and manuals).
Use dry and soft cloth to clean the handheld unit and the cradle.
Effective data communication range: The radio communication distance is up to 200 meters under
the condition of temperature at 27 degrees Celsius, sunny day, and visibility of 5 kilometers.
Natural surroundings significantly affect the communication distance in practice. The distance
drops quickly in the rainy, high-humidity, or heavy haze day; radio interference also shortens the
communication distance.
This series of scanners provide two kinds of wireless network topology, and support batch data
mode (offline data storage). It is suggested to read the user manual in details before use.
Note: 1. See user manuals for more information. 2. For better readability, please print this document with laser printer. 3. Version: CS3290&CS3290-2D_QG_EN_1.4.
The layout of a single cluster for wireless network topology
Point coordination
Distributed coordination*
Notes about radio communication
1. The scanner offers two kinds of wireless network topology: point coordination and distributed
coordination. The default setting of wireless network topology is distributed coordination. To
change the wireless network topology, you must change the setting of both handheld unit and
cradle.
2. The scanners within same working area must apply the same wireless network topology.
3. When the point coordination wireless network topology is used, if multi-clusters are working in
the same area, then each cluster must use a different radio frequency channel. Both of the
handheld unit and cradle must be configured individually.
4. When the distributed coordination wireless network topology is used, if multi-clusters are working
in the same area, it is strongly recommended that different radio frequency channel numbers are
applied to different clusters. While setting up, only the radio frequency channel number of the
first handheld unit of a single cluster is required to be set.
5. In order to obtain constantly good communication quality, when in multi-clusters working mode,
the physical space between two cradles is required to be at least 2 meters.
6. In order to obtain constantly good communication quality, it is recommended to place the cradle
on a higher location, generally more than 1 meter above the ground. If working outdoor, the
higher location the better.
Initialization settings and information display
Initialize all parameters of cradle※
Initialize all parameters of handheld unit
Cradle firmware version display
Handheld unit firmware version display
Cradle radio setting display※
Handheld unit radio setting display※
Note- The settings indicated with (※) are valid only when the cradle is in upgrade ready mode.
Set the cradle entering upgrade ready mode (※)
Keep pressing the S button on the cradle (see “Parts of the cradle”), until the blue LED is flashing.
Then three LEDs will all be turned ON, this indicates the cradle being upgrade ready mode.
Quick setting to point or distributed coordination wireless network
1. Make sure that both the handheld unit and the cradle are in normal working mode. Normally it
means that only the blue LED on the handheld unit and only the blue LED on the cradle are ON as
shown below.
Note that the current applied wireless network topology (either point coordination or distributed
coordination) of the handheld unit or the cradle does NOT make any difference in the following
setting.
2. Use the handheld unit to scan ONE of the following setting barcodes. “Other radio parameters”
in the below table refers to the parameters of channel no., address, etc.
Set to point coordination network without changing other radio parameters
Set to distributed coordination network without changing other radio parameters
Set to point coordination network with returning default radio parameters
Set to distributed coordination network with returning default radio parameters
3. The blue LED on the handheld unit will blink and the beeper will beep regularly to indicate that
the handheld unit is ready to be positioned onto the cradle.
4. Firmly position the handheld unit onto the cradle within 15 seconds. A long beep and a short
beep will be emitted to indicate a successful setting; otherwise, three short beeps will be emitted to
indicate an unsuccessful setting.
5. Referring to the previous section of “Initialization settings and information display”, check the
current radio communication setting of the handheld unit and the cradle.
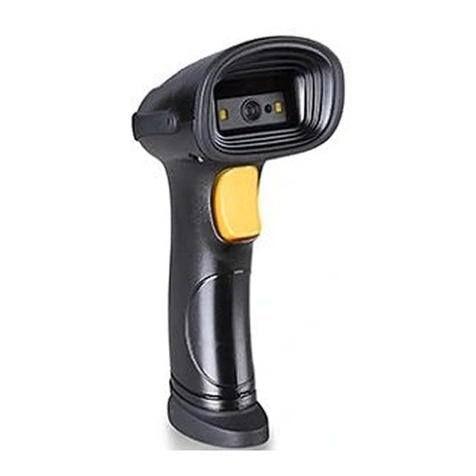
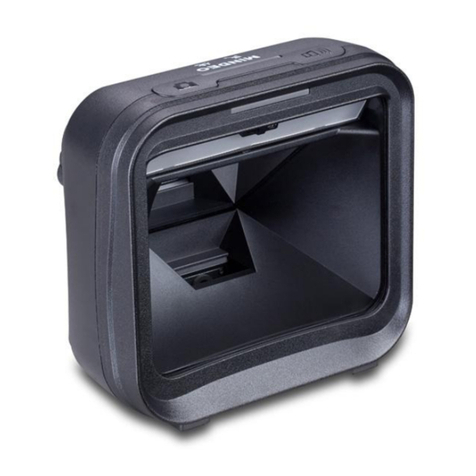
Other manuals for CS3290

1

This manual suits for next models

1

Other Mindeo Barcode Reader manuals

Mindeo MD62 Series User manual

Mindeo

Mindeo MD62 Series User manual

Mindeo CS3290-2D User manual

Mindeo

Mindeo CS3290-2D User manual

Mindeo MD22 Series User manual

Mindeo

Mindeo MD22 Series User manual

Mindeo FS580 User manual

Mindeo

Mindeo FS580 User manual

Mindeo CR40 Series User manual

Mindeo

Mindeo CR40 Series User manual

Mindeo ES168 User manual

Mindeo

Mindeo ES168 User manual

Mindeo MD6100S User manual

Mindeo

Mindeo MD6100S User manual

Mindeo MD22xx User manual

Mindeo

Mindeo MD22xx User manual

Mindeo CS-I Series User manual

Mindeo

Mindeo CS-I Series User manual

Mindeo MP8200 User manual

Mindeo

Mindeo MP8200 User manual

Mindeo MS3390 User manual

Mindeo

Mindeo MS3390 User manual

Mindeo MP725 User manual

Mindeo

Mindeo MP725 User manual

Mindeo MP8608 User manual

Mindeo

Mindeo MP8608 User manual

Mindeo MP8600 User manual

Mindeo

Mindeo MP8600 User manual

Mindeo MD6850 User manual

Mindeo

Mindeo MD6850 User manual

Mindeo MD20 series User manual

Mindeo

Mindeo MD20 series User manual

Mindeo CS2190 User manual

Mindeo

Mindeo CS2190 User manual

Mindeo CS2290 User manual

Mindeo

Mindeo CS2290 User manual

Mindeo FS380 User manual

Mindeo

Mindeo FS380 User manual

Mindeo MS3390 User manual

Mindeo

Mindeo MS3390 User manual

Mindeo MP168 User manual

Mindeo

Mindeo MP168 User manual

Mindeo MD6000 User manual

Mindeo

Mindeo MD6000 User manual

Mindeo MD61 Series User manual

Mindeo

Mindeo MD61 Series User manual

Mindeo MP83 Series User manual

Mindeo

Mindeo MP83 Series User manual

Popular Barcode Reader manuals by other brands

Opticon OPH 1004 Specification manual

Opticon

Opticon OPH 1004 Specification manual

Motorola Symbol DS6708 Product reference guide

Motorola

Motorola Symbol DS6708 Product reference guide

REA ScanCheck 3n user manual

REA

REA ScanCheck 3n user manual

Zebex Z-6070 Series user manual

Zebex

Zebex Z-6070 Series user manual

Dtronic DT3163 user manual

Dtronic

Dtronic DT3163 user manual

AURES PS-50 user manual

AURES

AURES PS-50 user manual

Axicon 15000 series user guide

Axicon

Axicon 15000 series user guide

Worth Data RF Laser user manual

Worth Data

Worth Data RF Laser user manual

Gainscha GI-6404T Series user manual

Gainscha

Gainscha GI-6404T Series user manual

Honeywell MS4980 Specifications

Honeywell

Honeywell MS4980 Specifications

CipherLab RK25 user guide

CipherLab

CipherLab RK25 user guide

Leuze BCL604i operating instructions

Leuze

Leuze BCL604i operating instructions

Honeywell MS2421 Installation and user guide

Honeywell

Honeywell MS2421 Installation and user guide

Albasca MK-5500ZB Configuration guide

Albasca

Albasca MK-5500ZB Configuration guide

Motorola Symbol LS9208 Product reference guide

Motorola

Motorola Symbol LS9208 Product reference guide

Code 2600 quick start guide

Code

Code 2600 quick start guide

Code CR1000 user manual

Code

Code CR1000 user manual

Pepperl+Fuchs IDM-Z2-161-M-1D-J2-BT-N-N0 manual

Pepperl+Fuchs

Pepperl+Fuchs IDM-Z2-161-M-1D-J2-BT-N-N0 manual

manuals.online logo
manuals.online logoBrands
  • About & Mission
  • Contact us
  • Privacy Policy
  • Terms and Conditions

Copyright 2025 Manuals.Online. All Rights Reserved.