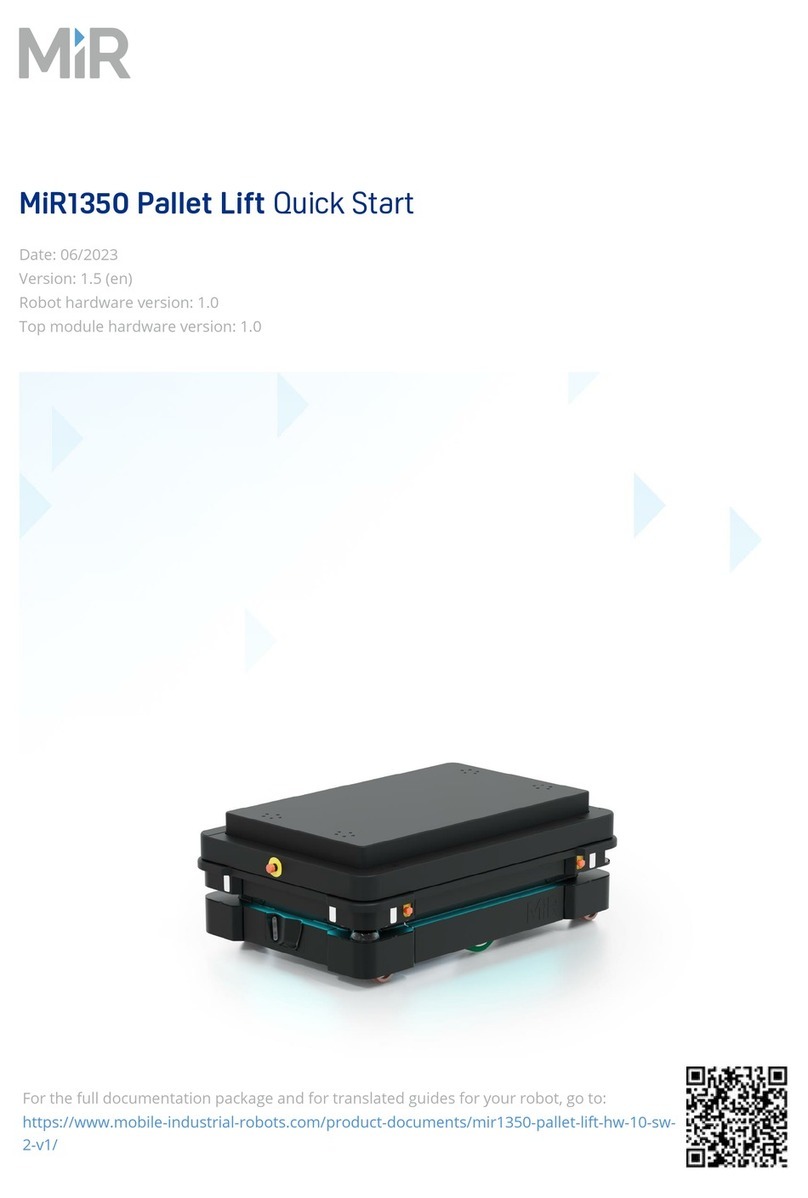
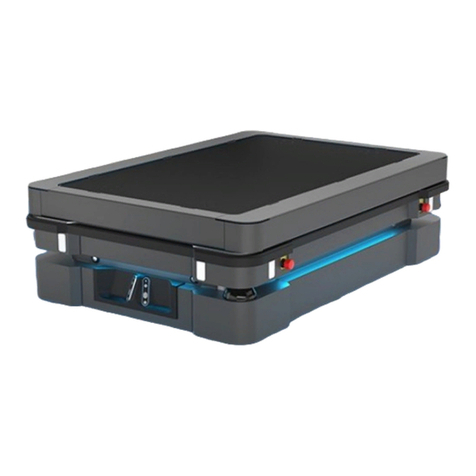
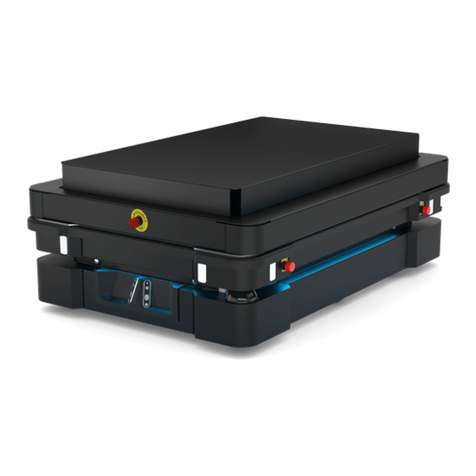
MIR MiR 500 Lift User manual

Operating guide (en)
Date: 10/2019
Revision: v.1.3

MiR500Lift Operating guide (en) 10/2019 - v.1.3 ©Copyright 2019: Mobile Industrial Robots A/S. 2
Copyright and disclaimer
All rights reserved. No parts of this manual may be reproduced in any form without the
express written permission of Mobile Industrial Robots A/S (MiR). MiR makes no warranties,
express or implied, in respect of this document or its contents. In addition, the contents of
the document are subject to change without prior notice. Every precaution has been taken in
the preparation of this manual. Nevertheless, MiR assumes no responsibility for errors or
omissions or any damages resulting from the use of the information contained.
Copyright © 20162019 by Mobile Industrial Robots A/S.
Contact the manufacturer:
Mobile Industrial Robots A/S
Emil Neckelmanns Vej 15F
DK-5220 Odense SØ
www.mir-robots.com
Phone: +45 20 377 577
Email: support@mir-robots.com
CVR: 35251235

MiR500Lift Operating guide (en) 10/2019 - v.1.3 ©Copyright 2019: Mobile Industrial Robots A/S. 3
Table of contents
1. About this document 5
1.1 Where to find more information 5
1.2 Document history 6
2. Safety 8
2.1 Safety message types 8
2.2 General safety precautions 9
2.3 Intended use 10
3. Getting started 12
3.1 In the box 12
3.2 Mounting MiR500Lift 12
3.3 Testing MiR500Lift 23
3.4 Lift modifications 25
4. Product presentation 27
4.1 How the lift works 27
4.2 MiRLift Pallet Rack 28
4.3 Mark potentially hazardous floor area 29
5. Usage 31
5.1 Enable MiR500Lift feature 31
5.2 Set entry and pallet rack positions 32
5.3 Lower lift mission 33
5.4 Raise lift mission 35
5.5 Pick up pallet mission 37
5.6 Test the mission 39

1. About this document
MiR500Lift Operating guide (en) 10/2019 - v.1.3 ©Copyright 2019: Mobile Industrial Robots A/S. 5
1. About this document
This document contains the following information:
•How to install MiR500Lift and take precautions for safe use.
•How to create missions with MiR500Lift.
•Product presentation.
1.1 Where to find more information
At www.mir-robots.com, several additional resources are available. To access more
information, sign in to the Distributor site with your distributor account at
http://www.mobile-industrial-robots.com/en/account/. The following relevant resources are
available:
•Distributor site > Manuals
http://www.mobile-industrial-robots.com/en/account/manuals/
This page contains the following resources:
-MiR500 Quick start
The short guide that lets you start operating the robot quickly. This document is in the
box with the robot in the printed format. Available in multiple languages.
-MiR500 User guide
The user guide of the robot. Available in multiple languages.
-MiR Robot Reference guide
The reference guide that describes the elements of the robot interface. Available in
multiple languages.
-MiR500 REST API reference.
The REST API reference for MiR100/MiR200the robot.
•Distributor site > Download
http://www.mobile-industrial-robots.com/en/account/download/
This page contains the following resources:
-CAD drawings.
Select Show CAD-files to see the list of available CAD drawings.
-Certificates.
Select Show Certificates to see the list of certificates for the robot.
•Distributor site > How to
http://www.mobile-industrial-robots.com/en/account/how-to/
This page contains how-to articles that describe how to perform specific tasks with MiR
products.

1. About this document
MiR500Lift Operating guide (en) 10/2019 - v.1.3 ©Copyright 2019: Mobile Industrial Robots A/S. 6
•Distributor site > Troubleshooting
https://www.mobile-industrial-robots.com/en/account/troubleshooting/
This page contains troubleshooting guides to solve common issues with MiR products.
•MiR500Lift product page
https://www.mobile-industrial-robots.com/en/products/mir-add-ons/mir500-lift/
This page contains specifications, pictures, and brochures for MiR500Lift.
•Universal Robots:
http://www.universal-robots.com/support
1.2 Document history
This table shows the latest and previous versions of this document and their interrelations
with product software releases, when applicable.
Revision Release date Description SW HW
1.0 2019-01-25 First edition. 2.5.0 1.0
1.1 2019-03-19 General small
corrections.
1.2 2019-09-04 Added section:
Mounting
MiR500Lift on
page12
Small corrections.
New layout.
1.3 2019-10-30 Added reset
section. Safety
corrections.
General
corrections.
Revision Release date Description
1.0 2016-09-26 First edition.
2.0 2018-11-01 Second edition.

1. About this document
MiR500Lift Operating guide (en) 10/2019 - v.1.3 ©Copyright 2019: Mobile Industrial Robots A/S. 7
Revision Release date Description
3.0 2019-09-09 Third edition. Added UR+ func-
tionality allows the MiR robots
to be controlled from the UR
Interface.

2. Safety
MiR500Lift Operating guide (en) 10/2019 - v.1.3 ©Copyright 2019: Mobile Industrial Robots A/S. 8
2. Safety
Read the information in this section before powering up and operating MiR500Lift.
Pay particular attention to the safety instructions and warnings.
NOTICE
Mobile Industrial Robots disclaims any and all liability if MiR500Lift or its
accessories are damaged, changed or modified in any way. Mobile Industrial
Robots cannot be held responsible for any damages caused to MiR500Lift,
accessories or any other equipment due to programming errors or
malfunctioning of MiR500Lift.
2.1 Safety message types
This document uses the following safety message types.
WARNING
Indicates a potentially hazardous situation that could result in death or serious
injury.
•Take proper precautions to avoid damage or injury.
CAUTION
Indicates a potentially hazardous situation that could result in minor or mod-
erate injury. Alerts against unsafe practices.
•Take proper precautions to avoid damage or injury.
NOTICE
Indicates important information, including situations that can result in damage
to equipment or property.

2. Safety
MiR500Lift Operating guide (en) 10/2019 - v.1.3 ©Copyright 2019: Mobile Industrial Robots A/S. 9
2.2 General safety precautions
This section contains general safety precautions.
(missing or bad snippet)
WARNING
Using a charger different from the one supplied by the manufacturer can
cause a fire.
•Use only the original charger.
WARNING
Make sure the UR Robot Arm is properly and securely bolted in place.
Unstable mounting can lead to accidents.
CAUTION
The robot can not see staircases going downwards and holes in the floor.
•Mark staircases or holes on maps with Forbidden zones.
•Keep the maps up to date.
CAUTION
Use Flight Mode with smartphone control of the robot. Risk of personal injury
and/or damage to the robot.
•If you use Manual control with a smartphone to drive the robot, make sure
that the phone is set to Flight Mode. An incoming call on the smartphone
will interrupt control of the robot.

2. Safety
MiR500Lift Operating guide (en) 10/2019 - v.1.3 ©Copyright 2019: Mobile Industrial Robots A/S. 10
WARNING
Lithium battery packs may get hot, explode or ignite and cause serious injury if
they are abused electrically or mechanically.
Observe the following precautions when handling and using lithium batteries:
•Do not short-circuit, recharge or connect with false polarity.
•Do not expose to temperature beyond the specified temperature range or
incinerate the battery.
•Do not crush, puncture or disassemble the battery. The battery contains
safety and protection devices, which, if damaged, may cause the battery to
generate heat, explode or ignite.
•Do not allow the battery to get wet.
•In the event the battery leaks and the fluid gets into one’s eye, do not rub
the eye. Rinse well with water and immediately seek medical care. If left
untreated, the battery fluid could cause damage to the eye.
•Use only the original charger (cable charger or charging station) and
always follow the instructions from the battery manufacturer.
2.3 Intended use
MiR500Lift is a partly completed machine as defined in the EU machinery directive and
does not have a CE mark. A correctly installed MiR500Lift is covered by the CE mark of
MiR500. However, a CE marked product does not guarantee a CE marked setup. It is the
responsibility of the integrator to safely commission MiR500Lift.
MiR500Lift is designed for MiR500. MiR500Lift is only intended to be used as described in
this operating guidetransport pallets that do not extend the footprint of MiR500 and loaded
according to the Payload Specifications defined in the MiR500 Userguide.
NOTICE
A safe machine does not guarantee a safe system. Follow the Commissioning
guide to ensure safe commissioning.
MiR500Lift is intended to be commissioned indoor in a light industrial environment where
public access is restricted. For detailed description of the environment in which the robot
should operate, see technical specifications on our website.

2. Safety
MiR500Lift Operating guide (en) 10/2019 - v.1.3 ©Copyright 2019: Mobile Industrial Robots A/S. 11
NOTICE
Before commissioning MiR500Lift, it is important to make a risk assessment.
All risks and foreseeable misuses relevant to MiR500 also apply to
MiR500Lift. Refer to the MiR500 User guide for more information.

3. Getting started
MiR500Lift Operating guide (en) 10/2019 - v.1.3 ©Copyright 2019: Mobile Industrial Robots A/S. 12
3. Getting started
This section describes how to get started with MiR500Lift.
3.1 In the box
This section describes the content of the MiR500Lift box.
The box contains:
1. MiR500Lift
2. A MiR500Lift document folder containing the following printed documents:
•MiR500Lift
•CE declaration of conformity
In the box
This section describes the content of the MiR500Lift box.
The box contains:
1. MiR500Lift
2. A MiR500Lift document folder containing the following printed documents:
•MiR500Lift
•CE declaration of conformity
3.2 Mounting MiR500Lift
This section describes how to mount MiR500Lift to MiR500. Before mounting, turn off the
robot and read section Safety on page8.
For another description of mounting the MiR500Lift, see the How to guide on
the Distributor site titled How to Mount the MiR500 Lift.
CAUTION
Before mounting MiR500Lift to MiR500 read Safety on page8.

3. Getting started
MiR500Lift Operating guide (en) 10/2019 - v.1.3 ©Copyright 2019: Mobile Industrial Robots A/S. 13
Connecting the cables
When mounting MiR500Lift, it is important that the end with the six screw holes is placed at
the front end of the robot.
3.1. The side with the six screw holes (circled with red) must be placed at the front end of the robot.
3.2. Top view of MiR500
Number Description Number Description
1 Left-side middle com-
partment plate
2 Right-side middle com-
partment plate

3. Getting started
MiR500Lift Operating guide (en) 10/2019 - v.1.3 ©Copyright 2019: Mobile Industrial Robots A/S. 14
1. Remove the two middle compartment plates on the top cover of MiR500.
2. Unscrew the four bolts from the lifting device.

3. Getting started
MiR500Lift Operating guide (en) 10/2019 - v.1.3 ©Copyright 2019: Mobile Industrial Robots A/S. 15
3. Screw in four lifting eye bolts in the holes where you just removed the four bolts.
4. Use a crane to move the lifting device to the robot.

3. Getting started
MiR500Lift Operating guide (en) 10/2019 - v.1.3 ©Copyright 2019: Mobile Industrial Robots A/S. 16
5. Remove the cables from the bag. Notice that there are two cables for the right side and
two cables for the left side of the lifting device. Feed the right-side cables through the
hole on the right side and vice versa with the left side.
6. Connect the plugs of the right-side cables with the socket in the right-side compartment
of MiR500. These are the power (1) and GPIO (2)connections. Repeat the process for the
plugs and sockets on the left side.
When connecting the plugs, make sure to turn the plug to the left to open
the plug and to the right to close it once connected to its socket. The plugs
only fit with one socket each, so it is not possible to connect them incor-
rectly.

3. Getting started
MiR500Lift Operating guide (en) 10/2019 - v.1.3 ©Copyright 2019: Mobile Industrial Robots A/S. 17
Fixing MiR500Lift to MiR500
When fixing MiR500Lift to MiR500, it is important to check that no cables are pinched
between the devices. To avoid this, use cable ties to keep the cables collected.
1. Lower the lift onto the robot.
2. Dismount the crane, remove the lifting eye bolts, and remove the crane.

3. Getting started
MiR500Lift Operating guide (en) 10/2019 - v.1.3 ©Copyright 2019: Mobile Industrial Robots A/S. 18
3. Screw in one of the four M12 bolts without tightening it completely.
4. Adjust the lift until the M12 mounting holes are correctly aligned, and screw in the
remaining bolts. Ensure that all bolts are tightened completely.

3. Getting started
MiR500Lift Operating guide (en) 10/2019 - v.1.3 ©Copyright 2019: Mobile Industrial Robots A/S. 19
5. Screw in the four bolts that were removed for the eye bolts.

3. Getting started
MiR500Lift Operating guide (en) 10/2019 - v.1.3 ©Copyright 2019: Mobile Industrial Robots A/S. 20
6. Put the lift cover on the lifting device using suction cups.
7. Screw in all twenty screws to fix the cover to the lifting device. Ensure the screws are
plane with the lift cover.
If you are having difficulty screwing in the short screws, start by using a
long screw to make the others easier to screw in.Remember to replace
the long screw with a short one when you are finished.
Table of contents
Other MIR Lifting System manuals
Popular Lifting System manuals by other brands

morse
morse 400A-96SS-117 Operator's manual

Sigma
Sigma KERA-LIFT 1A4 manual

HESHBON
HESHBON HL-26K Installation, operation and maintenance manual

AUTOPSTENHOJ
AUTOPSTENHOJ Masterlift 2.35 Combi installation instructions

rodac
rodac RQLTP650 Declaration of conformity

Peak
Peak 211SAC Installation and service manual