manuals.online logo
Brands
  1. Home
  2. •
  3. Brands
  4. •
  5. Mirpol
  6. •
  7. Outdoor Furnishing
  8. •
  9. Mirpol LUXE User manual

Mirpol LUXE User manual

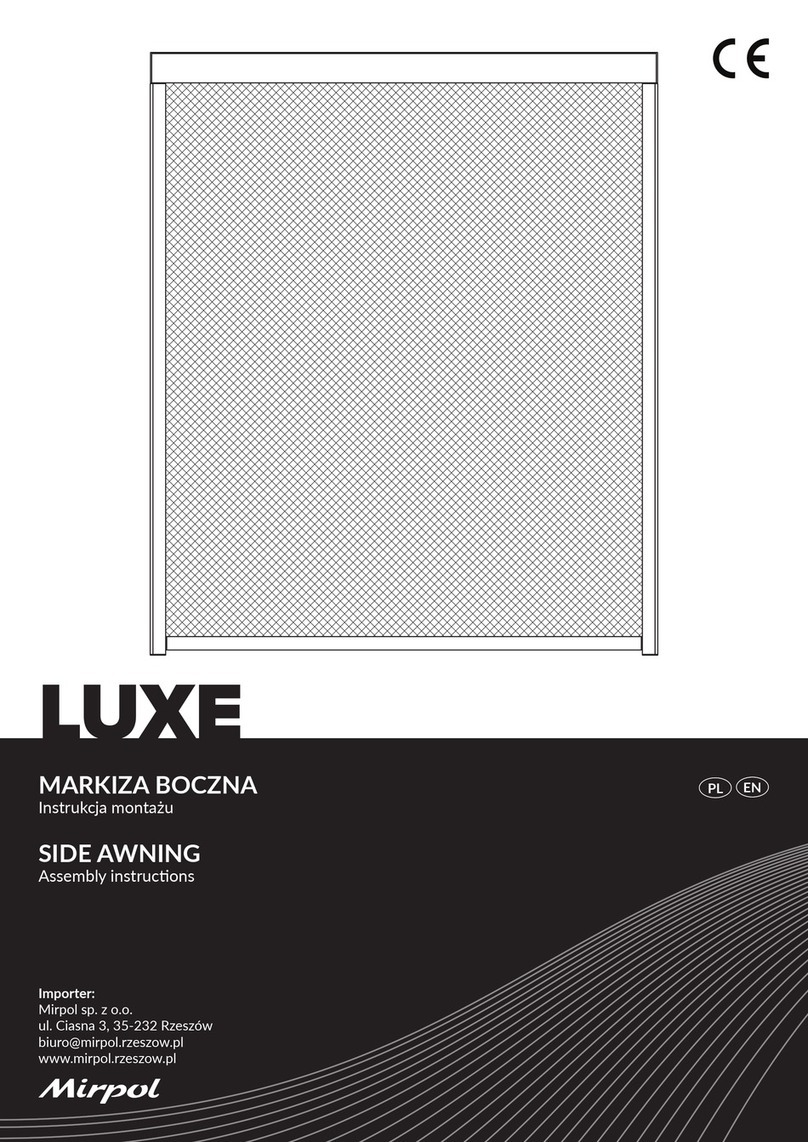
PERGOLA OGRODOWA
Instrukcja montażu
GARDEN PERGOLA
Assembly instrucons
LUXE
Importer:
FH Mirpol sp. z o.o.
ul. Ciasna 3, 35-232 Rzeszów
[email protected]eszow.pl
www.mirpol.rzeszow.pl
EN
PL
1PL / EN LUXE
x4
x1
x1
x2
x1
(3x3) x44
(3x4) x60
(4x4) x60
x4
x4
x2
x2
x2
LISTA CZĘŚCI / LIST OF PARTS
2PL / ENLUXE
x40+2
x20+2
x8+2
x2
x16
1
(3x3) x88
(3x4) x120
(4x4) x120
x8
x32
M6x16
M6x16
D6x12
M4x25
ST4.2x25
UWAGA: Pozycje O i K5 są opcjonalne. Jeśli musisz je zainstalować, najpierw zapoznaj się z ostatnią stroną tej instrukcji.
Części O i K5 należy usunąć, jeśli chcesz zainstalować zestaw ekranów.
PLEASE NOTE: O and K5 is an oponal. If you do need install them, please refer to the last page rst.
The O and K5 should be removed if you need to install the screen set.
3PL / EN LUXE
1
x16 x4
4x
4PL / ENLUXE
2
x8 x2
Dopasuj łącznik (H) do jednej strony belki środkowej (D), a następnie dokręć śrubę (K1). Następnie powtórz czynność po drugiej
stronie.
Match the connector H with one side of middle beam D, then ghten the screw K1. Then complete the other side.
5PL / EN LUXE
3
x2 x2
3.1 3.2
Włóż dwa pierścienie zawiasów (I) w wał napędowy skrzyni biegów na belce (D), przykręć śrubą i zamocuj nakrętkę (K4).
Put two hinge rings I into the gearbox drive sha on the beam D, x the screw + nut K4.
6PL / ENLUXE
4
Port drenażowy/
Drain port
Port drenażowy/
Drain port
Port drenażowy/
Drain port
Port drenażowy/
Drain port
Umieść słup i belkę jak pokazano na rysunku. Zauważ, że otwory drenażowe kolumn są skierowany w tą samą stronę.
Place the column and beam as shown in the gure, and note that the drain port of the column faces the same side.
7PL / EN LUXE
5
x4
5.1
5.2
Upewnij się, że dwa końce przedniej i tylnej belki (C) są odpowiednio umieszczone na łącznikach narożnych na kolumnie, a śruby
K1 są dokręcone.
The two ends of one front and rear beam C are respecvely placed on the corner connectors on the column, and the screws K1
are ghtened.
8PL / ENLUXE
6
6.2 6.2
x8
Upewnij się, że lewa i prawa belka (B1/B2) są złączone na słupie i odpowiednio umieszczone na narożniku, śruby (K1) powinny
być dokręcone.
The le and right beams B1/B2 are connectors on the column, and respecvely placed on the corner the screws K1 are ghtened.
9PL / EN LUXE
7
x4
Włóż końce pozostałych belek przednich i tylnych (C) do łączników narożnych na słupie i dokręć śrubami (K1).
Insert ends of the other front and rear beams C into the corner connectors on the column, and ghten the screws K1.
10PL / ENLUXE
8
x12 x4
8.1
8.2
4 górne płyty kolumny (G) odpowiednio
zamontuj na narożnych łącznikach słupa i belki.
Dokręć śrubami (K2).
The 4 column cover plates G are respecvely
mounted on the corner connectors of the
column and the beam, and the screws K2
are ghtened in turn.
11 PL / EN LUXE
9Dostosuj położenie czterech słupów tak, aby były prostopadłe do podłoża. Następnie za pomocą markera zaznacz 16 punktów
na podłożu, które powinny odpowiadać otworom w dolnych płytkach.
Adjust the posion of the four columns so that they are perpendicular to the ground. Then use a market pen to mark 16 holes on
the ground, which should be corresponding to the holes in the boon palte.
12PL / ENLUXE
10 Przesuń produkt z oznaczeń i wywierć otwory Ø10x80mm w 16 zaznaczonych miejscach za pomocą wiertarki udarowej.
Remove the product from the mark and drill holes of Ø10x80mm at 16 mark posions on the ground with a percussion drill.
13 PL / EN LUXE
11
x16
Umieść kołki rozporowe (L) w wywierconych otworach, a następnie przenieś produkt z powrotem tak aby otwory płytek pokrywały
się z kołkami. Następnie użyj wkrętów i podkładek (L) do zamocowania pergoli do podłoża. Pamiętaj o solidnym dokręceniu
wszystkich wkrętów.
Place the plasc expansion pipe in the boom hole of the column. Then move the product back to the hole drilled, align holes
of the column boom plates with the hole drilled on the ground. Then set L1 into the woodworking screw L, and x it with the
ground separately.
14PL / ENLUXE
12
x1
Nałóż równomiernie klej do szkła (M) na odpływ słupa i połączenia belek.
Coat the glass glue M evenly on the drain of column and joints of beams.
15 PL / EN LUXE
13 Umieść środkową belkę (D) na przedniej i tylnej belce (C).
Place the middle beam D on the front and rear beams C.
16PL / ENLUXE
14 Włóż 6 szt. listew (E) (4 szt. po stronie skrzyni biegów i 2 szt. po drugiej stronie) na końcu wsporników po obu stronach belek
(B1-D i B2-D). Dociśnij listwę jak pokazano na poniższym szkicu aby ją zabezpieczyć.
Insert 6 pcs ap (E) rst (4 pieces at gear box side and 2 pcs at other side) and press down on the slat as shown in the sketch
below to secure it. on the end of the brackets on both sides of the beams (B1-D and B2-D), and press down on the slat as shown
in the sketch below to secure it.
17 PL / EN LUXE
15
15.2
15.1
x8 x8
Wkręć śrubę (K2) z podkładką (K3)
w linii z otworem pod belką (D), to
samo powtórz dla belki (C). Włóż
drugą listwę.
First, x screw K2 with gasket K3
align with hole below the beam D,
then same to beam C. Insert the
other ap in turn.
18PL / ENLUXE
16 Dostosuj zgodnie z poniższymi krokami jeśli
pergola nie może się całkowicie zamknąć.
Adjust according to below steps if the pergola
can`t close completly.
A: listwa / ap
B: podparcie listwy / apsupport
Zastosuj to rozwiązanie, jeśli otwór „A” i „B” nie są wycentrowane względem siebie.
Adjust soluon if hole”A” and hole „B” are not concentric.
Regulacja wspornika listwy (B) za pomocą
płaskiego śrubokręta, jak pokazano na
rysunku.
Adjusng the B ap support with straight
screwdriver as picture shown.
Otwór „A” i „B” są wycentrowane po
regulacji.
Hole „A“ and „B” are concentric aer
adjusng
19 PL / EN LUXE
17 Włóż plaskowy kołek (N) z dwóch stron każdej listwy.
Rysunek 17.1 pokazuje, jak włożyć plaskowy kołek do przedniej listwy.
Insert plasc jam N into two sides of each ap.
The following image (17.1) shows how to insert plasc jam into foremost ap.
17.1
17.2
Obróć listwy do połowy, włóż plaskowy kołek (N)
kolejno w otwór dwóch końców każdej listwy.
Turn on the ap to half posion, insert the plasc jam N
into hole of two ends of each ap in turn.

Other manuals for LUXE

3

Other Mirpol Outdoor Furnishing manuals

Mirpol INES User manual

Mirpol

Mirpol INES User manual

Mirpol SONGO User manual

Mirpol

Mirpol SONGO User manual

Mirpol Dreamer User manual

Mirpol

Mirpol Dreamer User manual

Mirpol MARSEILLE User manual

Mirpol

Mirpol MARSEILLE User manual

Mirpol LUXE User manual

Mirpol

Mirpol LUXE User manual

Mirpol LUXE User manual

Mirpol

Mirpol LUXE User manual

Mirpol LUXE User manual

Mirpol

Mirpol LUXE User manual

Popular Outdoor Furnishing manuals by other brands

BBQ BBQ2002570S Assembly instructions

BBQ

BBQ BBQ2002570S Assembly instructions

PATIOJOY HW70898 manual

PATIOJOY

PATIOJOY HW70898 manual

Outsunny 01-0317 instruction manual

Outsunny

Outsunny 01-0317 instruction manual

Kreg Potting Bench manual

Kreg

Kreg Potting Bench manual

Sojag 500-9162493 Assembly manual

Sojag

Sojag 500-9162493 Assembly manual

hanit TAUNUS Assembly instructions

hanit

hanit TAUNUS Assembly instructions

highwood Lehigh Garden Chair Assembly guide

highwood

highwood Lehigh Garden Chair Assembly guide

Costway HW66461-12-22 user manual

Costway

Costway HW66461-12-22 user manual

Courtyard Creations AUGUSTA KVS941C Assembly instructions

Courtyard Creations

Courtyard Creations AUGUSTA KVS941C Assembly instructions

Target Martti FWS60618C Assembly instructions

Target

Target Martti FWS60618C Assembly instructions

Ballard Designs JC102 Assembly instructions

Ballard Designs

Ballard Designs JC102 Assembly instructions

Canada Comfy Chair CCC100 instruction sheet

Canada Comfy Chair

Canada Comfy Chair CCC100 instruction sheet

Kettler DEKTON 0104319-2900 Assembly instructions

Kettler

Kettler DEKTON 0104319-2900 Assembly instructions

Abbyson Santino MD-2397-DT Assembly instructions

Abbyson

Abbyson Santino MD-2397-DT Assembly instructions

New England Arbors Fairfield Grande Arbor Assembly/mounting instructions

New England Arbors

New England Arbors Fairfield Grande Arbor Assembly/mounting instructions

vita The Fairfield Assembly instructions

vita

vita The Fairfield Assembly instructions

Carolina Outdoors COB4921-OIL Assembly instructions

Carolina Outdoors

Carolina Outdoors COB4921-OIL Assembly instructions

Yardistry YM12904 Installation and operating instructions

Yardistry

Yardistry YM12904 Installation and operating instructions

manuals.online logo
manuals.online logoBrands
  • About & Mission
  • Contact us
  • Privacy Policy
  • Terms and Conditions

Copyright 2025 Manuals.Online. All Rights Reserved.