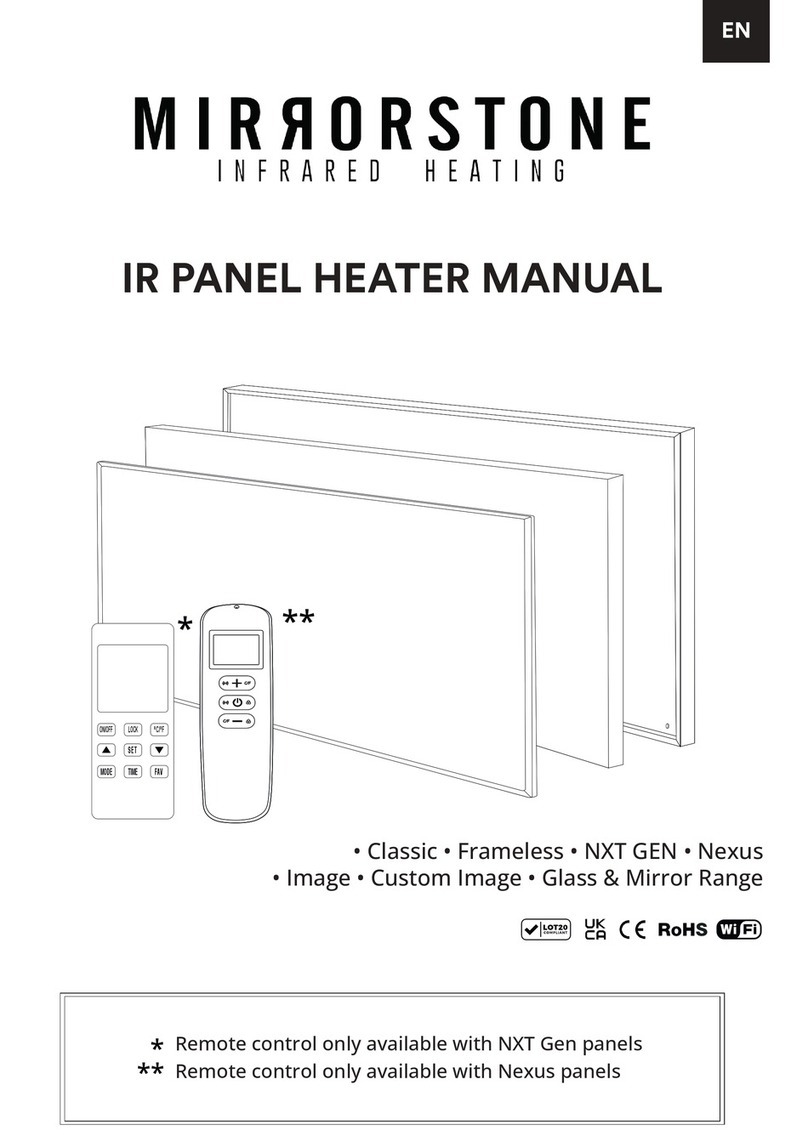
Mirrorstone Classic User manual

EN
IR PANEL HEATER MANUAL
Classic Frameless NXT Gen Solis Image
Custom Image Glass & Mirror Ranges
*Remote Control only available with NXT Gen, Image, and Custom Image Panels
ON/OFF LOCK
O
C/
O
F
SET
MODE TIME FAV
**Wireless Temperature Sensor only available with Solis Panels
**
*


CONTENTS
1. INCLUDED IN THE BOX
2. FEATURES
3. MODEL SPECIFICATIONS
4. WARNINGS & PRECAUTIONS
5. DEVICE STRUCTURE
6. MOUNTING & INSTALLATION
7. SUSPENSION KIT INSTALLATION
8. PANEL STAND INSTALLATION
9. NXT GEN PANEL HEATERS
10.OPERATION OF REMOTE & RECEIVER
11.LCD DISPLAY
12.GETTING STARTED
13.BASIC FUNCTIONS
14.ELECTRONIC TEMPERATURE CONTROL
15.TIMER & TEMPERATURE SETTINGS
16.ADAPTIVE START
17.OPEN WINDOW MODE
18. SOLIS WI-FI INFRARED HEATING PANELS
19.WIRELESS TEMPERATURE SENSOR
20.GETTING STARTED
21.CONNECTING THE SMART LIFE APP TO THE WIRELESS
TEMPERATURE SENSOR
22.OPERATING THE SMART LIFE APP
23.RESETTING THE WI-FI PAIRING
24.MAINTENANCE & SERVICING
25. TROUBLE SHOOTING
26. THINGS TO BE AWARE OF
27. DISPOSAL
4
4
5
6
7
7
8
9
11
12
13
13
14
14
15
15
16
17
18
19
20
21
25
29
30
30
31
32
6. BEFORE INSTALLING YOUR HEATER

INCLUDED IN THE BOX
EN
4
IR Panel Heater Manual
a. b.
c.
d.
e.
f.
a. – Infrared Heater
b. – Screws
c. – Wall Plugs
d. – Mounting Template
e. – Remote Control (ONLY provided with NXT Gen Panels)
f. – Wireless Temperature Sensor (ONLY provided with Solis Panels)
ON/OFF LOCK
O
C/
O
F
SET
MODE TIME FAV
FEATURES
This infrared panel heater is designed to provide an efficient,
comfortable and healthy heating system for all domestic users
and homeowners.
This infrared panel heater can reduce air circulation and help
create and maintain a clean, silent and dust free environment.
All infrared panel heaters should be wall mounted. If you would
like to mount the panel on your ceiling, either use a suspension
kit with a minimum 50mm gap or install it in a suspended ceiling.
A wide range of panels are available in varying sizes, wattages
and frames.

To prevent burns or injuries related to prolonged contact with the
and that the power supply isgrounded.
unless you have a suspended ceiling. For all other ceiling installa
between the panel and ceiling.
to it.
such as towels, quilts or carpets, etc.
cooled down. Please ensure that you use a dry cloth,and avoid
using gasolineor acetate on the appliance.
EN
MODEL SPECIFICATIONS
Available Sizes
295mm x 595mm
595mm x 595mm
595mm x 995mm
595mm x 1195mm
795mm x 1195mm
995mm x 1195mm
180W
350W
580W
700W
900W
1200W
2 - 3m2
5 - 6m2
9 - 10m2
11 - 12m2
15 - 16m2
19 - 20m2
Rated Power Heated AreaAmps
0.75A
1.46A
2.42A
2.92A
3.75A
5A
Classic
Available Sizes
600mm Diameter
595mm x 595mm
800mm Diameter
605mm x 1005mm
595mm x 1195mm
280W
350W
500W
580W
700W
4 - 6m2
5 - 6m2
7 - 12m2
9 - 10m2
11 - 12m2
Rated Power Heated AreaAmps
1.17A
1.46A
2.1A
2.42A
2.92A
Available Sizes
295mm x 1195mm
595mm x 595mm
595mm x 995mm
595mm x 1195mm
795mm x 1195mm
995mm x 1195mm
350W
350W
580W
700W
900W
1200W
2 - 3m2
5 - 6m2
9 - 10m2
11 - 12m2
15 - 16m2
19 - 20m2
Rated Power Heated AreaAmps
1.46A
1.46A
2.42A
2.92A
3.75A
5A
Available Sizes
600mm x 800mm
600mm x 1000mm
600mm x 1200mm
450W
580W
700W
7 - 8m
2
9 - 10m
2
11 - 12m
2
Rated Power Heated AreaAmps
1.9A
2.42A
2.92A
Available Sizes
600mm x 600mm
850mm diameter
600mm x 800mm
600mm x 1000mm
600mm x 1200mm
320W
360W
450W
580W
700W
5 - 6m2
5 - 6m
2
7 - 8m
2
9 - 10m2
11 - 12m2
Rated Power Heated AreaAmps
1.33A
1.6A
2A
2.5A
3A
GlassMirror
IR Panel Heater Manual
Available Sizes Rated Power Heated AreaAmps
Solis
595mm x 595mm
595mm x 995mm
595mm x 1195mm
350W
580W
700W
5 - 7m2
7 - 12m2
11 - 18m2
1.46A
2.42A
2.92A

EN
No CoveringDo Not TouchDo Not Spray
WARNINGS & PRECAUTIONS
6
To prevent burns or injuries related to prolonged contact with the
and that the power supply isgrounded.
unless you have a suspended ceiling. For all other ceiling installa
between the panel and ceiling.
to it.
such as towels, quilts or carpets, etc.
cooled down. Please ensure that you use a dry cloth,and avoid
using gasolineor acetate on the appliance.
3.
4.
6.
7.
8.
9.
IR Panel Heater Manual

DEVICE STRUCTURE
EN
7
Device Structure
IR Panel Heater Manual
BEFORE INSTALLING YOUR HEATER
This infrared panel heater is designed to provide an efficient,
comfortable and healthy heating system for all domestic users
and homeowners.
This infrared panel heater can reduce air circulation and help
create and maintain a clean, silent and dust free environment.
All infrared panel heaters should be wall mounted. If you would
like to mount the panel on your ceiling, either use a suspension
kit with a minimum 50mm gap or install it in a suspended ceiling.
A wide range of panels are available in varying sizes, wattages
and frames.
Length (m) x Width (m) x Height (m) = Volume (m3)
For well insulated properties: Volume (m3) x 25 = Wattage Require-
ment
For moderately insulated properties: Volume (m3) x 30 = Wattage
Requirement
For poorly insulated properties: Volume (m3) x 35 = Wattage Require-
ment

A
D
BC
!
MOUNTING & INSTALLATION
8
IR Panel Heater Manual

EN
9
SUSPENSION KIT INSTALLATION
IR Panel Heater Manual
Ax4 B1x4 B2x4
Please note that if you would like to install your panel on your ceiling, you
must use a Suspension Kit and leave a minimum of 50mm clearance
between the ceiling and panel.
You must not install the panel directly onto the ceiling.
Suspension kits (sold separately) should only be used for ceiling installa-
tions, and if there is no suspended ceiling.

10
EN
IR Panel Heater Manual

EN
PANEL STAND INSTALLATION
too.
IR Panel Heater Manual

REMOTE CONTROL
EN
Weight: 86g.
o o oF–
o
oC.
o o
o
oC.
BUILT IN RECEIVER
IR Panel Heater Manual
NXT GEN HEATING PANELS
*NXT Gen Remote and NXT Gen features ONLY available with NXT Gen panels, Image
panels and Custom Image panels.
Power supply: AC 220-240V, 50/60Hz
Power consumption: 0.4W
Integrated rocker switch: remote control override

OPERATION OF REMOTE & INTEGRATED RECEIVER
EN
-
SUN MON TUE WED THU FRI SAT
AM
PM
2088 18 28
20:88
Y M D
MOD E
SMART
TIMER
ON OFF
ON OFF
1-5 6 7
ROOM
SET
188.0
O
C
1-5
6
7
188.0
O
C
-
ON/OFF LOCK
O
C /
O
F
SET
MODE TIMEFAV
Date
Set button
Mode button
Battery capacity
indicator
Mode settings
Celsius/Fahrenheit
togglebutton
Down button
Favourite button
+
+
LCD DISPLAY
IR Panel Heater Manual

GETTING STARTED
EN
BASIC FUNCTIONS
IR Panel Heater Manual
Included with each panel is a remote controller with an LCD digital
display. This features an integrated room temperature sensor located
at the top of the remote.
At the back of the panel itself is the integrated receiver that communi-
cates with the remote controller. On this receiver is a green rocker
switch. This is the remote override switch – so when it is in the Off
position, the remote will be in operation, and when it is in the On
position, the remote will not work.
Upon plugging in your IR Panel, the heater will switch on. Ensure that
the green switch on the receiver is in the Off position.
Insert 2 x AAA batteries into the remote, and press the ‘On/Off button’
to switch the remote on.
To pair the remote with the panel, hold down the ‘Mode button’ and
‘oC/oF button’ together for 3 seconds. You will hear a beep from the
receiver on the back of the panel upon successful pairing.
You can repeat this process to pair the same remote to multiple heat-
ers.
When the green switch is on, the remote control will not work and the
panel will be constantly on.

EN
Sunday.
oC.
o
o
ELECTRONIC TEMPERATURE CONTROL
IR Panel Heater Manual
TIMER& TEMPERATURE SETTINGS

settings.
ADAPTIVE START
EN
IR Panel Heater Manual
o

EN
OPEN WINDOW MODE
oC
oC
oC,itwill calcu
o oC,and
o
o o
IR Panel Heater Manual
RESETTING YOUR REMOTE PAIRING
In some cases, you may want to unpair your remote from your NXT Gen
IR Panel. Please follow the steps below to unpair your remote.

EN
INTERNAL RECEIVER TECHNICAL SPEC
IR Panel Heater Manual
PowerSupply:
Wireless Standard:
Frequency Range:
Security Protocol:
Encryption Protocol:
oC,
PANELS
WIRELESS TEMPERATURE SENSOR TECHNICAL SPECS
PowerSupply:
Power Consumption:
Temperature Display Range: o o o o
Humidity Display Range:
Radio Frequency:
Wireless Temperature Sensor Range:
Dimensions:
Weight:
Hold the power button down on the remote for 5 seconds, or until the
display on the remote disappears.
Turn the heater off at the mains, leaving the switch on the heater as it
is.
Remove the batteries from the remote and wait for 10 minutes.
Turn the heater back on at the mains.
Follow the remote pairing process again.
If this does not work, try the above steps but whilst leaving the heater
on at the mains during the 10 minute period.
*Wireless Temperature Sensor ONLY available with Solis Wi-Fi IR
Heating Panels.

EN
WIRELESSTEMPERATURE SENSOR
IR Panel Heater Manual
button
%
25 c
o
52
2 1.8
c
o
49
43
COMFORT
%
%
/
18 c
o
/
Daily Record
+
+

EN
IR Panel Heater Manual
GETTING STARTED
Insert 2 x AAA batteries into the back of the wireless temperature
sensor.
Power your heater on at the mains. The receiver at the back of the
panel will beep once. After approximately 20-25 seconds, the
receiver will beep another 2 times – this means it is now ready to
be paired to the wireless temperature sensor.
Press and hold the Pairing button at the back of the wireless
temperature sensor until you hear a long beep from the receiver.
This means that the wireless temperature sensor and panel have
successfully been paired together.
Please note that you must pair the sensor and the panel within 30
seconds of the receiver beeping twice. If you hear another beep
from the panel, you must power the panel off and back on to
resume the pairing process.
If you are installing more than one heater in a room, and want to
pair a single sensor to multiple panels, this can be done by simply
repeating the process explained in step 3. Alternatively, you can
also power on all the panels and pair them all at the same time
simultaneously.
Once paired, the sensor will display various pieces of information
on the LCD screen. On its top half you will see the current room
temperature, and to its left you will see the highest and lowest
temperature it has recorded from the past 24 hours. On the
bottom half of the screen, you will see the current room tempera-
ture, and to its left you will see the highest and lowest humidity it
has recorded from the past 24 hours. To its right, you will see an
icon indicating the comfort level – below 35% is dry, 35% to 65% is
comfort, and higher than 65% is wet.
Other manuals for Classic
1
This manual suits for next models
7
Table of contents
Other Mirrorstone Heater manuals
Popular Heater manuals by other brands

Master
Master DC 61 User and Maintenance Book

Steba
Steba Litho KS 1 Instructions for use

BIEMMEDUE
BIEMMEDUE FIRE Series instruction manual

Dantherm
Dantherm MASTER CLIMATE SOLUTIONS B 35CED DV User and maintenance manual

Haverland
Haverland RCW Instruction & installation manual

Roberts Gorden
Roberts Gorden COMPLETE HED Series Installation, operation & service manual