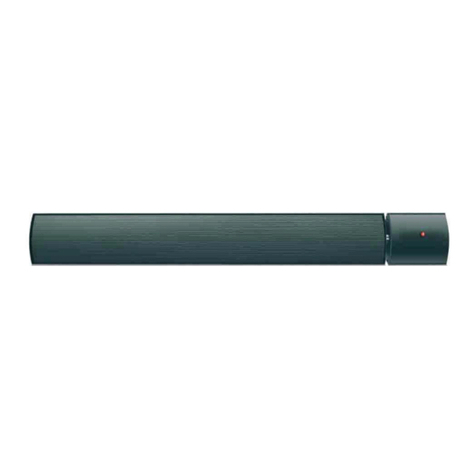
Mirrorstone Classic User manual

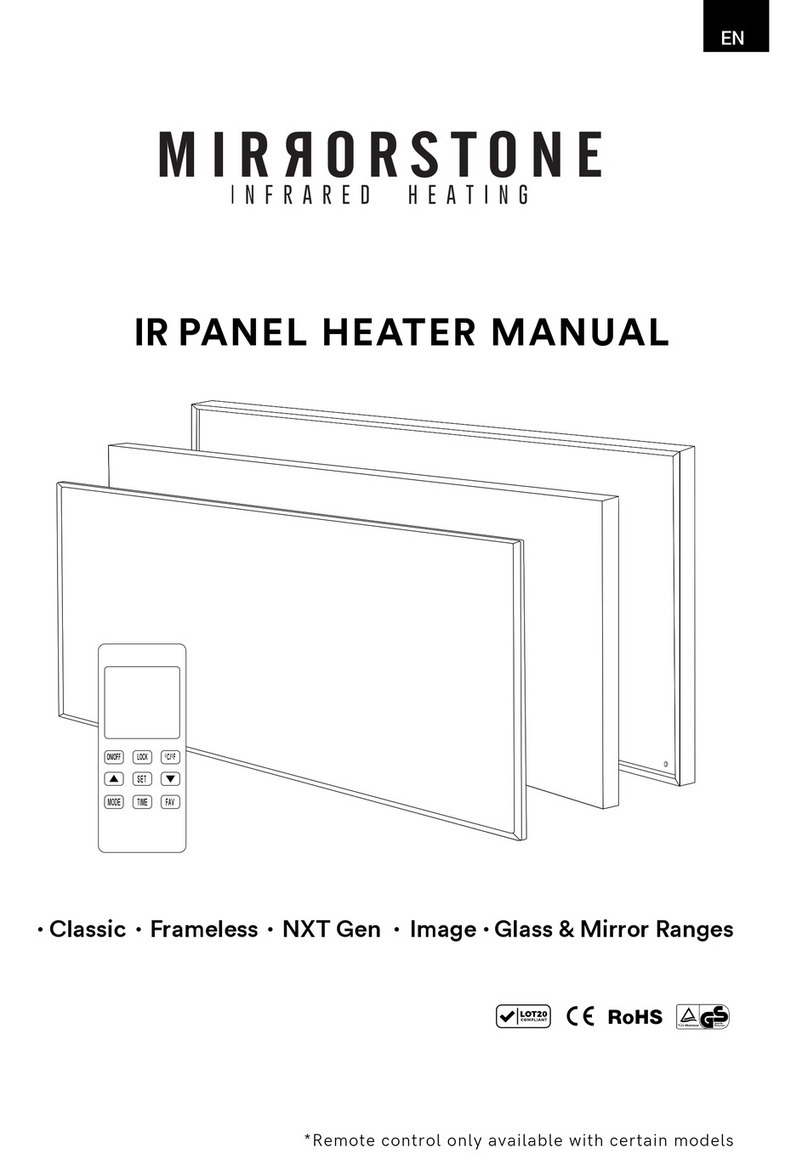
IR PANEL HEATER MANUAL
*
*
SET
ON/OFF LOCK
O
C /
O
F
MODE TIMEFAV
**
**
Remote control only available with NXT Gen panels
Remote control only available with Nexus panels
• Classic • Frameless • NXT GEN • Nexus
• Image • Custom Image • Glass & Mirror Range
EN

CONTENTS
INTRO
PRECAUTIONS
SPECS TABLE
SUSPENSION KIT INSTALLATION (SEPARATELY SOLD)
CEILING BRACKET INSTALLATION (SEPARATELY SOLD)
PANEL STAND INSTALLATION (SEPARATELY SOLD)
CLASSIC INFRARED HEATING PANELS
Included In The Box
Device Structure
Wall Installation
PREMIUM FRAMELESS INFRARED HEATING PANELS
Included In The Box
Device Structure
Wall Installation
NXT GEN INFRARED HEATING PANELS
Included In The Box
Device Structure
NXT Gen Remote Control Specs
Built-In NXT Gen Receiver Specs
NXT Gen Remote Control Diagram
NXT Gen Remote LCD Display
Built-In NXT Gen Receiver Diagram
Wall Installation
Pairing Your NXT Gen Remote
Basic Functions
Electronic Temperature Control
Timer & Temperature Settings
Adaptive Start
Open Window Mode
Unpairing Your NXT Gen Remote
1.
2
3.
4.
5.
6.
7.
7a.
7b.
7c.
8.
8a.
8b.
8c.
9.
9a.
9b.
9c.
9d.
9e.
9f.
9g.
9h.
9i.
9j.
9k.
9l.
9m.
9n.
9o.
4
5
6
7
9
10
11
12
13
14
15
16
17
18
19
20
21
22
22
23
23
24
25
26
27
27
28
29
29
30

NEXUS WI-FI/IMAGE/CUSTOM IMAGE INFRARED HEATING PANELS
Included In The Box
Device Structure
Nexus Wi-Fi Remote Control Specs
Built-In Nexus Wi-Fi Receiver Specs
Nexus Wi-Fi Remote Control Diagram
Nexus Wi-Fi Remote LCD Display
Built-In Nexus Wi-Fi Receiver Diagram
Wall Installation
Pairing Your Nexus Wi-Fi Remote
Basic Functions
Electronic Temperature Control
Advanced Features
Connecting Your Nexus Wi-Fi Panel To Wi-Fi
GLASS/MIRROR INFRARED HEATING PANELS
Included In The Box
Device Structure
Wall Installation
MAINTENANCE & SERVICING
TROUBLESHOOTING
DISPOSAL
10.
10a.
10b.
10c.
10d.
10e.
10f.
10g.
10h.
10i.
10j.
10k.
10l.
10m.
11.
11a.
11b.
11c.
12.
13.
14.
31
32
33
34
34
35
36
36
37
38
38
39
39
40
43
44
45
46
47
48
49

EN
IR Panel Heater Manual 4
INTRO
Thank you for purchasing your new infrared heater. When used properly, it should provide
you with plenty of eco-friendly, energy saving infrared heat for many years to come.
Please keep this manual safe for future reference. It contains lots of important information
that will help you manage and look after your panel and ensure it lasts for as long as possible.
Before doing anything with your panel, please carefully read the precautions on the following
page. Failure to do so may result in injury, or the voiding of your warranty.
Note: This manual covers every model we offer, so not all the sections will apply to you.
Please make sure that you are reading the correct section for your heater before doing any-
thing.

EN
PRECAUTIONS
IR Panel Heater Manual 5
No Covering Do Not Touch Do Not Spray
To prevent burns or injuries related to prolonged contact with the heating panel, children,
those who suffer from sensitive skin, the elderly, the sick or those who are taking any
medication that causes drowsiness should take extra care around the appliance.
Do not damage, destroy, change, bend, stretch or press the power cord, otherwise it may
result in fire or electric shock.
Ensure that the usage voltage remains between 220-240V, 50Hz and that the power
supply is grounded.
The heating panels will draw more current than small appliances when in operation.
180W, 350W, 580W, 700W & 900W panels will require a separate 5A socket, and 1200W
panels will require a 6A socket.
Keep the heating panel away from flammable products to prevent the risk of fire.
Please ensure that there are no objects placed within 30cm of the front of the panel, and
within 30cm of the sides of the panel.
Please ensure that the panel is not mounted directly to the ceiling, unless you have a
suspended ceiling. For all other ceiling installations, either a suspension kit with a
minimum gap of 50mm between the panel and ceiling must be used, or a ceiling bracket.
Glass & Mirror Panels should not be installed on a ceiling.
Please do not jump or stand on the panel, or apply strong pressure to it.
Never cover the heater with any materials that retain heat well, such as towels, quilts or
carpets, etc.
Be sure to unplug the power cord from the mains in the event that you need to clean the
heating panel, and wait until it has completely cooled down. Please ensure that you use a
dry cloth, and avoid using gasoline or Acetone on the appliance.
1.
2.
3.
4.
5.
6.
7.
8.
9.
10.

EN
SPECS TABLE
IR Panel Heater Manual 6
Available Sizes
295mm x 595mm
595mm x 595mm
595mm x 995mm
595mm x 1195mm
795mm x 1195mm
995mm x 1195mm
180W
350W
580W
700W
900W
1200W
2 - 3m2
5 - 6m2
9 - 10m2
11 - 12m2
15 - 16m2
Rated Power
19 - 20m2
Heated AreaAmps
0.75A
1.46A
2.42A
2.92A
3.75A
5A
Available Sizes
595mm x 595mm
605mm x 1005mm
595mm x 1195mm
350W
580W
700W
5 - 6m2
9 - 10m2
11 - 12m2
Rated Power Heated AreaAmps
1.46A
2.42A
2.92A
Available Sizes
295mm x 1195mm
595mm x 595mm
595mm x 995mm
595mm x 1195mm
795mm x 1195mm
995mm x 1195mm
350W
350W
580W
700W
900W
1200W
2 - 3m2
5 - 6m2
9 - 10m2
11 - 12m2
15 - 16m2
Rated Power
19 - 20m2
Heated AreaAmps
1.46A
1.46A
2.42A
2.92A
3.75A
5A
Nexus / NXT Gen /
Image / Custom
Available Sizes
600mm x 800mm
600mm x 1000mm
600mm x 1200mm
450W
580W
700W
7 - 8m
2
9 - 10m
2
Rated Power
11 - 12m
2
Heated AreaAmps
1.9A
2.42A
2.92A
Available Sizes
600mm x 600mm
850mm diameter
600mm x 800mm
600mm x 1000mm
600mm x 1200mm
320W
450W
580W
320W
700W
5 - 6m 2
5 - 6m
2
7 - 8m
2
9 - 10m 2
11 - 12m 2
Rated Power Heated AreaAmps
1.33A
1.6A
2A
2.5A
3A
GlassMirror Frameless Classic

Having drilled into your ceiling, insert the Wall Plug (B1) into your ceiling.
Take the end of the Suspension Cable (A1) that does not have the screw protruding from
the cylinder, and unscrew the cable from the Cylinder Head.
Feed the Screw (B2) through the end of the Cylinder Head, so that it sticks out of the end
of the Cylinder Head.
Insert the Screw (B2) into the Wall Plug, so that the Cylinder Head is now fixed into the
ceiling.
Taking the end of the Cable (A1) that was unscrewed in step 2, now screw it back into the
Cylinder Head that is affixed onto the ceiling. The Cable (A) should now be affixed to the
ceiling.
1.
2.
3.
4.
5.
EN
SUSPENSION KIT INSTALLATION
SEPARATELY SOLD
IR Panel Heater Manual 7
4 x Suspension Cable (A)
4 x Wall Plugs (B1)
4 x Screws (B2)
Please note that if you would like to install your panel on your ceiling, you must use a
Suspension Kit and leave a minimum of 50mm clearance between the ceiling and panel.
You must not install the panel directly onto the ceiling.
Suspension kits (sold separately) should only be used for ceiling installations, and if there is
no suspended ceiling.
Your Suspension Kit will also come with 4 x Nuts, but these are not required for installation.
Suspension kits (sold separately) should only be used for ceiling installations, and if there is
no suspended ceiling.
Works with All Classic Panels (excpet 180W), All NXT Gen, All Nexus.
B1x4
Ax4 B2x4
Remove the screws from the back of the frame of the Heating Panel.
Take the loose end of the Cable (A2), and screw it into the holes that are now in the back
of the frame of the Heating Panel.
Repeat steps 1 to 7 for the other 3 remaining Cables (A)

Having drilled into your ceiling, insert the Wall Plug (B1) into your ceiling.
Take the end of the Suspension Cable (A1) that does not have the screw protruding from
the cylinder, and unscrew the cable from the Cylinder Head.
Feed the Screw (B2) through the end of the Cylinder Head, so that it sticks out of the end
of the Cylinder Head.
Insert the Screw (B2) into the Wall Plug, so that the Cylinder Head is now fixed into the
ceiling.
Taking the end of the Cable (A1) that was unscrewed in step 2, now screw it back into the
Cylinder Head that is affixed onto the ceiling. The Cable (A) should now be affixed to the
ceiling.
EN
IR Panel Heater Manual 8
B1 A1
A1
A2 A2
A
B2
A
A1
Remove the screws from the back of the frame of the Heating Panel.
Take the loose end of the Cable (A2), and screw it into the holes that are now in the back
of the frame of the Heating Panel.
Repeat steps 1 to 7 for the other 3 remaining Cables (A)
6.
7.
8.

EN
IR Panel Heater Manual 9
CEILING BRACKET INSTALLATION
SEPARATELY SOLD
350mm Bracket is only compatible with 350W, 580W, 700W NXT Gen Panels, & 580W, 700W
Classic Panels.
500mm Bracket is only compatible with 900W NXT Gen Panel & 900W Classic Panel
1. Drill into your ceiling and mount both ceiling brackets.
2. Remove the end caps from the aluminium alloy hanging bracket on the back of your
panel.
3. Carefully slide the panel hanging brackets over the ceiling bracket and ensure it is held in
place.
Remove Cap

EN
IR Panel Heater Manual 10
PANEL STAND INSTALLATION
SEPARATELY SOLD
The Panel Stand (sold separately) allows you to have your heater free-standing on the floor,
and can also be moved from room to room too.
Compatible with all Classic, NXT Gen, Nexus Wi-Fi, Image & Custom Image Panels. We recom-
mend one pair of panel stands for sizes up to 700W, and two pairs of panel stands for 900W &
1200W sizes.
Place the panel in the slot on the top of the panel stand, then turn the screw in the panel
stand so that it is held in place through tension.
Repeat for the second Stand.
•
•

CLASSIC INFRARED HEATING
PANELS
EN
IR Panel Heater Manual 11

EN
INCLUDED IN THE BOX
IR Panel Heater Manual 12
A. B.
C.
D.
A. Infrared Heater
B. Screws
C. Wall Plugs
D. Mounting Template
This infrared panel heater is designed to provide an efficient, comfortable and healthy
heating system for all domestic users and homeowners.
This infrared panel heater can reduce air circulation and help create and maintain a clean,
silent and dust free environment.
All infrared panel heaters should be wall mounted. If you would like to mount the panel on
your ceiling, either use a suspension kit with a minimum 50mm gap, a set of ceiling brack-
ets, or install it in a suspended ceiling. Glass & Mirror Panels should not be installed on a
ceiling.
A wide range of panels are available in varying sizes, wattages and frames.
•
•
•
•

Aluminum Frame Aluminum Alloy Hanging Bracket
Heating Element
FIR coating
You may need more than one panel to sufficiently warm your room. To calculate how many
watts you will need, use the following formular.
Length (m) x Width (m) x Height (m) = Volume (m3)
For well insulated properties: Volume (m3) x 25 = Wattage Requirement
For moderately insulated properties: Volume (m3) x 30 = Wattage Requirement
For poorly insulated properties: Volume (m3) x 35 = Wattage Requirement
•
•
•
•
Most of our panels come with a premium FIR coating that helps maximise the performance
of your heating. It can withstand temperatures of up to 200°C without yellowing.
The carbon crystal heating element will distribute
The hanging bracket can be used to hang your panel on the wall, or used alongside your
suspension kit or ceiling bracket.
The frame will be pre-fitted to your panel, providing a stylish finish.
EN
DEVICE STRUCTURE
IR Panel Heater Manual 13

EN
WALL INSTALLATION
IR Panel Heater Manual 14
Use the supplied paper to cover the back of the panel, and use a pencil to mark the
locations of the holes.
Use some double sided adhesive tape to fix the paper onto the wall or ceiling. Use this
template to drill the holes.
Insert the wall plugs into the holes.
Insert the screws into the wall plugs. The screws should protrude from the wall by around
5mm.
Mount the panel onto the 4 screws.
BC
D
2
A
1
!
3 4
min. 30cm
min. 30cm
1.
2.
3.
4.
5.

EN
IR Panel Heater Manual 15
PREMIUM FRAMELESS INFRARED
HEATING PANELS

EN
INCLUDED IN THE BOX
IR Panel Heater Manual 16
A. B.
C.
D.
A. Infrared Heater
B. Screws
C. Wall Plugs
D. Mounting Template
This infrared panel heater is designed to provide an efficient, comfortable and healthy
heating system for all domestic users and homeowners.
This infrared panel heater can reduce air circulation and help create and maintain a clean,
silent and dust free environment.
All infrared panel heaters should be wall mounted. If you would like to mount the panel on
your ceiling, either use a suspension kit with a minimum 50mm gap, a set of ceiling brack-
ets, or install it in a suspended ceiling. Glass & Mirror Panels should not be installed on a
ceiling.
A wide range of panels are available in varying sizes, wattages and frames.
•
•
•
•

Aluminum Alloy Hanging Bracket
Heating Element
Powder Coated Aluminium
You may need more than one panel to sufficiently warm your room. To calculate how many
watts you will need, use the following formular.
Length (m) x Width (m) x Height (m) = Volume (m3)
For well insulated properties: Volume (m3) x 25 = Wattage Requirement
For moderately insulated properties: Volume (m3) x 30 = Wattage Requirement
For poorly insulated properties: Volume (m3) x 35 = Wattage Requirement
•
•
•
This panel comes with a Powder Coated Aluminium finish that helps provide a durable
build that won't yellow over time, as well as maximising the performance of the heater
itself.
The carbon crystal heating element will distribute
The hanging bracket can be used to hang your panel on the wall, or used alongside your
suspension kit or ceiling bracket.
EN
DEVICE STRUCTURE
IR Panel Heater Manual 17

EN
WALL INSTALLATION
IR Panel Heater Manual 18
Use the supplied paper to cover the back of the panel, and use a pencil to mark the
locations of the holes.
Use some double sided adhesive tape to fix the paper onto the wall or ceiling. Use this
template to drill the holes.
Insert the wall plugs into the holes.
Insert the screws into the wall plugs. The screws should protrude from the wall by around
5mm.
Mount the panel onto the 4 screws.
BC
D
2
A
1
!
3 4
min. 30cm
min. 30cm
1.
2.
3.
4.
5.

EN
IR Panel Heater Manual 19
NXT GEN INFRARED HEATING
PANELS
SET
ON/OFF LOCK
O
C /
O
F
MODE TIMEFAV

EN
INCLUDED IN THE BOX
IR Panel Heater Manual 20
A. B. E.
C.
D.
A. Infrared Heater
B. Screws
C. Wall Plugs
D. Mounting Template
E. Remote Control (ONLY provided with NXT Gen Panels)
This infrared panel heater is designed to provide an efficient, comfortable and healthy
heating system for all domestic users and homeowners.
This infrared panel heater can reduce air circulation and help create and maintain a clean,
silent and dust free environment.
All infrared panel heaters should be wall mounted. If you would like to mount the panel on
your ceiling, either use a suspension kit with a minimum 50mm gap, a set of ceiling brack-
ets, or install it in a suspended ceiling. Glass & Mirror Panels should not be installed on a
ceiling.
A wide range of panels are available in varying sizes, wattages and frames.
•
•
•
•
SET
ON/OFF LOCK
O
C /
O
F
MODE TIMEFAV
Other manuals for Classic
1
This manual suits for next models
7
Table of contents
Other Mirrorstone Heater manuals
Popular Heater manuals by other brands

Dyna-Glo
Dyna-Glo Delux RMC-FA300DGD Operating instructions & parts manual

Whirlpool
Whirlpool RT1209 Health & safety, use & care and installation guide

Black & Decker
Black & Decker BXSH37006GB manual

Goldair
Goldair GMH150 operating instructions

Fostoria
Fostoria 222 Series manual

Sunny
Sunny AT-3002 instruction manual