※Specification may be subject to change without notice.
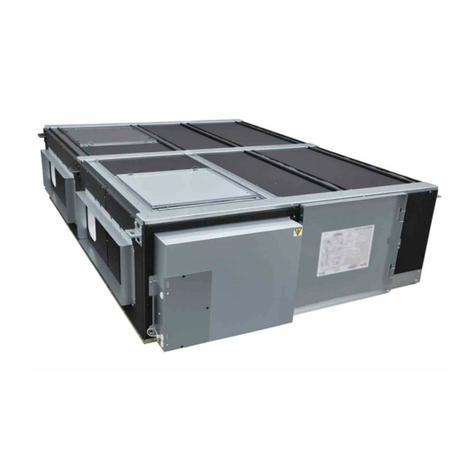
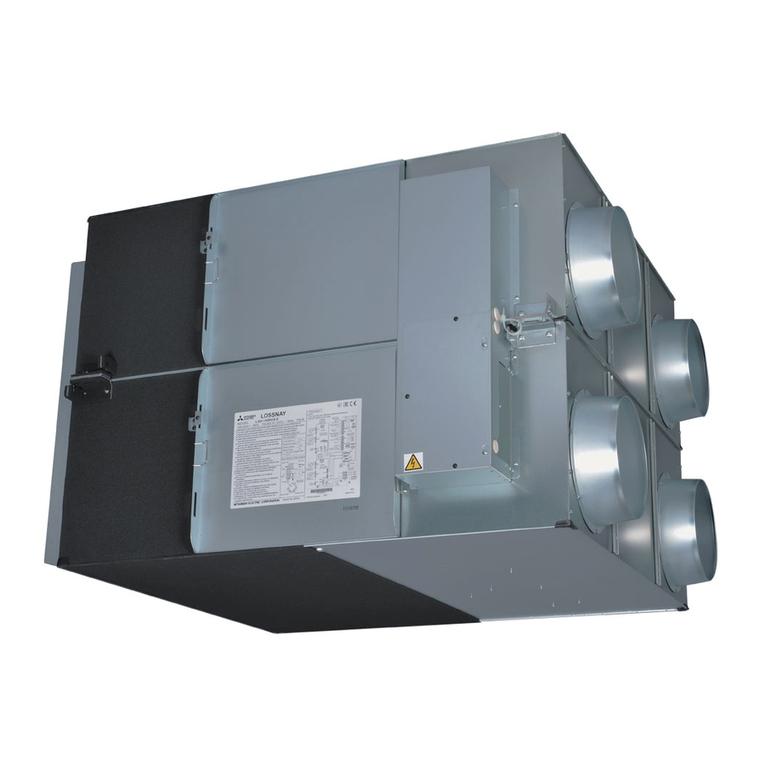
DATE TYPE Heat Recovery Ventilator LOSSNAY
MODEL VL-220CZGV-E
NUMBER
4/5
SAFTY NOTES
5-Nov-2015
■Features of Lossnay
1. Effective ventilation routes can be achieved in the entire house by the supply air vent and the exhaust vent being installed
at locations away from each other depending on the duct connection method.
2. Built-in filters reduce the influx of dust, pollen, etc, in outside air before the air is supplied to rooms.
3. Lossnay unit has three ventilation mode: heat exchanger mode, By-pass mode and Auto mode.
(By-pass mode and Auto mode can be used only when the optional motorized damper (P-133DUE-E) is used.)
(Initial preset temperature of Auto mode : At 22℃to 28℃, the by-pass mode is used.)
4. A filter maintenance sign is indicated on the remote controller.
(To use the function, change the initial setting according to the Instllation Manual for VL-220CZGV-E)
5. The default fan speed value can be adjusted slightly. Use the PZ-61DR-E remote controller to reset the speed. After the
unit is installed, when if the air volume is slightly lower or bigger than the desired airflow, it is possible to make fine
adjustments. (Fan Speed 4 is available only 1 down and 2 down.)
■Caution for installation
【Ventilation design】
1. For the outside air intake vent, choose a position where combustion gas or other similar exhaust air is not sucked in and
the vent is not buried by snow.
2. Do not install the product near bedrooms.
3. For living rooms (e.g. bedrooms) where it is anticipated that building ambient noise will be below 30 dB(A), use
commercially available ducts that have sound deadening qualities on the supply air side.
4. Install supply air and exhaust air grills at locations where they are less likely to reverberate.
5. In cold regions or regions with strong winds, wind outside sometimes gets inside when operation of the product is stopped.
So, we recommend providing a motorized shutter midway along the supply air and exhaust air ducts.
6. Install the product so that discharged gas or exhaust air from burning appliances and equipment does not flow back inside
the product.
7. At regions where salt damage is a concern, use an exclusive outdoor hood.
8. At regions where salt damage is a concern, parts may have to be replaced sooner because of the deterioration of
materials that are used.
9. Use an exhaust air filter that has a net or a non-woven fabric type filter.
10. When ventilating a bathroom, operate the product for 24 hours.
11. Recommended to use optional high efficiency filter (P-220SHF-E) to improve in the collecting capacity of the supply air
side filter.
12. Recommended to use optional middle efficiency filter (P-220EMF-E) to improve in the collecting capacity of the exhaust
air side filter.
【Installing the Lossnay unit】
1. This product must be correctly installed to ensure that its performance and functions are properly demonstrated and to
ensure its safe use and operation. Before installation, read this installation manual thoroughly. Before
2. Install the product and the duct piping on the indoor side of the insulation layer/airtight layer.
3. Install the product (on the ceiling) in the direction of the duct connecting flange so that it is horizontal (within ±1°).
4. Be sure to install the product (on the ceiling) tilted at a downward pitch of 0 to 1°towards the side where the drain hose is
installed.
5. Securely install parts so that they are not twisted or deformed.
【Duct piping】
1. Be sure to insulate ducts down to the base of the duct connecting flanges.
2. Secure duct piping with commercially available fixing bands, aluminum tape, etc. to prevent piping from coming loose.
Install outdoor piping from the product so that it is tilted at a downward pitch of at least 1/30 towards the outside.
3. Do not allow duct piping to contact the inspection opening, ceiling hanging bolts, beams, pillars, and other duct piping.
4. Use an outdoor hood, that makes it less likely for rain water, snow or small animals (e.g. bats) from entering the ends of
the supply air and exhaust air ducts.
5. At the outdoor hood installation position, allow at least 3x the diameter of the duct through holes between the outdoor
hood and the ducts so that exhaust air is not mixed in with supply air. (Preferably a distance of 450 mm or more should be
ensured between the outdoor hood and the ducts.)
6. When installing the duct connecting flange (RA1,EA), fill in any gaps between the duct connecting flange openings and the
openings (RA1,EA) of the duct connecting flange with caulking compound.(entire circumference of opening) (commercially
available)
7. Calk the duct connecting flanges that discharge air from the bathroom with calking compound. When using calking
compound, take care to prevent it from oozing from the ducts.


