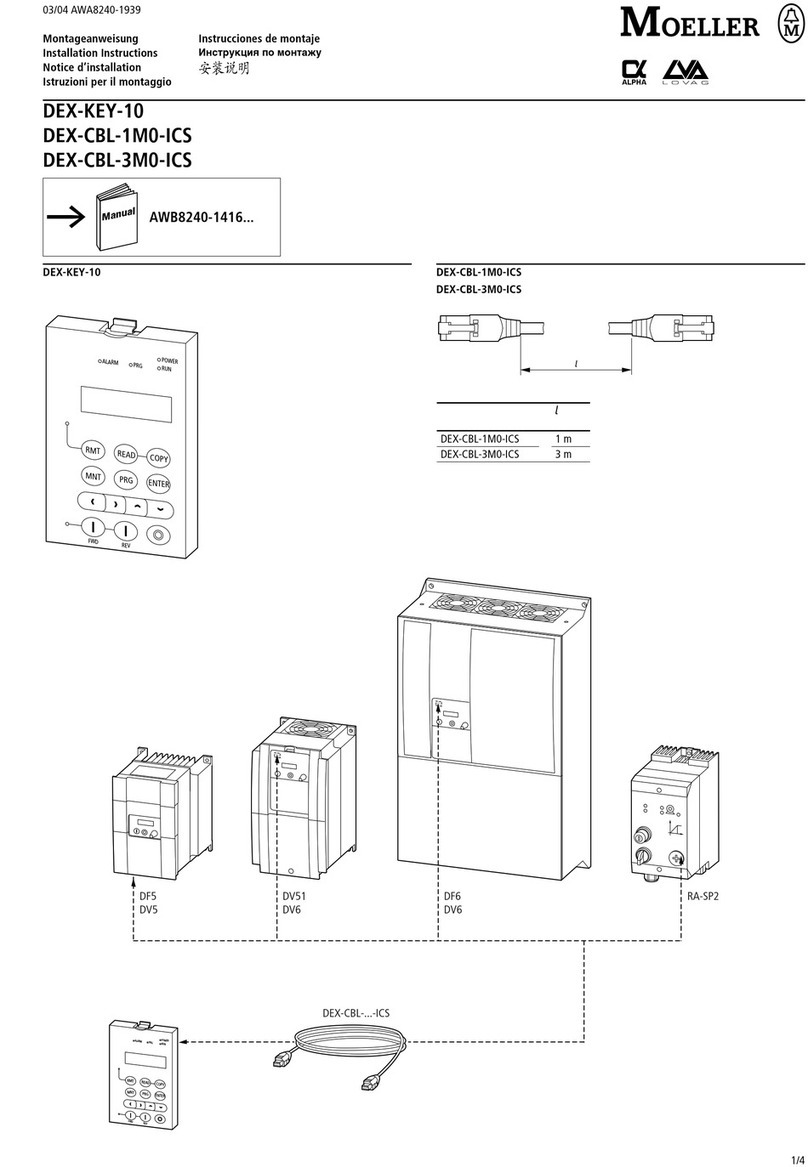
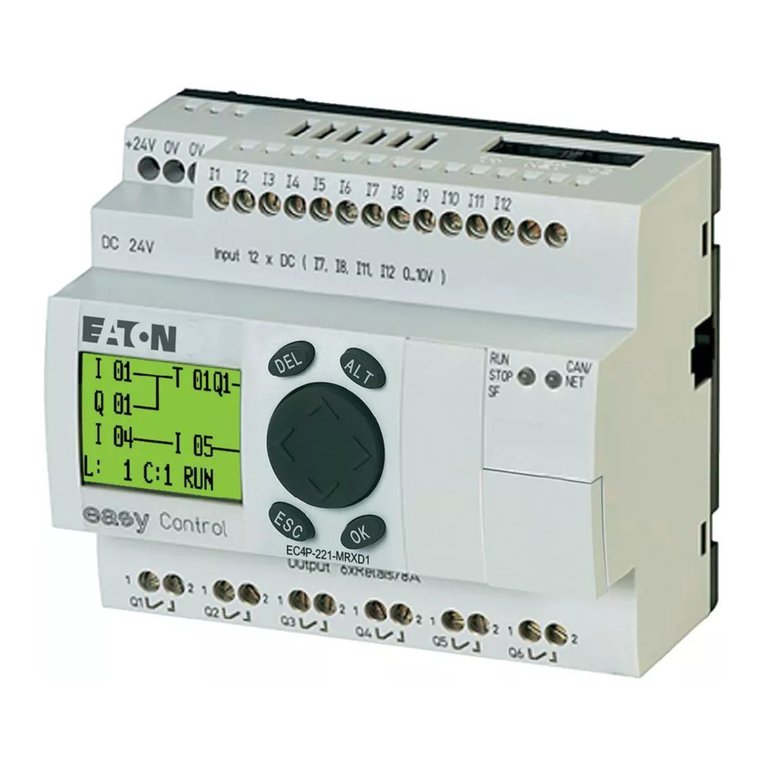
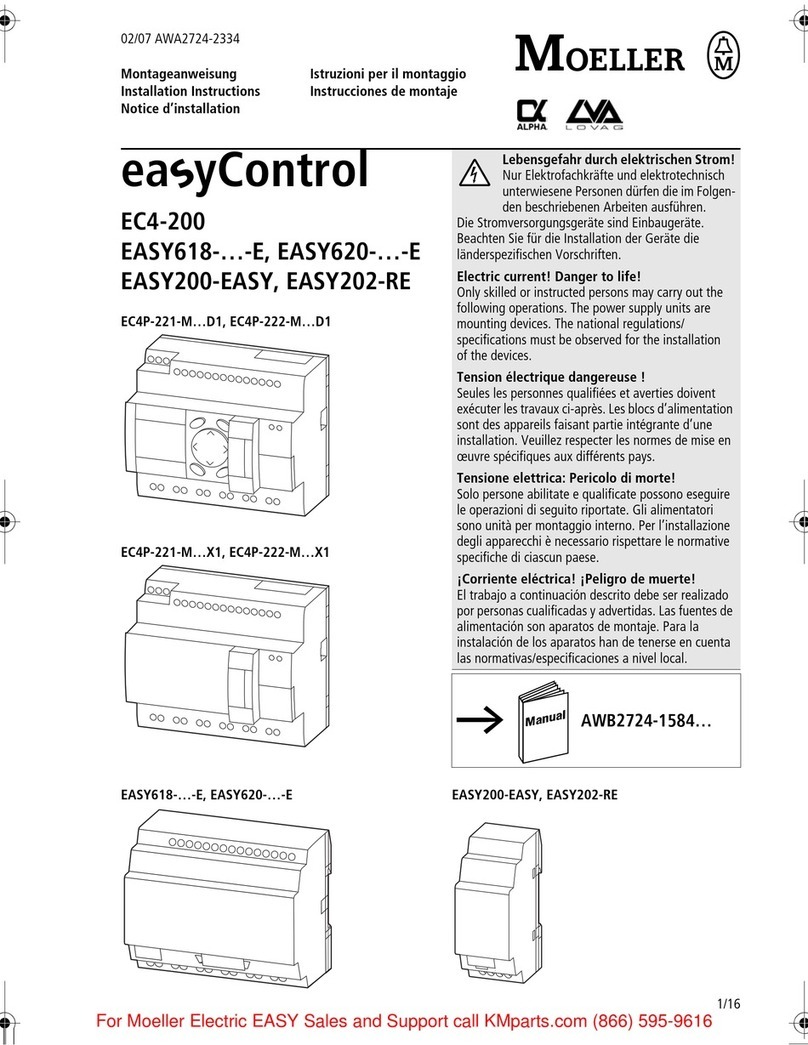
Moeller XC-CPU101 Series User manual

Modular PLC
XC-CPU101...(-XV)
Bedienungshandbuch
Moeller GmbH
Industrieautomation
Hein-Moeller-Straße 7–11
D-53115 Bonn
E-Mail: info@moeller.net
Internet: www.moeller.net
© 2002 by Moeller GmbH
Subject to alteration
AWB2724-1453GB xx/xx/Ki 03/05
Printed in the Federal Republic of Germany (0x/02)
Article No.: xxxxxx
Hardware, Engineering and
Functional Description
03/05 AWB2724-1453GB
A
A A
Think future. Switch to green. Think future. Switch to green.

All brand and product names are trademarks or registered
trademarks of the owner concerned.
1st published 2002, edition date 06/02
2nd edition 10/2002
3rd edition 04/2003
4th edition 08/2003
5th edition 11/2003
6th edition 12/2003
7th edition 06/2004
8th edition 11/2004
9th edition 03/2005,
see revision protocol in the “About this manual“ chapter
© Moeller GmbH, 53105 Bonn
Authors: Peter Roersch
Editor: Thomas Kracht
Translator: David Long
All rights reserved, including those of the translation.
No part of this manual may be reproduced in any form
(printed, photocopy, microfilm or any other process) or processed,
duplicated or distributed by means of electronic systems without
written permission of Moeller GmbH, Bonn.
Subject to alteration without notice.

1
Before commencing the installation
• Disconnect the power supply of the device.
• Ensure that devices cannot be accidentally restarted.
• Verify isolation from the supply.
• Earth and short circuit.
• Cover or enclose neighbouring units that are live.
• Follow the engineering instructions (AWA) of the
device concerned.
• Only suitably qualified personnel in accordance with
EN 50110-1/-2 (VDE 0105 Part 100) may work on
this device/system.
• Before installation and before touching the device ensure
that you are free of electrostatic charge.
• The functional earth (FE) must be connected to the protective
earth (PE) or to the potential equalisation. The system installer
is responsible for implementing this connection.
• Connecting cables and signal lines should be installed so
that inductive or capacitive interference does not impair the
automation functions.
• Install automation devices and related operating elements in
such a way that they are well protected against unintentional
operation.
• Suitable safety hardware and software measures should be
implemented for the I/O interface so that a line or wire
breakage on the signal side does not result in undefined
states in the automation devices.
• Ensure a reliable electrical isolation of the low voltage for the
24 volt supply. Only use power supply units complying with
IEC 60364-4-41 (VDE 0100 Part 410) or HD 384.4.41 S2.
• Deviations of the mains voltage from the rated value must
not exceed the tolerance limits given in the specifications,
otherwise this may cause malfunction and dangerous
operation.
• Emergency stop devices complying with IEC/EN 60204-1 must
be effective in all operating modes of the automation devices.
Unlatching the emergency-stop devices must not cause restart.
• Devices that are designed for mounting in housings or control
cabinets must only be operated and controlled after they have
been installed with the housing closed. Desktop or portable
units must only be operated and controlled in enclosed
housings.
• Measures should be taken to ensure the proper restart of
programs interrupted after a voltage dip or failure. This should
not cause dangerous operating states even for a short time.
If necessary, emergency-stop devices should be implemented.
• Wherever faults in the automation system may cause
damage to persons or property, external measures must be
implemented to ensure a safe operating state in the event of
a fault or malfunction (for example, by means of separate limit
switches, mechanical interlocks etc.).
Moeller GmbH
Safety instructions
Warning!
Dangerous electrical voltage!
2

03/05 AWB2724-1453GB
1
About this manual 5
List of revisions 5
Abbreviations and Symbols 6
Advanced documentation 6
1 Layout of the XC100 7
CPU with PSU and local inputs/outputs 7
24 V PSU with local inputs/outputs 7
– Function 7
– Assembly 8
– Connecting interrupt inputs 9
– Local bus expansion with XIOC-BP-EXT 10
CPU 10
– Function 10
– Use of the CPU types 10
– Assembly 11
– LED status indicator 11
– Operating mode selector switch 11
– Multimedia Card (MMC)/Memory card 11
– Programming device interface 12
– CANopen interface 14
– Real-time clock 15
– XC-CPU101-...-XV 15
– Battery 15
CPU installation 16
Detaching the CPU 16
2 Engineering 17
Control panel layout 17
– Ventilation 17
– Layout of units 17
Preventing interference 17
– Suppressor circuitry for interference sources 17
–Shielding 17
Lightning protection 18
Wiring example 18
–PSU 18
– Power supply of the digital inputs/outputs 18
3 CPU operation 19
Switch-on behaviour 19
Switch-off behaviour 20
Start behaviour 20
Stop behaviour 20
Cold start 20
Warm start 20
Test and commissioning 20
– Breakpoint/single-step mode 20
– Single-cycle mode 20
– Forcing 20
– XSoft status indication 20
Contents

Contents 03/05 AWB2724-1453GB
2
Programreset 21
– Warm reset 21
– Cold reset 21
– Full reset 21
Program parameterization 21
– Maximum program cycle time 21
– Start behaviour at Power-On 21
Creating and transferring boot project 21
Updating the operating system (OS) 22
– Transferring the operating system from the PC into the
PLC 22
– Transferring the operating system from the PC into the
MMC 23
– Transferring the operating system from the MMC into
the PLC 23
– Update of further XC100 PLCs 23
4 Program processing and system time 25
Cycle-time monitoring 25
System libraries, function blocks and functions 25
– Library manager 25
Target system specific libraries 26
– Lib_Common 26
– Libraries of the “Lib_CPU101” 27
Direct peripheral access 29
– Functions 30
– Error code with “direct peripheral access” 33
Interrupt processing 34
– Timer interrupt 35
– DisableInterrupt 36
– EnableInterrupt 36
– Creating and integrating an interrupt function 37
System events 39
Browser commands 40
– “canload” browser command 40
Data remanence 41
Program transfer 41
Operating states 41
Limit values for memory usage 42
Addressing inputs/outputs and marker 43
– “Activate Automatic addresses” 43
– “Activating Check for overlapping addresses” 43
– Uneven word addresses 43
– Address range 43
– Free assignment or modification of addresses of
input/output modules and diagnostic addresses 44
– Run “Automatic calculation of addresses” 44
Diagnostics 44

03/05 AWB2724-1453GB Contents
3
5 Establishing a PC – XC100 connection 45
Establishing a connection via the RS232 interface
(XC100) 45
– Programming cable 45
–XSoftsoftware 45
6 Create sample project 47
Task 47
Procedure 47
– Set up target system 47
– Configure the XC100 50
–Createprogram 54
7 Programming via CANopen network (Routing) 55
Prerequisites 55
Notes 56
Addressing 56
Procedure 56
PLC combinations for routing 58
Number of communication channels 58
8 RS232 interface in transparent mode (COM 1/2/3) 59
Demands placed on the functionality of the transparent
mode 60
– “SysComOpen” function 60
– “SysComClose” function 63
– “SysComRead” function 64
– “SysComWrite” function 65
– “SysComSetSettings” functions 66
– “SysComReadControl” function 68
– “SysComWriteControl” function 69
– Automatic closing of the interface 69
Appendix 71
Compatibility 71
Dimensions 72
– XC-CPU101... 72
– XT-FIL-1 line filter 72
–Backplane 72
Technical data 73
Index 77

03/05 AWB2724-1453GB
4

03/05 AWB2724-1453GB
5
About this manual
List of revisions
Edition date Page Subject New Modified Omitted
10/02 70 “External filter: If required” j
04/03 20 „Warm start“ j
29 „Direct peripheral access“ j
22 „Updating the operating system (OS)“ j
34 „Interrupt processing“ j
11 „Data access to the multimedia card“ j
40 „Browser commands“ j
51 “Routing” j
08/03 All Baud rate modified from 57600 to 38400 j
20 „XSoft status indication“ j
32 “Communication interrupted” message j
39 „System events“ j
45 „Communication fault(#0): Logging off“ j
69 Battery life j
08/03 (Reprint) 10,
69
XC-CPU-101-C256k-8DI-6DO (-XV) j
12/03 Completely revised
12/03 (Reprint) 41 „Data remanence“, 1st paragraph j
04/04 42 „Limit values for memory usage“ j
06/04 18,
68,
72
“External 24 V DC line filter for the XC100 power
supply”
jj
11/04 11 MMC j
19 „Switch-on behaviour“ j
21 „Full reset“ j
21 „Creating and transferring boot project“ j
22 „Updating the operating system (OS)“ j
03/05 42 „Segment size of the XC-CPU101-C256k“ j
43 „Addressing inputs/outputs and marker“ j
44 „Diagnostics“ j
55 „Programming via CANopen network (Routing)“ j

About this manual 03/05 AWB2724-1453GB
6
Abbreviations and Symbols
The abbreviations and symbols used in this manual have the
following meanings:
XIndicates instructions on what to do
Selecting ‹File rNew› means: activate the command “New” in
the “File” menu.
In order to provide a clear layout, the chapter title is shown in the
header on left-hand pages, and the current section on right-hand
pages. Exceptions are at the first pages of chapters and empty
pages at the end of chapters.
Advanced documentation
At different positions in this manual, references are made to more
detailed descriptions in other manuals. These manuals are
described with their title and documentation number (e.g.
AWB2700-1437GB). All manuals are available in PDF format. If for
some reason the manual is not supplied on the product CD, it is
available for download as a PDF file. In order to find the document
quickly go to http://www.moeller.net/support: Enter the document
number as a search term.
MWS Menu selector switch
BAS Operating mode switch
CPU Central processing unit
CRC Cyclic redundancy check
MMC Multimedia card
I/O Inputs/outputs
Important
Warns of a hazardous situation that could result in
damage to the product or components.
Caution!
Indicates the risk of major damage to property, or slight
injury.
Warning!
Indicates the risk of major damage to property, or serious
or fatal injury.

03/05 AWB2724-1453GB
7
1 Layout of the XC100
The XC-CPU101-... controllers – referred to below simply as
XC100 – have been designed for application in machinery and
plant control systems. These controllers are fitted with interfaces
for connecting to a programming device (RS 232) and for linking
to decentralized CANopen expansion units, so they can form the
core of a comprehensive automation system.
The XC100 controller has a compact design and can be fitted with
either local or decentralized expansion. The basic unit consists of:
• Module rack
• A CPU for control or visualisation, with integral power supply
and local inputs/outputs.
• XIOC signal modules.
CPU with PSU and local inputs/outputs
The CPU module of the XC100 has a compact design that is
divided into two functional units:
• Processor unit with interfaces
• 24 V PSU with integral digital inputs (eight) and digital outputs
(six).
24 V PSU with local inputs/outputs
The power supply unit provides the operating voltages required by
the processor unit and the inputs/outputs (local and
decentralized).
Function
The power supply transforms the 24 V DC supply voltage into the
voltages required by the system. These voltages are fed to the bus
on the basic rack unit and any expansion rack units that are
present.
The special feature of connection to the 24 V supply voltage is that
the processor unit and the local inputs/outputs can be fed
separately. One 24 V connection is provided for the processor unit
(labelled: 24V/0V) and another 24 V connection for the local
inputs/outputs (labelled: 24VQ/0VQ).
Figure 1: Layout of the XC-CPU101 with XIOC modules
hFurther details about the CPU can be found in the next
section.
Detailed information about the module racks and XIOC
modules can be found in the manual “Hardware and
Engineering, XIOC Signal modules”. This manual is
provided as a PDF file (h1452g.pdf) on the CD.
The latest versions of specific manuals can be found at
http://www.moeller.net/support: Search item: AWB2725-
1452GB
Figure 2: Assembly of the CPU module XC-CPU101
aProcessor unit
b24 V PSU with local inputs/outputs
b
a

Layout of the XC100 03/05 AWB2724-1453GB
8
Assembly
The voltage connection 0VQ/24VQis only for the supply voltage to
the integral local inputs (8) and outputs (6), and is electrically
isolated from the bus.
The 0V/24V voltage connection is internally filtered and buffered
and fed to a voltage transformer which generates the required
system voltages. The internal power supply for the 5 V system
voltage is designed so that the processor unit is supplied with the
required current.
Table 1: Limitations which apply when using the XC100-CPU and the
XIOC-Signal modules in an ABS plastic enclosure
If there is an interruption break or collapse of the 24 V supply
(threshold is about 10 V) then a power-down logic switches of the
5 V supply to the signal modules (central I/O). The sequence is
initiated by the PFI signal and leads to a power-down through the
CPU.
Local digital inputs
The 18-pole terminal block which has the power supply to the
CPU, the local I/Os and the physical connection to the local
inputs/outputs is located on the right half of the CPU behind the
front enclosure.
The eight digital inputs and six semiconductor outputs are
designed for 24 V signals and have a common 0VQ/24VQ power
supply which is potentially isolated right up to the bus.
The outputs Q0.0 to Q0.5 can be loaded with 500 mA, a duty
factor (ED) of 100% and a utilization factor (g) of “1”.
The outputs are short-circuit proof. A short-circuit state should,
however, not be permitted to exist over a longer period.
Figure 3: Block diagram: power supply unit
aStatus indicator for I/Os
bFront connection terminals
cInternal filter
dBuffer
eXIOC I/O-bus, module rack
PFI = Power Fail Interrupt
iCaution!
When using the XC100-CPU and the XIOC-Signal
modules in an ABS plastic enclosure, the limitations
stated in table 1 apply. ABS enclosures are identified with
“ABS” on the surface which faces the backplane.
24 V
0 V
24 VQ
0 VQ
Enable
VCC I/O
5 V H
8 DI
24 V H
PFI
5 V H
3.3 V H
24 V H
6 DO
a
b
cd
e
Fitted in: Installation
location
internal
temperature:
Current rating of the 5 V
system voltage of the
I/O bus
CI enclosure > 40 °C Use of the XC100 not
permissible
0 to 40 °C max. 1.5 A1
Distribution
fuse-board
0 to 55 °C max. 1.5 A1
Control panel > 40 °C max. 1.5 A1
0 to 40 °C max. 3.2 A
1) On the outputs of the CPU made of ABS enclosure material, a
utilization factor g of 0.5 applies
hLimitations in performance for the digital I/O modules
with ABS enclosures are described in the documentation
for the XIOC signal modules (AWB2725-1452GB).
hImportant
Please observe the limitations of performance for the
outputs with ABS enclosures in atable 1.

03/05 AWB2724-1453GB 24 V PSU with local
inputs/outputs
9
Terminal assignments LED indicators
The LEDs indicate the signal status for the inputs and outputs. An
LED that is ON indicates a H-level signal on the corresponding
terminal.
The two upper rows of LEDs show the signal status for the eight
digital inputs of the CPU module (I0.0 to I0.7), and the two lower
rows show the signal status for the six digital outputs (Q0.0 to
Q0.5).
Connecting interrupt inputs
The inputs I0.0, I0.1, I0.2, I0.3 can be used as interrupt inputs.
The L/H edges are evaluated. The interrupt inputs act immediately
and independently of the cycle time for the application and they
start the programmed Interrupt routines. The program section
which has been processed up to the arrival of the Interrupt signal
is interrupted immediately. All further Interrupt processes should
be application related programmed.
Figure 4: Connections for PSU and local I/O
I0.0 to I0.7: local digital inputs
Q0.0 to Q0.5: local digital outputs
0VQ/+24VQ: supply voltage for the local inputs/outputs
0V/+24V: supply voltage to the processor unit
I 0.0 I 0.1
I 0.2 I 0.3
I 0.4 I 0.5
I 0.6 I 0.7
Q 0.0 Q 0.1
Q 0.2 Q 0.3
Q 0.4 Q 0.5
24 VQ0 VQ
0 V
24 V
Figure 5: LEDs for the integral inputs/outputs
0123
4567
0123
45
Inputs 0.0 to 0.3
Inputs 0.4 to 0.7
Outputs 0.0 and 0.3
Outputs 0.4 and 0.5
Figure 6: Interrupt input connections
24 V
0 V
I0.1
I0.3
24 VQ
0 VQ
1
4
Interrupt 1
Interrupt 4
3
Interrupt 3
2
Interrupt 2
I0.0
I0.2

Layout of the XC100 03/05 AWB2724-1453GB
10
Local bus expansion with XIOC-BP-EXT
The XIOC-BP-EXT backplane enables expansion of local system
busses from a max. of 7 to a max. of 15 slots.
The intelligent modules such as network and gateway modules
can only be inserted into I/O slots 1 to 3. All other modules can be
connected to any slot.
The possible arrangement of the backplane is described in the
documentation of the XIOC signal modules (AWB2725-1452GB).
Please pay attention to the current requirements, particularly the
current supplied by the power supply and the current requirement
of the signal modules.
Further information can be found in the “XIOC signal modules”
(AWB2725-1452GB) documentation. Integration of the bus
expansion via the software is explained in the “Expansion of the
XIOC bus” section.
CPU
The XC-CPU101...(-XV) types of CPU are based on a processor
with an integrated CAN interface, and include battery-buffered
flash and SRAM memories. The CAN fieldbus interface is
electrically isolated. A battery is required for the operation of the
data-saving function.
The monitoring of the system voltage ensures that the data-saving
routine will be initiated if the voltage goes below a fixed
preselected level. In order to ensure that the stored energy
required for the data-saving routine is not used up by I/O activities,
the 5 V system voltage for the I/O modules is switched off.
The internal real-time clock facilitates time and date dependent
control functions.
The available operating and interface control devices are:
• LED display for RUN/Stop and general error
• Operating-mode selector switch RUN/Stop
• RS232 interface, e.g. for programming device interfacing
• CANopen interface as a fieldbus interface
• Interface for a multimedia memory card (MMC).
The CPUs for XC100 controllers are available in various different
versions:
• XC-CPU101-C64K-8DI-6DO (-XV)
• XC-CPU101-C128K-8DI-6DO (-XV)
• XC-CPU101-C256K-8DI-6DO (-XV).
C64K, C128K and C256K are a measure for the size of the user
memory.
“XV” designates a visualisation CPU, and permits the direct
connection to and control of a text display (XV-101).
In accordance with the size of the application program, the
following memory values apply:
Function
The task of the CPU is to generate output signals from the
incoming local and central/decentralized signal, in accordance
with the application program.
Input/output signal can be, for instance:
• digital or analog signals
• commands from the text display1)
• output to the text display1)
• connections to the programming system
• connections to the CANopen bus interface
• connections to fieldbus modules, if present
• connections to intelligent signal modules, if present.
1) Only with XC-CPU...-XV
Use of the CPU types
hIf an XC100 PLC is replaced by an XC200 PLC, the
interrupt inputs are connected to other physical input
addresses! XC-CPU101-....(-XV)
C64K-8DI-6DO
C128K-8DI-6DO
C256K-8DI-6DO
Program code 64 Kbyte 128 Kbyte 256 kByte
Program data, of
which:
64 Kbyte 128 Kbyte 256 kByte
markers 4 Kbyte 8 Kbyte 16 Kbyte
Retain data 4 Kbyte 8 Kbyte 16 Kbyte
The XC-CPU...-XV types have an additional 64 kByte flash memory
for text
XC100 Text display
XV-101-...
CPU types K42 K84
XC-CPU101... j– –
XC-CPU101...(-XV) j j j

03/05 AWB2724-1453GB CPU
11
Assembly
LED status indicator
achapter “Operating states” on page 41.
Operating mode selector switch
The operating modes “Stop” and “Run” are selected by a rocker
switch at the front of the CPU module. Please note that the
position of the operating mode selector switch sets the behaviour
of the CPU. The effectiveness of the software settings depends on
the position of the operating mode selector switch. If the selector
switch is changed to the “Stop” position while the equipment is in
the “Run” mode, then the CPU will switch from the operating
mode “Run” to the “Stop” state at the end of the cycle that is
currently running. The position of the operating mode selector
switch is polled at the end of each cycle, and the controller
switches to the selected state, achapter “CPU operation”.
Multimedia Card (MMC)/Memory card
The multimedia card is used as an optional backup medium for the
(boot) project and to save recipe data. The operating system
supports memory capacities up to a maximum of 128 MByte. At
present, Moeller offers MMCs in the sizes 16 and 32 MByte, with
the type designations XT-MEM-MM16M and XT-MEM-MM32M.
To write data to the multimedia card, just plug it into the
corresponding MEM CARD slot in the CPU. Use the command
“create boot project” to transfer the project to the MMC.
Erasing functions
Use the browser “Format” command in order to erase the entire
content on the MMC. You can delete the boot project and the
operating system on the MMC using the “Reset (Original)”
command.
Data access to the multimedia card
The “XC100_File” library is contained in the “Lib_CPU101”. It
provides the elements for access tothe MMC. It is necessary to add
the respective library to the “Library manager”:
XChange to the library manager and position the mouse pointer
on the field for the libraries. Then press the right-hand mouse
button.
XSelect the “Additional library insert” command in the new
opened information window.
XSelect the “Lib_CPU101” library and then the “XC100_File”
file. Open this file.
The module is integrated into the library manager with the
“Open” command. The following functions are now available:
• FileClose
• FileDelete
• FileGetSize
• FileOpen
• FileRead
• FileRename
• FileSetPos
• FileWrite.
Further information about these modules can be found in the
“Libraries of the XC100_File.lib” section and the in the manual
“Function Blocks for XSoft” (AWB2786-1456GB).
Figure 7: Block diagram of the XC-CPU101
aState indication RUN, Stop, SF
bOperating mode selector switch
cMultimedia card
dProgramming device interface:
RS232 on XC-CPU101
eCANopen fieldbus interface
fVoltage monitoring
gI/O bus interface
hXIOC I/O bus (on module rack)
MMC
CAN
RS 232
80C164
FLASH (XV)
+
SRAM
Px
Py
SPI
UART
(LCD/
Touch
Panel)
Adr.
Data
GPIO
a
c
b
e
dg
f
h
hFrom operating system (OS) version 03.03 it is possible to
transfer the operating system to the memory card and to
transfer it from there to other PLCs, asection
“Updating the operating system (OS)” on page 22.
hNote!
• The “FAT16 file system” is not transaction-safe.
• The control voltage/control may not be switched off
when a File service is still open.
• A voltage failure or shut down of the supply voltage
with an open File service can lead to destruction of the
multimedia card.

Layout of the XC100 03/05 AWB2724-1453GB
12
Programming device interface
The CPU is fitted with an RS232 interface. This serial interface
enables a point-to-point connection. The handshake lines are not
available. Communication between the controller and the
programming device takes place through this RS232 interface.
Physically, the interface is an RJ45 socket. This means that normal
commercial RJ45 connectors or Ethernet patch cables can be used.
This interface is not electrically isolated.
Interface assignment
Modification of the data transfer rate
XOpen the ‹Resources rPLC Configuration› dialog field.
XActivate the “Other parameters” tab.
XSelect the required data transfer rate in the “Baudrate” list
field. In the example, this is 38400 kBit/s.
XClose the “Other Parameters” window.
XSelect the menu ‹Online rLogin›.
RS232
8RxD
7GND
6–
5TxD
4GND
3–
2–
1–
1
2
3
4
5
6
7
8
Figure 8: Controller configuration – “Other parameters”

03/05 AWB2724-1453GB CPU
13
The query as illustrated in (afigure 10) appears:
XIf you answer this query with “Yes”, and you see the following
error message shown below for a communication error, the
baud rates for XC100 and XSoft do not match. The next steps
show you how to set the baud rate.
XAcknowledge the error message, with “OK”.
XSelect the menu ‹Online rCommunication parameters›
(afigure 9).
Now you will see the “Communication window”, as shown in the
next diagram.
XUse a double-click to select the field with the preset baud rate.
This field now has a grey background.
XSelect the required baud rate, e.g. 38 400 Bit/s, with further
clicks in this field. Confirm with “OK”.
XSelect the menu ‹Online rLog-in› again.
Once again, you will see the following message:
XAgain, answer this query with “Yes”.
XSelect the menu ‹Online rStart› (afigure 9). This puts the
controller into the RUN mode.
The subsequent communication between the XC100 and the PC
(as the programming device) will be made at the selected
transmission rate.
Figure 9: Menu “Online”
Figure 10: Query concerning program change
Figure 11: Communications fault
Figure 12: Communication parameters
Figure 13: Query concerning program change

Layout of the XC100 03/05 AWB2724-1453GB
14
CANopen interface
The CPUs can be connected to the CANopen bus via the electrically
isolated ISO-11898 interface.
The connector assignments are as follows:
The CPUs can be operated on the CAN bus either as the network
(NMT) master or as the NMT slave.
The CPU can be used to send/receive CAN telegrams directly
to/from the user program. An interruption on the CAN Bus will
only be recognised when the respective CAN slave is monitored by
the PLC (Nodeguarding function).
Power supply
The sequence in which the power supply of the individual CAN
slaves is connected does not have an effect on the functionality of
the CAN bus. Depending on the parametric programming, the PLC
“waits” for the non-existent slave or starts it at the time at which
the slave is interfaced to the CAN network.
Start/Stop behaviour
If you set the operating mode selector to the “Stop” position, all
outputs of the decentralized devices will be set to the “0” level.
Bus termination resistors
The ends of the network link must be terminated with 120 Obus
termination resistors:
Terminals 1 and 4 , 2 and 5 , 3 and 6 are internally connected.
Properties of the CANopen cable
Use only cable that is approved for CANopen application, with the
following characteristics:
• Characteristic impedance 100 to 120 O
• Capacitance < 60 pF/m
The demands placed on the cable, connectors and bus termination
resistors are specified in the ISO 11898. Following you will find
some demands and stipulations listed for the CANopen network.
In the following table, standard parameters for the CANopen
network with less than 64 CANopen slaves are listed (table
complies with the stipulations of the ISO 11898).
Table 2: Standard parameters for CANopen network cable according to
the ISO 11898
The length of the CANopen bus cable is dependant on the
conductor cross-section and the number of bus users connected.
The following table includes values for the bus length in
dependance on the cross-section and the connected bus users,
which guarantee a secure bus connection (table corresponds with
the stipulations of the ISO 11898).
Terminal Signal
6GND
5CAN_L
4CAN_H
3GND
2CAN_L
1CAN_H
Connector type: 6-pole, plug-in springloaded terminal block,
conductor cross-section up to 0.5 mm2
6
5
4
3
2
1
Figure 14: Possible configuration of a CANopen bus with bus
termination resistors
6
5
4
3
2
1
6
5
4
3
2
1
6
5
4
3
2
1
CAN_L
CAN_H
120 O120 O
Bus length
[m]
Loop
resistance
[mO/m]
Conductor
cross-
section
[mm2]
Bus
termination
resistor
[O]
Transfer rate
with cable length
[kBit/s]
0 – 40 70 0,25 – 0,34 124 1000 at 40 m
40 – 300 < 60 0,34 – 0,6 150 – 300 > 500 at 100 m
300 – 600 < 40 0,5 – 0,6 150 – 300 > 100 at 500 m
600 – 1000 < 26 0,75 – 0,8 150 – 300 > 50 at 1000 m

03/05 AWB2724-1453GB CPU
15
Table 3: Cable cross-section, bus length and number of bus slaves
conform to ISO 11898
If the bus length is greater than 250 m and/or are more than 64
slaves connected, the ISO 11898 demands a residual ripple of the
supply voltage of ≤5%.
As the bus cable is connected directly to the COMBICON connector
of the CPU, additional details concerning stub lines are not
required.
The bus users are configured in the “PLC Configuration” window
of the CPU in the “XSoft” programming software.
Cable recommendation:
LAPP-Cable
UNITRONIC-BUS LD
Real-time clock
The XC100 features a real-time clock, which can be referenced in
the user program via the functions from the “SysLibRTC” library.
Possible functions are:
• Display of the battery charge state
• Display mode for hours (12/24 hour display)
• Reading and setting of the real-time clock.
A description of the functions can be found in the “SysLibRTC.pdf”
file. The PDF file will be filed in the
“...\XSoft2.3\Dok\Deutsch\XSoftSysLibs” directory during
installation of the CD.
XC-CPU101-...-XV
The XC-CPU101-...-8DI-6DO- XV units are equipped with an
expandable operating system. The functionality of the system
permits operation of these CPUs with text displays from the XV-
101-.. series.
Battery
A lithium battery, type 1/2 AA (3.6 V) is used for data-saving. The
battery compartment can be found on the left side of the CPU unit,
behind a cover plate. The charge level of the battery is monitored.
If the battery voltage falls below a fixed preset level, then a
general error message will be generated.
The battery buffer times are:
• Worst-case: 3 years continuous buffering
• Typical: 5 years of continuous buffering
Ordering designation of the battery: XT-CPU-BAT-1
Cable cross-section [mm] Maximum length [m]
n = 32 n = 64 n = 100
0,25 200 170 150
0,5 360 310 270
0,75 550 470 410
n = number of connected bus users
hFor the XC100 the “GetRealTimeClock” (evaluation of the
real-time clock) and “SetRealTimeClock” (setting of the
real-time clock) function blocks can continue to be used.
However, they are not supported by the XC200 and XN-
PLC-CANopen controls.
More information about the function blocks can be found
in the separate “Function blocks for XSoft” (AWB2786-
1456) manual.
hThe text displays are described in the separate manual
“Hardware and Engineering“ (AWB2726-1461GB).
hImportant
To avoid loss of data, the battery must be changed when
the low threshold level has been reached.

Layout of the XC100 03/05 AWB2724-1453GB
16
CPU installation
XInsert the loop on the bottom of the CPU module into the hole
in the module rack .
XPress the top of the CPU module onto the module rack, untilyou
hear it click into position .
Detaching the CPU
XPress in the catch .
XKeep the catch pressed in, and pull the top of the CPU module
forwards .
XLift up the CPU module and remove it .
hDetailed information about the installation of the module
racks and XI/OC modules can be found in the manual
“Hardware and Engineering XI/OC Signal Modules“
(AWB2725-1452GB). Here you can also find further
information on the various types of module rack and the
individual slot assignments for the CPU and the XI/OC
signal modules.
Figure 15: CPU installation
1
2
2
1
Figure 16: Detaching the modules
1
2
3
1
2
3
Other manuals for XC-CPU101 Series
1
This manual suits for next models
7
Table of contents
Other Moeller Controllers manuals

Moeller
Moeller Xcomfort CAAE-01/01 User manual

Moeller
Moeller DEX-KEY-10 User manual

Moeller
Moeller TC-RMQ User manual

Moeller
Moeller easyControl EC4-200 User manual

Moeller
Moeller ps4-201-mm1 User manual

Moeller
Moeller PS 4-300 Series User manual

Moeller
Moeller PS 4-271-MM1 User manual

Moeller
Moeller XStart User manual

Moeller
Moeller DEX-KEY-6 User manual

Moeller
Moeller RMQ 22 User manual