APPLICATION SPECIFICATION
REVISION: ECR/ECN INFORMATION: SHEET No.
EC No: ABC2001-9999
1 DATE: 2008/16/03
TITLE:
MX150 Application Guide 4of 62
DOCUMENT NUMBER: CREATED / REVISED BY: CHECKED BY: APPROVED BY:
Brian Zelinski Steve Verzyl Scott Marceau
TEMPLATE FILENAME: APPLICATION_SPEC[SIZE_A](V.1).DOC
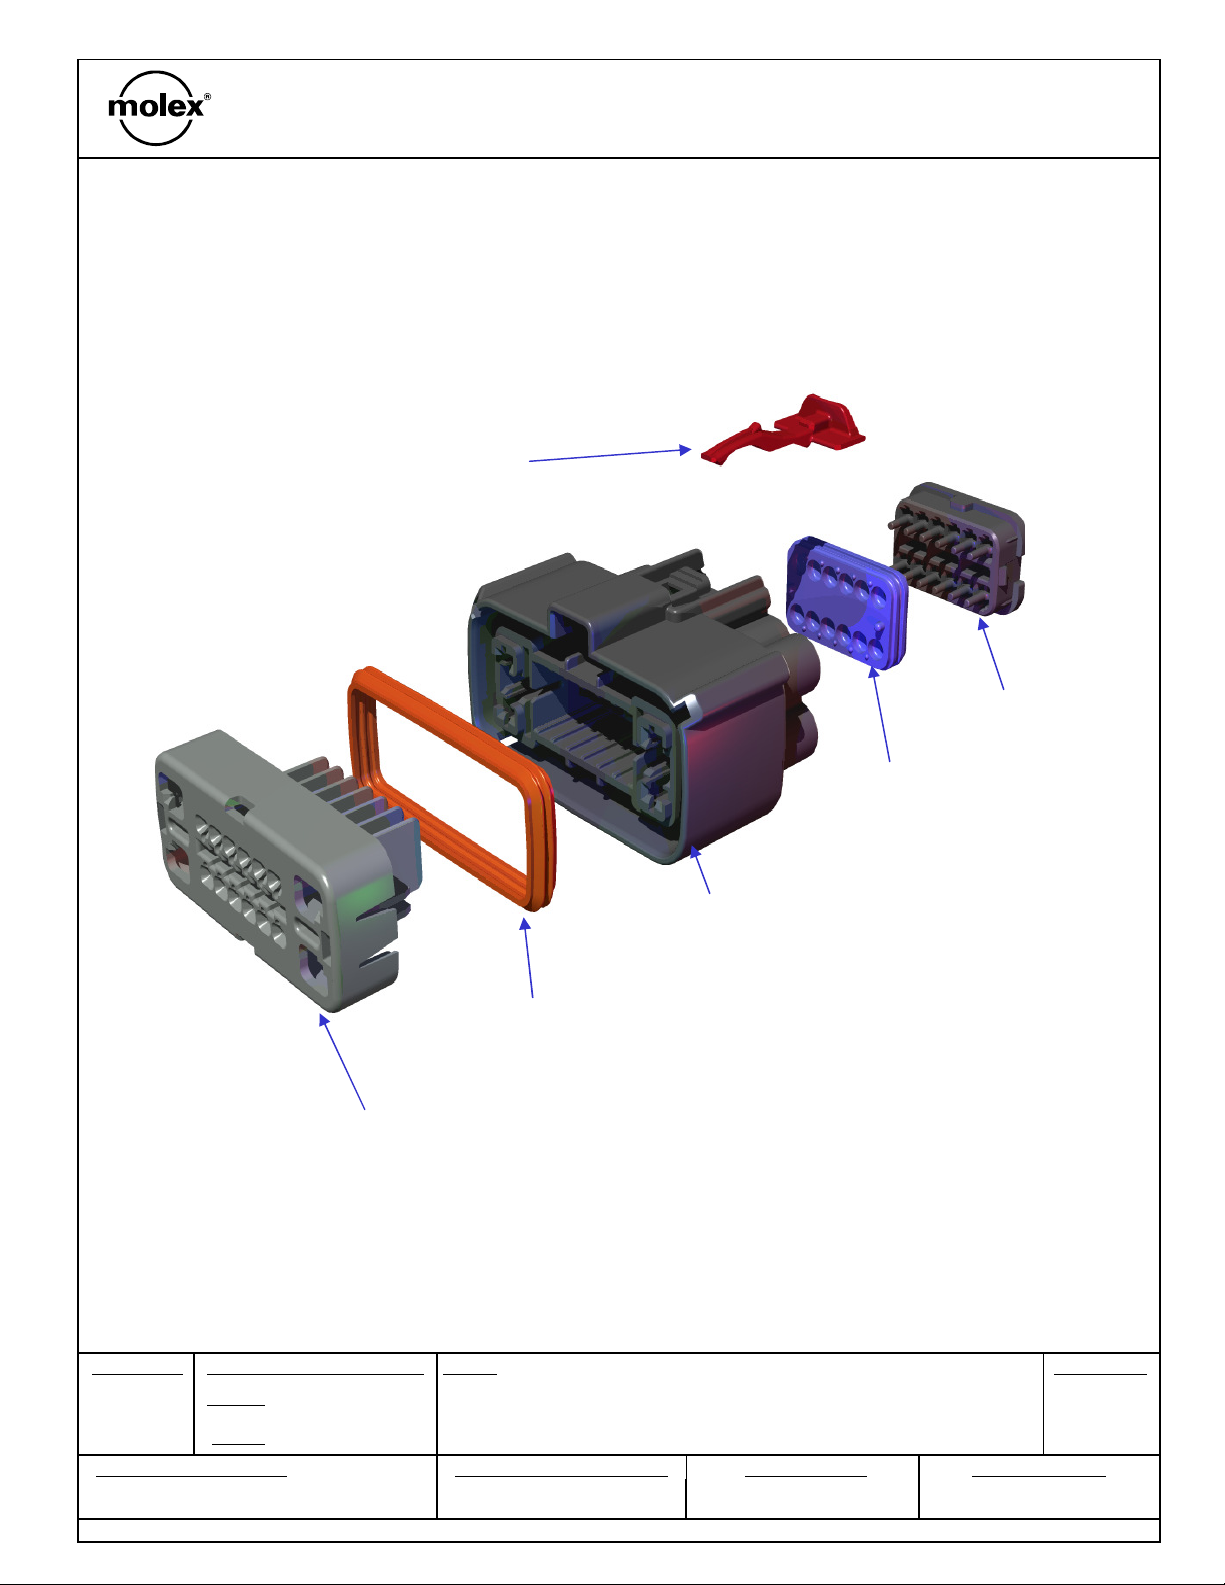
Section 1: Product Introduction MX150 System
Features and Benefits:
•Pre-assembled connector housings, seals and TPA components
•Simple crimp, poke and plug application
•Integral Terminal Position Assurance (TPA)
•Integral two way, mat and interface seals designed and tested to IP
67 and SAE USCAR-2, Rev 3 standards
•Easy terminal extraction and insertion
•Compatible with a wide range of UL (22 to 14 AWG) and SAE
Automotive (22 to 14) style wires
•Integral locking latch with secondary connector position assurance
(CPA) option
•Applied cost savings
•No need to crimp individual wire seals
•Locks terminals into housings and prevents terminals from backing
out
•More than just waterproof, a true sealed connector system tested
under submersed conditions
•Quick, low cost field repairs
•Supports a wide range of power and signal applications
•Assures positive mating of connector and prevents accidental
disengagement during high vibration and severe shock application