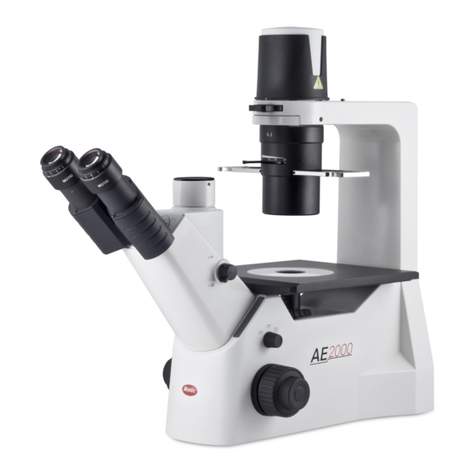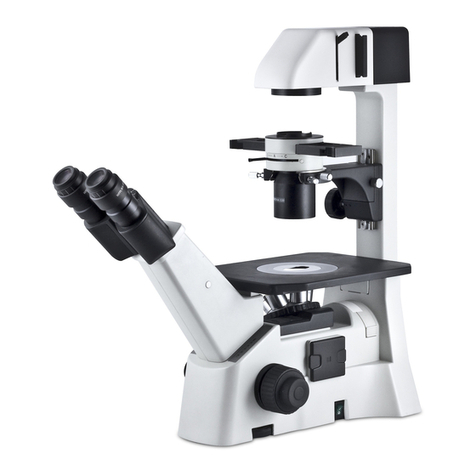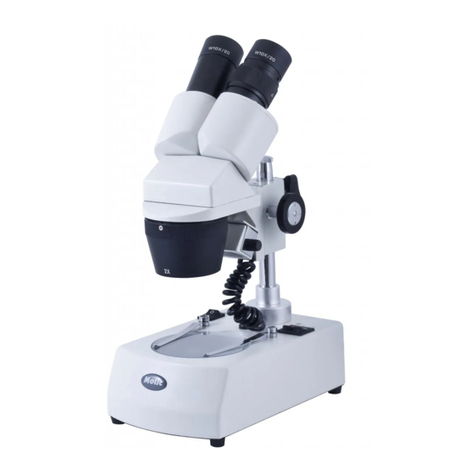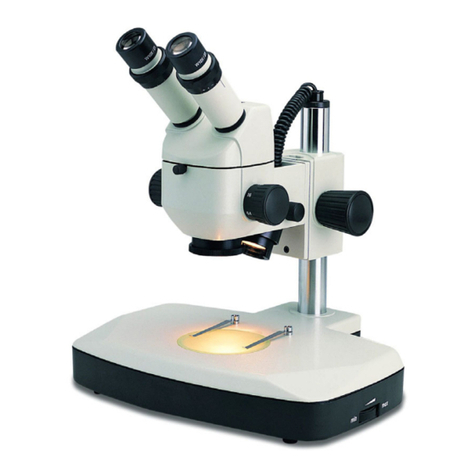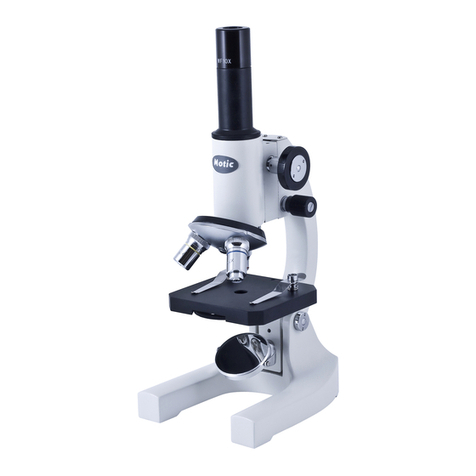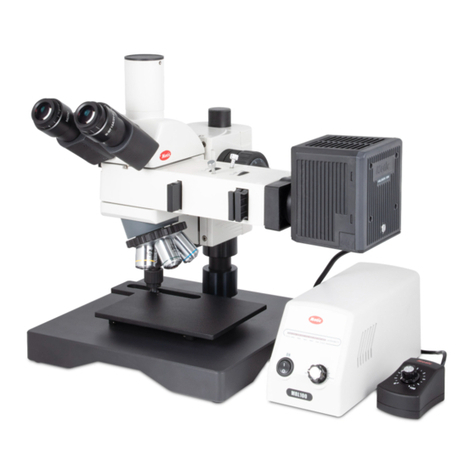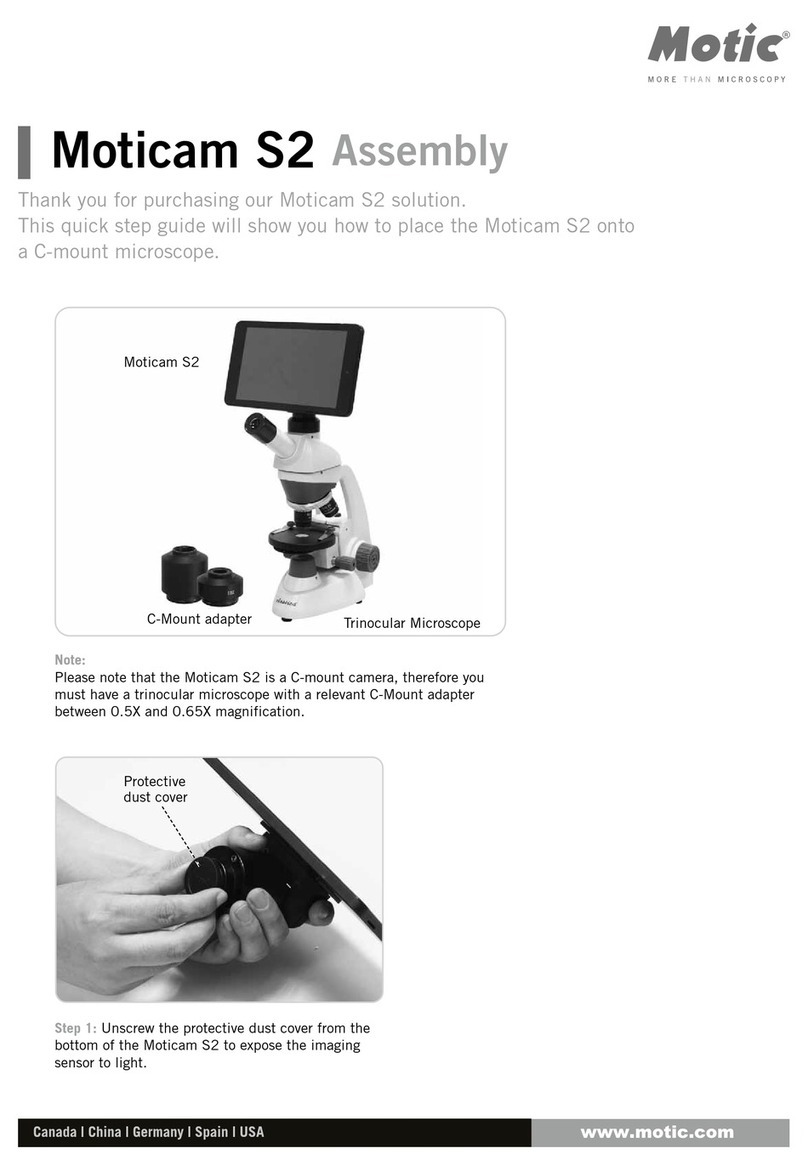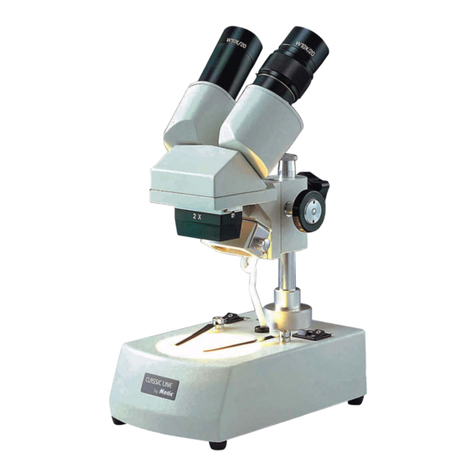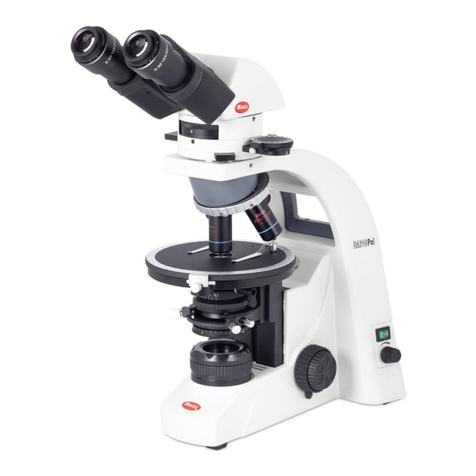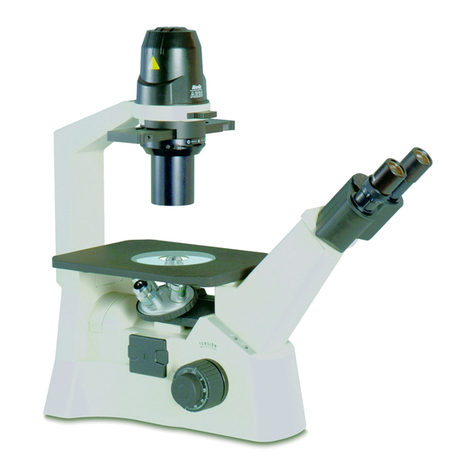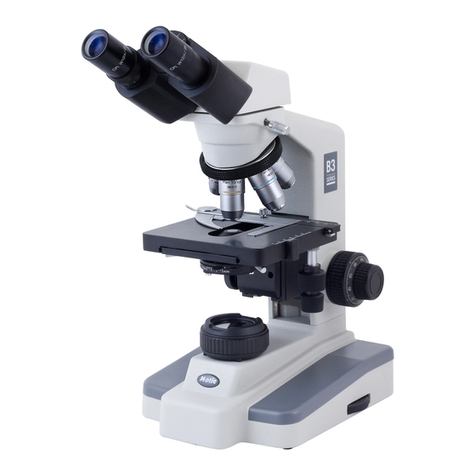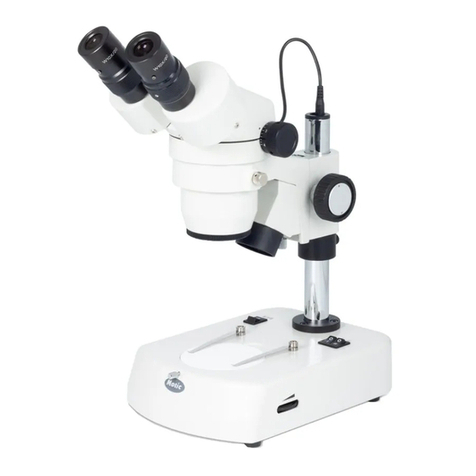
E. Changing magnification.
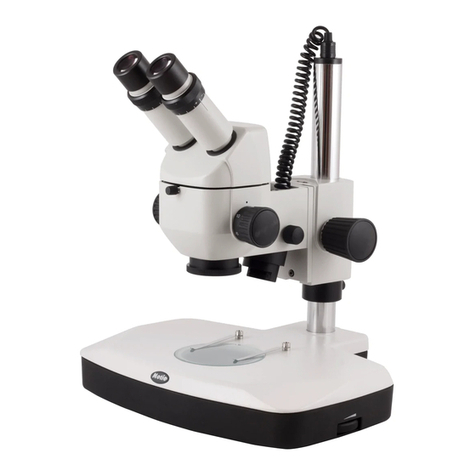
1. Turn the zoom control (16) to the highest magnification, 4X.
2. Although the stereomicroscope has been parfocalised, focus will have to be adjusted as the
objectives of a low magnification offer a more profound field of view. The profundity of the field is
the capacity to focus on different points on different levels.
3. Once the image is in focus with the higher magnification objectives it is not necessary to adjust
the focus when lower magnification objectives are used.
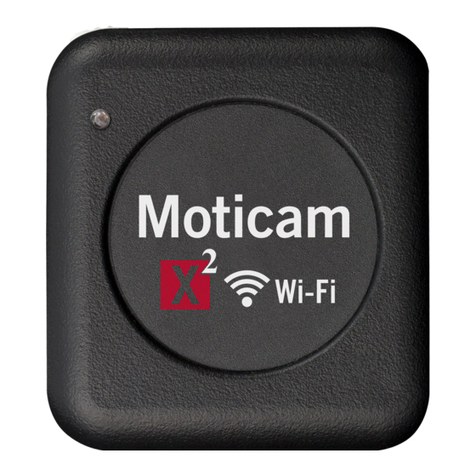
Connecting the camera
Before installing the software, please ensure the following:
- Do not connect the USB2.0 cable to computer before installing the Motic software.
- Plug in the Microscope’s power cord and switch the unit on.
- Check that you have a Motic software CD with your microscope.
- Your computer should meet the Minimum System Configuration as listed below.
Minimum System Configuration:
CPU: Intel based 1.4GHz or better for PC or G4 for Mac
HDD: 1GB available disk space
RAM: 512MB or more
Display Card: 32MB display memory
Operating System: Windows XP or higher / Mac OSX
Others: Native USB2.0, CD Drive
Installing the Software
Please install the Motic Images software first by referencing the Quick Start Guide provided in PDF format on
the CD. Please keep the CD in the drive to load the correct driver for this Digital Microscope when you plug
in the USB cable.
Operation
Connect the power cable to a power outlet and to the microscope.
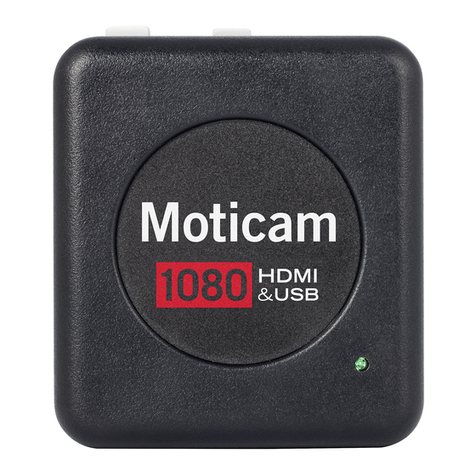
Connect the Microscope Head to your Computer’s USB2.0 port with the USB cable.
Switch on the microscope and adjust the illumination intensity to a comfortable level
Please refer further to the enclosed BA manual for details on how to operate the microscope.
Image Adjustment
- Ensure that you pull the Beam Splitter all the way out until you hear it click into place. This
will allow the camera chip inside the head to be exposed to the light from the microscope.
- Then you can start the live image transmission by clicking on the Camera icon
(shortcut Ctrl M). If you do not see an image, please click on “Auto Exposure”. For further
details, please consult the software Quick Start Guide contained as a PDF file in the CD.
- Bring the image into focus by adjusting the focusing control.
- With a 4X objective selected on the microscope, ensure that the image on the screen is in focus
and in the center of the screen.
- Using a 40X objective next, adjust the fine focusing to ensure that the observation is on the
correct focal plane.
- Please note that when changing from 4X to 40X, the image should be Parfocal as well as
- Parcentered on screen.
Calibration
- Put the calibration slide (with four black dots) shipped with the microscope on the stage and
using a 10X objective focus on one of the dots so that the entire dot can be seen on the
computer screen, please note the diameter of the dot you are looking at.
- Click on the Calibration Wizard in the Motic Application Program and follow the on-screen
instructions to calibrate the microscope.
-6-
